This weekend’s cooking projects from my collection of recipes included a plain cake with lemon sauce, more pickled eggs (darn those sales on eggs! 🙂 ), and the subject of this post, chocolate buttercrunch. As with previous posts on making pickled eggs and making bran muffins, while I have already made a previous post with some pictures on the subject of chocolate buttercrunch, this post is all about the photos taken while making the chocolate buttercrunch.
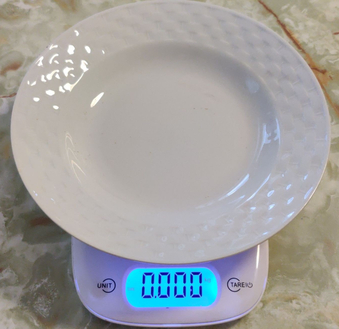
First, a bowl was placed on a kitchen scale and the scale weight was set to zero:
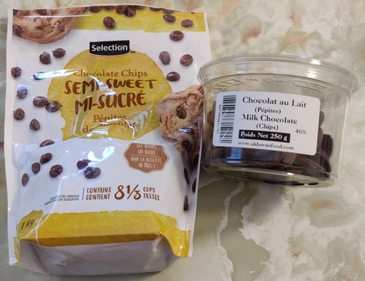
Then semi-sweet chocolate chips and milk chocolate buttons (as well as a few rosettes) were taken out …
… and 150 grams of each were weighed out in the bowl, for a total of 300 grams:
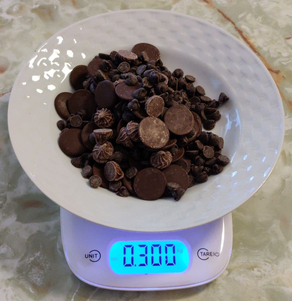
The chocolates were then put aside for later.
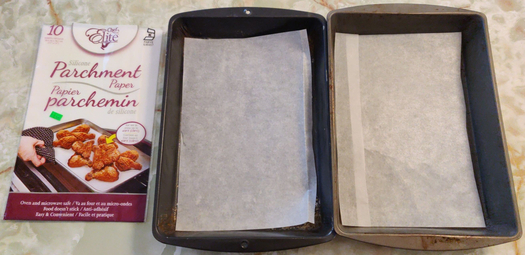
Then, two 13″ x 9″ baking pans were lined with parchment paper, and put aside for later:
To begin making the buttercrunch part, margarine was scooped up in a paper towel …
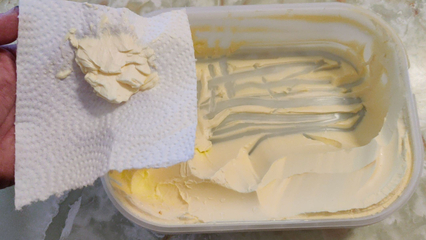
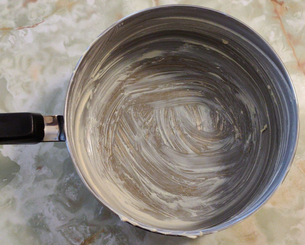
… and a heavy pot was coated with the margarine:
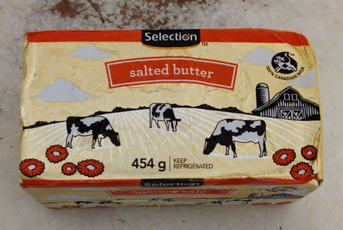
A pound of butter was taken out …
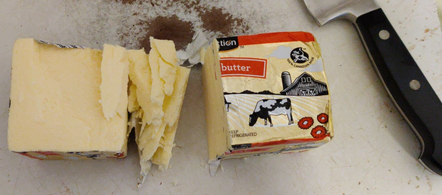
… and half a pound of butter was cut off to be used in the recipe, while the remaining portion was put away:
The butter was placed in the greased, heavy pot, and the stove turned on low:
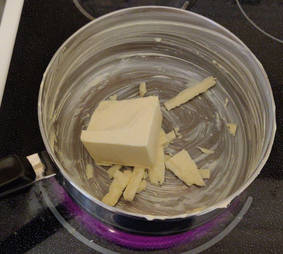
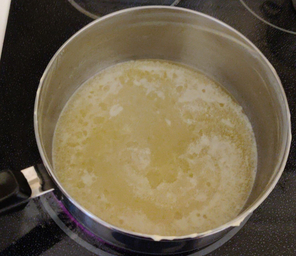
On a low heat, the butter was completely melted:
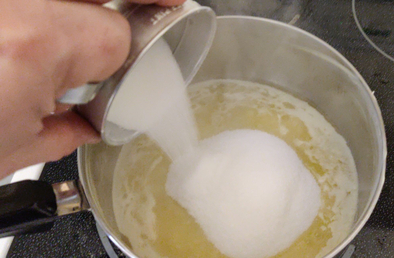
A cup and a quarter of granulated white sugar was added to the melted butter …
… along with roughly two tablespoons of maple syrup …
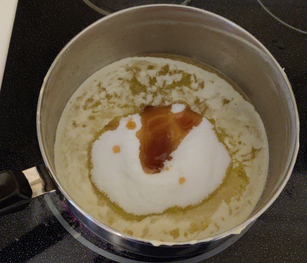
… and roughly two tablespoons of water:
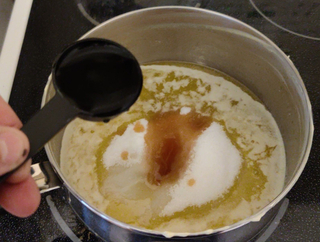
The melted butter, sugar, maple syrup, and water were mixed together …
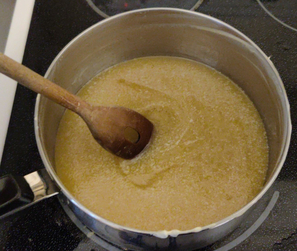
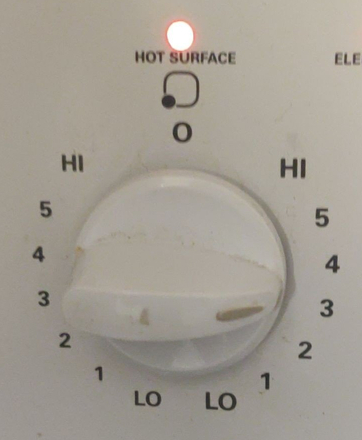
… and then stove burner was turned up from a low setting to a medium setting:
And the mixture was heated, while constantly being stirred, and the temperature being monitored with a candy thermometer:
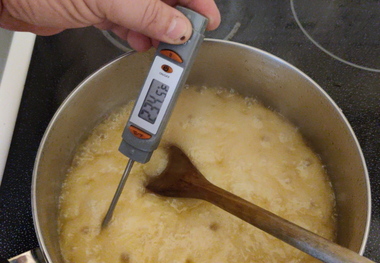
Once the mixture reached 300F, it was transferred to the baking pans lined with the parchment paper …
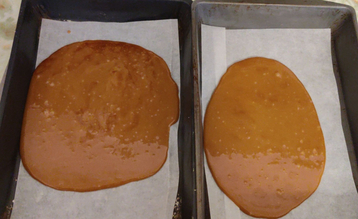
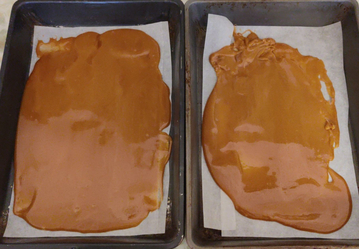
… and immediately spread out using a stiff spatula:
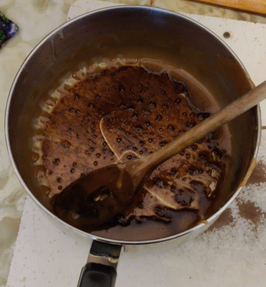
As a cautionary mention, be careful not to overheat the buttercrunch mixture, since shortly after 300F, the pan will scorch (this picture is normal, but it is at the point at which the candy would scorch if the buttercrunch were left in the pot any longer):
The chocolate prepared earlier was placed in a microwave oven for two and a half minutes to melt, and partway through, I took it out to blend it so as to help with even melting and to avoid hot spots which would promote burning:
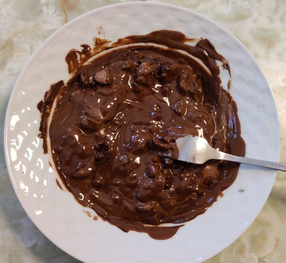
And then the fully melted chocolate was taken out of the microwave, and fully blended (Note that this photo is from a previous batch some months ago):
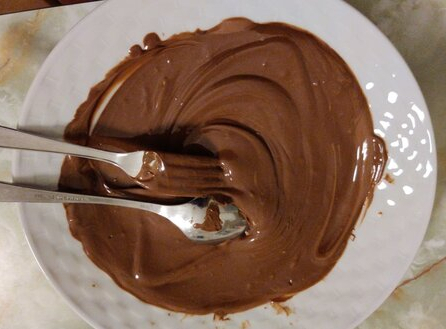
The fully melted and blended chocolate was poured onto the still-warm buttercrunch …
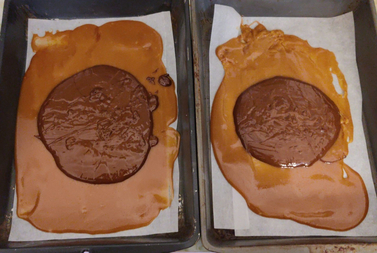
… and then the chocolate was promptly spread over the buttercrunch with a stiff spatula:
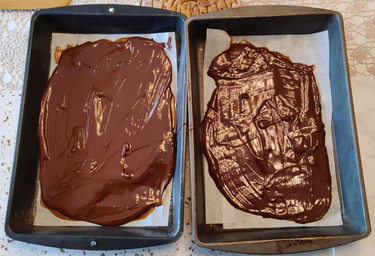
The chocolate was allowed to just about fully cool to room temperature, and hence once the chocolate was congealed, a table knife was use to break the buttercrunch into rough pieces:
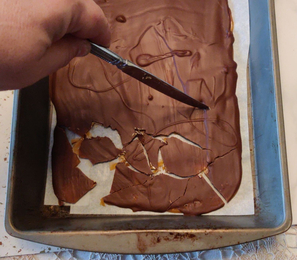
The trays of chocolate buttercrunch were then placed in a fridge to completely cool and solidify the candy, and then the pieces were gingerly broken apart by hand (be careful, too much effort or enthusiasm in doing so will separate the chocolate from the buttercrunch):
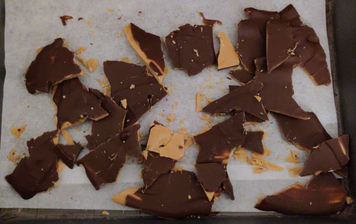
And finally, the candy was separated into bags:
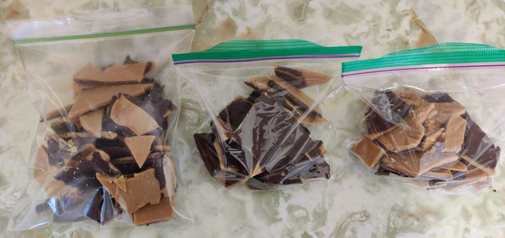
Of course, mom received the largest bag, while my brother will get one of the other two bags.
Yummy!!!
