This past week was again a busy week with no cooking projects from my collection of recipes; however, I took advantage of this past weekend to both develop my version of a favourite dish my mom continues to this day to make for me, a corned beef hash, but for which, strictly speaking, she doesn’t have a formal recipe, and, prepare a future post on firestarters. 🙂
I am therefore posting the photos I’d taken of cooking sausages a few weeks ago at the cottage and which I’d kept in reserve. The subject of cooking sausages would normally not qualify for a post in this cooking series, since I am “only” highlighting the cooking of (admittedly somewhat large quantities of) commercially prepared breakfast sausages — for which I of course do not have a recipe — as opposed to highlighting a non-existent hypothetical recipe for making sausage from scratch. However, I am including this post since several of my recipes call for cooked breakfast sausages, such as my stuffed potato skins, my breakfast sandwiches, and my english muffin breakfast sandwiches.
Note that these photos were taken in the month of May 2021, at the cottage, not this past weekend.
Cooking the sausages:
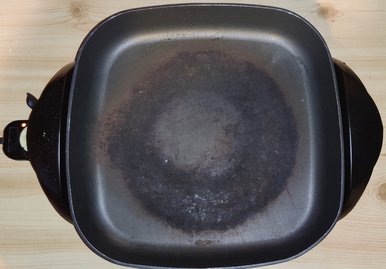
First, an electric skillet was taken out:
Electric skillet taken out
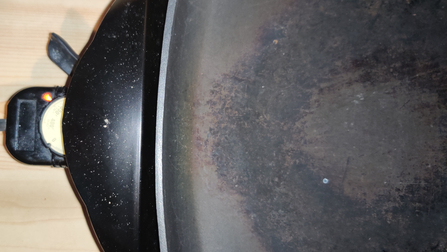
The electric skillet was turned on:
Electric skillet on
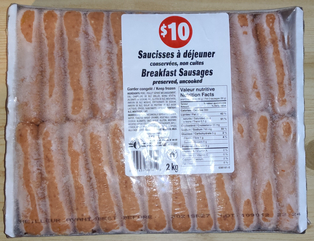
A frozen, two kilogram store-bought flat of breakfast sausages was taken out:
Package of commercial breakfast sausages taken out
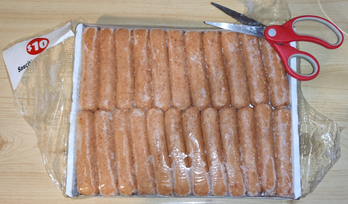
The package of sausages was unsealed:
Package of sausages unsealed
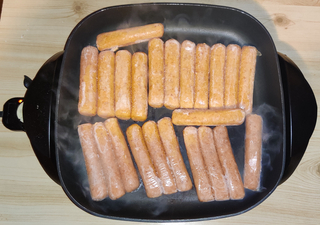
Sausages were taken out and placed in the electric skillet — in this case, half of the package, or the top layer of two layers of sausages:
Sausages placed in the electric skillet
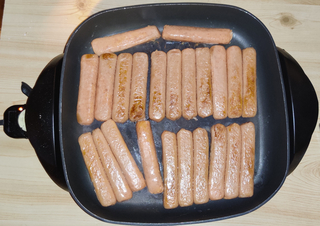
I turned over the sausages after a few minutes:
Sausages turned after a few minutes
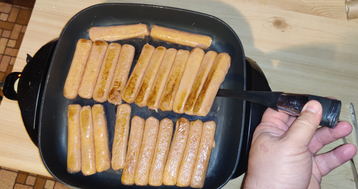
Sometimes, a flipper is needed to loosen the sausages in order to turn them over:
Using a flipper to lift and turn over sausages
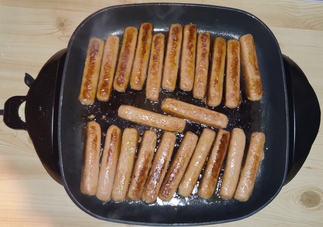
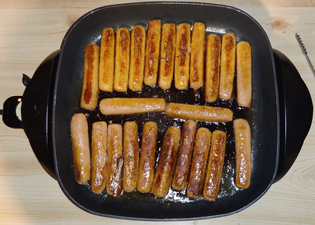
The sausages were turned again and were beginning to brown:
Sausages turned again after a few minutes
The sausages were turned yet again and continued to brown:
Sausages turned yet again after a few minutes
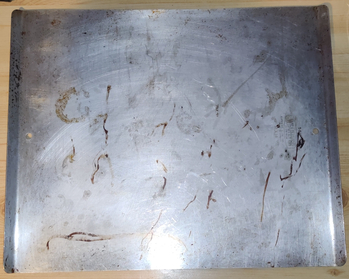
At this point, a cookie baking tray was taken out:
Cookie baking tray taking out
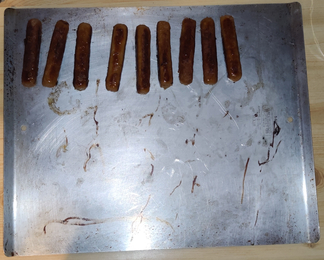
As the sausages began to be cooked, they were taken out of the electric skillet and placed on the cookie baking tray …
Cooked sausages placed on cookie baking tray
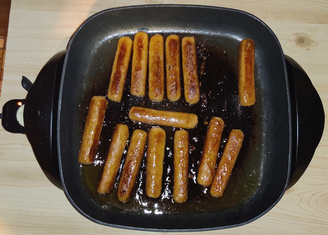
… while the rest of the sausages were kept in the skillet to continue cooking …
Finishing cooking the rest of the sausages
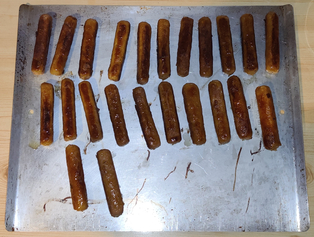
… and once all of the sausages were cooked, they were all placed on the cookie baking tray:
First half of the cooked sausages on the cookie baking sheet
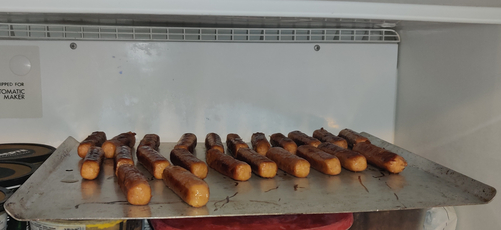
The cookie baking tray of sausages were placed in the freezer:
Cookie tray of cooked sausages placed in freezer
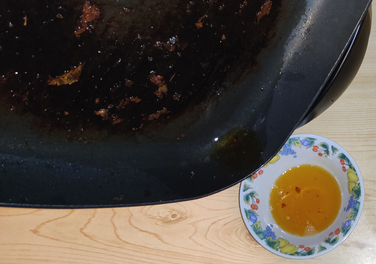
The grease was drained from the electric skillet:
Grease drained from electric skillet
The process was repeated and the rest of the package of sausages was also cooked in the skillet the same way.
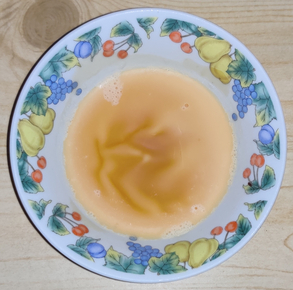
The grease was allowed to cool, and when it had solidified, it was wrapped up with the other kitchen wastes from the weekend’s other cooking projects, and brought home to place in the curbside kitchen waste brown box for municipal composting:
Grease allowed to solidify
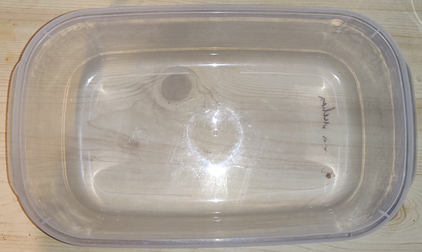
A plastic container was taken out:
Plastic container taken out
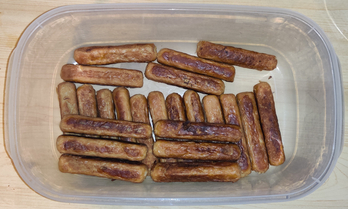
The first round of cooked sausages, now partly frozen, were placed in the plastic container, and placed back in the freezer:
Cooked sausages placed in plastic container
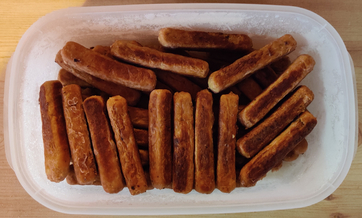
When the second half of the sausages were all cooked and frozen, they too were placed in the plastic container, and placed back in the freezer:
Cooked sausages placed in plastic container
I now have several months’ worth of yummy, cooked sausages in the freezer, and I have indeed already eaten some!
This post is a double length feature because both recipes are very similar to the point of just having different fillings. As such, the narrative shows the concurrent preparation of both recipes, just as they were actually prepared.
Making the barbecup and chicken cup fillings:
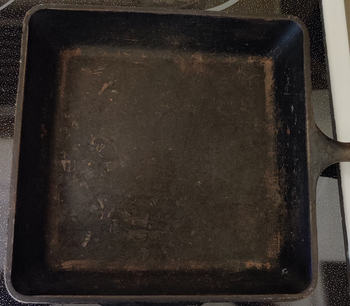
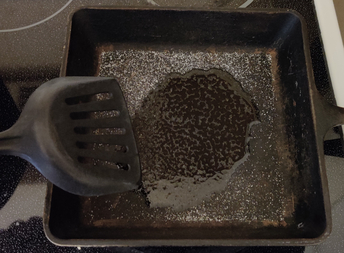
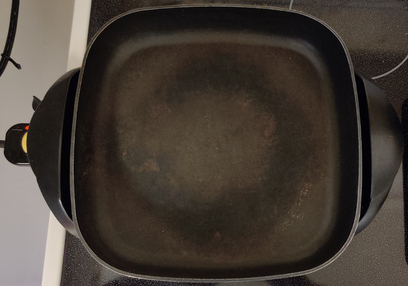
First, a cast iron skillet was taken out, and placed on the stove:
Cast iron skillet taken out and placed on stove
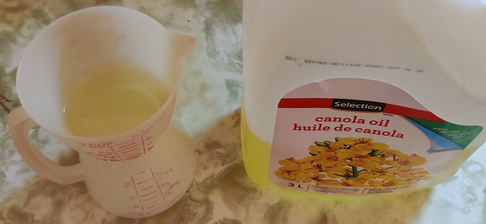
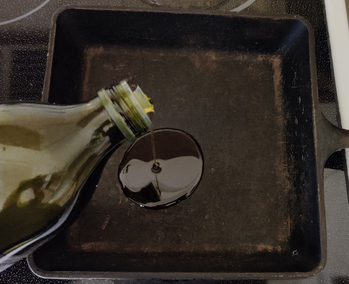
A bit of olive oil was poured in the cast iron skillet:
Olive oil poured in cast iron skillet
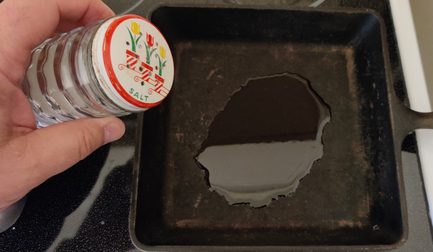
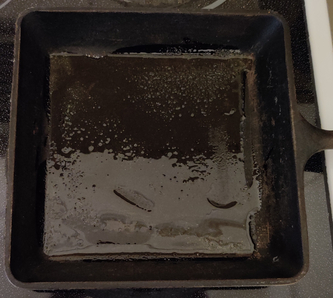
Salt was added to the cast iron skillet:
Salt added to the cast iron skillet
The olive oil and the salt were spread around the cast iron skillet:
Olive oil and the salt spread around the cast iron skillet
Olive oil and the salt spread around the cast iron skillet
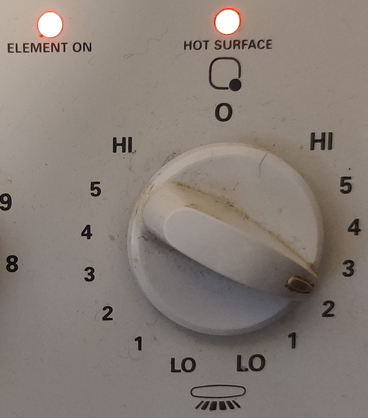
The stove was turned on:
Stove turned on
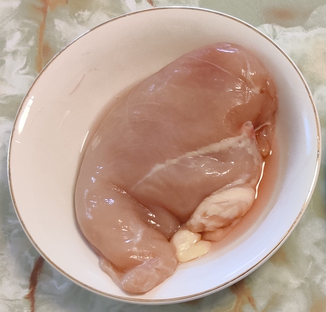
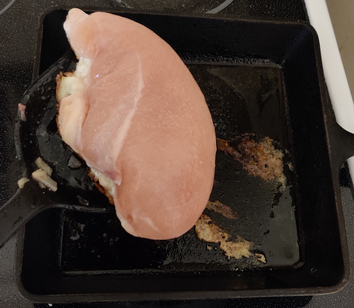
A chicken breast — this one in the 200g to 225g range — was taken out:
Chicken breast taken out
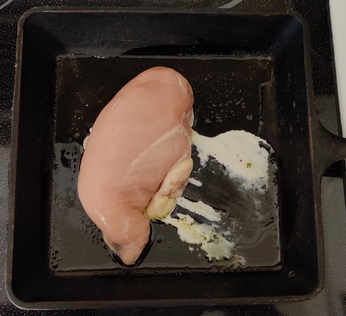
The chicken was placed in the cast iron skillet:
Chicken placed in cast iron skillet
Chicken placed in cast iron skillet
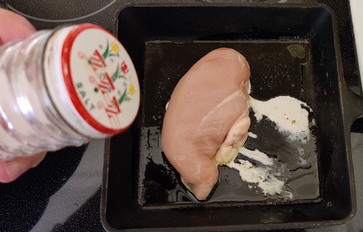
A bit more salt was added to the top of the chicken:
More salt added to chicken
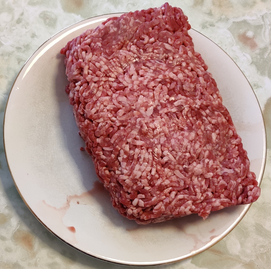
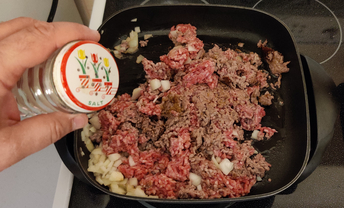
Ground beef was taken out — in this case, about two pounds of ground beef instead of only one pound of ground beef, as specified in the recipe, because in addition to making barbecups, I wanted to freeze some cooked ground beef and onions in an ice cube tray (see later):
Ground beef taken out
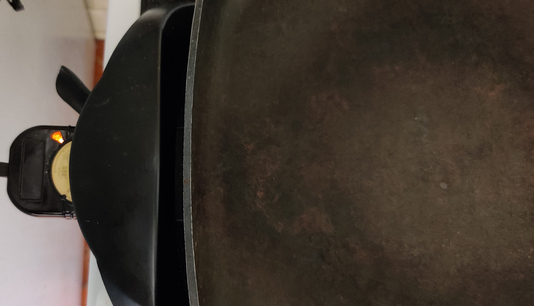
An electric skillet was taken out:
Electric skillet taken out
The electric skillet was turned on:
Electric skillet turned on
The ground beef was placed in the electric skillet:
Ground beef placed in electric skillet
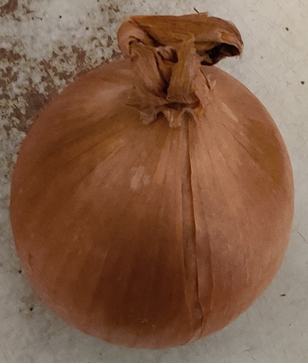
An onion was taken out:
Onion taken out
The onion was trimmed — yes, I know that this onion is definitely on the older side:
Onion taken out
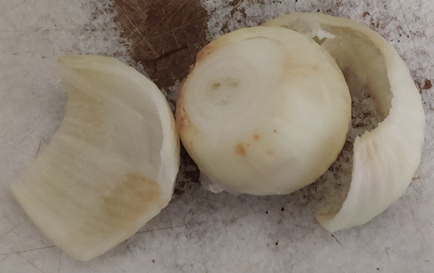
The onion was quartered:
Onion quartered
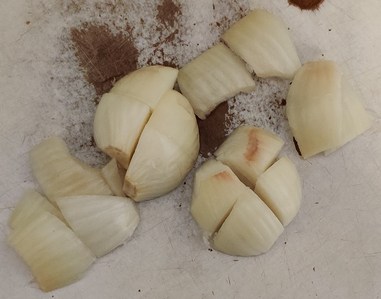
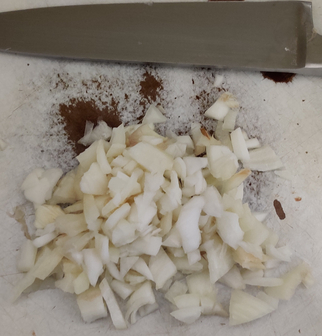
The onion was coarsely chopped:
Coarsely chopped onion
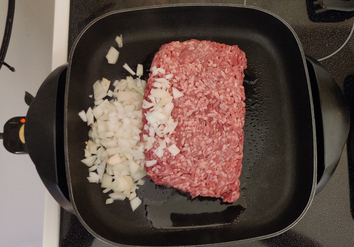
The chopped onion was added to the electric skillet with the ground beef:
Chopped onion added to electric skillet with ground beef
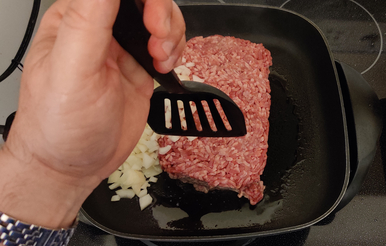
The ground beef was broken up:
Ground beef being broken up
Gound beef partly broken up
Salt was added to the ground beef and chopped onions:
Salt added to ground beef and chopped onions
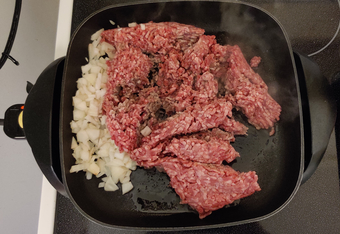
The ground beef was broken up some more as it was cooking, mixing in the chopped onions and salt:
Ground beef broken up some more
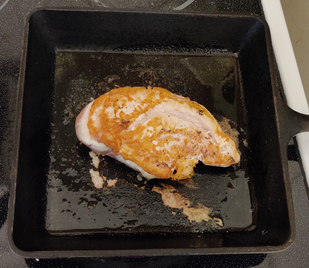
It was time to pay attention to the frying chicken, which was picked up with an egg flipper:
Chicken picked up with egg flipper
… and was turned over in the cast iron skillet:
Chicken turned over in cast iron skillet
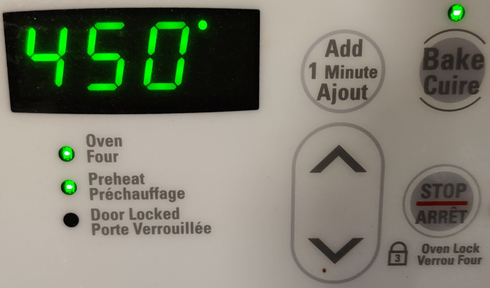
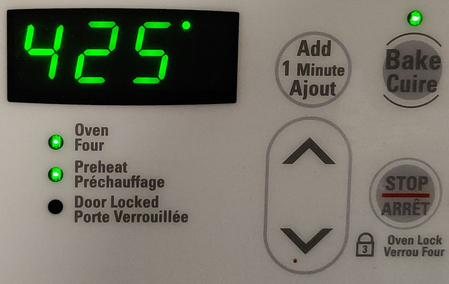
At this point, an oven rack transferred to the top slot in the oven, and the oven was preheated to 425F:
Oven preheating to 425F
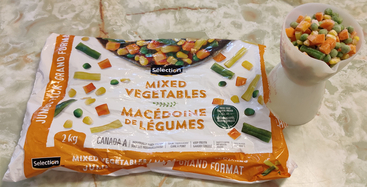
Frozen mixed vegetables were measured out:
Frozen mixed vegetables measured out
The mixed vegetables were transferred to a mixing bowl:
Mixed vegetables transferred to mixing bowl
Mixed vegetables transferred to mixing bowl
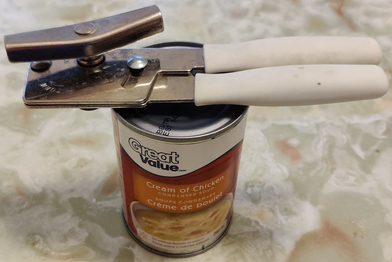
A can of condensed cream of chicken soup was taken out:
Can of condensed cream of chicken soup taken out
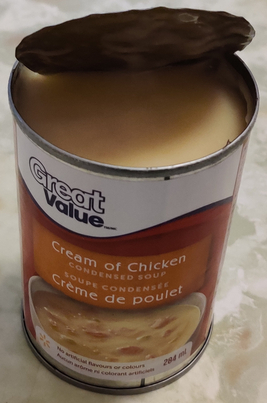
The can of condensed cream of chicken soup was opened:
Can of condensed cream of chicken soup opened
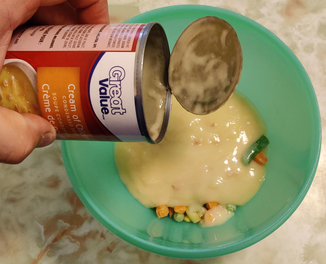
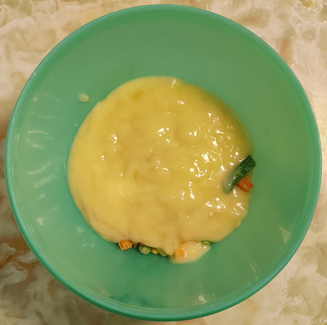
The condensed cream of chicken soup was added to the mixing bowl with the frozen mixed vegetables:
Condensed cream of chicken soup added to mixing bowl with frozen mixed vegetables
Condensed cream of chicken soup added to mixing bowl with frozen mixed vegetables
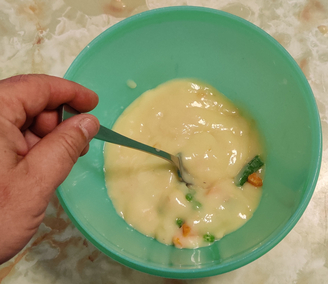
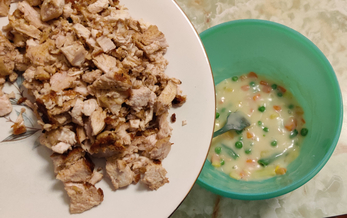
The condensed cream of chicken soup and mixed vegetables were mixed together with a fork:
Condensed cream of chicken soup and mixed vegetables mixed together with a fork
Condensed cream of chicken soup and mixed vegetables mixed together with a fork
The condensed chicken soup and mixed vegetables were put aside.
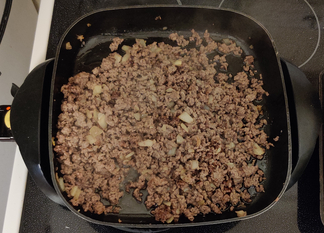
The ground beef was broken up well and well mixed with the onions, and was coming along to being fully cooked:
Ground beef and onions well mixed, and almost cooked
Once cooked, the ground beef and onions were covered and put aside.
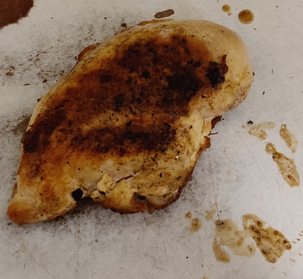
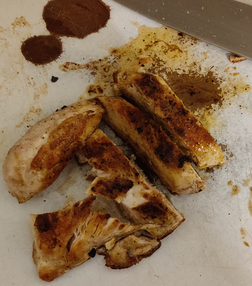
At this point, the chicken was cooked and taken out of the cast iron skillet, and placed on a cutting board:
Cooked chicken placed on cutting board
The chicken was sliced:
Sliced cooked chicken
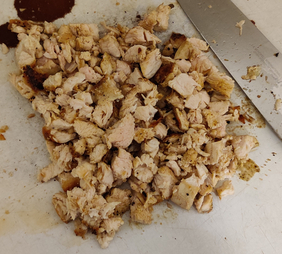
The cooked chicken was then chopped coarsely:
Coarsely chopped cooked chicken
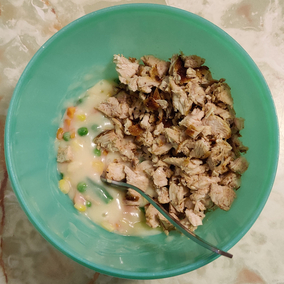
The chopped chicken was added to the mixture of condensed cream of chicken soup and mixed vegetables:
Chopped chicken added to mixture of condensed cream of chicken soup and mixed vegetables
Chopped chicken added to mixture of condensed cream of chicken soup and mixed vegetables
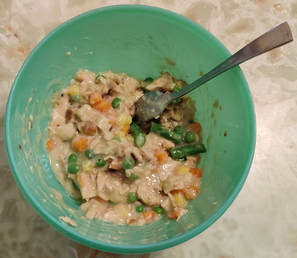
The chopped cooked chicken and mixture of condensed cream of chicken soup and mixed vegetables were all mixed together again with a fork:
Chopped cooked chicken and mixture of condensed cream of chicken soup and mixed vegetables all mixed together with fork
The chicken cup filling was put aside.
Making the biscuit dough cup part:
I was taught that the base recipe I use for the biscuit dough does not double well, so I started off making the dough for one of the recipe’s worth, and then repeated the process afterwards for the second recipe’s worth.
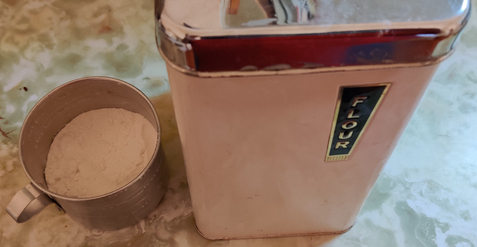
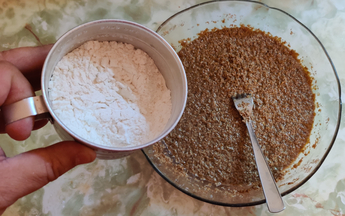
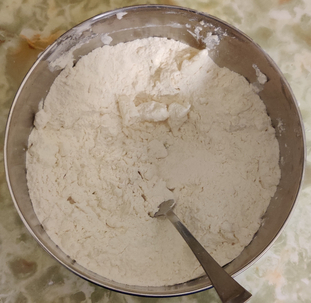
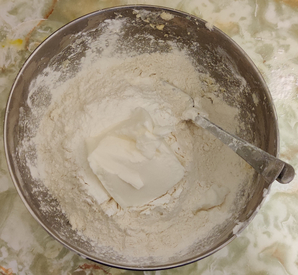
The flour was measured out:
Flour measured out
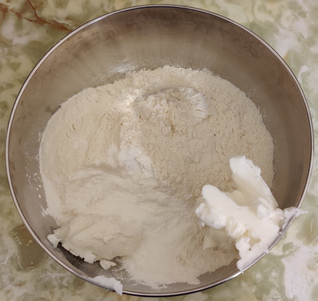
The flour was transferred to a mixing bowl:
Flour transferred to mixing bowl
Flour transferred to mixing bowl
Shortening was measured out:
Shortening measured out
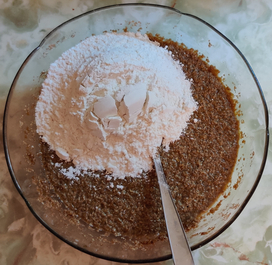
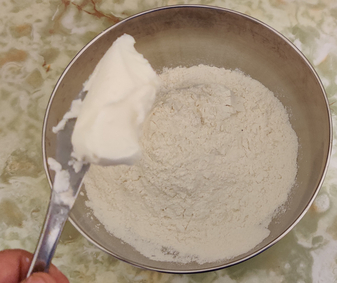
The shortening was added to the flour in the mixing bowl:
Shortening added to flour in mixing bowl
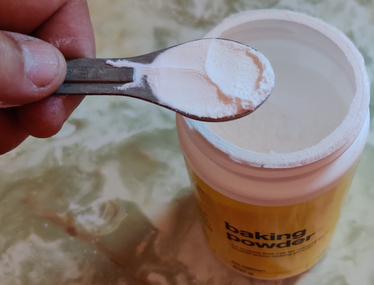
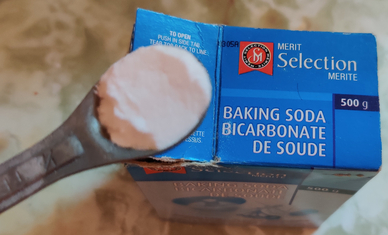
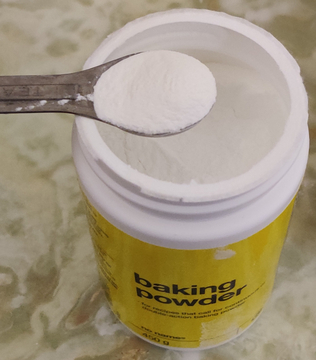
Baking powder was measured out:
Baking powder measured out
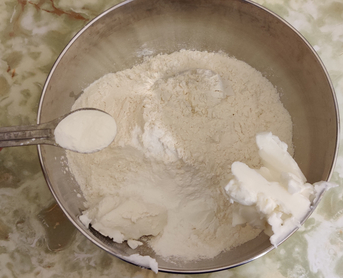
The baking powder was added to the mixing bowl with the flour and the shortening:
Baking powder added to mixing bowl with flour and shortening
Baking powder added to mixing bowl with flour and shortening
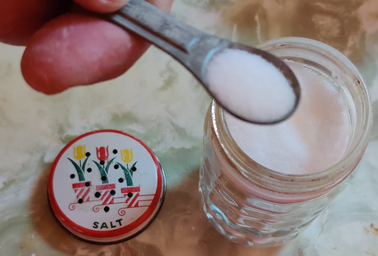
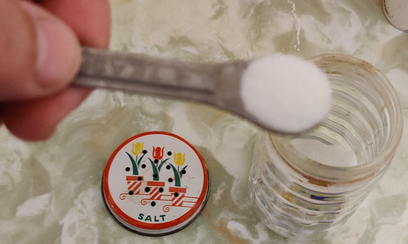
Salt was measured out
Salt measured out
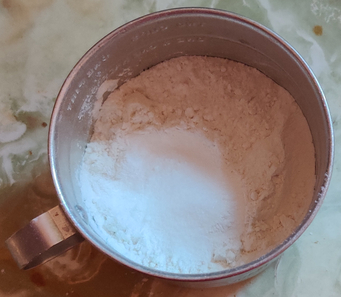
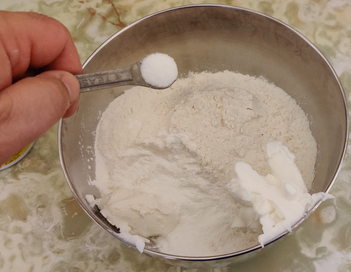
The salt was added to the mixing bowl with the flour, shortening, and baking powder:
Salt added to mixing bowl with flour, shortening, and baking powder
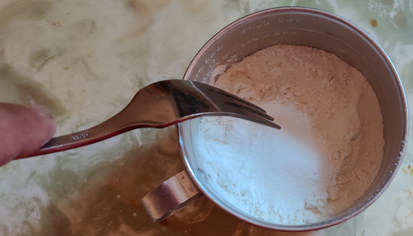
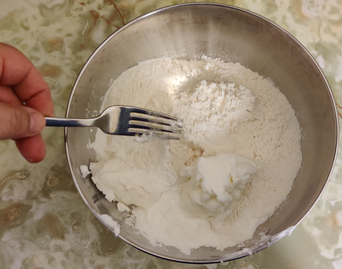
The shortening was broken up with a fork, roughly to the size of peas:
Shortening broken up with a fork to the size of peas
Shortening broken up with a fork to the size of peas
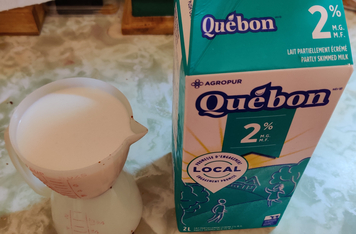
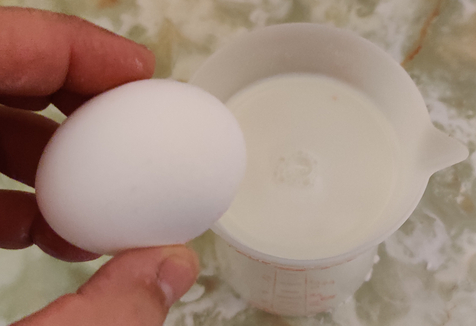
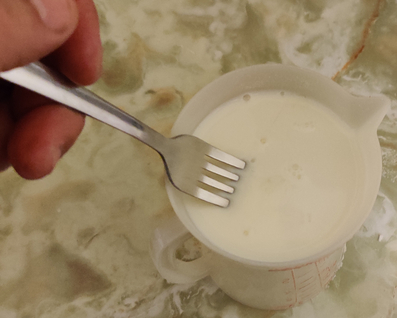
Milk was measured out:
Milk measured out
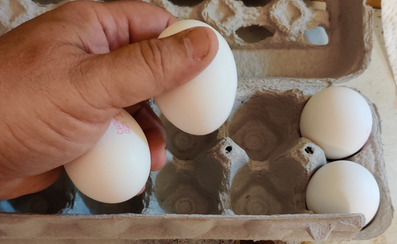
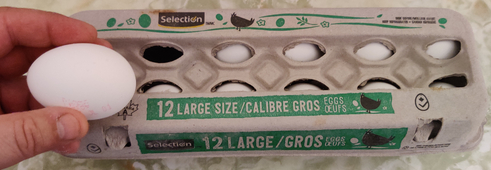
An egg was taken out:
Egg taken out
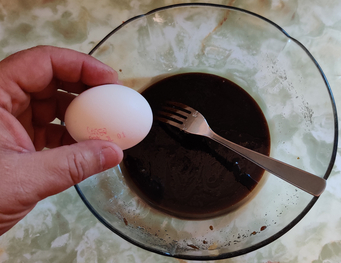
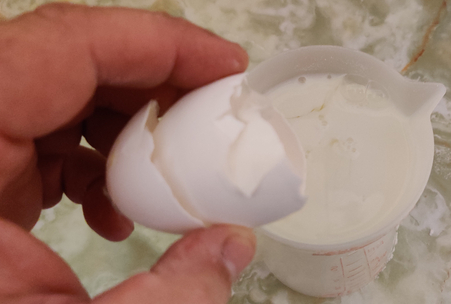
The egg was cracked into the measuring cup with the milk:
Egg cracked into measuring cup with milk
Egg cracked into measuring cup with milk
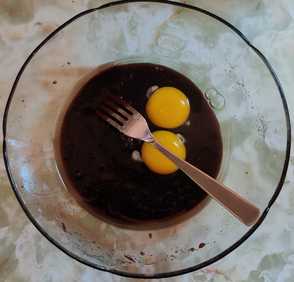
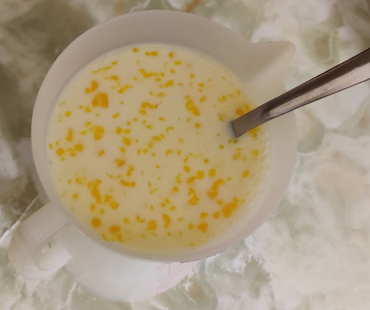
The egg and milk were mixed together with a fork:
Egg and milk mixed together with fork
Egg and milk mixed together with fork
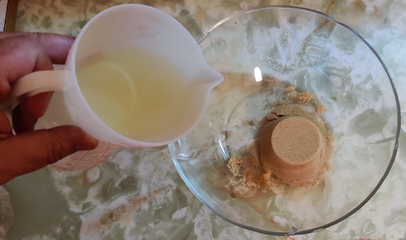
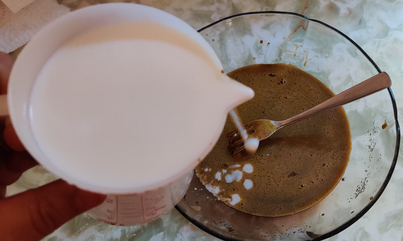
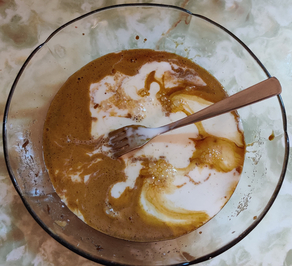
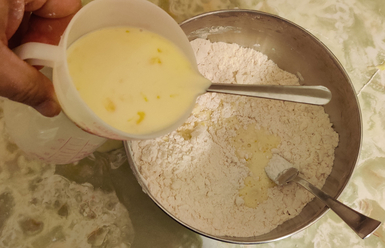
About a third of the egg and milk mixture was added to the mixture of dry ingredients:
A third of egg and milk mixture added to mixture of dry ingredients
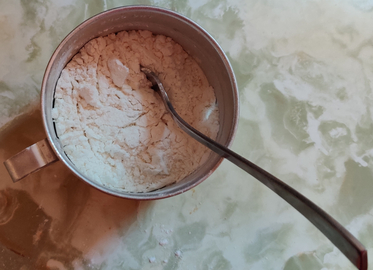
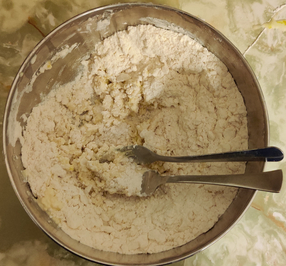
The ingredients were mixed with a fork, well at this point two forks:
Ingredients were mixed with fork
The rest of the egg and milk mixture was added to the dough and the ingredients mixed.
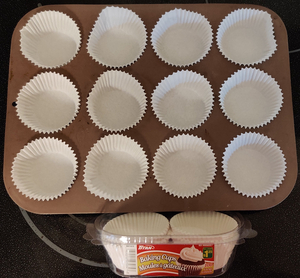
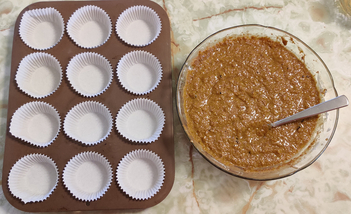
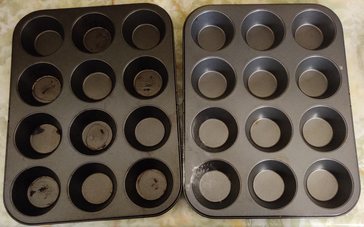
A couple of muffin baking tins were taken out:
Muffin baking tins taken out
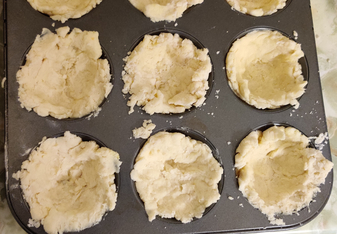
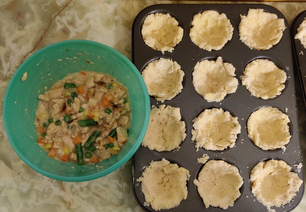
Balls of dough were placed in the wells, and formed into cups around the form of the wells:
Balls of dough transferred to muffin tin wells and formed into cups
The rest of the dough was transferred to the muffin baking tin and a dough cup was formed in each well:
Dough cups formed in each well of a muffin baking tin
Dough cups formed in each well of a muffin baking tin
A second batch of dough was prepared for the second muffin baking tin, this picture showing the shortening just having been added to the flour (see above for the whole process):
Second batch of biscuit dough, shortening added to flour step
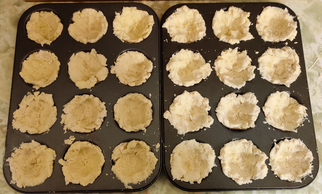
… and the dough from the second batch was used to form more cups in the second muffin baking tin’s wells:
Two muffin tins’ worth of dough cups
The chicken filling mixture was taken out:
Chicken filling mixture
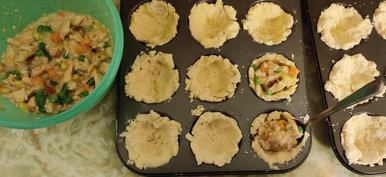
The chicken filling mixture was spooned into the dough cups of one of the muffin baking tins:
Spooning chicken filling mixture into dough cups
Chicken filling in the dough cups
The chicken filling-filled dough cups were put aside for a few moments.
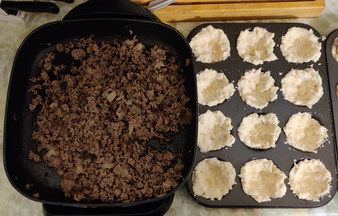
The cooked ground beef and onion mix was taken out:
Cooked ground beef and onion mix taken out
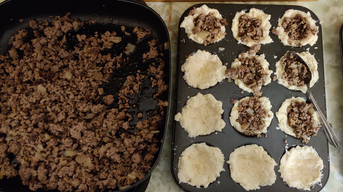
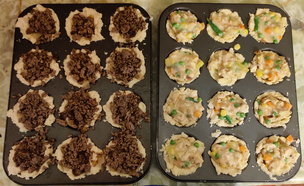
The cooked ground beef and onion mixture was spooned into the dough cups of one of the muffin baking tins:
Spooning cooked ground beef and onion mixture into dough cups
Cooked ground beef and onion mix in the dough cups
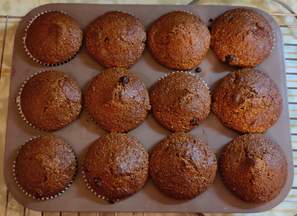
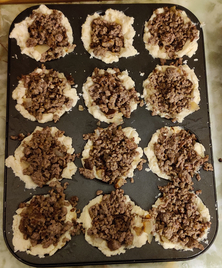
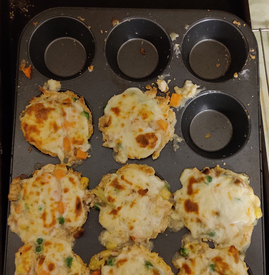
And here is what all the filled dough cups looked like:
24 dough cups filled with cooked ground beef and chicken mixture
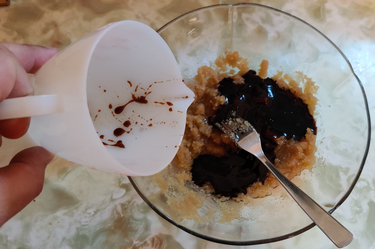
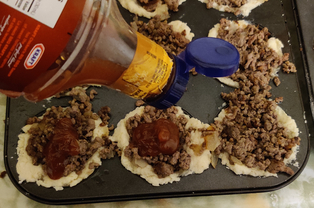
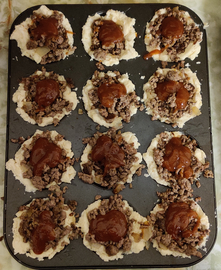
Commercial barbecue sauce in a squeeze bottle was taken out, and barbecue sauce was squeezed onto the cooked ground beef and onion mix:
Barbecue sauce squeezed onto cooked ground beef and onion mix
Barbecue sauce squeezed onto cooked ground beef and onion mix
The filled cups of both varieties were put aside for a moment.
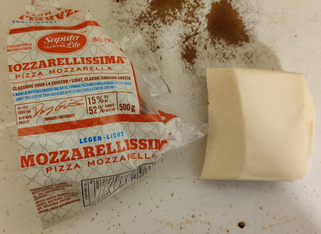
Mozzarella cheese was taken out:
Mozzarella cheese taken out
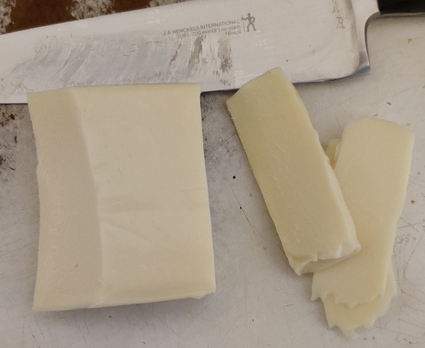
Mozzarella cheese was sliced off the block:
Mozzarella cheese sliced off the block
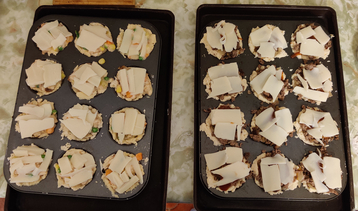
Slices of mozzarella cheese were placed on top of the filled dough cups:
Slices of mozzarella cheese placed on top of filled dough cups
The mozzarella cheese was sliced until there was enough to cover all the filled dough cups:
Slices of mozzarella cheese placed on top of filled dough cups
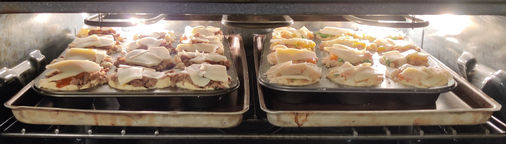
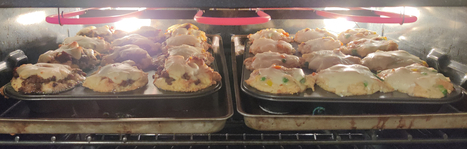
The barbecups and chicken cups were placed in the preheated oven on the top rack:
Barbecups and chicken cups placed in preheated oven on top rack
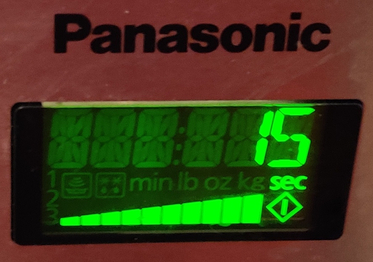
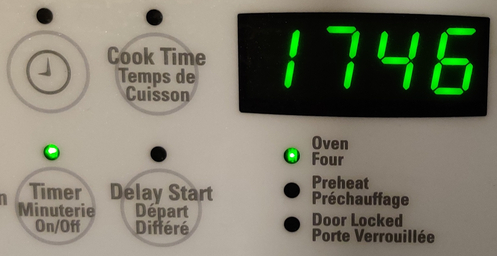
The oven timer was set to fifteen minutes:
Oven timer set to 15 minutes
While the barbecups and the chicken cups were baking, the remaining cooked ground beef and onion mixture was transferred with a spoon to an ice cube tray:
Remaining cooked ground beef and onion mixture transferred with spoon to ice cube tray
Remaining cooked ground beef and onion mixture transferred with spoon to ice cube tray
The ice cube tray with the cooked ground beef and onion mixture was placed in the freezer. When the ground beef and onion mixture was frozen, the individual cubes were placed in a freezer bag and placed back in the freezer, ready for future meal cooking.
At this point, the barbecups and chicken cups were cooked, the broil cycle was turned on for a couple of minutes to brown the cheese on top:
Broil cycle turned on to brown the cheese
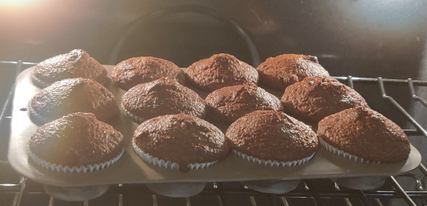
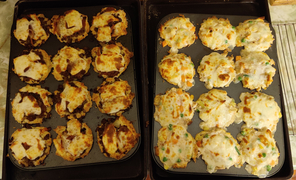
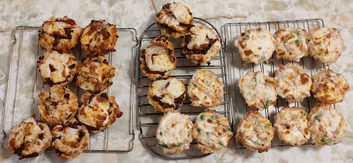
When the barbecups and chicken cups were fully baked, they were taken out of the oven and placed on cooling racks:
Barbecups (on left) and chicken cups (on right) taken out of oven and placed on cooling racks
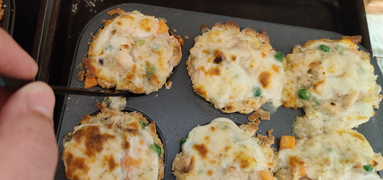
The chicken cups were loosened with a plastic knife:
Chicken cups loosened with plastic knife
The chicken cups were removed from the muffin baking tin, and placed on cooling racks:
Chicken cups removed from muffin baking tin
Chicken cups removed from muffin baking tin
The barbecups (on the left, photo above as well as photo below) were then removed from the muffin baking tin, and placed on a cooling rack alongside the chicken cups:
Barbecups and chicken cups placed on cooling racks
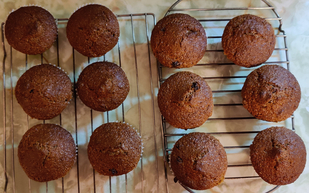
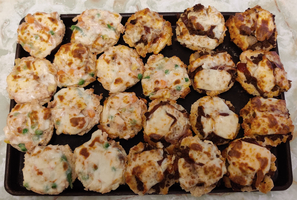
The chicken cups (now on the left in the photo below) and the barbecups (now on the right in the photo below) were placed on a cookie baking tray:
Chicken cups (on left) and barbecups (on right) placed on a cookie baking tray
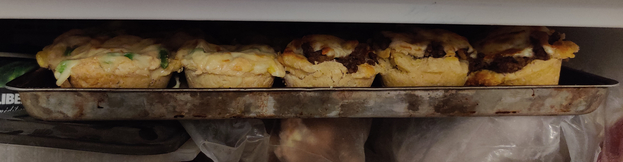
The tray of chicken cups and barbecups was placed in the freezer:
Tray of chicken cups and barbecups placed in freezer
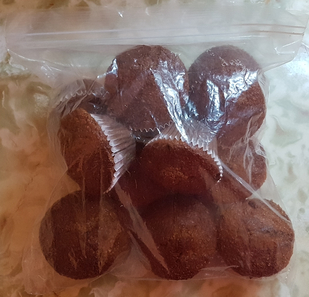
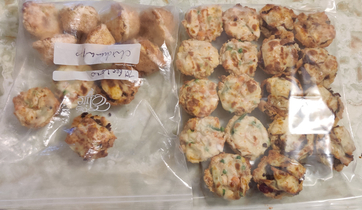
Once the barbecups and the chicken cups were frozen, they were placed in freezer bags, including one that still had some from the last time I cooked these recipes:
Frozen barbecups and chicken cups placed in freezer bags
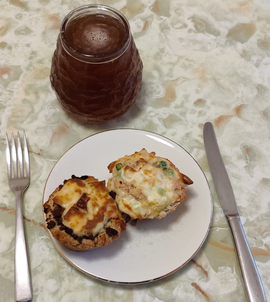
A barbecup (left) and a chicken cup (right) were kept aside for supper, and reheated in a countertop toaster oven: