Previous Chapter: Desktop Linux Unveiled : Chapter 4: Installing Linux
In this chapter, Gnome Extensions will be briefly discussed, and basic file transfers and manipulation will be highlighted.
Gnome Extensions
Gnome was designed to be extensible, or have its behaviour be changed with extensions. There are hundreds of extensions, most produced by volunteer programmers.
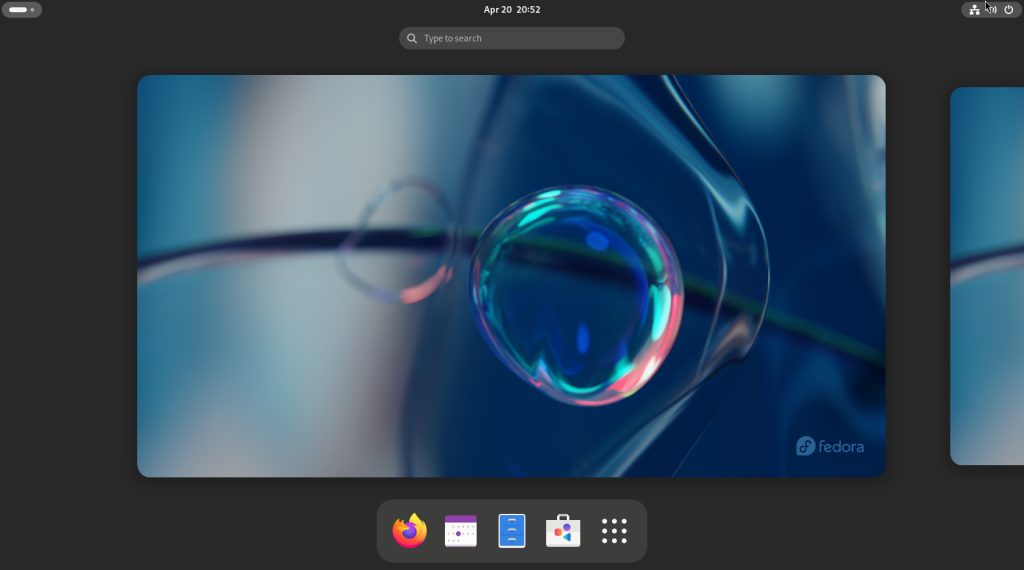
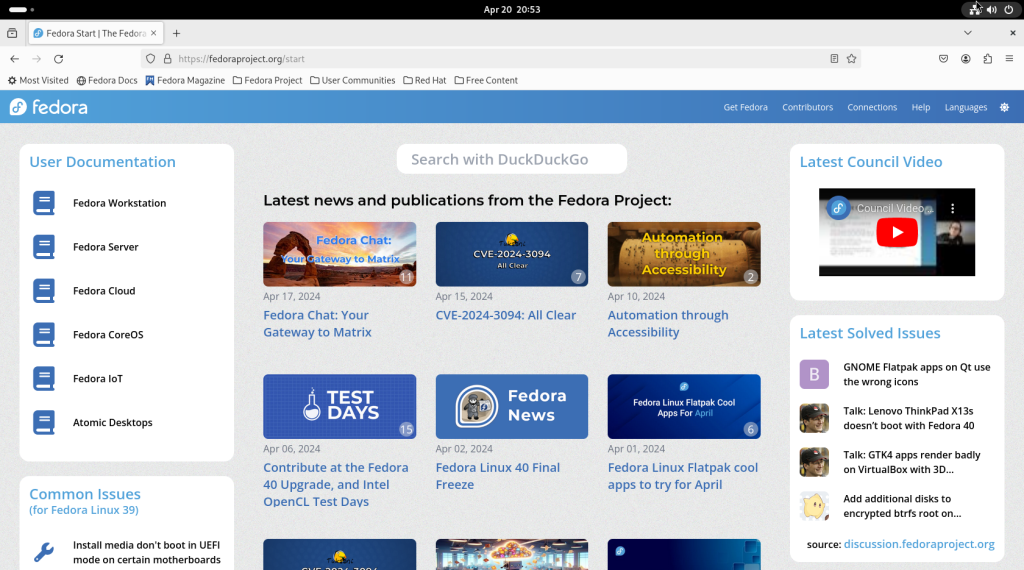
Launch Firefox from the dock at the bottom of the screen (the icon at the left). Firefox will launch, leading to the Fedora Project main page (a setting you may wish to keep, or change at a later time.)
In the navigation bar, enter the site https://extensions.gnome.org. (Some distributions may manage extensions locally; Fedora has opted to only do so partially.)
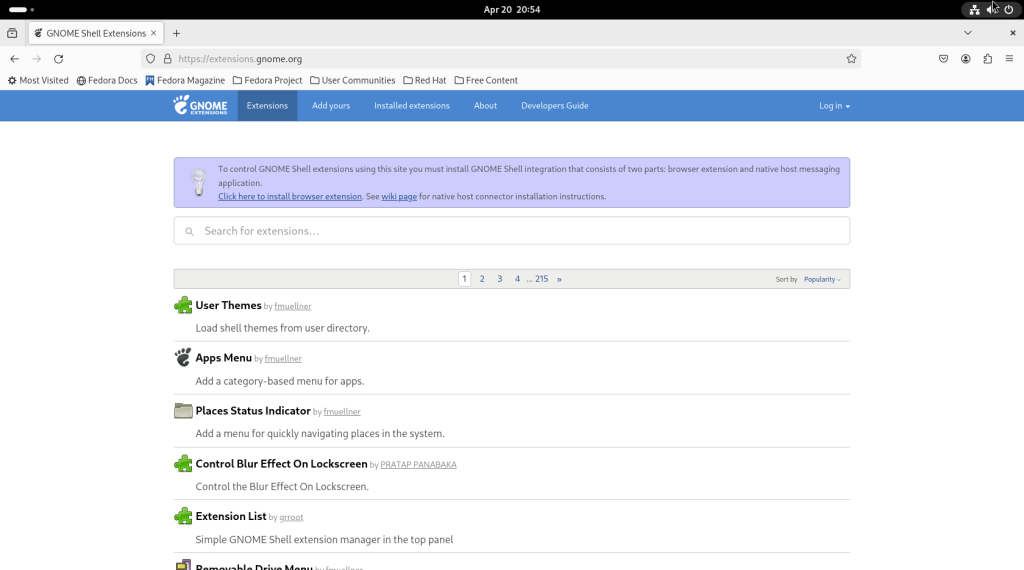
Click on the link “Click here to install browser extensions”, which will eventually allow for the installation of the Gnome Shell integration tool.
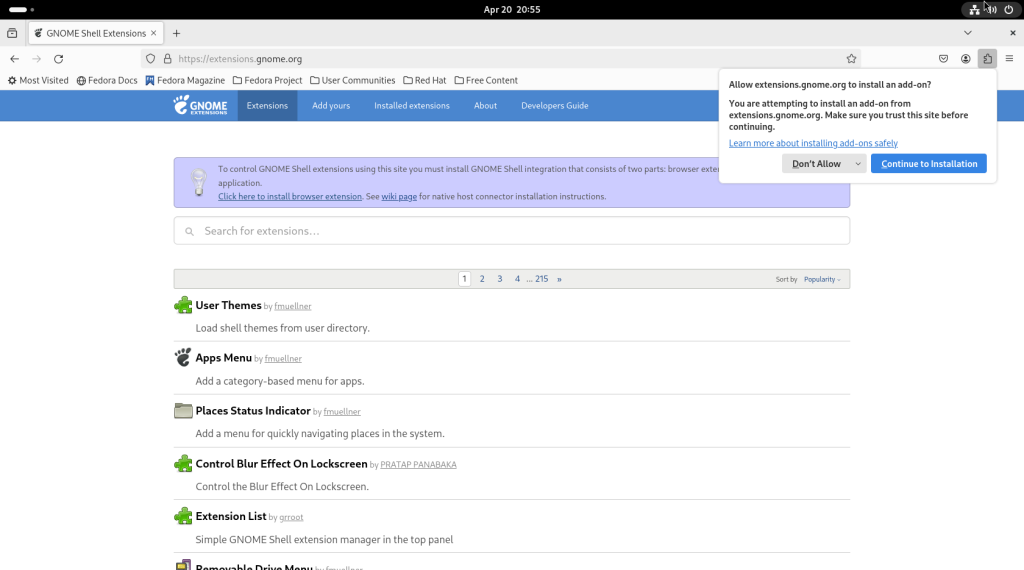
Click on “Add”:
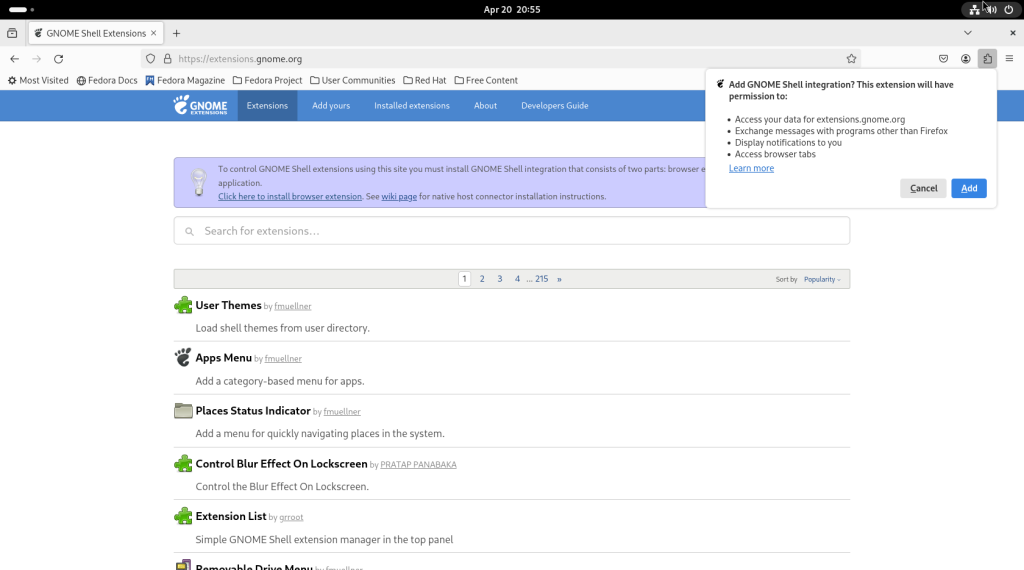
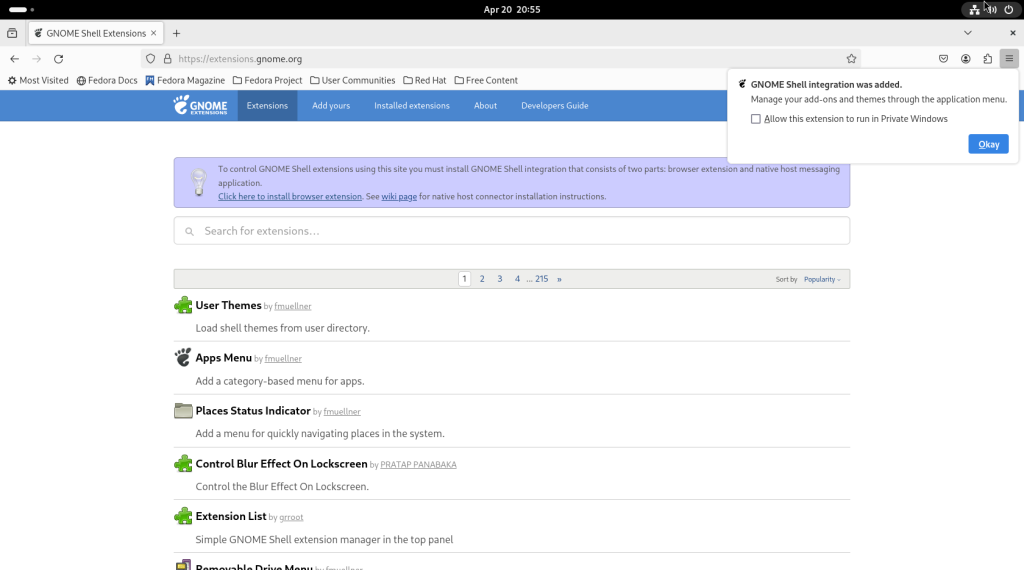
I recommend that you click on “Allow this extension to run in Private Windows” and press “okay”.
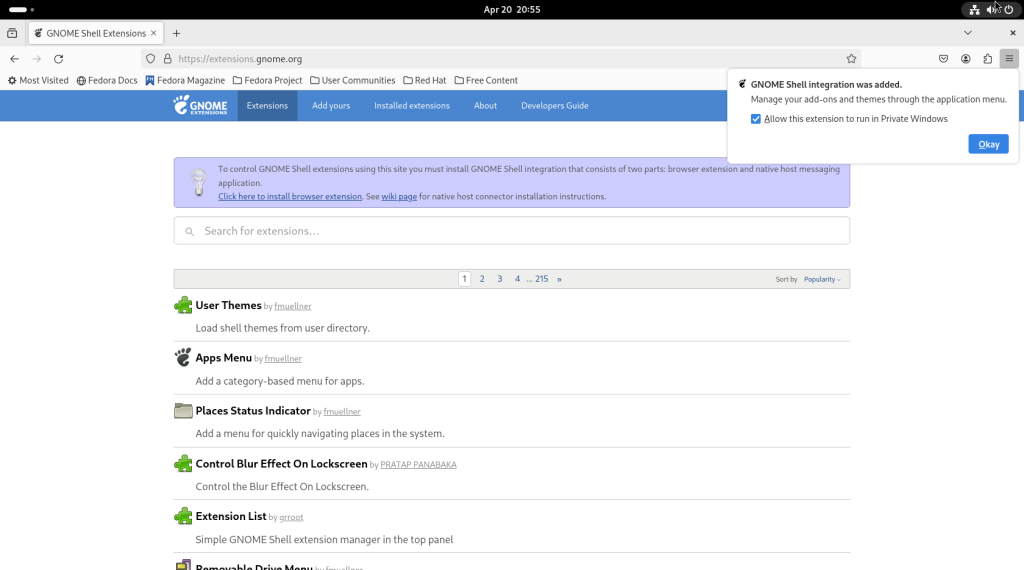
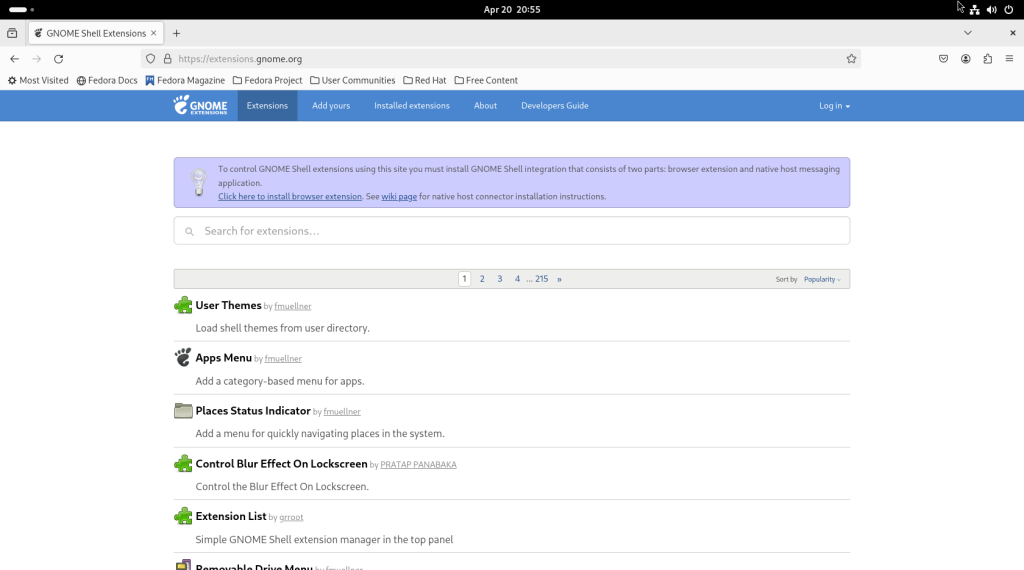
As of when the following screenshot was taken, here is page one of the available extensions, along with a brief description:
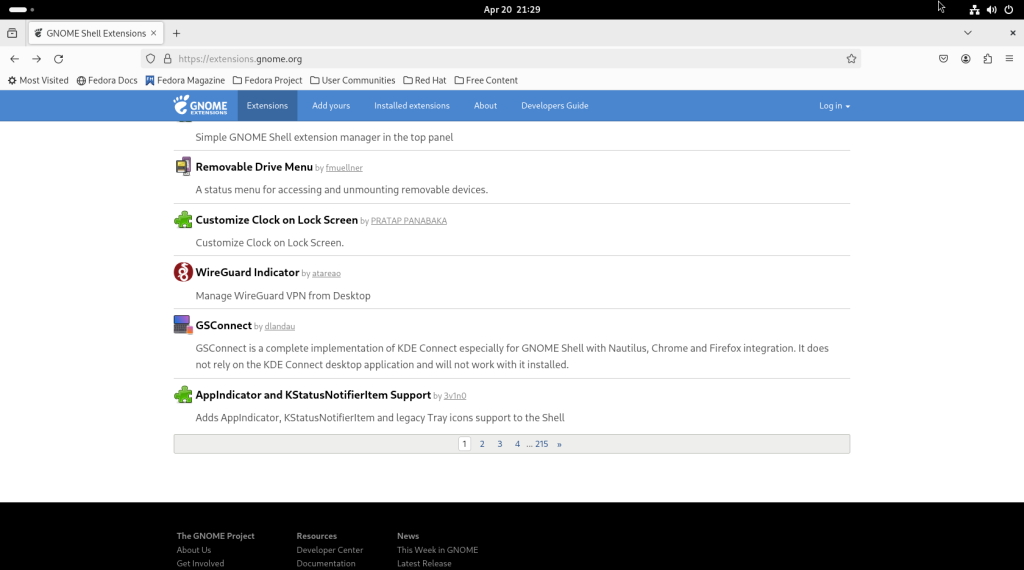
To install an extension that interests you, click on the black switch that will be set to “Off”.
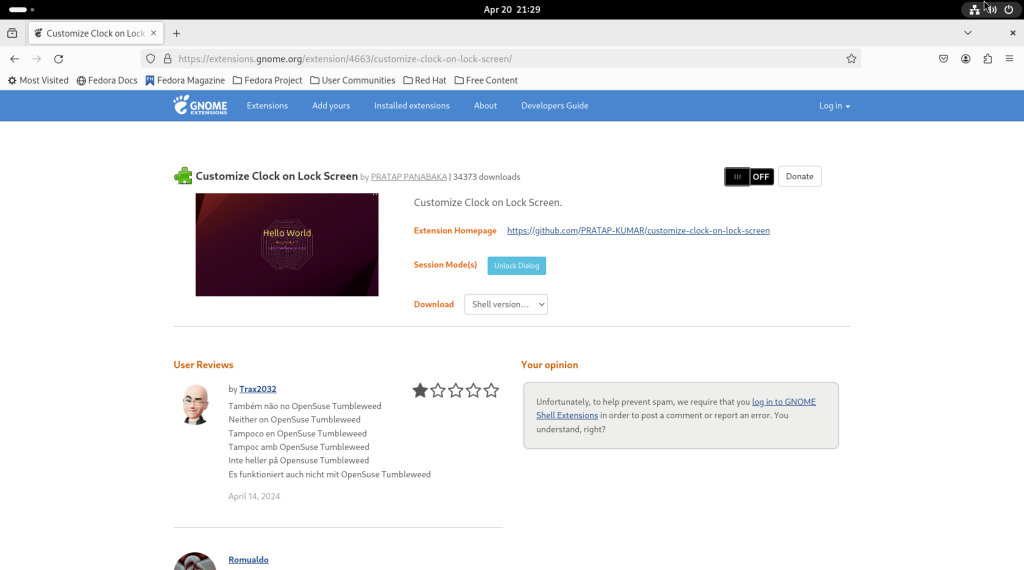
Click on “Install”:
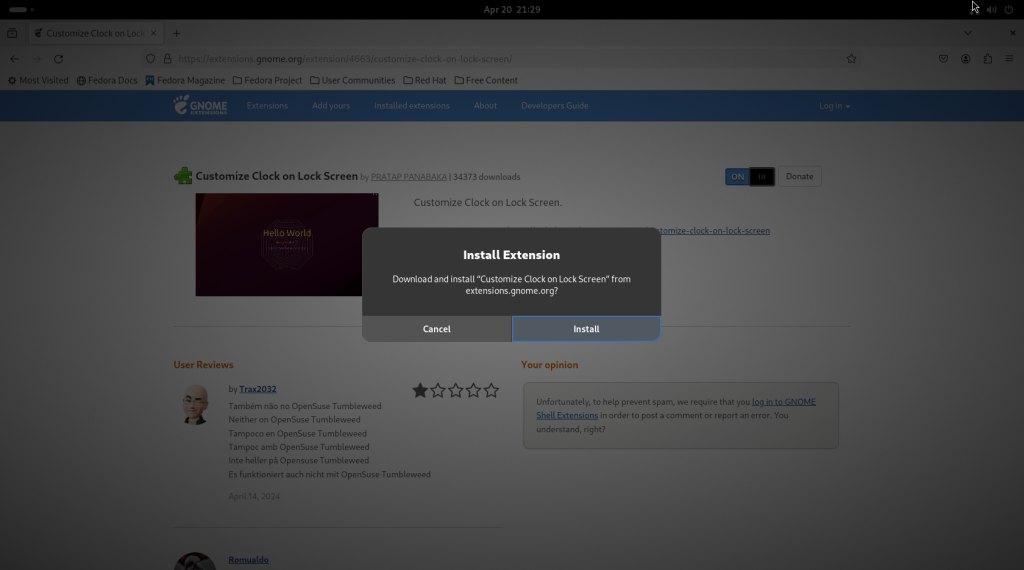
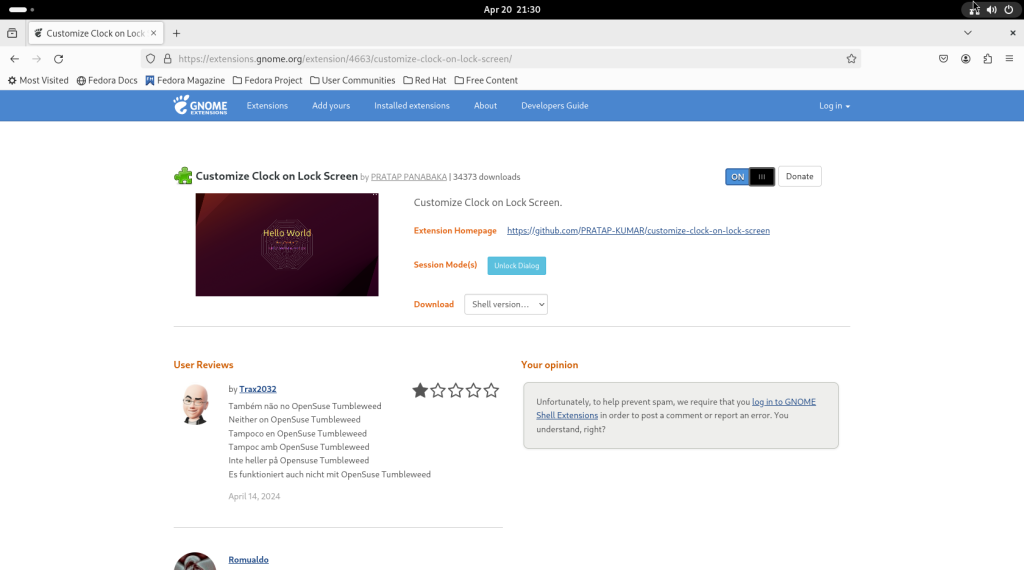
Sometimes, an extension will be incompatible with the current version of Gnome, and the page will say as much:
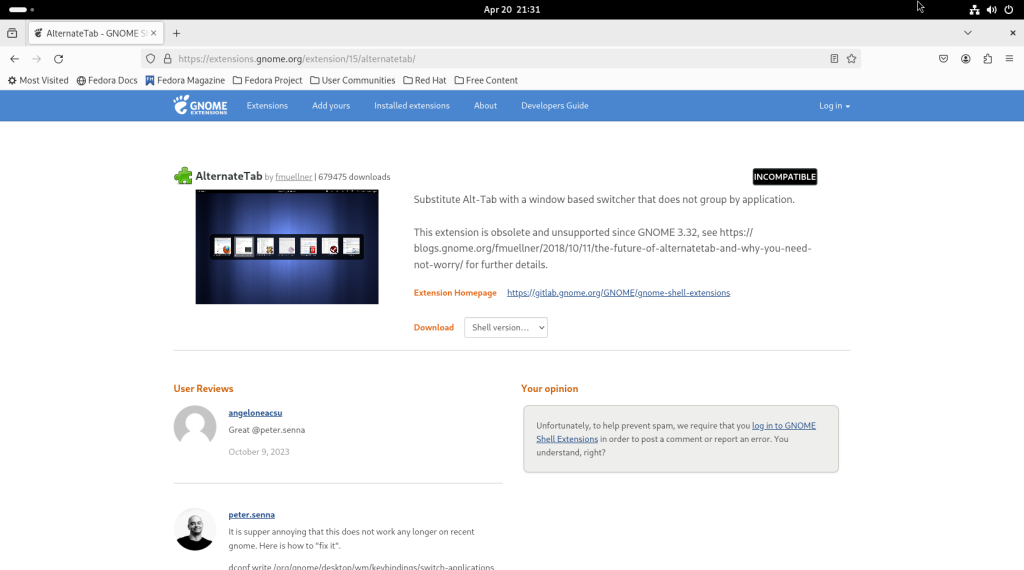
When you have selected all the extensions which interest you, close Firefox:
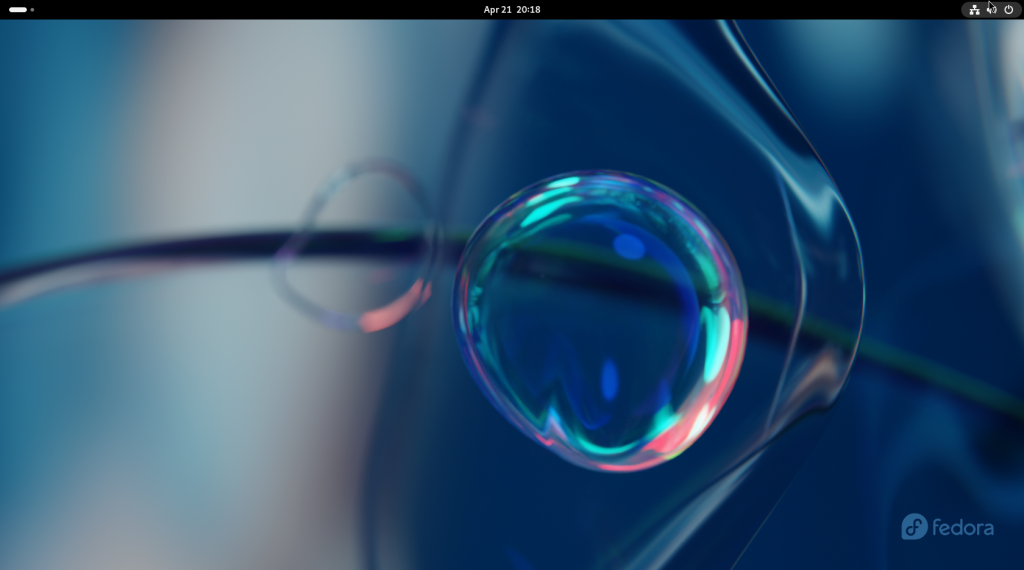
Basic file manipulation:
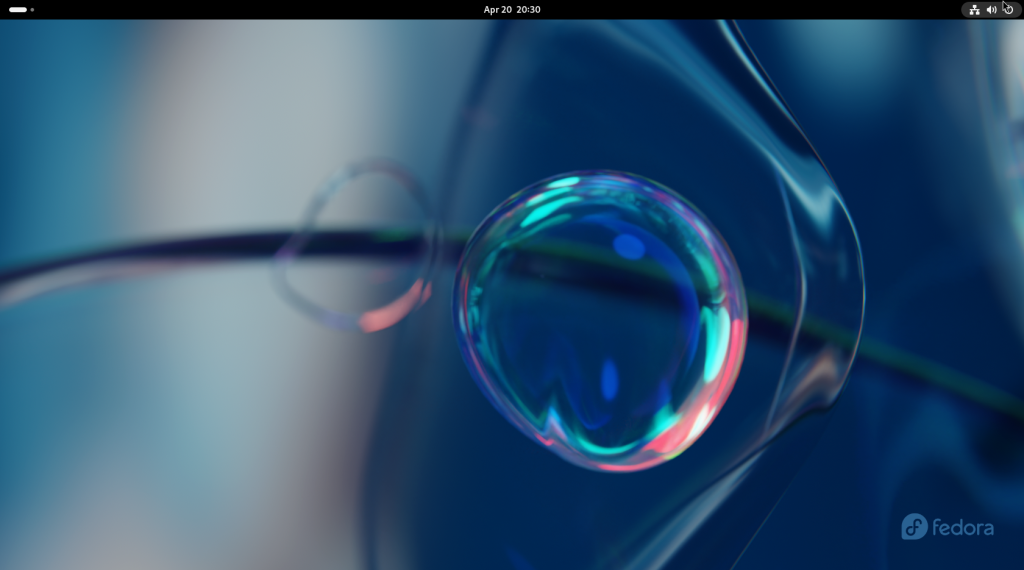
Starting from the main screen, click on the activities bar in the upper left hand corner:

… leading to the activities screen, with the dock:
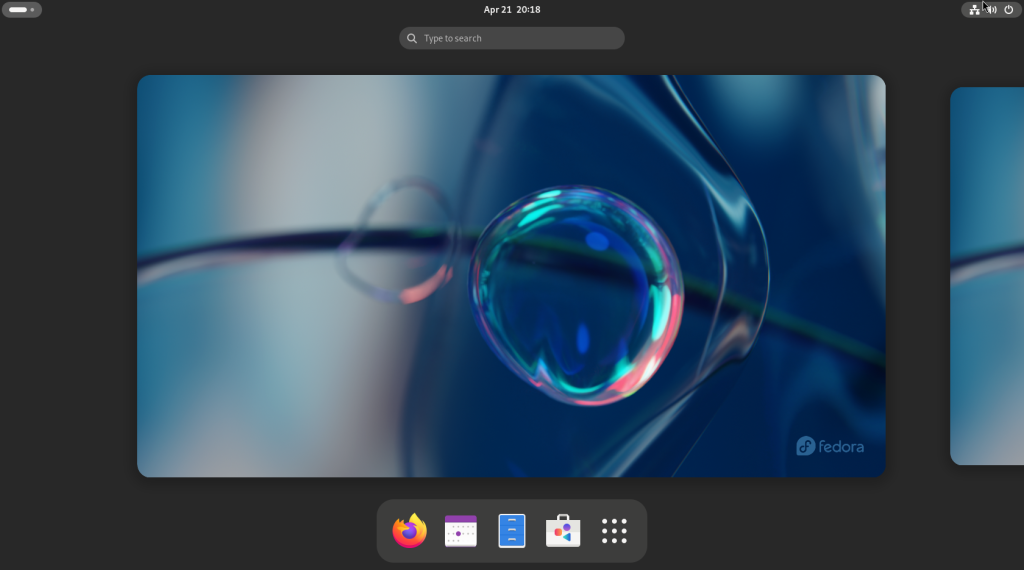
Click on the blue rectangle meant to resemble a filing cabinet, in the centre.
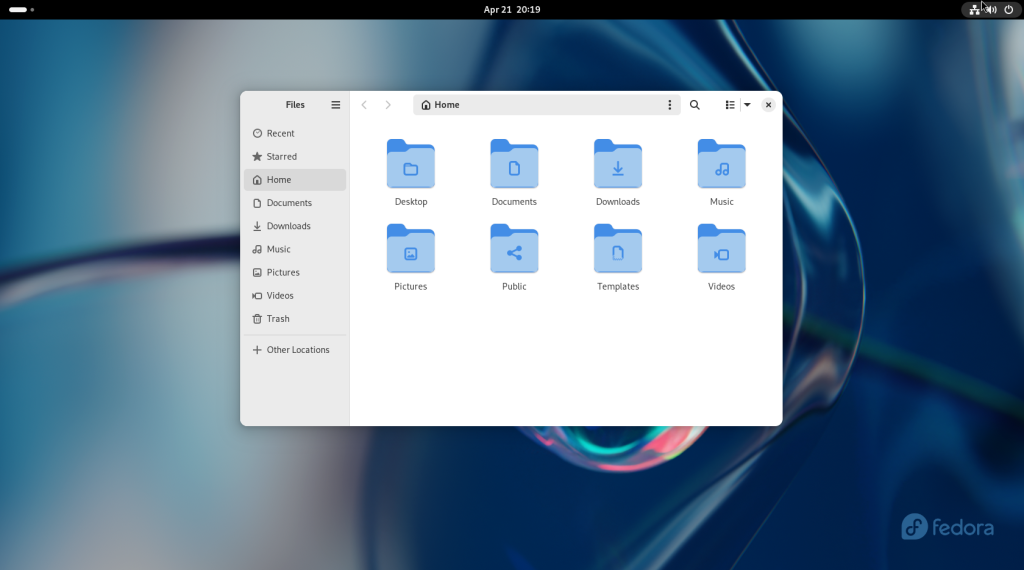
For convenience, I moved the window to the left, and it “snapped” to take up half the screen:
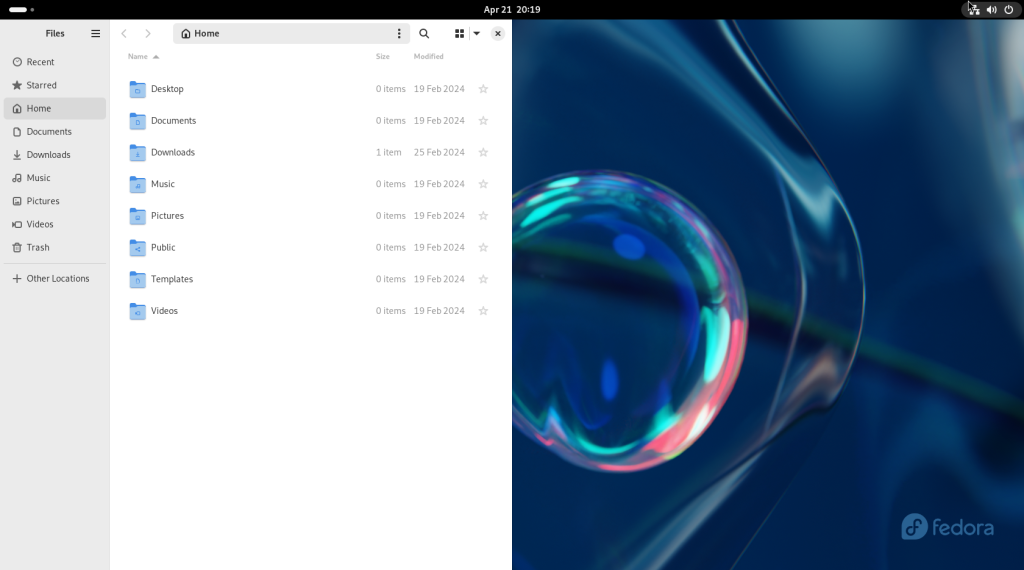
The activities screen was accessed again, to access the dock, and right-clicking on the file manager icon:
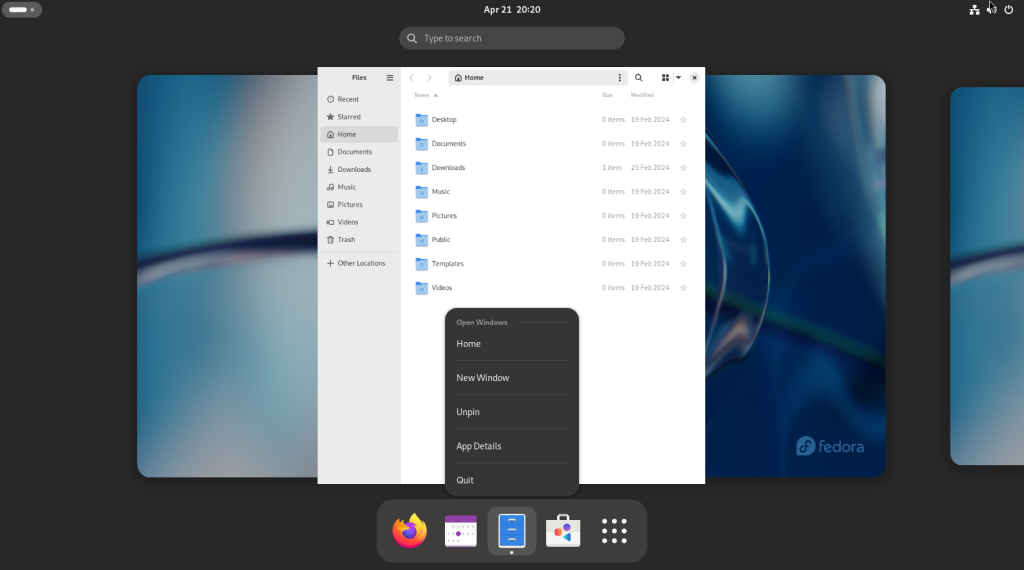
Choose “New Window”, in order to launch a second file manager window:
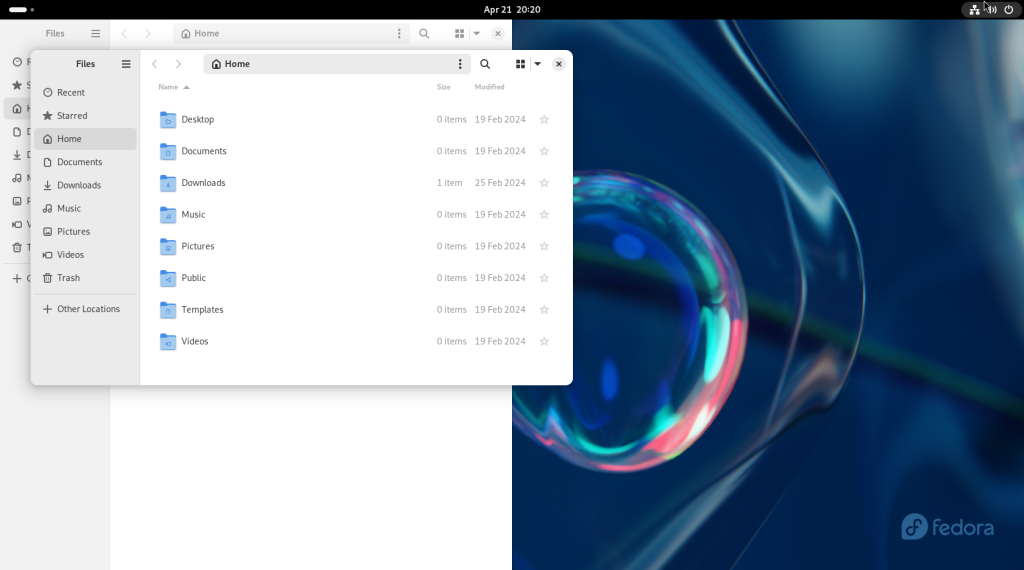
The size and location of the second window were adjusted in order to have a second window on the right:
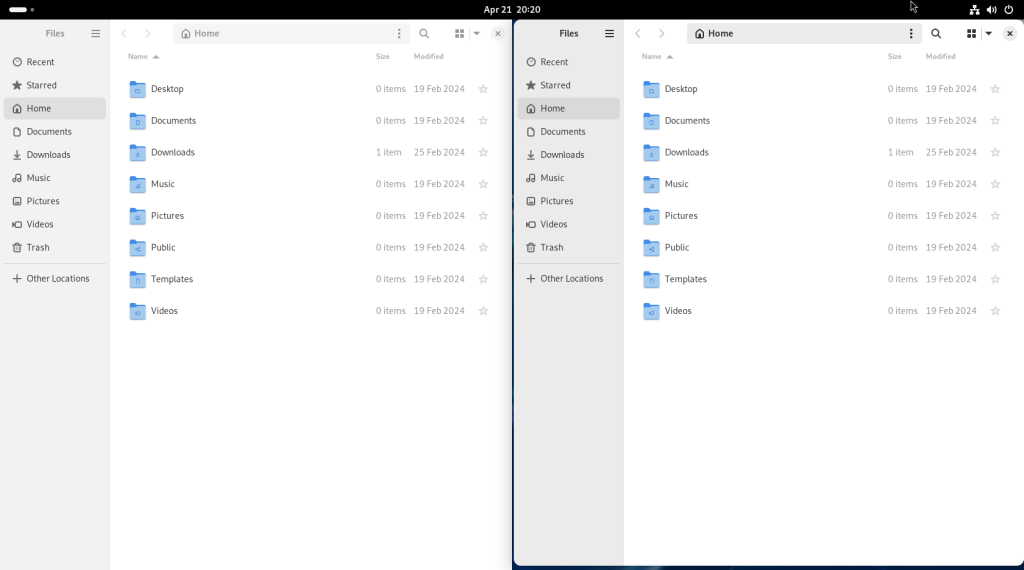
Before moving on, I am going to point out that I personally like file listings with full information; however, files can be displayed with previews (the following shots were taken after the following operations were completed):
By hovering the pointer over a button with four blocks in it, you can toggle between lists and icons:
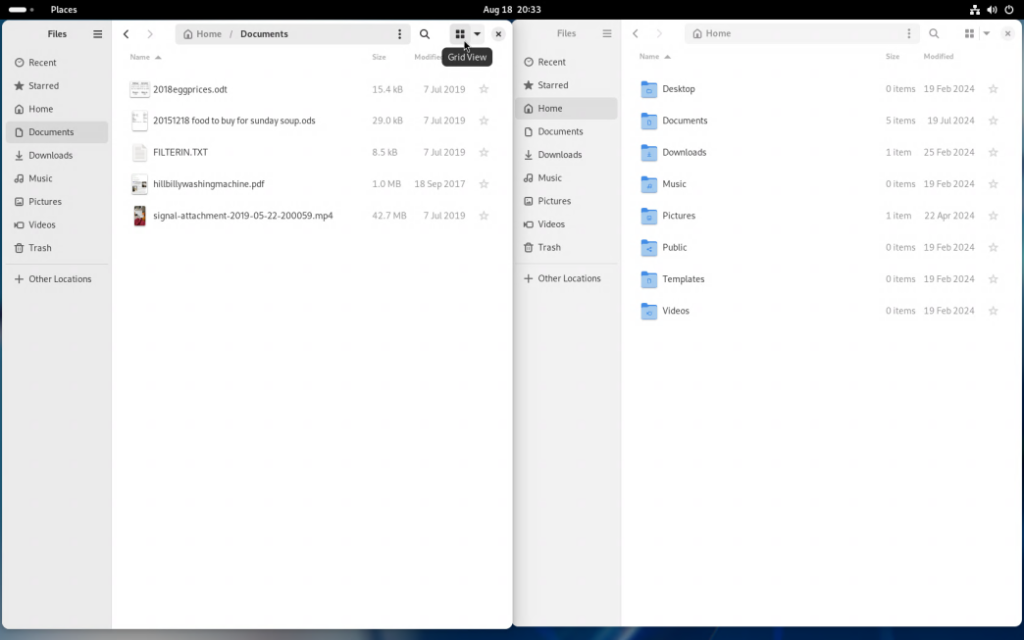
Clicking on the icon will change the filenames to icon size:
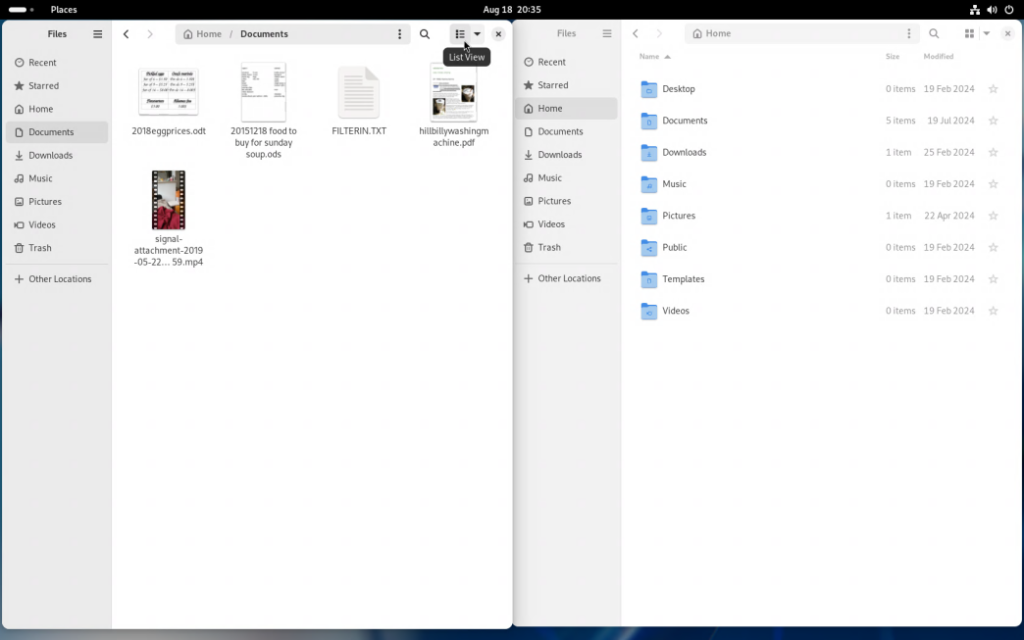
Hovering over the same square icon can revert to a list view.
At this point, you can insert a USB key with some files or a backup, or a CD/DVD drive, or a portable USB hard drive.
In this case, I decided to copy some files from the computer hosting my website, and some file backups. Clicking on “+ Other Locations” reveals, as per the window on the right, access to other computers accessible to your computer:
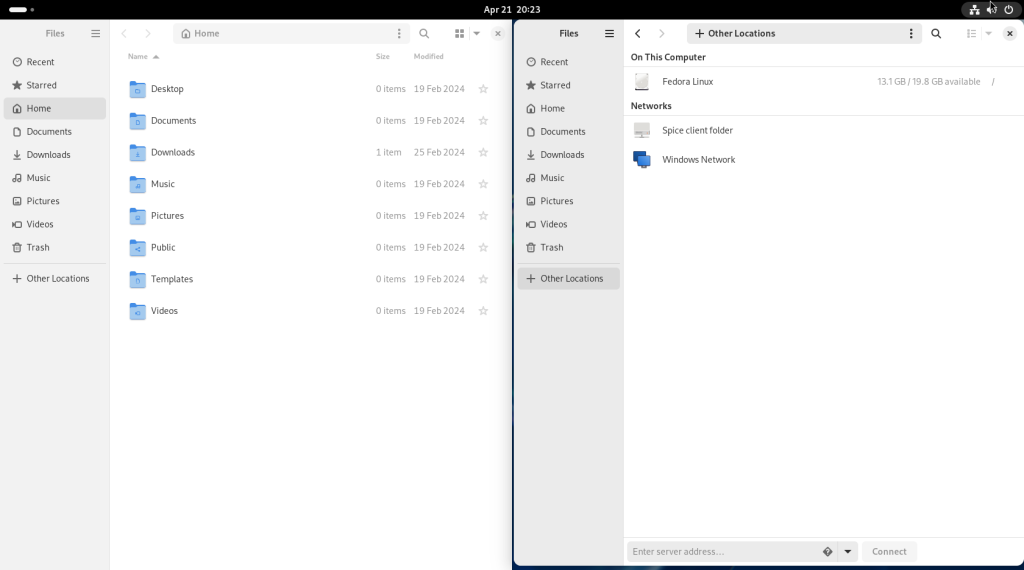
I entered into the address bar at the bottom of the window the address of my website, and telling the file manager to use the ssh protocol to securely access the location:
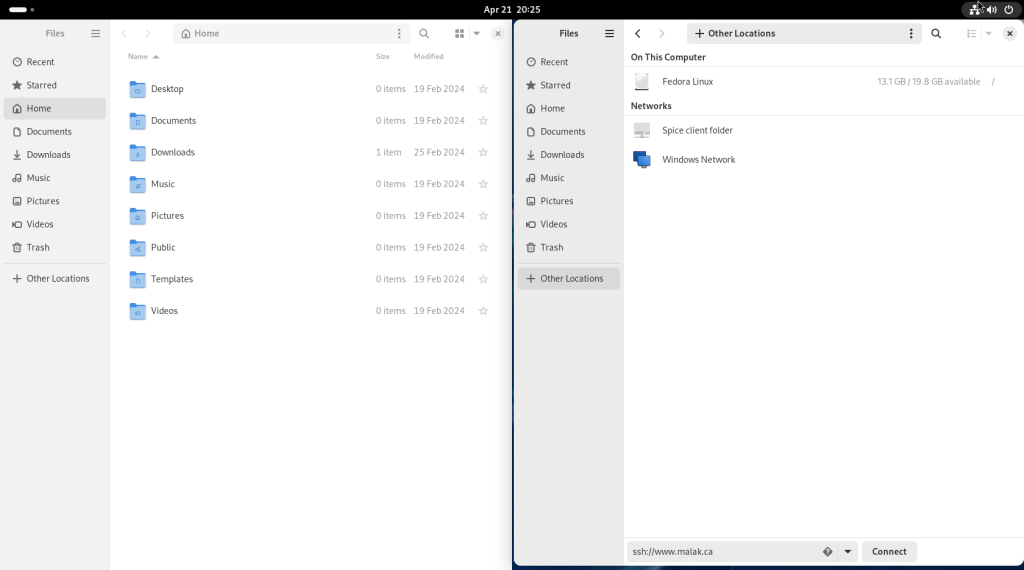
As part of the initial connection, my computer asked me to confirm if I wanted the connection, since it was the first time this instance was connecting to my website. Should you get such a challenge, click on “Log In Anyway”:
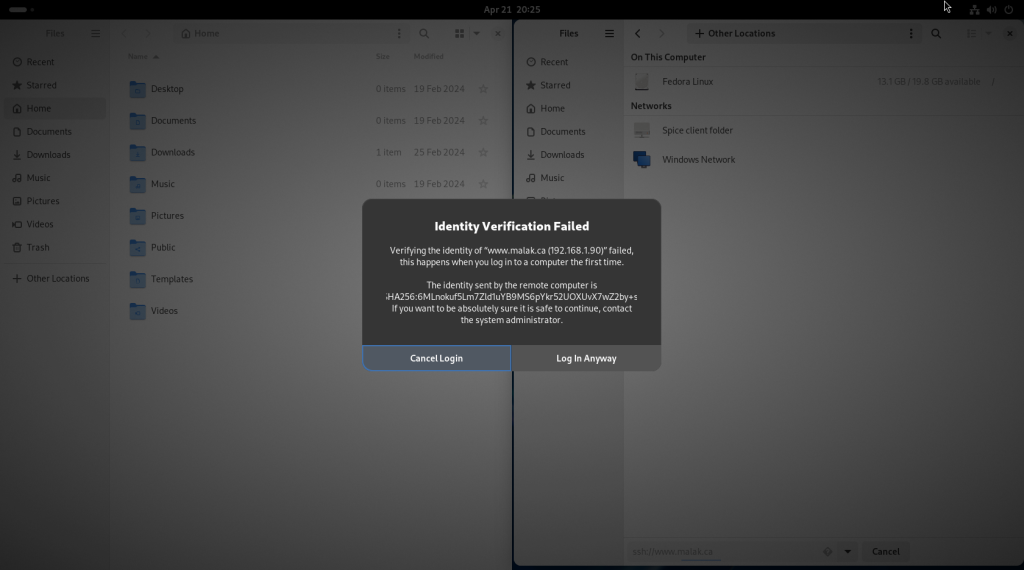
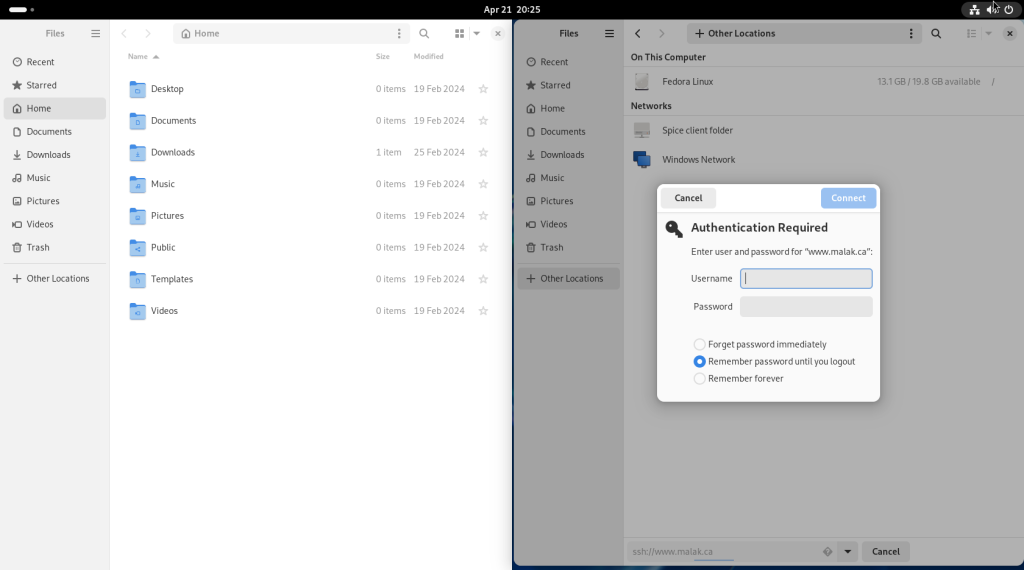
My website server presented an authentication challenge:
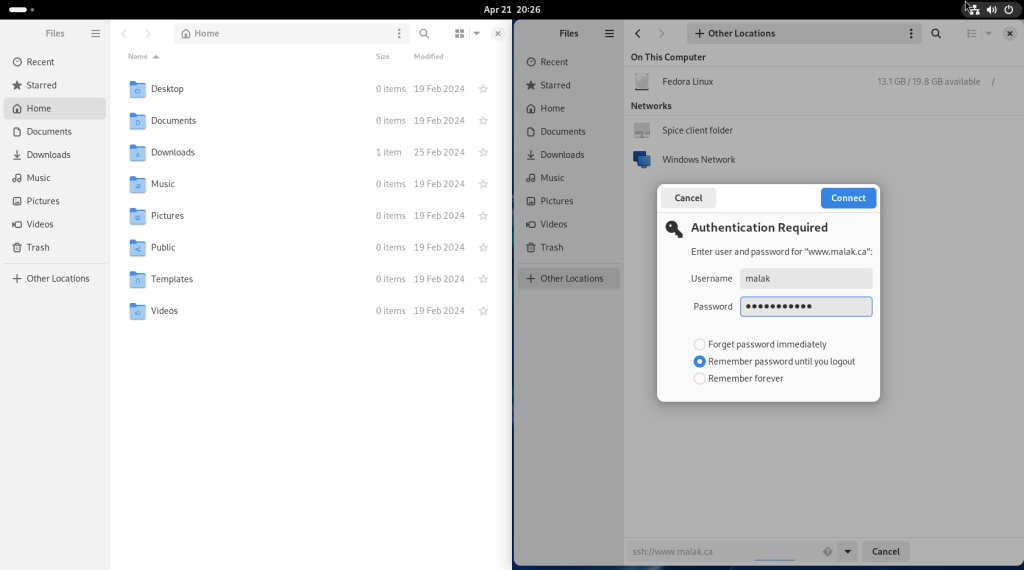
I entered my username and password, chose “Remember password until you logout”, and clicked on “Connect” (you may choose either of the two other options, at your discretion):
Once there, I navigated to a directory with some photos from a past birthday celebration for my grandmother:
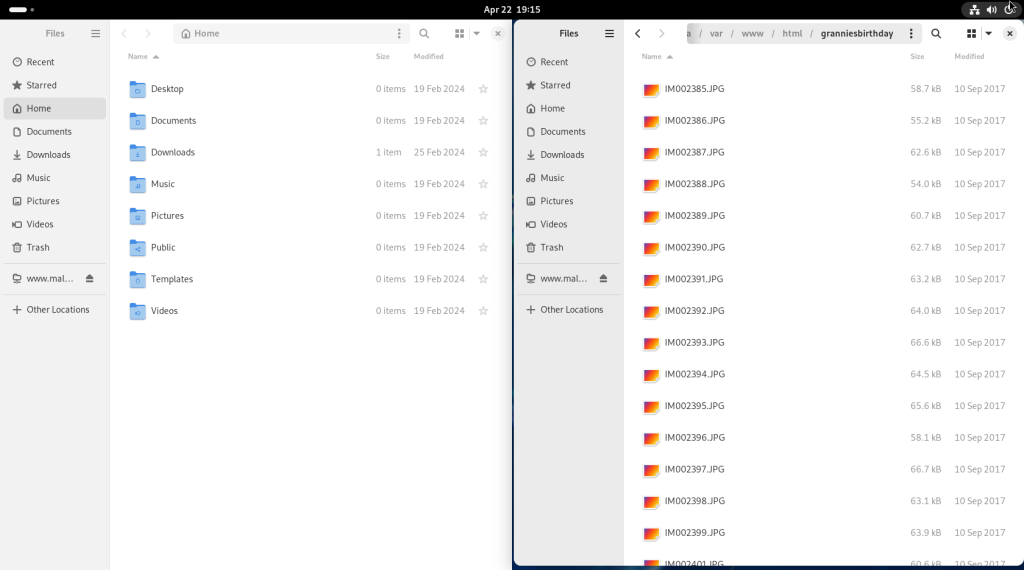
Wishing to copy all the files on my server (on the right) over to the computer (on the left), the first file was selected by clicking on it …
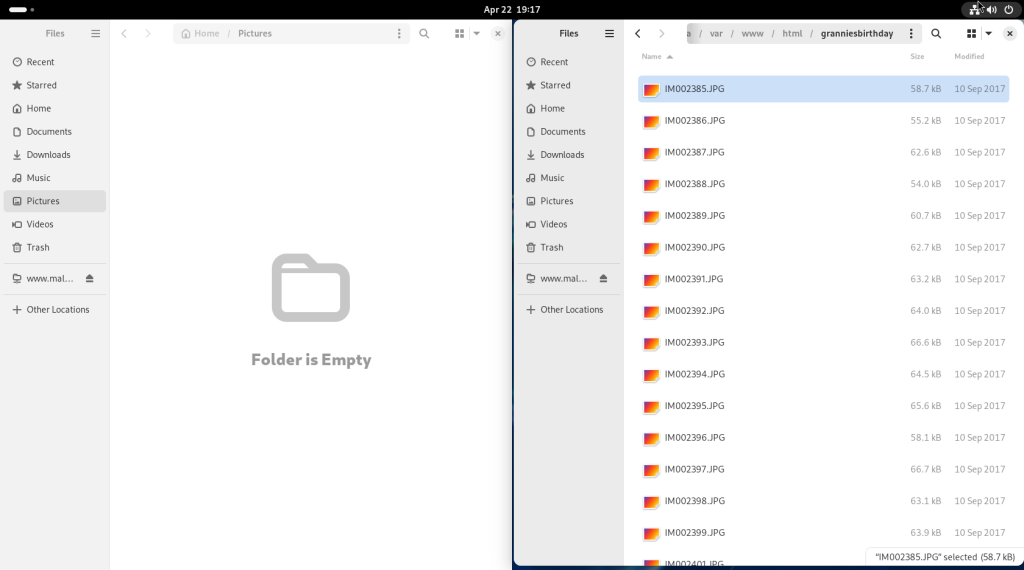
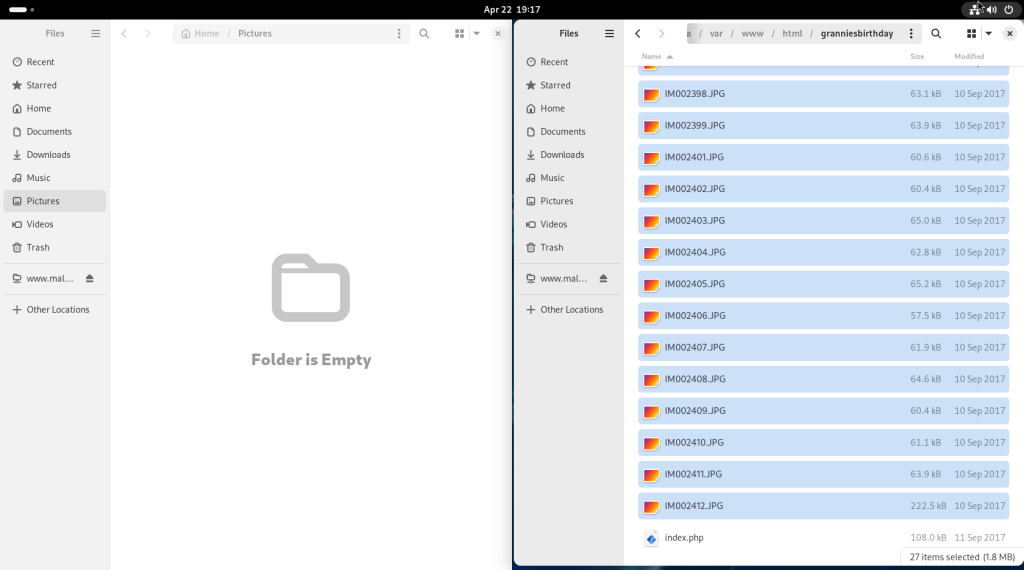
… and then scrolling down to the bottom of the file list, and while pressing on the CTRL key, clicking on the last:
Instead of drag and drop, I right clicked my mouse over the right …
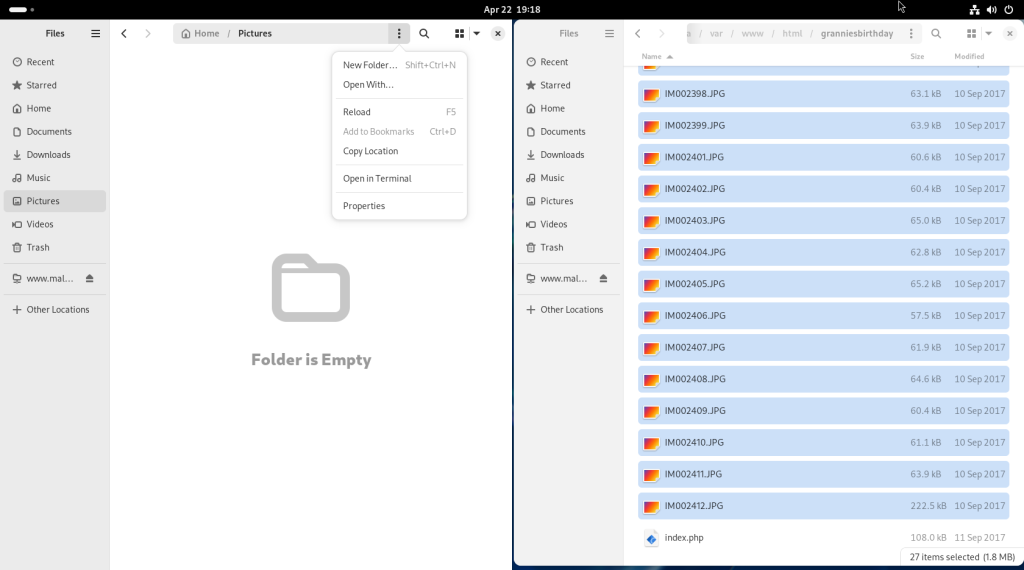
… which opened a contextual menu, in which I chose to create a folder, leading to the opening of a dialog:
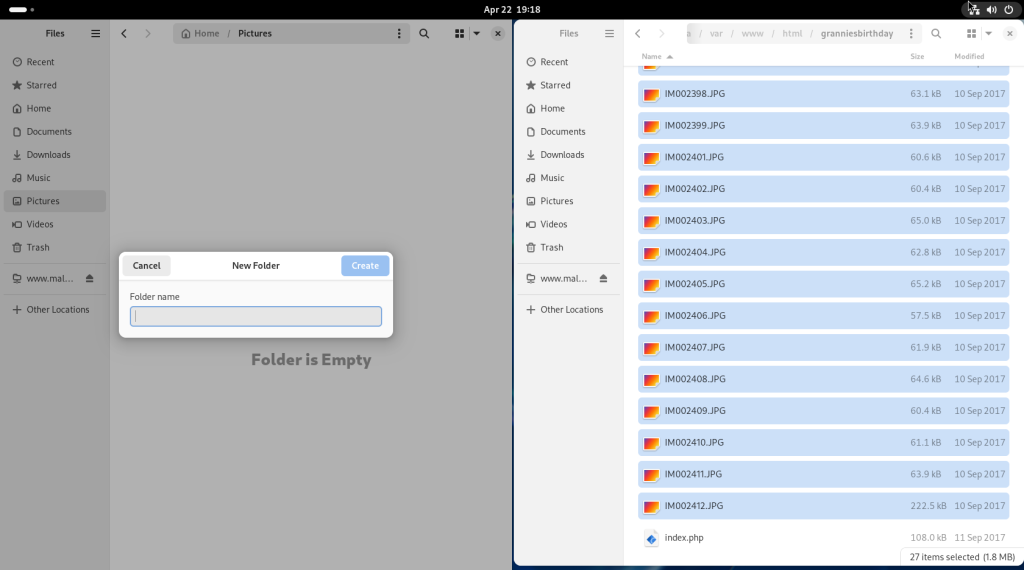
A name for a new directory, in this case reflecting that it was from my grandmother’s birthday one year, was entered into the dialogue, and the directory was created:
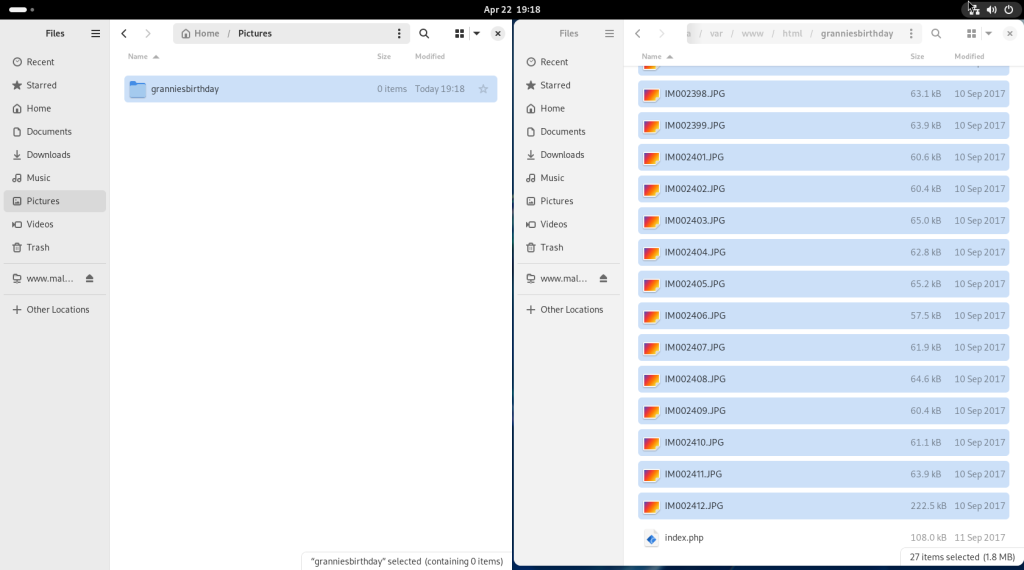
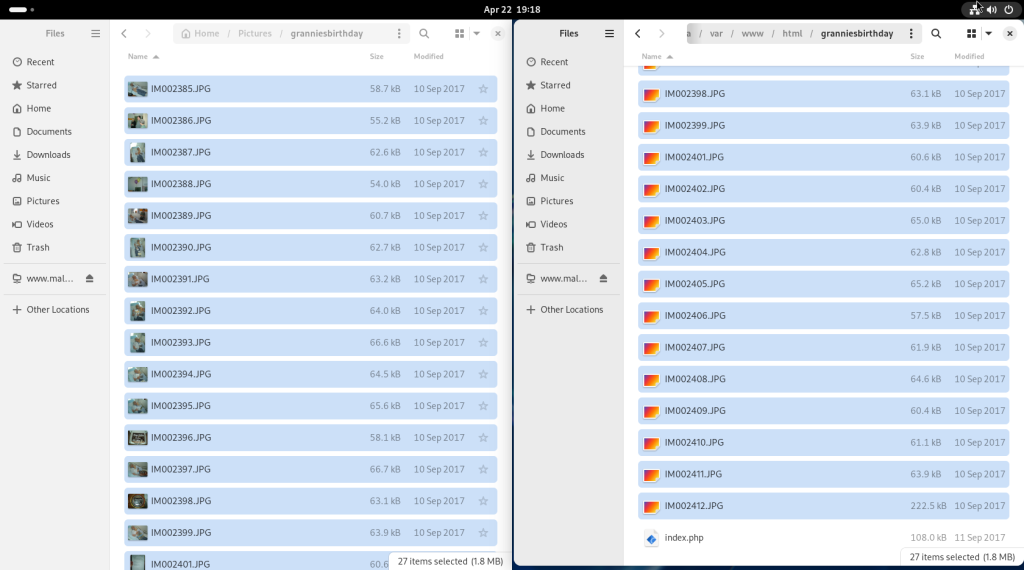
The previously selected files on my server were transferred via “drag and drop” to the newly created directory:
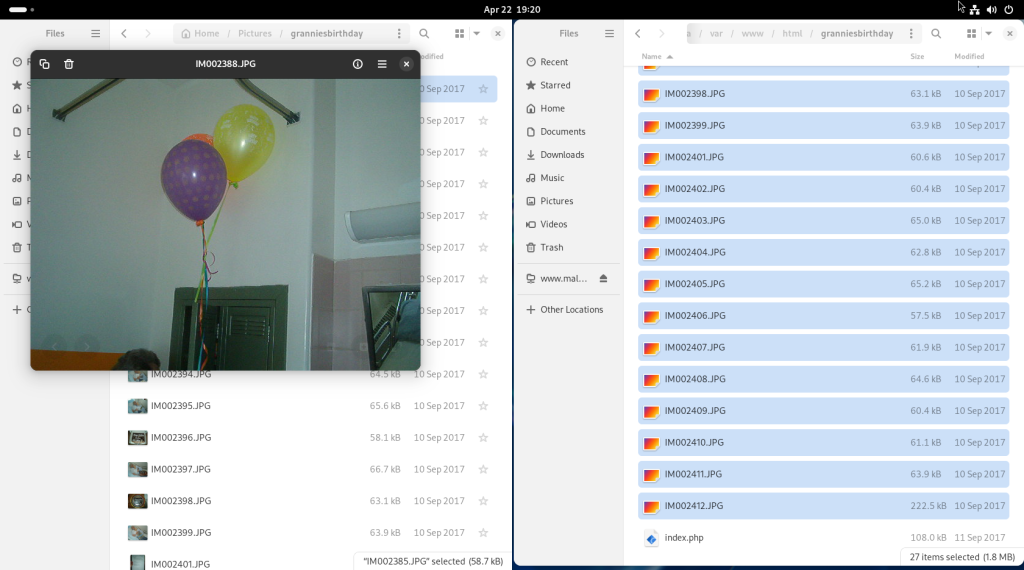
A photo was selected, and a right click opened a contextual menu, offering a number of options. The first, “Open With Image Viewer”, was selected …

… opening the selected photo.
On the local machine, I clicked on “Home” …
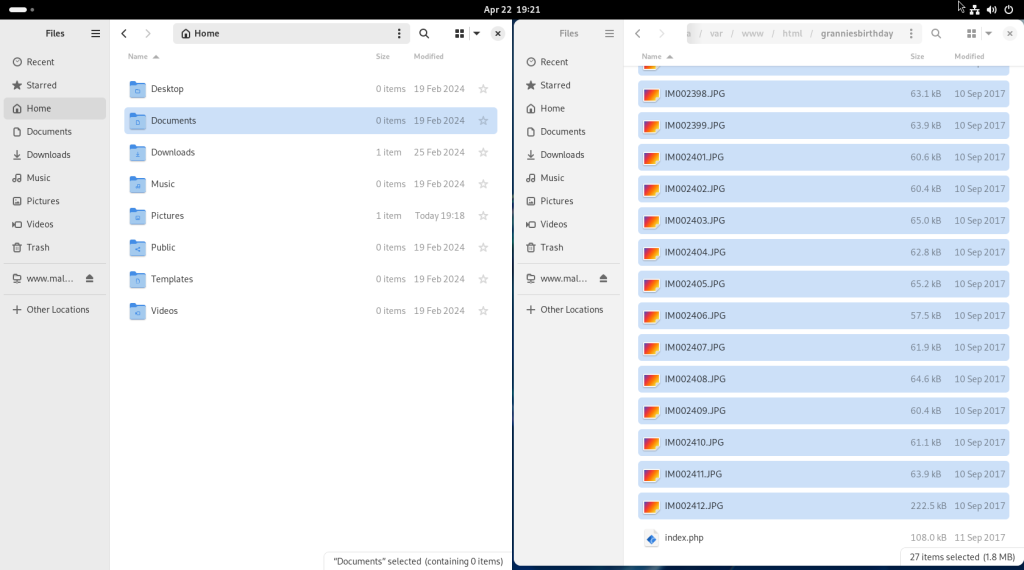
… then on “Documents”, while on my server, I navigated to another directory where I chose a PDF document:
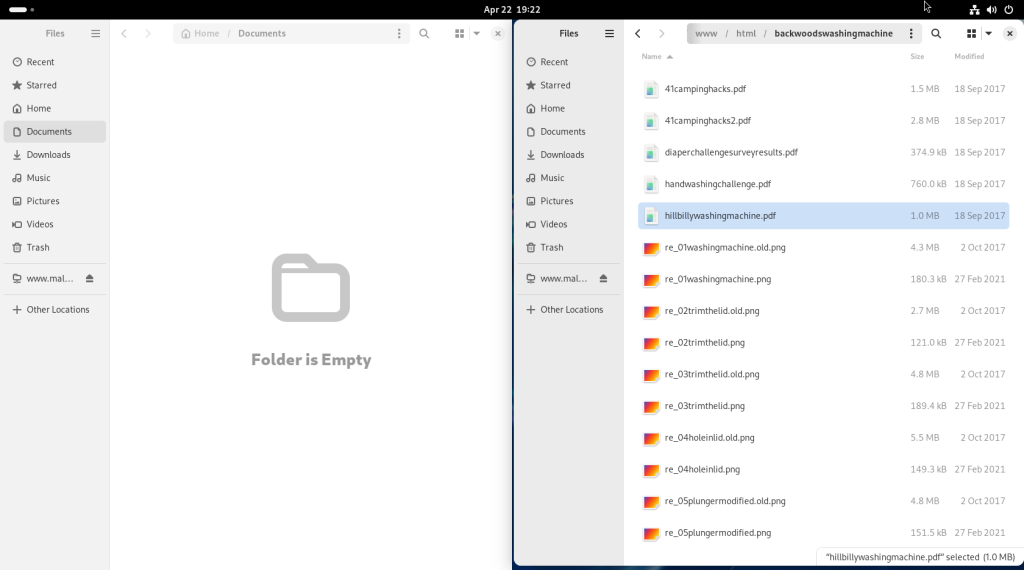
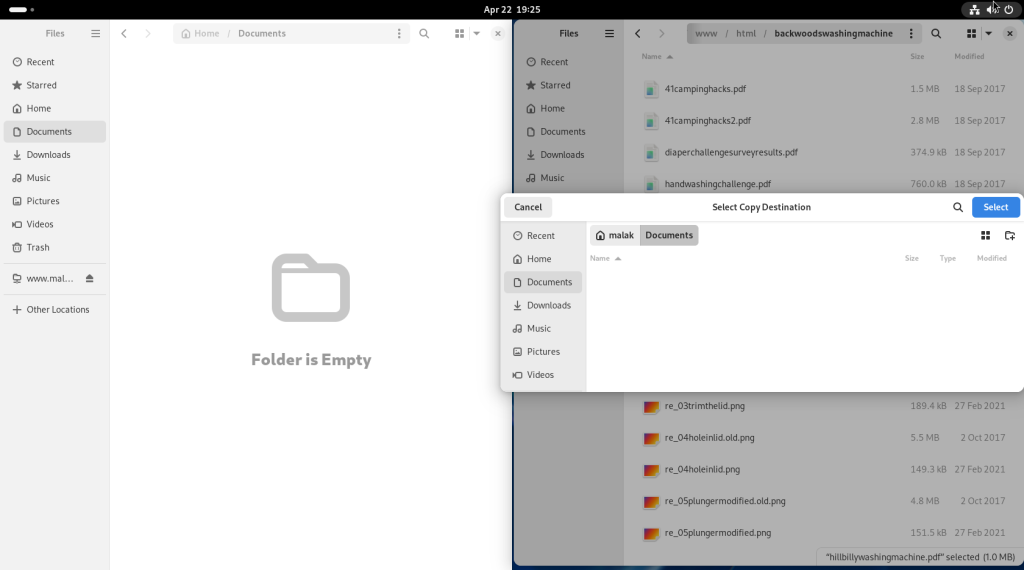
This time, I used a right-clicked contextual menu on my server side to chose “Copy To” to copy the document over to my local machine.
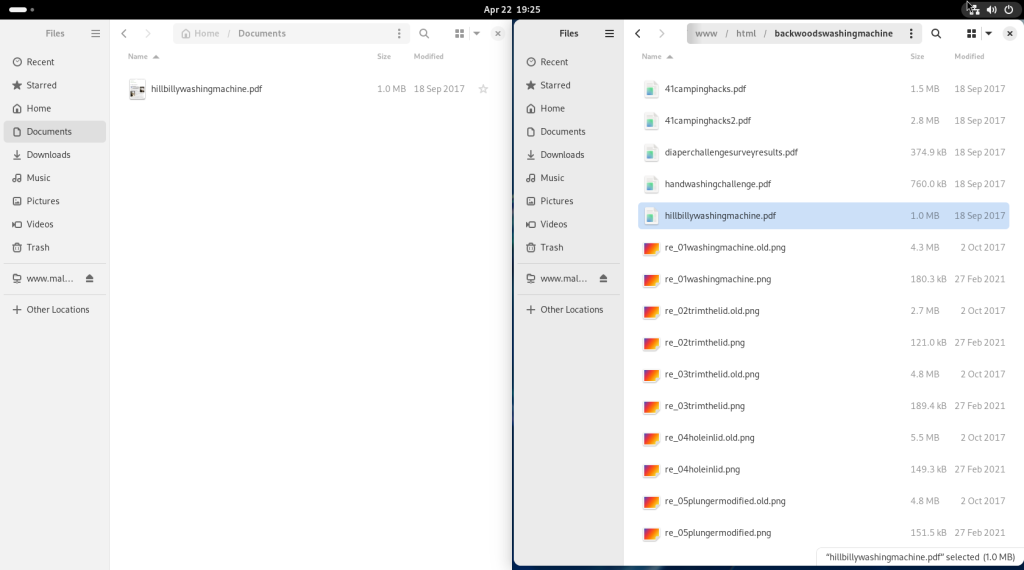
The file was then selected, and a contextual menu (right click) was opened, which offered “Open with Document Viewer”:
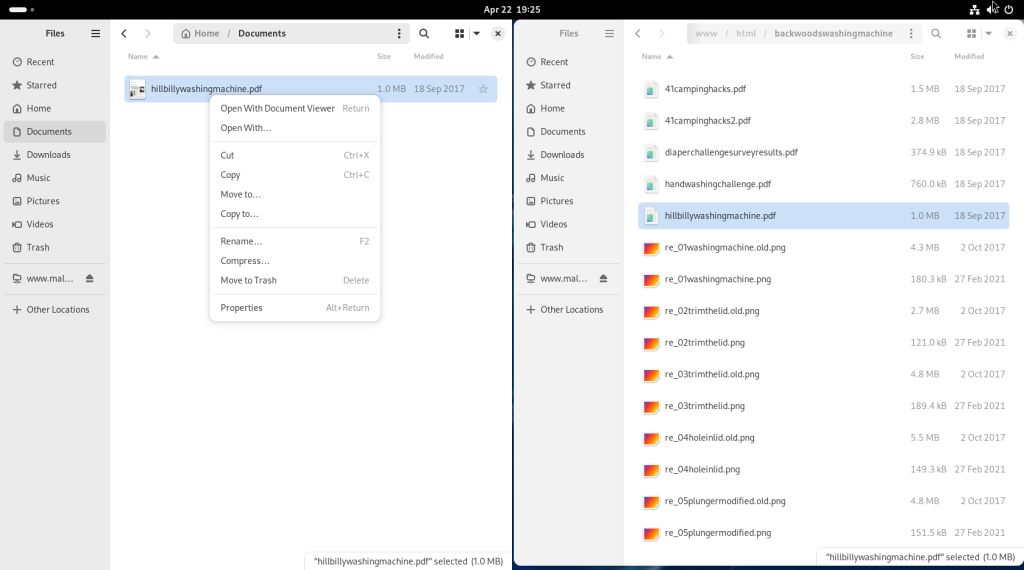
… opening up the document, in this case about how to make a backwoods washing machine:
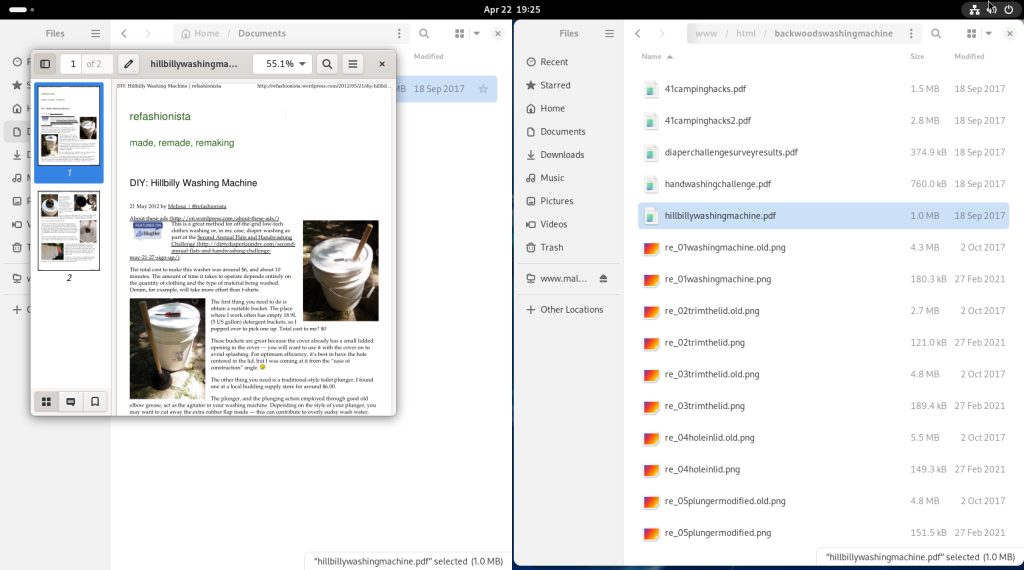
Again on my server, I navigated to another directory, this time in my backups:
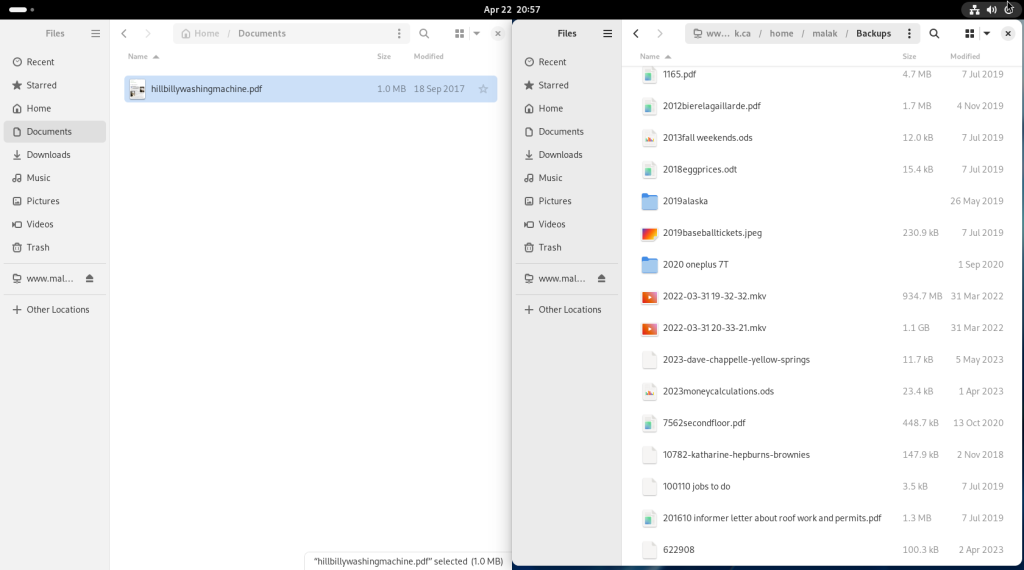
… and selected another file to transfer, in this case, a spreadsheet:
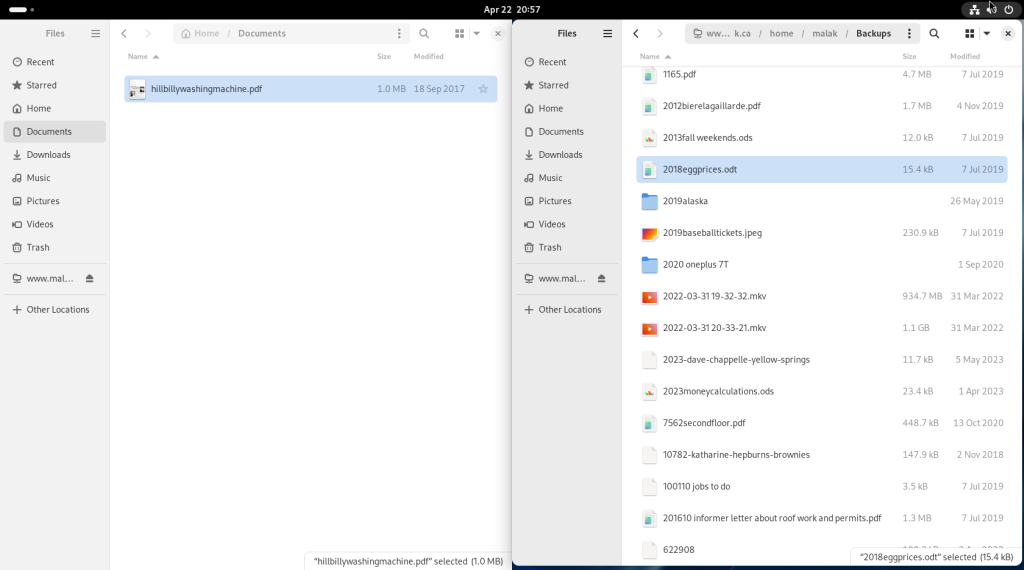
The spreadsheet was dragged and dropped onto the local machine:
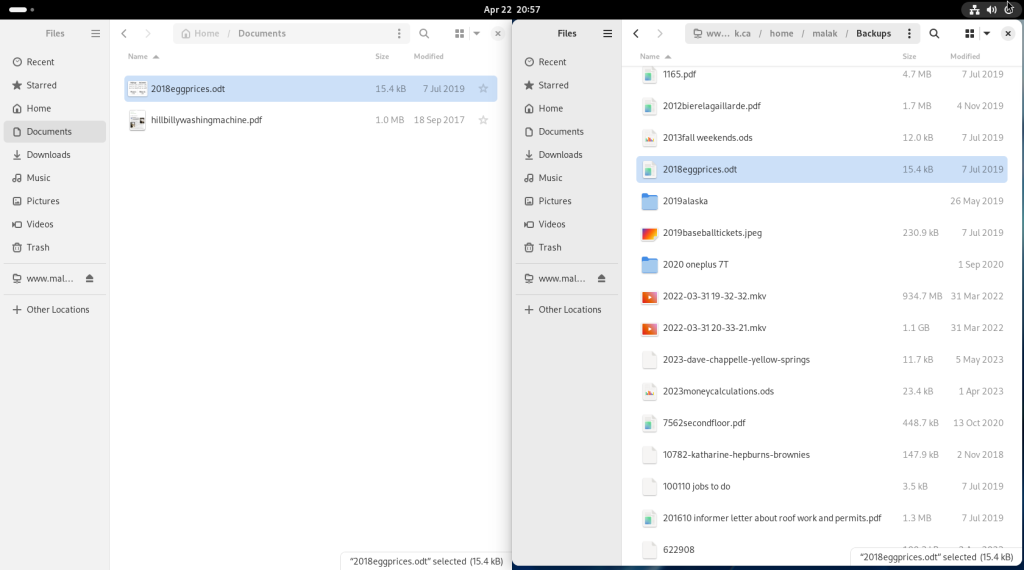
Recognizing the file extension as that of an OpenDocument spreadsheet file, LibreOffice was launched:
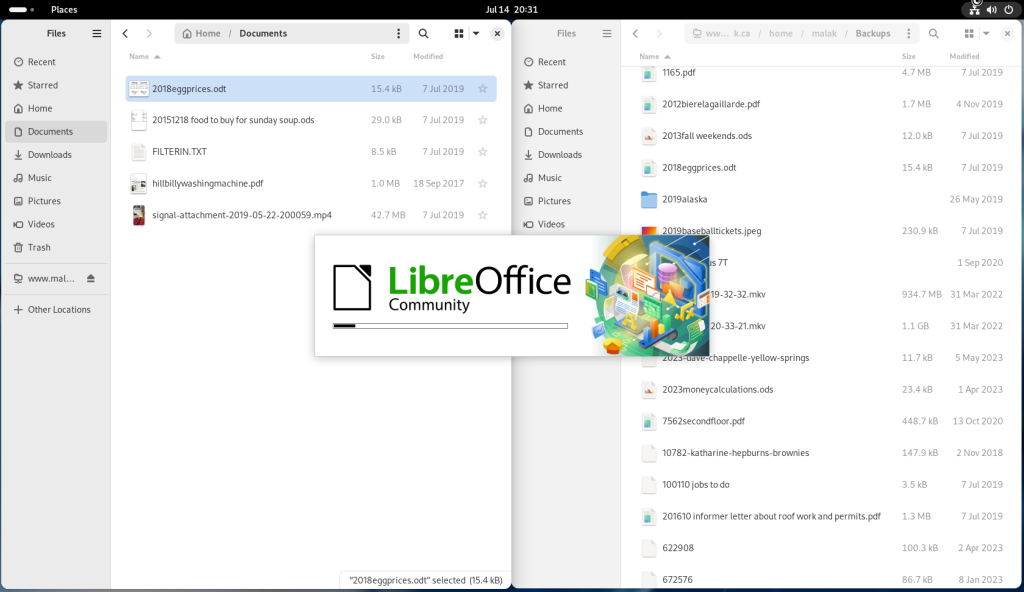
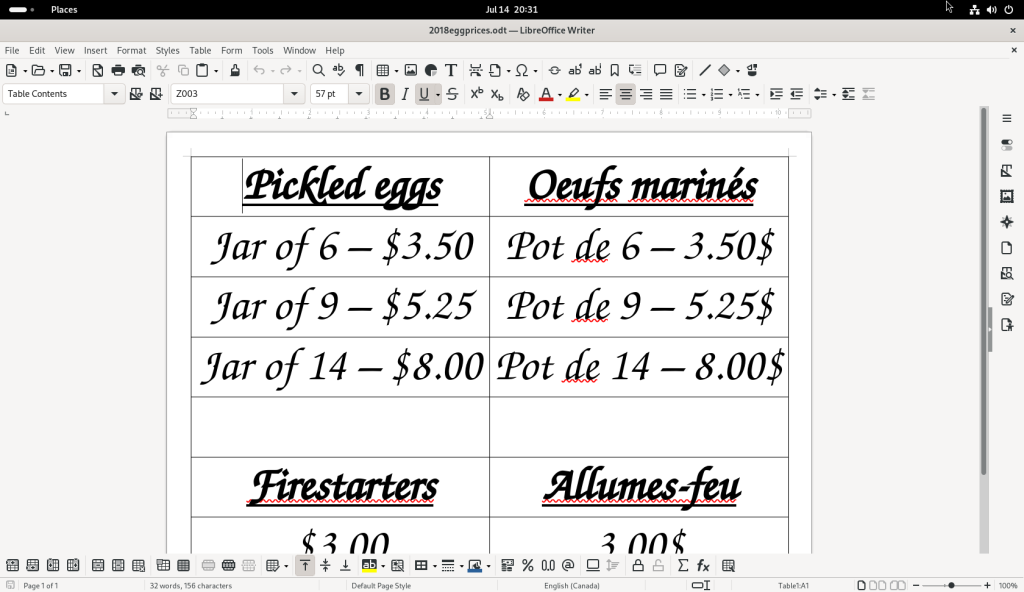
… and the file was opened, in this case, for a table of prices for a number of items I sell at a flea market near my cottage:
Back to the file transfers, a video file in a directory with pictures and videos of my cat was selected …
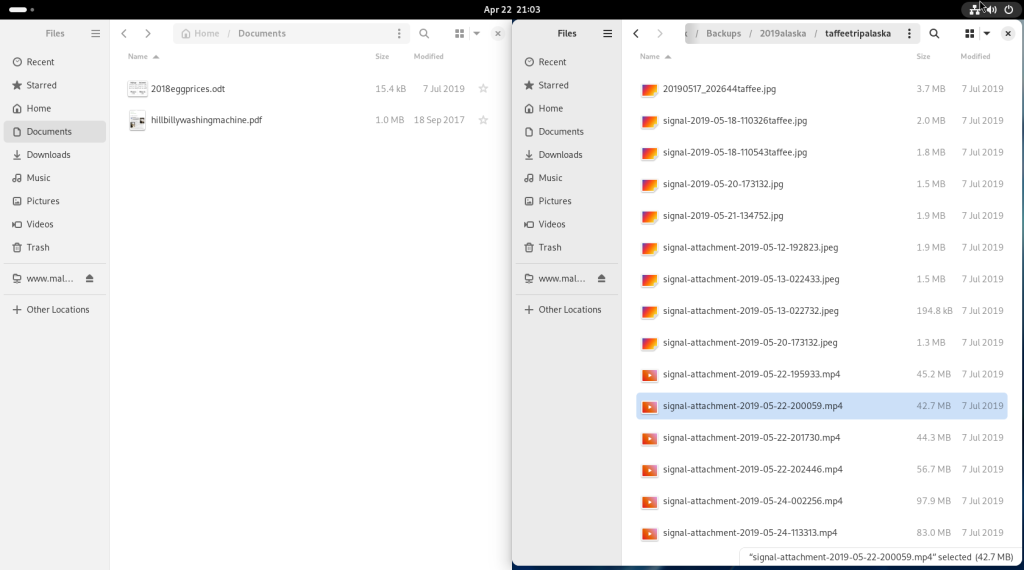
… and dragged and dropped over to the local machine, and the file selected and right clicked, revealing a contextual menu, allowing for the opening of the video file:
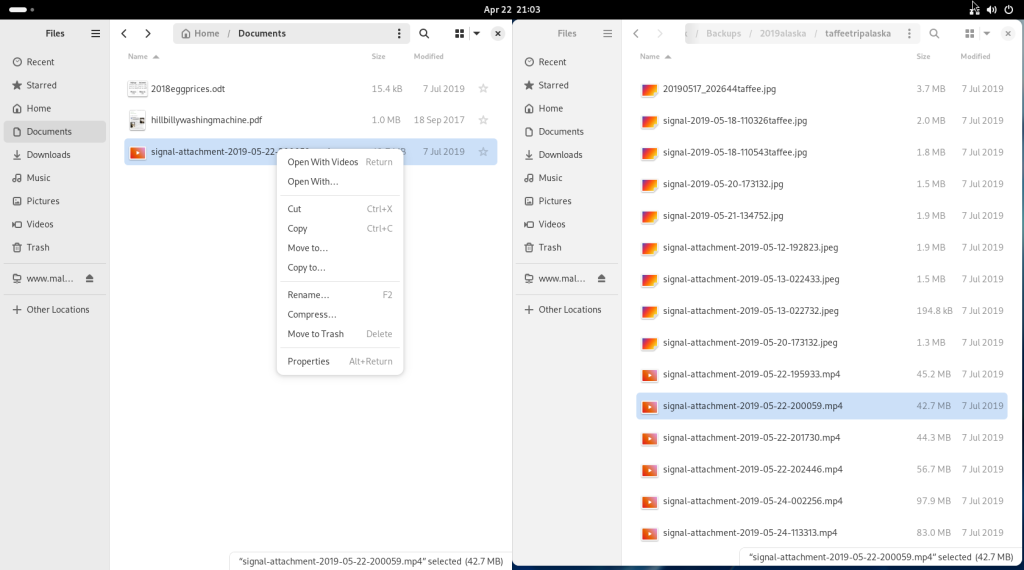
The Gnome Videos player was opened; since the relevant codec had not been installed in the base install, Videos asked if it should attempt to install the codec, which it proposed might be available in the software repositories:
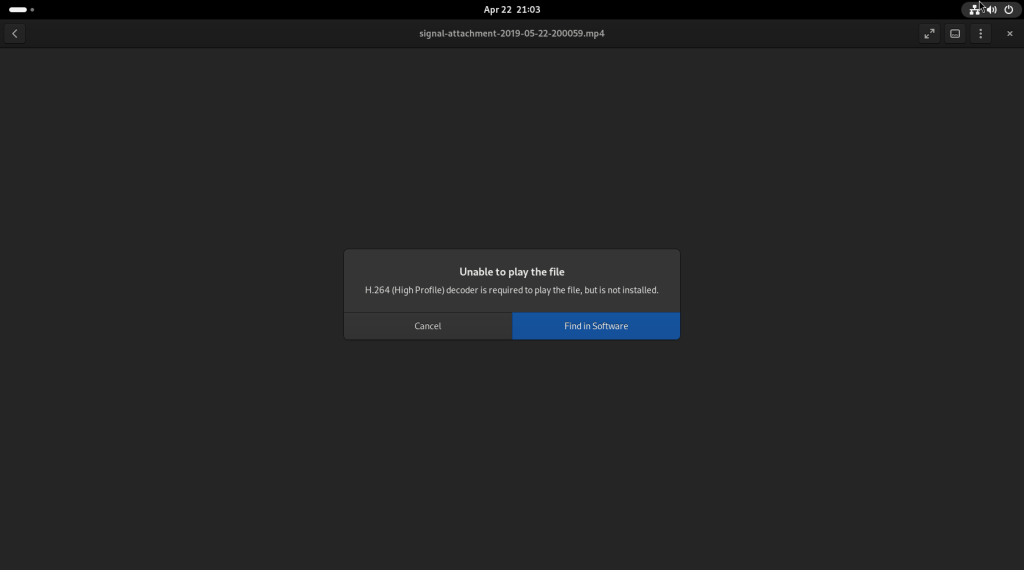
The “Find in Software” button was clicked, leading to the following window:
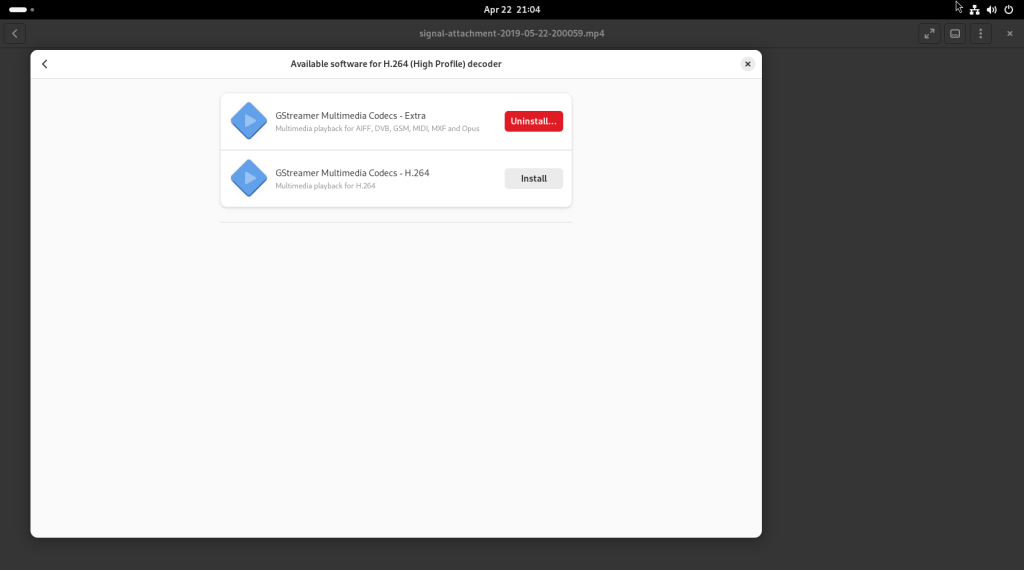
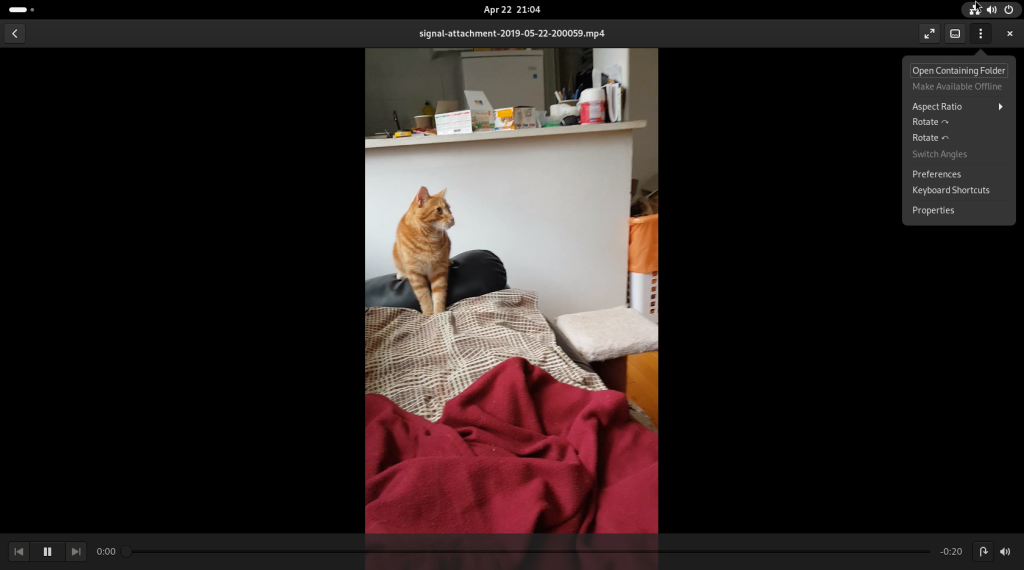
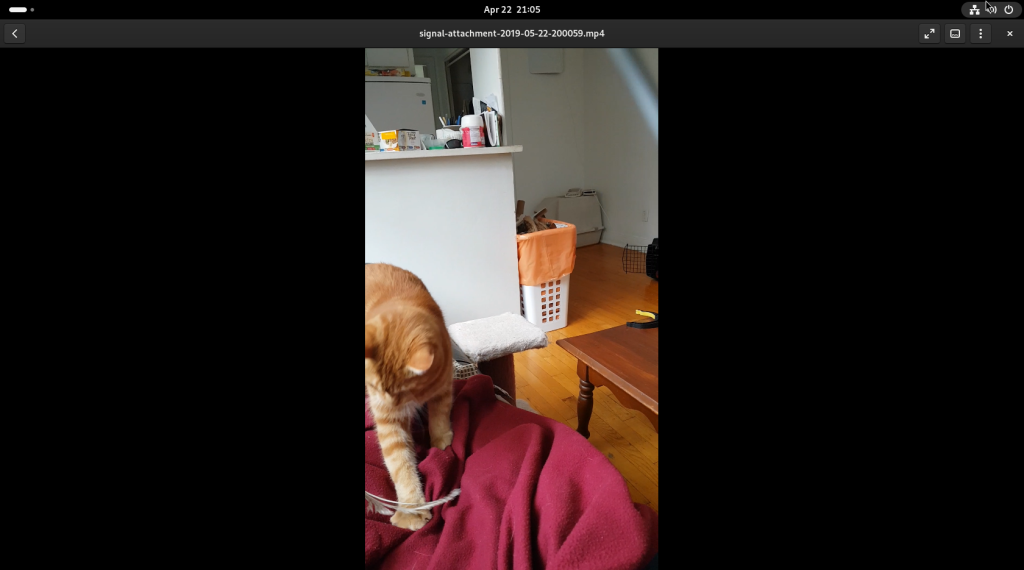
The required codec (“GStreamer Multimedia Codecs – H.264”) was chosen for installation; once installed, a video of my cat, playing with a feather toy, was shown:
Another file, another spreadsheet, was selected on my server …
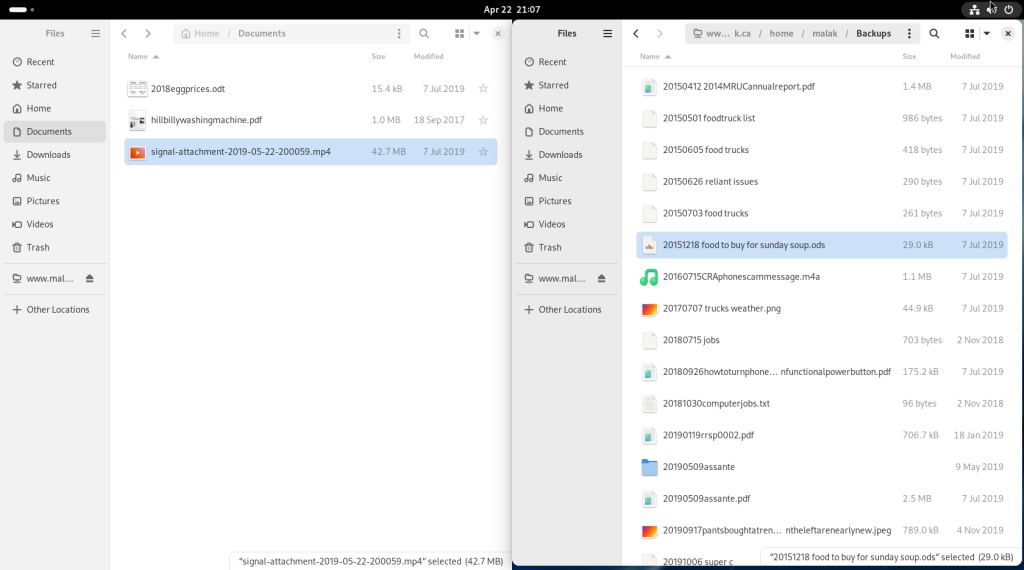
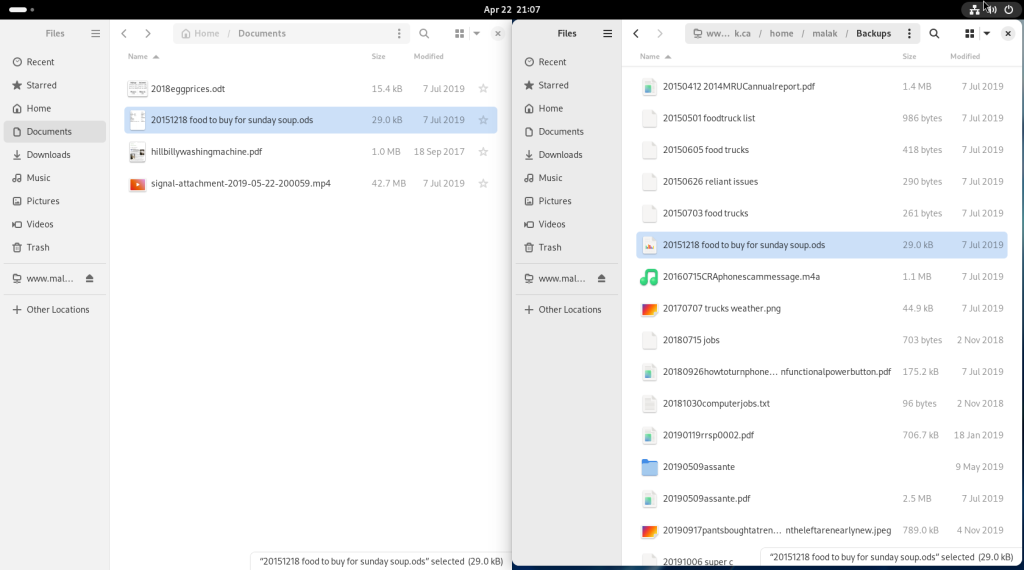
… and dragged over to the new setup:
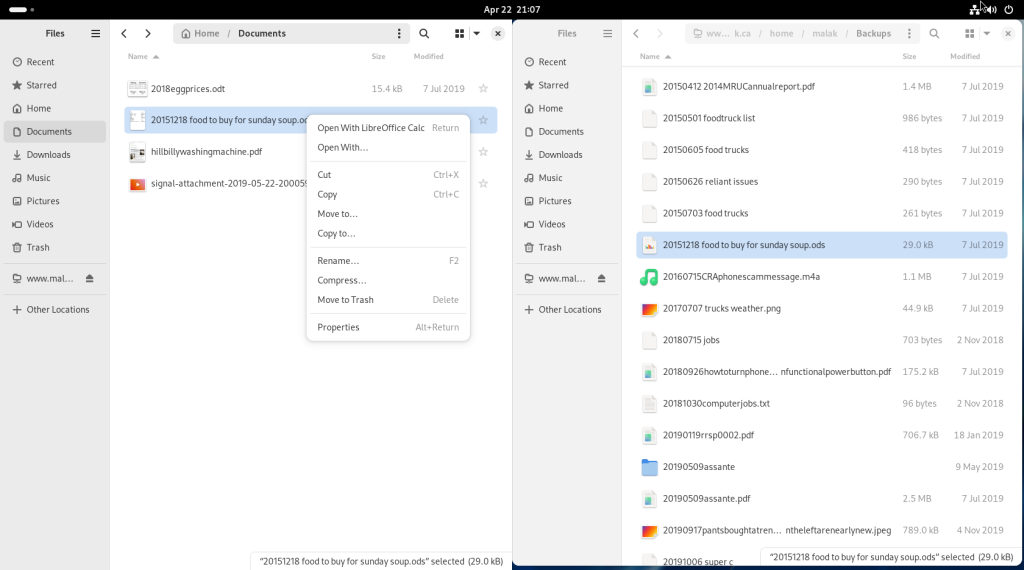
Using a right click contextual menu, the new selected file was opened:
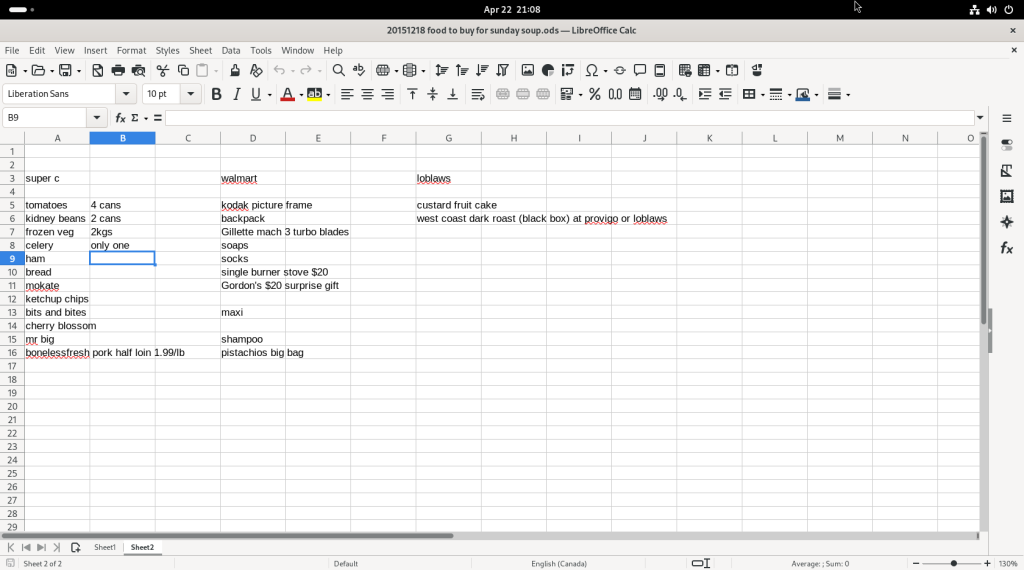
… revealing my shopping plans for a large amount of soup I was going to cook for a community meal:
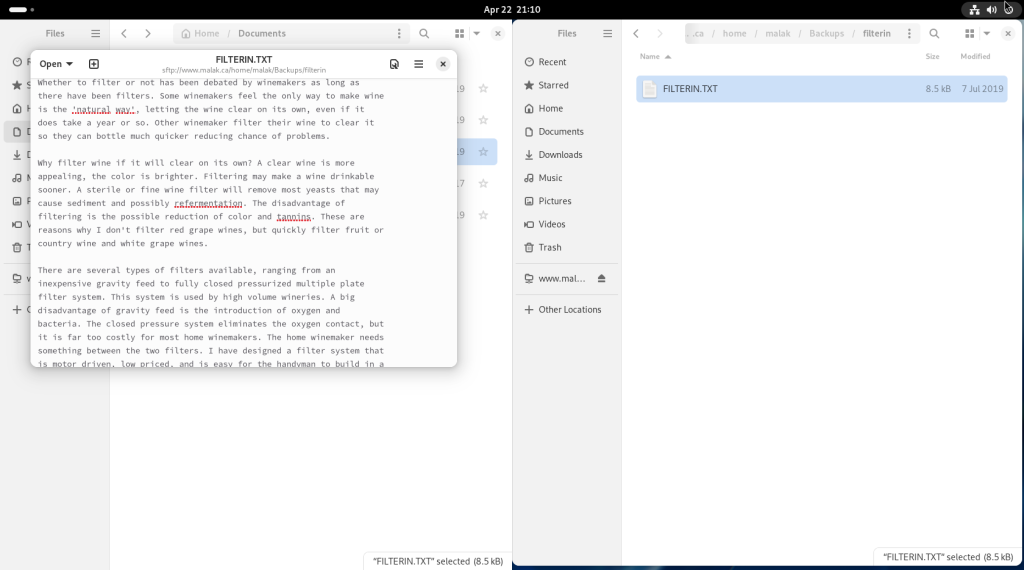
Another file, a text file, was selected on my server …
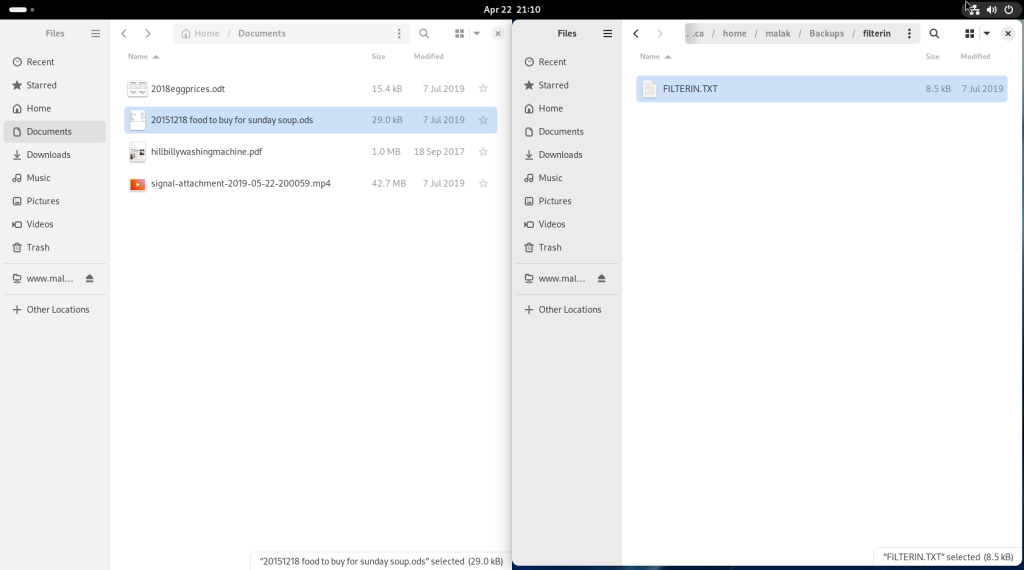
… and dragged over to the new setup:
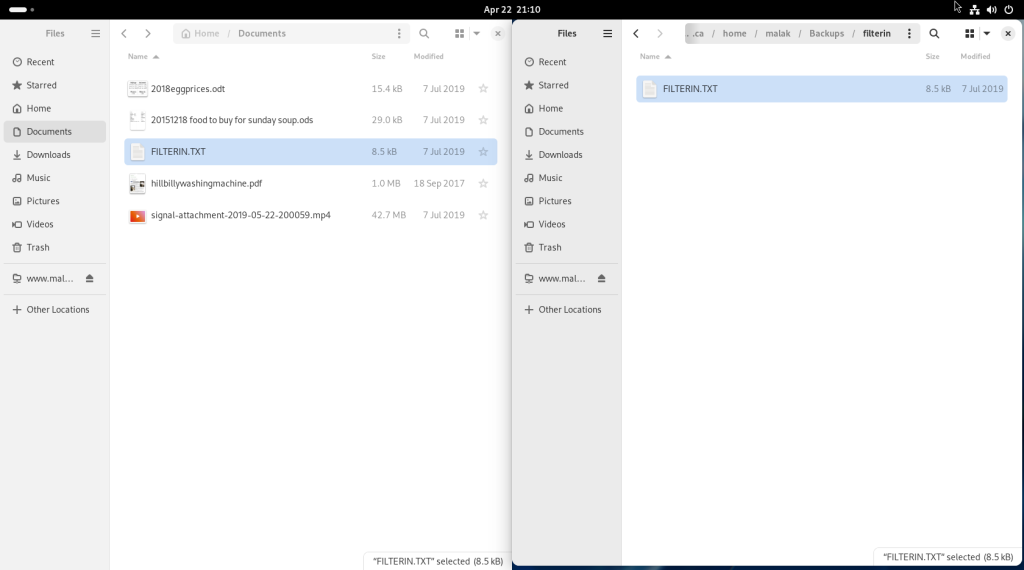
Using a right click contextual menu, the new selected file was opened:
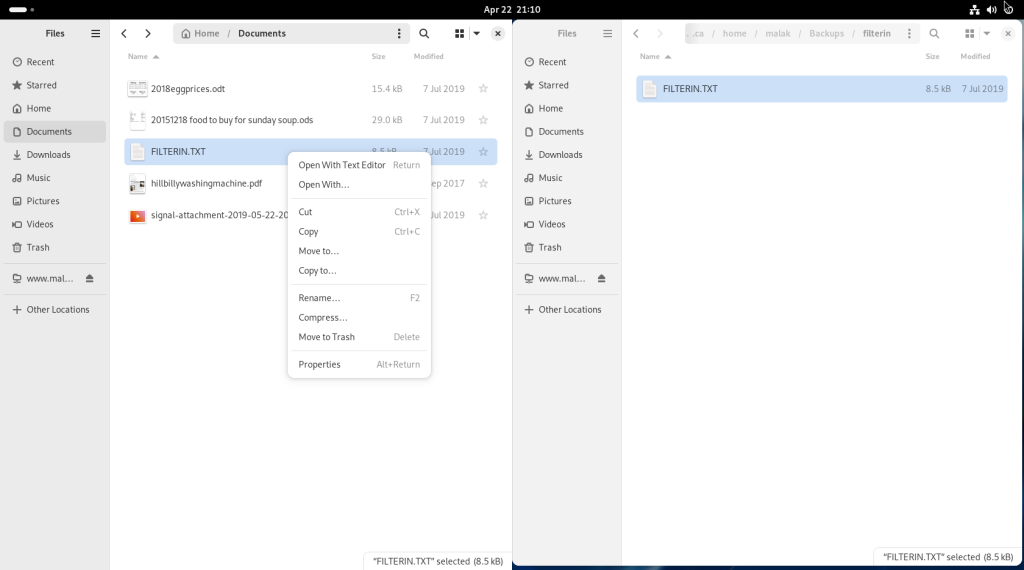
… and a text editor window opened up with the text file:
Many other things can be done with the file manager, including launching template documents in a click if templates have been placed in a templates directory.
Next Chapter:
