I came to enjoy a type of convenience frozen pizza in the early 1990’s while in residence at university; of course I enjoyed them then, and continue to occasionally enjoy them to this day. However, what really fascinated me was how the manufacturer managed to produce what amounted to a bun stuffed with a filling, in this case pizza toppings, without an apparent seam or other apparent entry point for the contents (such as the small hole one would see on the size of a jelly doughnut). While said fascination remained, it was not strong enough for me to actually try to figure it out.
Fast forward to late 2023, and a snacks table offered bierocks (here’s my archive), which immediately caught my attention. Before I even picked one up and looked at it, including inspecting its bottom, I immediately realized how they had been made. I definitely ate some, and asked the person who had made them for the recipe. Due to delays in setting up a cooking lesson with said person, I eventually just followed the recipe instead of waiting to be shown how to make them.
(And, I am assuming, the manufacturer of the commercial pizza treats uses some kind of mechanical method analogous to the relevant section(s) below, or, a precisely timed continuous dual extrusion system that minimizes seams, and in either case a dough recipe tuned to be susceptible to the process; ultimately, whichever process is used appears to assure that the edges stay sealed, and the filled units are moved along an Archemides’ screw or the like to the next step, in such a way that smooths out any seams.)
Note that in the following narrative, while the photos are principally from a single session, a few are from two other sessions in order to complete the narrative.
Making the bierocks:
One of the common ingredients in bierocks is chopped cabbage; so cabbage was taken out:
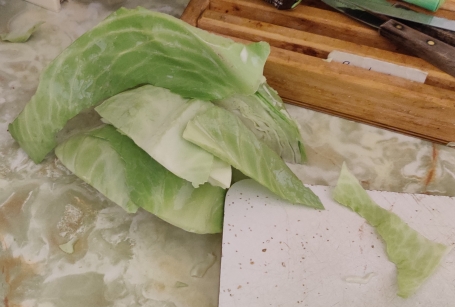
A piece of cabbage was cut off to make chopping easier:
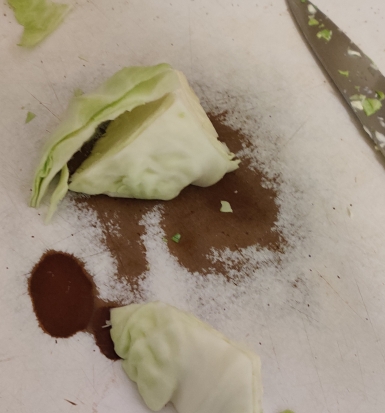
The cabbage was chopped up somewhere between coarsely to finely:
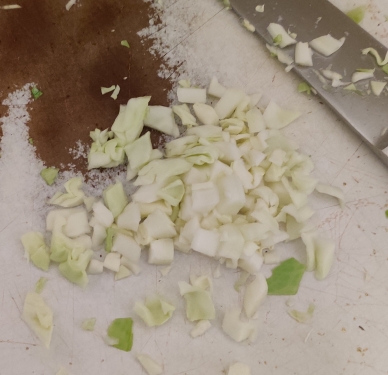
As the cabbage was chopped, it was placed in a bowl:
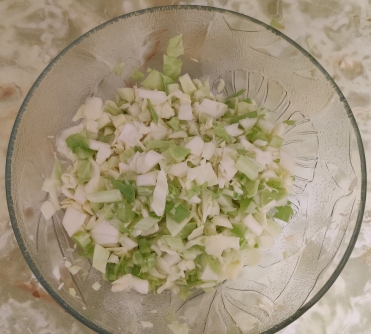
I continued to chop cabbage, and froze the excess for future use, since a typical cabbage is far larger than the roughly half pound needed for this recipe.
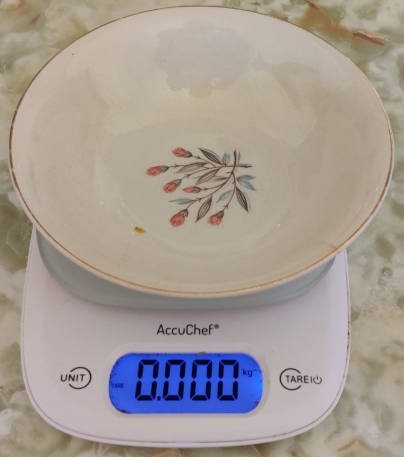
In the case of this session, frozen cabbage from a previous chopping session was used; as such, a plate was placed on a kitchen scale, and the latter set to zero, so as to only be measuring the cabbage:
About half a pound (about 227g) of frozen chopped cabbage was placed in the bowl:
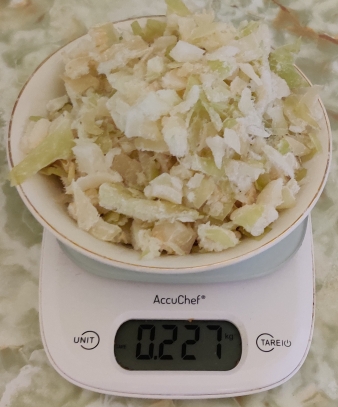
The cabbage was put aside in order to allow it to defrost.
Frozen ground beef was taken out, and weighed to make sure that the appropriate amount of two pounds (911g) would be used:
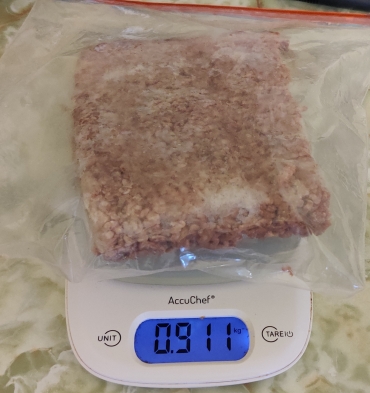
The ground beef was put aside to allow it to defrost.
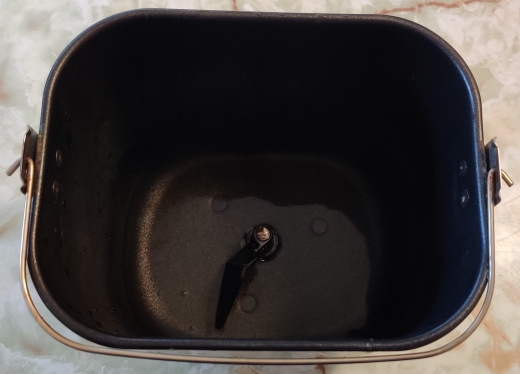
The basket from my bread machine was taken out and cleaned:
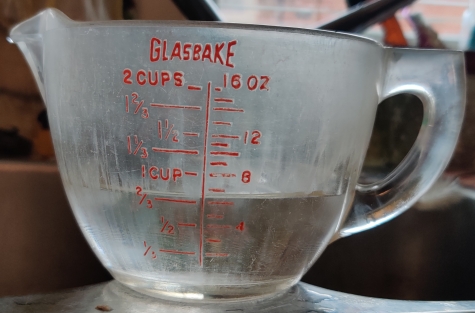
Six ounces of water were measured out:
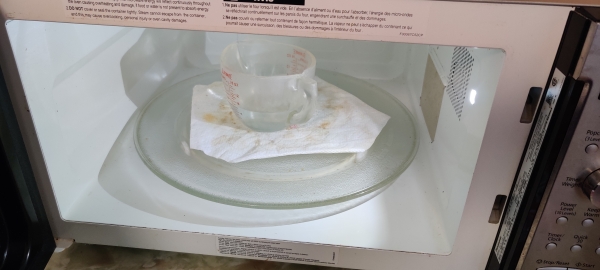
The water was placed in the microwave oven (1100 watts) …
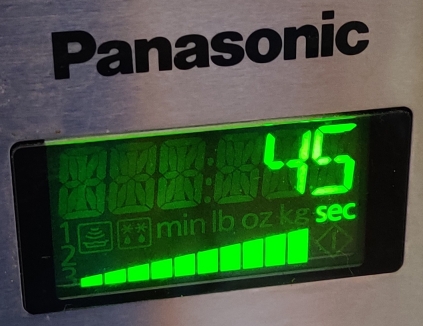
… and heated for 45 seconds.
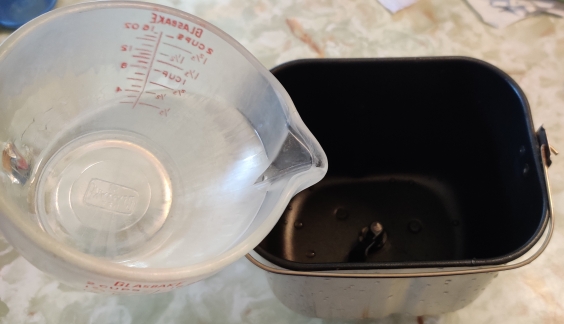
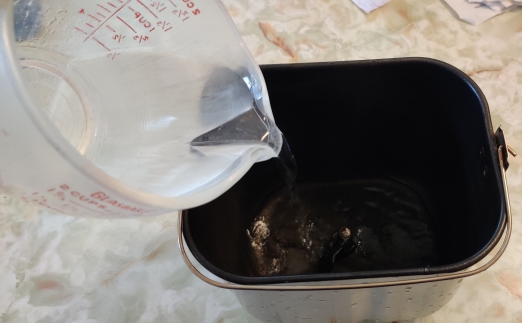
The warmed water was poured into the bread machine basket:
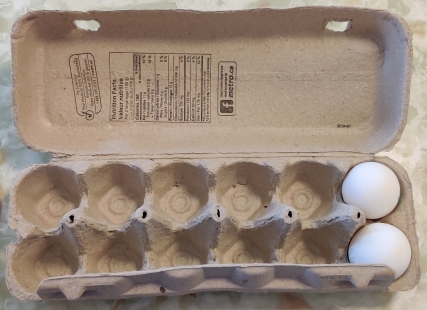
Eggs were taken out:
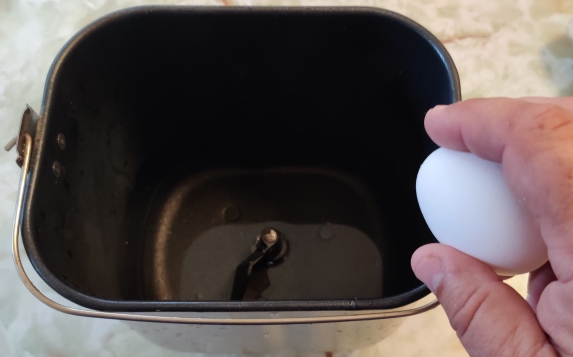
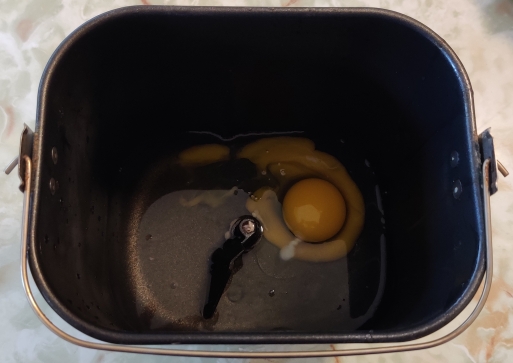
The eggs were cracked into the bread machine basket with the warmed water:
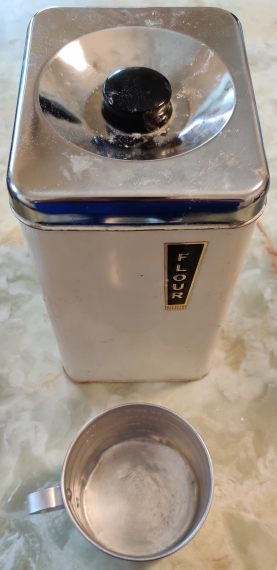
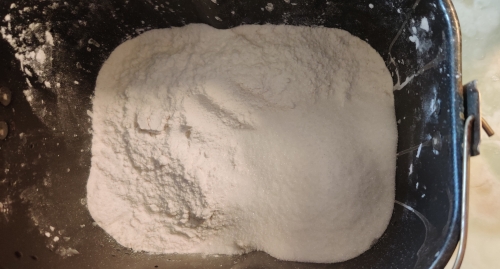
Flour and a measuring cup were taken out:
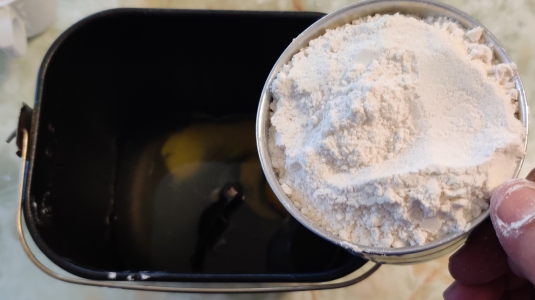
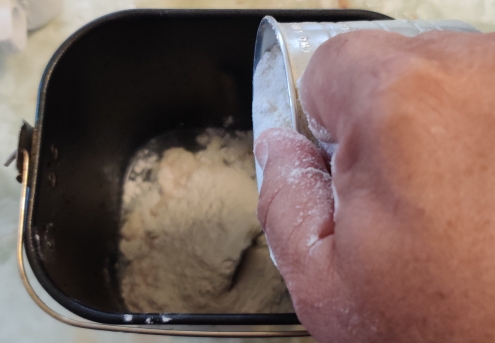
The measured out flour was transferred to the bread machine with the warmed water and the eggs:
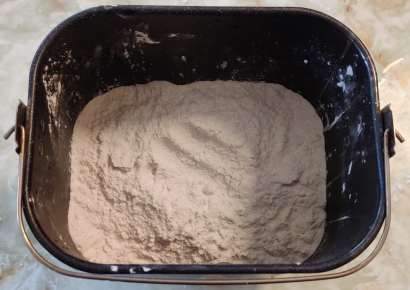
Sugar and measuring spoons were taken out:
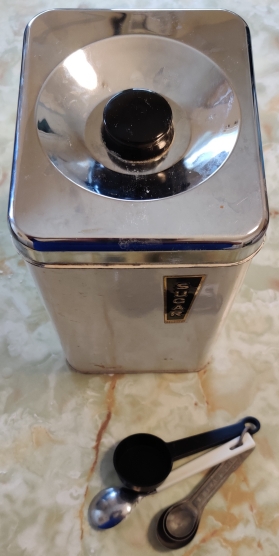
Six tablespoons of sugar were measured out …
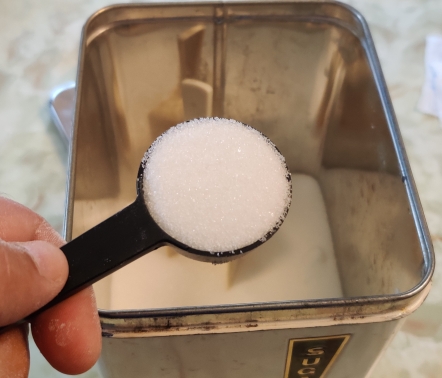
… and transferred to the bread machine basket with the water, eggs, and flour:
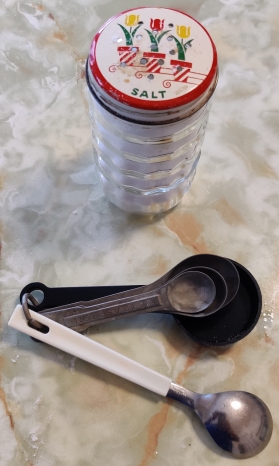
Salt and measuring spoons were taken out:
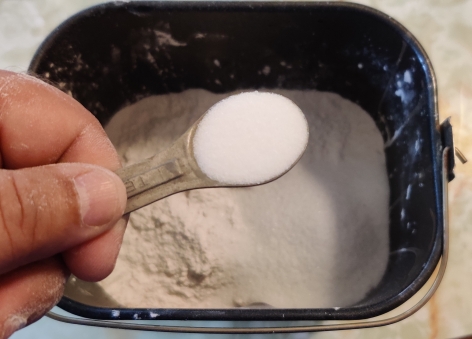
The salt was measured out and transferred to the bread machine basket with the water, eggs, flour, and sugar:
Oil and a measuring cup were taken out:
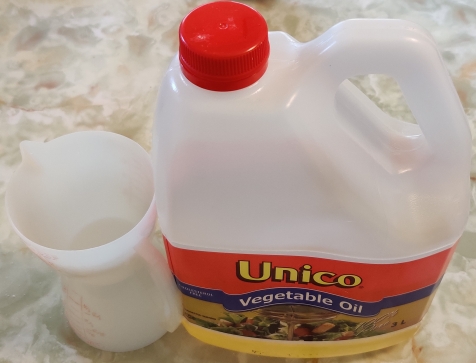
The oil was measured out (oops twice as much as I should have used):
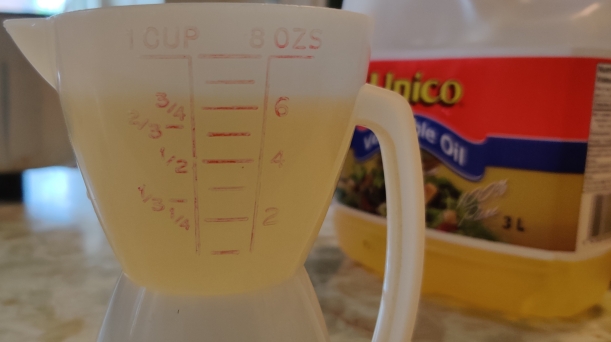
The oil was transferred to the bread machine basket with the water, eggs, flour, sugar, and salt:
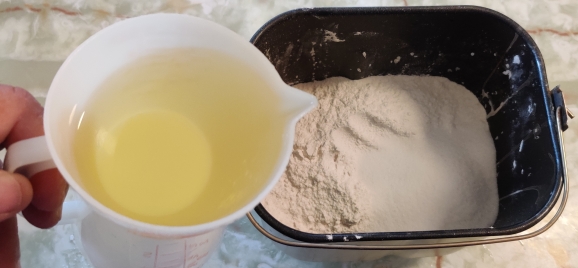
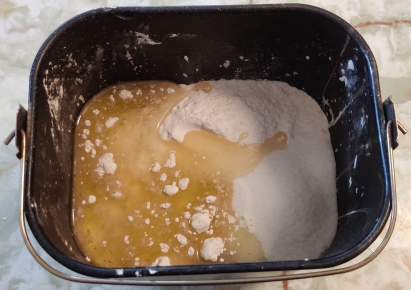
A little note at this point: Since this recipe calls for using a bread machine, I strongly recommend using bread machine yeast; standard bread yeast behaves differently — although not necessarily badly — and in a bread machine, will produce a strong yeasty odour and taste, no doubt due to different timing required for it to act properly. Should you be making bread dough another way, including using standard bread yeast, of course I do not have any advice on that front. 🙂
Bread machine yeast and measuring spoons were taken out:
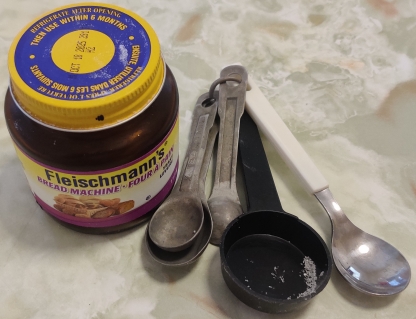
Two teaspoons of bread machine yeast were measured out:
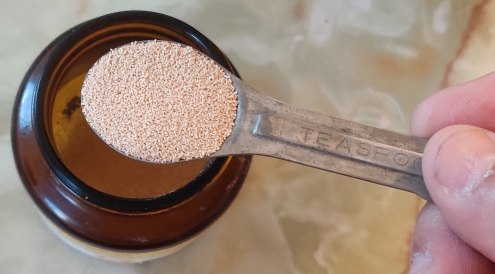
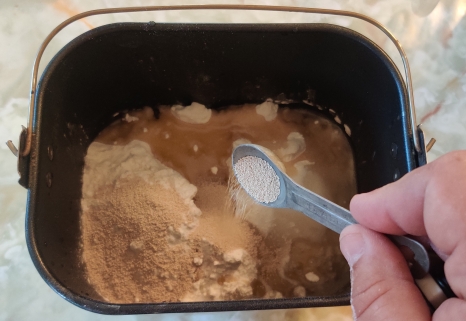
The bread machine yeast was added to the bread machine basket with the water, eggs, flour, sugar, salt, and oil:
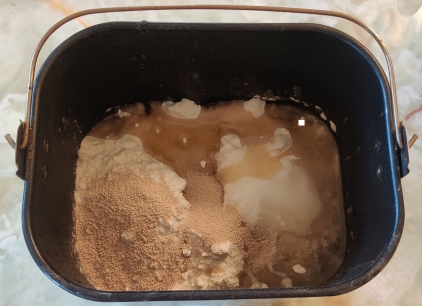
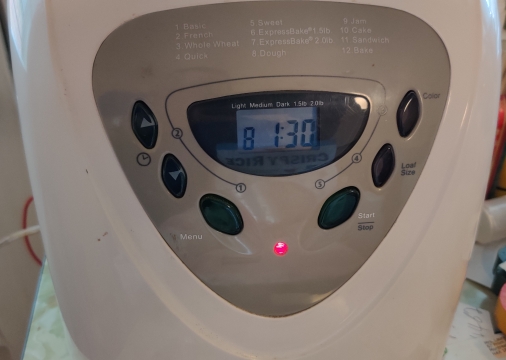
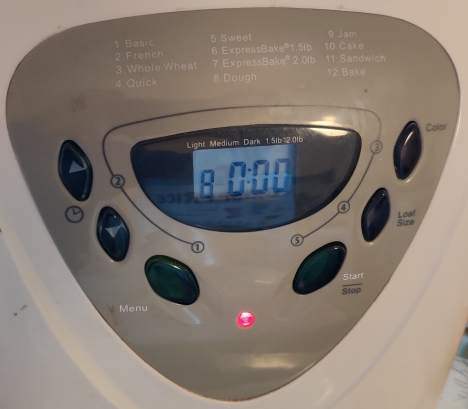
The bread machine basket with all the ingredients was placed in the bread machine, and the unit was set to the dough only cycle, which in the case of my bread machine is setting #8, with a cycle time of 1h30:
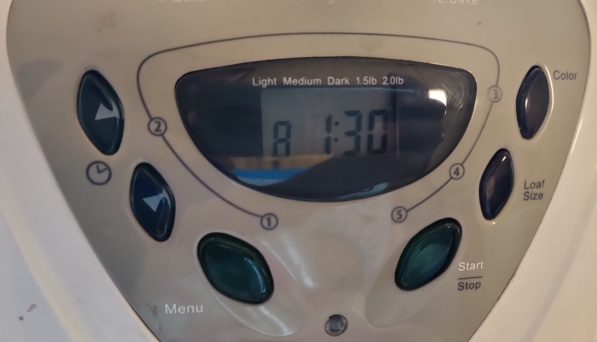
The bread machine was turned on:
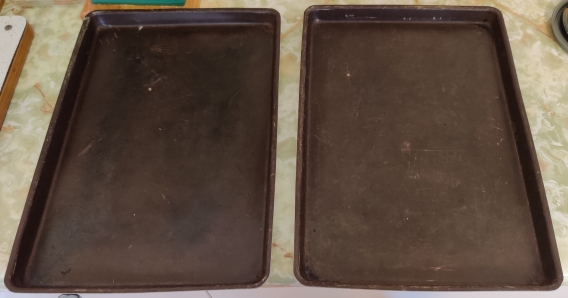
While the bread machine was preparing the dough, baking trays were taken out:
Parchment paper was taken out:

Sheets of parchment paper were cut off the roll and placed on the baking sheets:
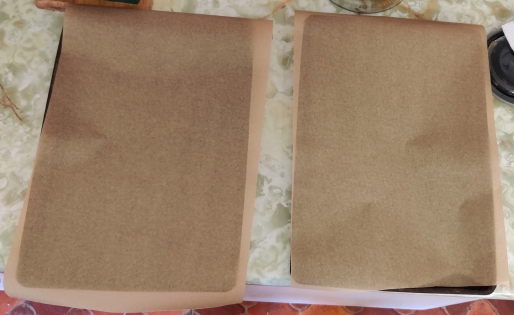
The baking sheets were put aside for later.
An electric frypan was taken out:
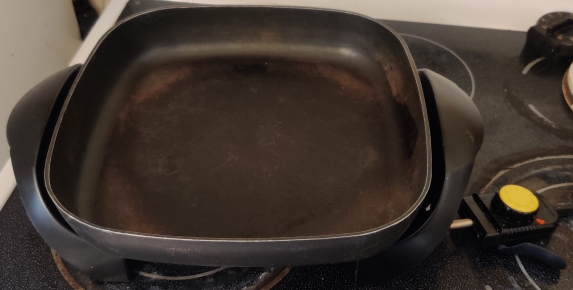
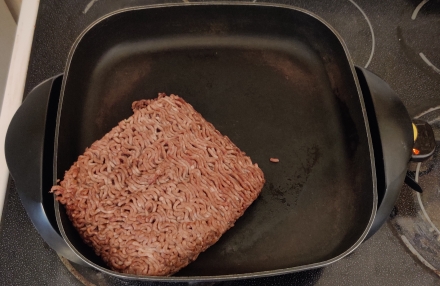
The electric frypan was plugged in, and the ground beef was placed in the electric frypan:
The chopped cabbage was placed in the electric frypan:
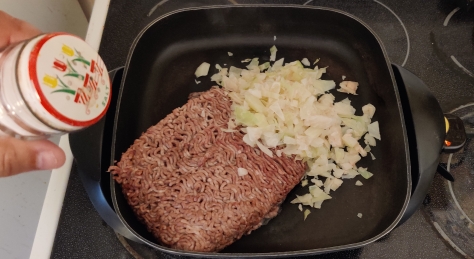
Salt was added to the electric frypan:
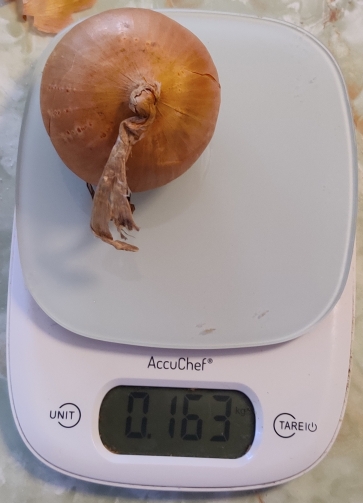
An onion was taken out and weighed to be sure it was enough (“about” a quarter pound of chopped onion in the end):
The onion was placed on the cutting board:
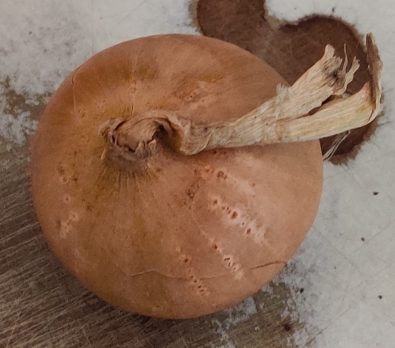
The onion was trimmed:
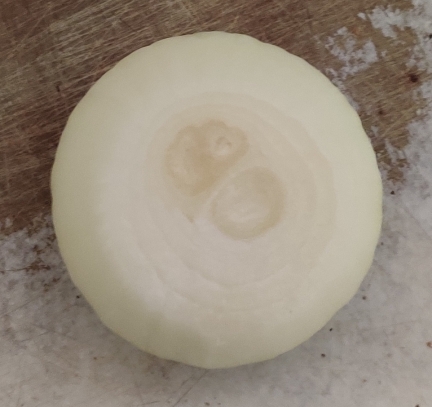
The onion was cut in half:
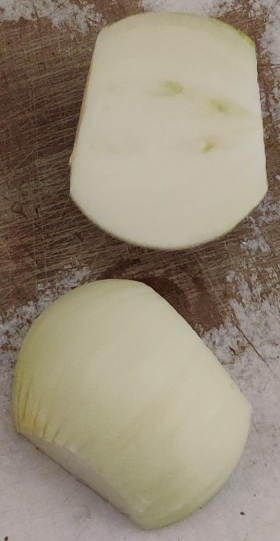
The onion half was sliced into half coins:
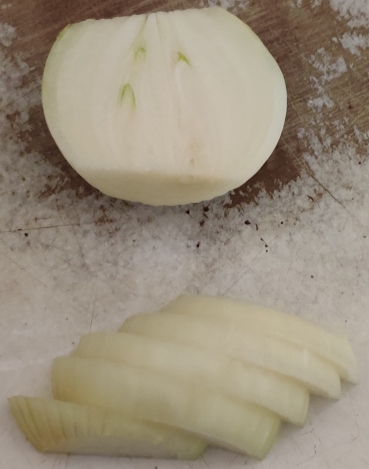
The onion slices were chopped:
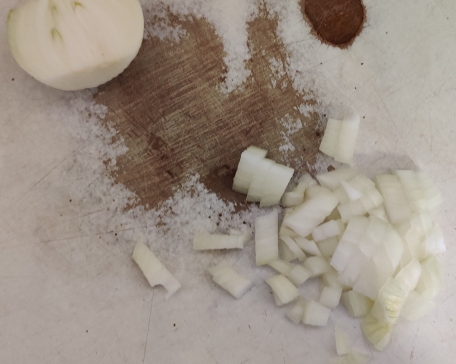
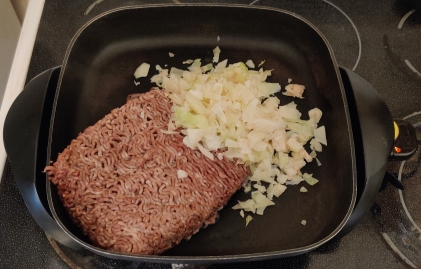
The rest of the onion was chopped, and the chopped onion was transferred to the electric frypan, and the ground beef was cut up with an egg flipper:
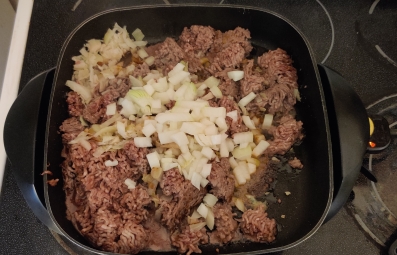
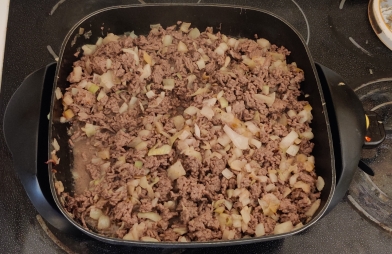
The ground beef was broken up further, and the ground beef, cabbage, and onions were mixed together:
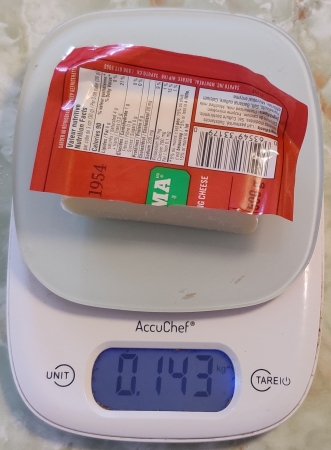
Cheese was weighed out:
The cheese was grated:
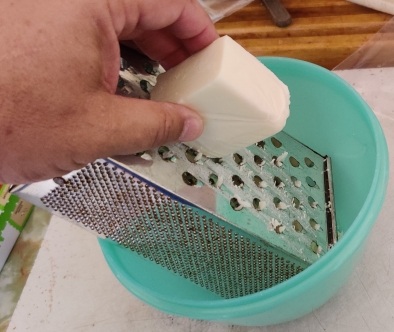
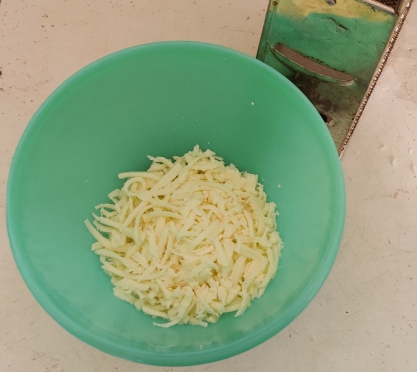
The grated cheese was transferred to a bowl, and put aside for later:
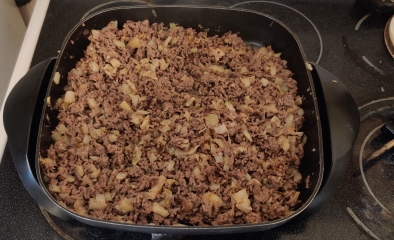
Once the meat mix was cooked, the electric frypan was unplugged:
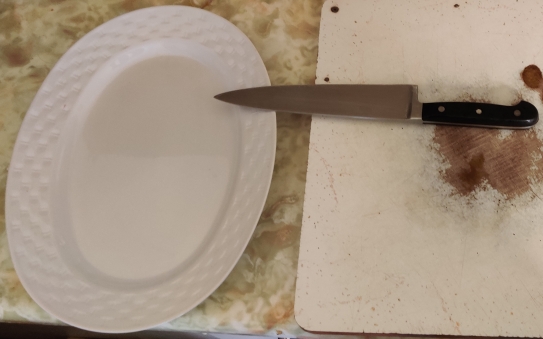
At this point, I took out a large serving plate and a kitchen knife in anticipation of the bread machine dough cycle completing:
The bread machine finished its dough cycle:
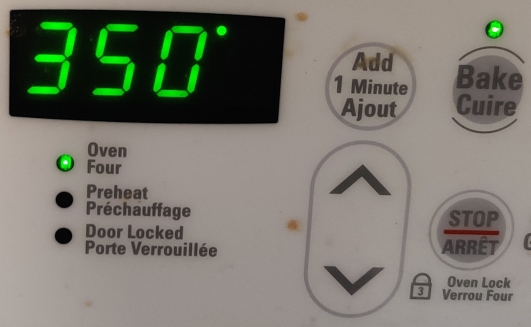
At this point, I started to preheat the oven, set to 350F, and one of the racks was placed in the top position (photo taken after preheating):
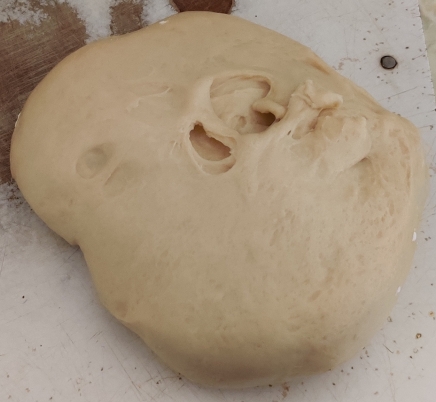
The dough was taken out of the bread machine basket:
At this point, to get 24 roughly similarly sized balls of dough, I am using what I call the “Jamie Oliver Method” because I saw Jamie Oliver use this method on one of his shows with bread dough:
- Cut the dough in half (2 pieces);
- Cut each half into three pieces (2 x 3 = 6 pieces);
- Cut each “third of a half” into four pieces (6 x 4 = 24).
I concede that Jamie Oliver would have you roll the dough into a long log first to further help with estimating making the sizes relatively even.
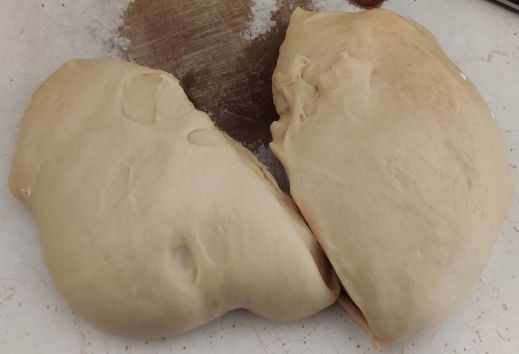
The dough was cut in half:
One of the dough halves was cut in three:
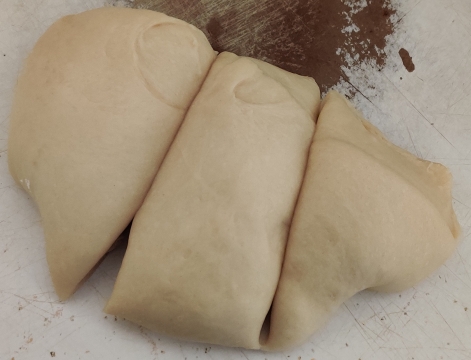
One of the pieces was cut in four:
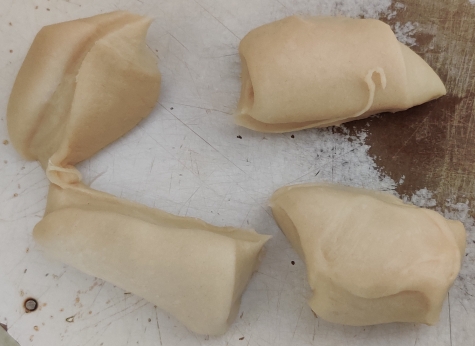
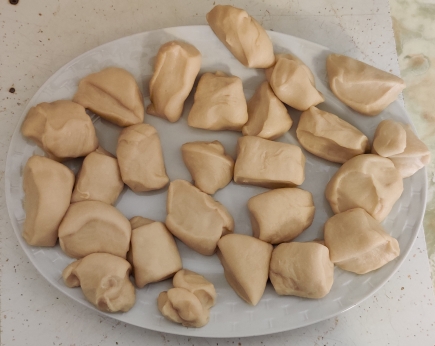
The rest of the bread dough pieces were cut up, resulting in 25 pieces, which eventually were reduced to 24 pieces:
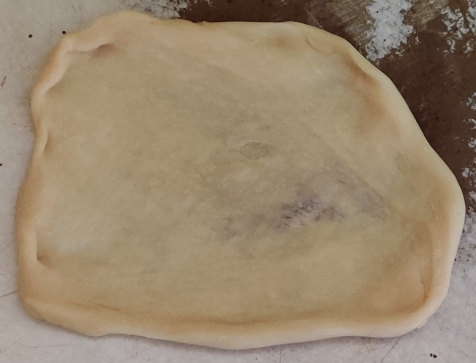
A bread dough pieces was placed on the cutting board, and flattened and stretched out:
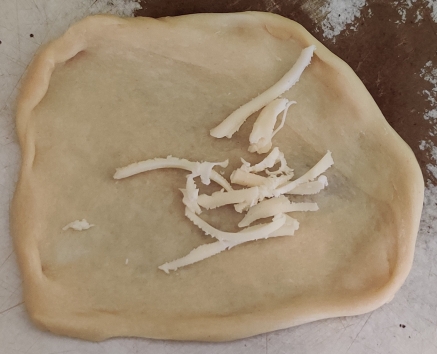
Some shredded cheese was placed in the centre of the piece of flattened bread dough:
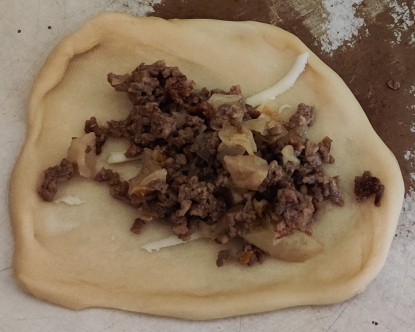
Some cooked meat mix was placed on top of the shredded cheese on the piece of flattened bread dough:
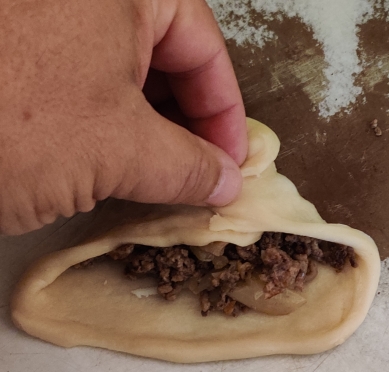
I began to stretch the edges of the flattened bread dough, pulling them together and covering the filling:
All of the edges were brought together and the edges were pinched together:
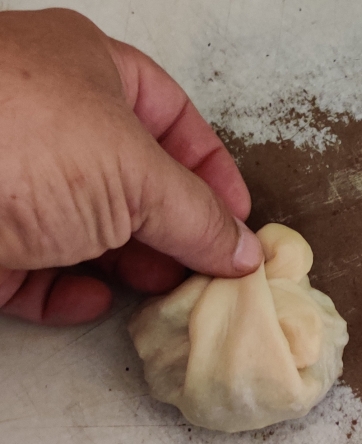
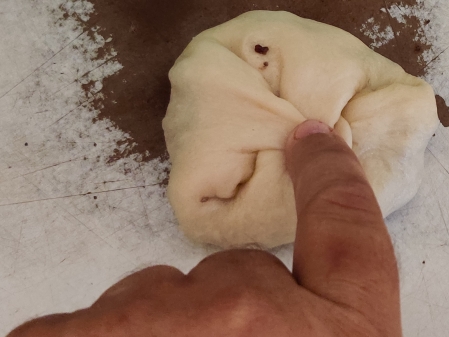
The resulting ball of stuffed bread dough was placed on the parchment paper on one of the trays, pinched edges face down:
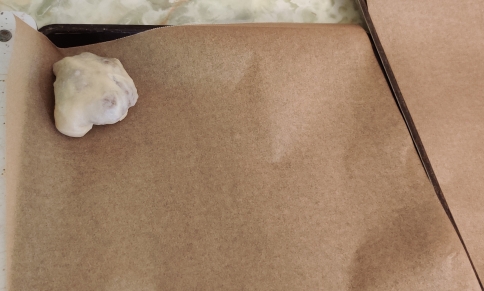
The process was repeated with more pieces of bread dough and more cooked meat mix and shredded cheese:
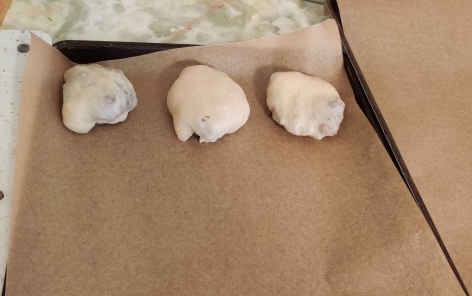
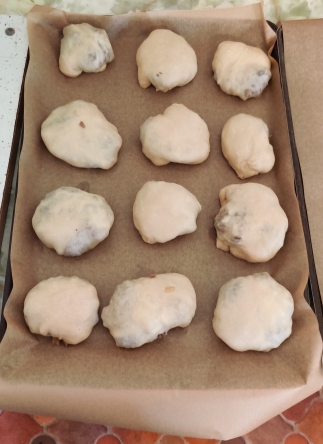
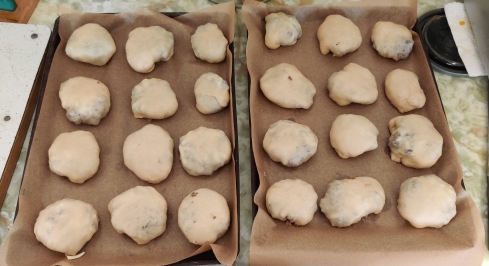
The process was continued until there were 24 units:
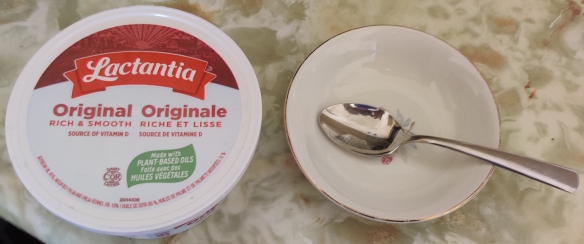
Margarine, a bowl, and a spoon were taken out:
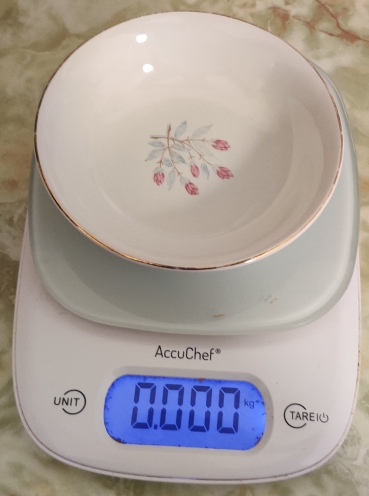
The empty bowl was placed on the kitchen scale, which was set to zero:
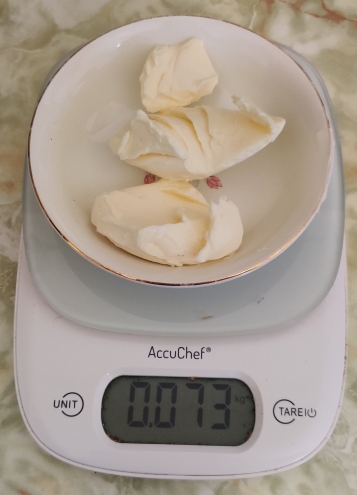
Margarine was weighed out, about five tablespoons’ worth, in the area of about 70g to 73g:
The bowl of margarine was placed in the microwave oven (1100 watts):
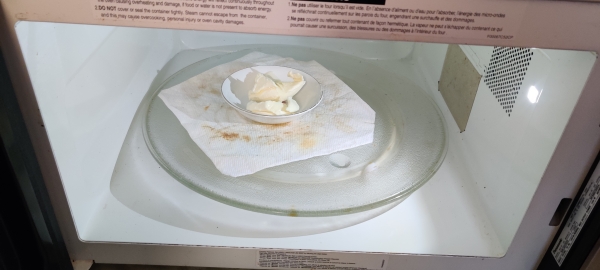
The microwave oven was set to 15 seconds:
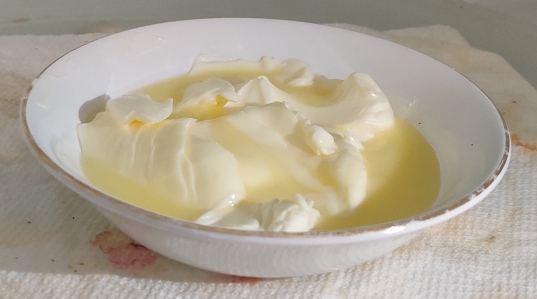
The margarine was partly melted:
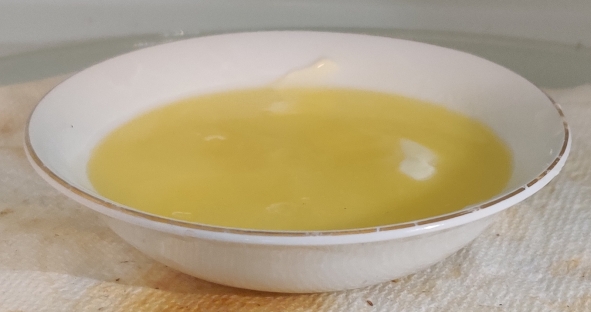
The microwave oven was set again for 15 seconds, and the margarine was mostly melted:
A food brush was used to brush the melted margarine on to the bierocks …
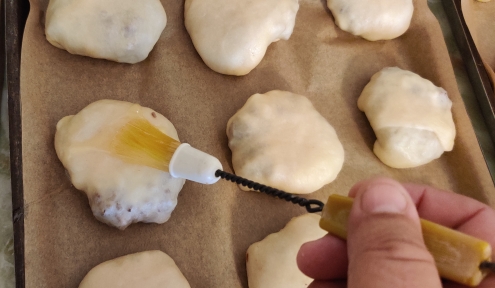
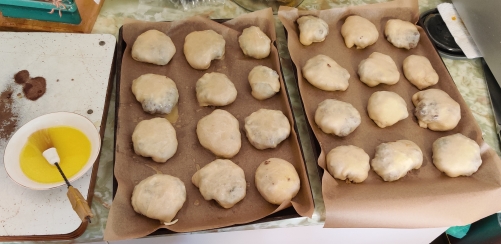
… until all units had been basted and all the melted margarine had been used:
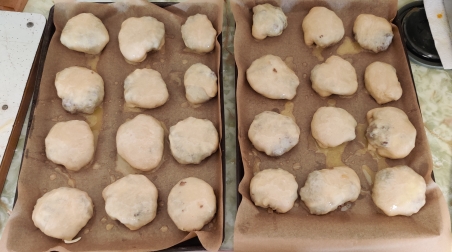
The trays of bierocks were placed in the oven:
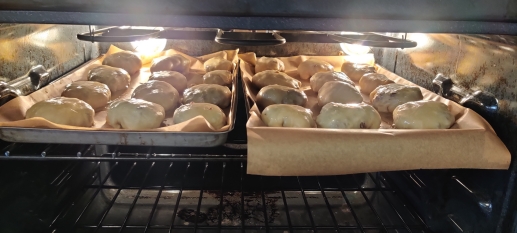
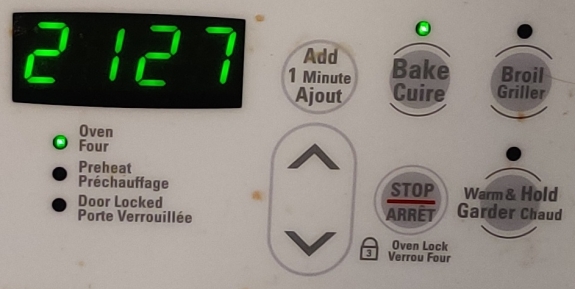
The stove timer was set to 22 minutes:
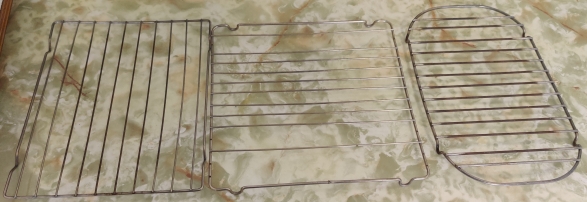
Cooling racks were taken out while the bierocks were baking:
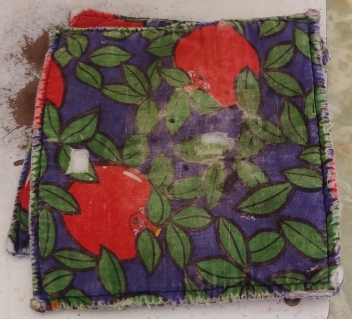
Pot holders were taken out:
At about halfway through the baking, the trays with the bierocks were rotated back to front within the oven:
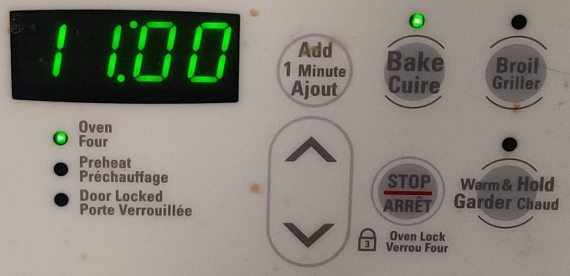
At the end of the baking period, I turned on the broiler to brown the tops of the bierocks:
… and the oven timer was set to two minutes:
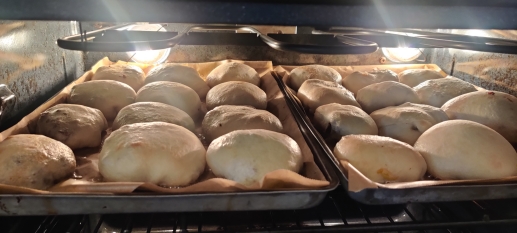
Here’s a photo of the bierocks as they were browning under the broiler:
After the two minutes under the broiler, the bierocks were taken out of the oven:
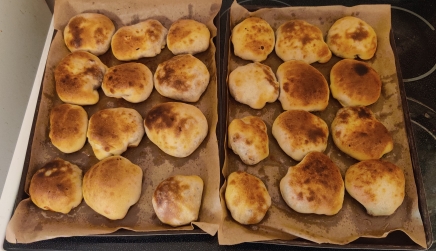
The bierocks were transferred to the cooling racks:

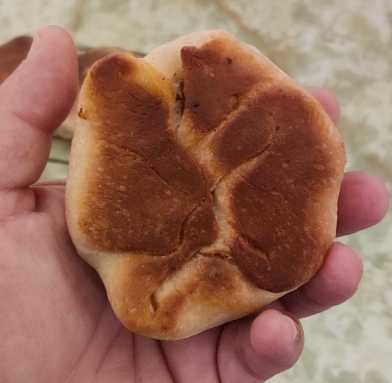
A bierock was picked up to check the bottom where the pinched edges of the dough had been brought together to show how it baked (but … not seamlessly! 🙂 )
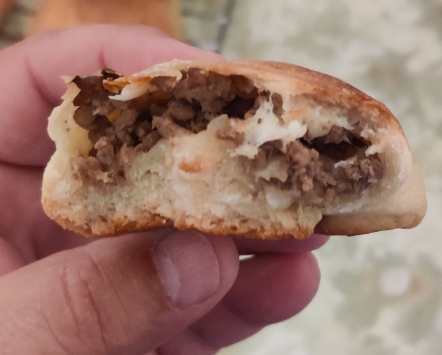
I bit into the fresh bierock … yummy!
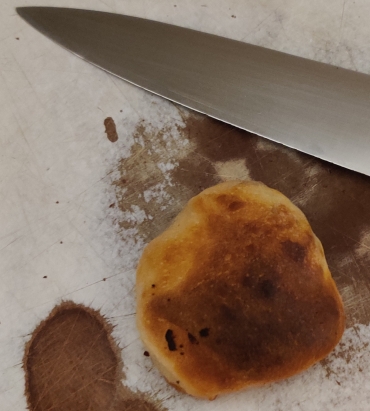
A bierock was placed on a cutting board with a kitchen knife:
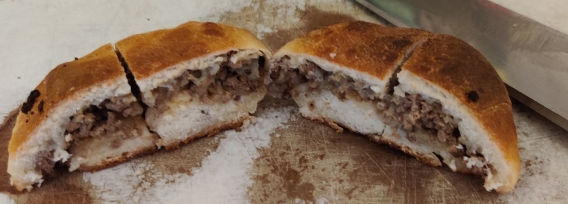
The bierock was cut into four pieces:
Several bierocks were cut up into quarters, because bierock pieces have become part of my usual breakfasts:
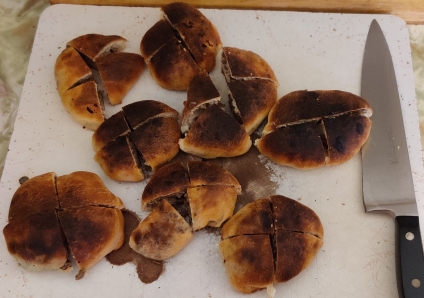
… and the cut up bierocks were placed in a freezer bag for freezing:
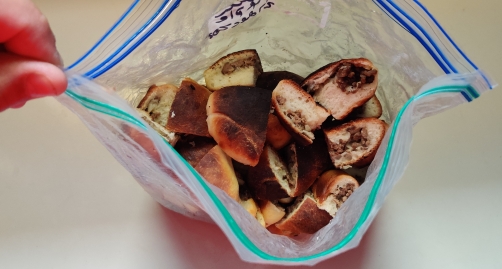
The bag of bierock pieces was placed in a freezer for future eating as part of my daily breakfasts.
I find these bierocks to be yummy!
