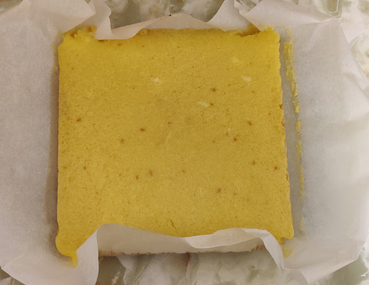
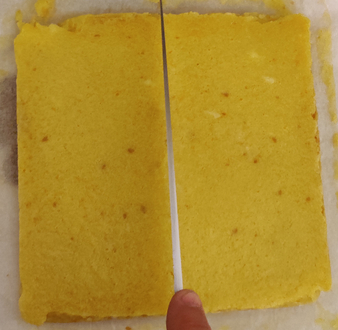
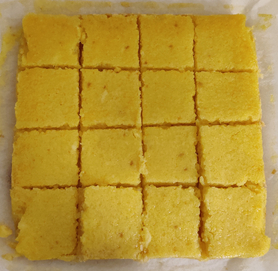
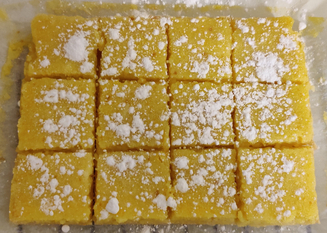
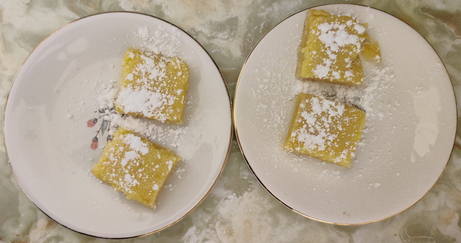
This week’s cooking projects from my collection of recipes included making bran muffins for my mom, more blondies, more chocolate buttercrunch, and the subject of this post, lemon squares. I started making them to have another dessert to add to my collection of recipes, and so I found a recipe on the Martha Stewart website, which I then converted to my format and whose measures I adjusted down by half. However, you may notice that in this recipe, the full amounts of the original recipe are also listed, since you may wish to make enough of these squares for a party; unfortunately, since the recipe does not freeze too well, I found that the full recipe was big enough that my mom and I started to get tired of them after eating them every day for a week!
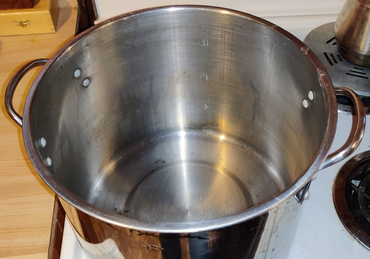
Making the vegetable soup instead of another recipe from my recipe collection that I had planned was a bit of a last minute decision, given that the decision to go to the cottage this past weekend was made at the last minute. As such, being at the cottage, I was cooking in a different kitchen using different equipment from usual while making the soup (see pictures).
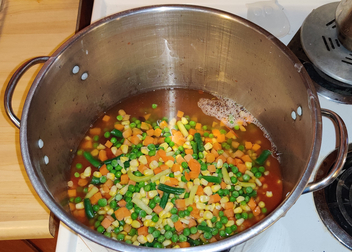
My 16 quart pot was placed on the stove:
Large pot on stove
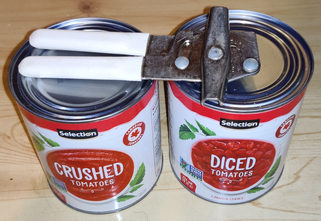
A can each of crushed tomatoes and diced tomatoes were taken out:
28 oz cans of crushed tomatoes and diced tomatoes
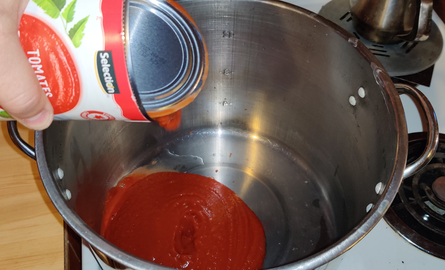
The crushed tomatoes were poured into the pot:
Crushed tomatoes poured into a pot
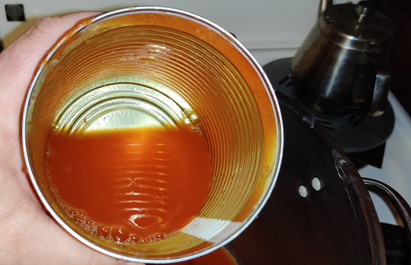
The can with crushed tomatoes was rinsed with water, which was poured into the pot:
Rinsing crushed tomatoes can with water, and poured into the pot
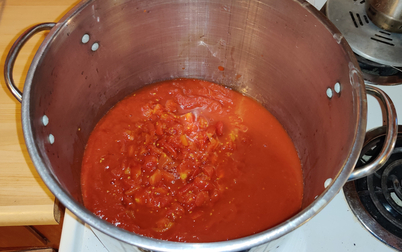
The diced tomatoes were then poured into the pot:
Diced tomatoes poured into pot
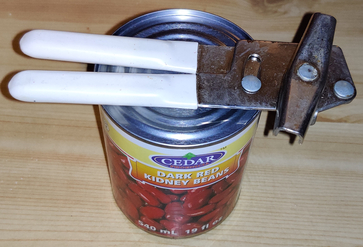
A can of kidney beans was taken out …
19 oz can of kidney beans
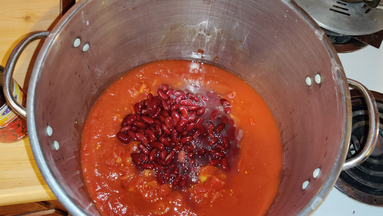
… poured into the pot …
Kidney beans poured into the pot
… and the kidney beans can was rinsed with water, which was then poured into the pot as well:
Kidney bean can rinsed with water and poured into the pot
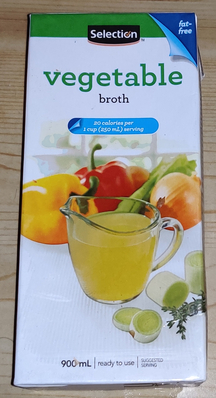
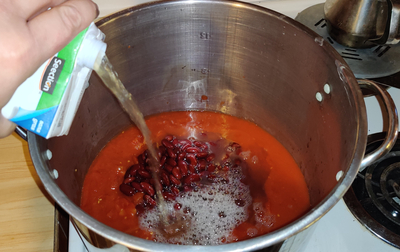
A 32 ounce (900 mL) box of vegetable broth was taken out …
A roughly 32 ounce (900 mL) box of vegetable broth
… and was poured into the pot:
Vegetable broth poured into the pot
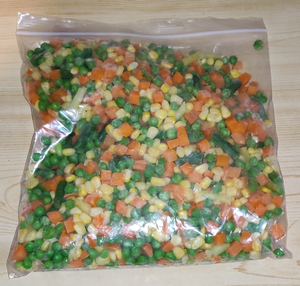
About a kilogram (a bit over two pounds) of mixed frozen vegetables were taken out …
About 1kg of mixed frozen vegetables
… and poured into the pot:
Mixed vegetables poured into the pot
At this point, I started mixing the ingredients:
Ingredients in pot mixed
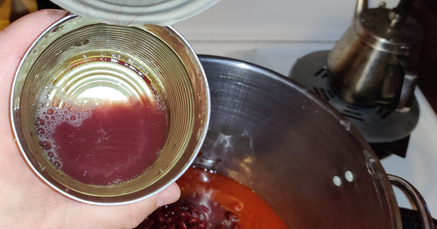
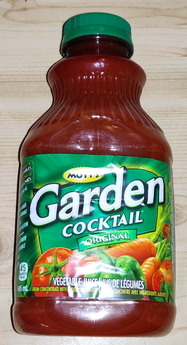
A 32 ounce (945mL) bottle of multi-vegetable cocktail was taken out …
32 oz (945mL) bottle of vegetable cocktail
… and poured into the pot:
32 oz (945mL) bottle of vegetable cocktail poured into the pot
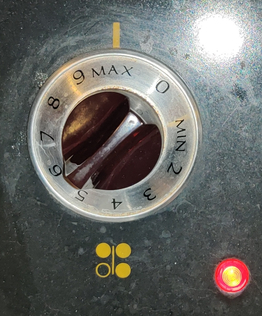
At this point, the burner on the stove was turned on to start heating up the soup:
Stove under pot turned on
Throughout the following steps, I kept on mixing the soup in the pot to keep it from burning on the bottom of the pot.
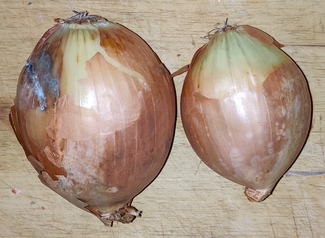
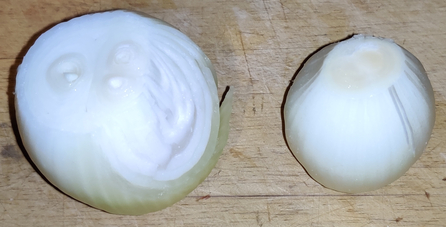
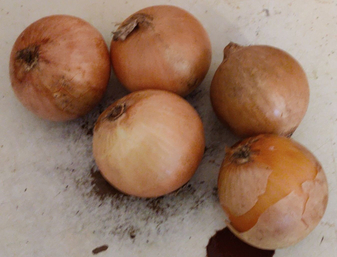
Next, a couple of onions were taken out …
Two onions
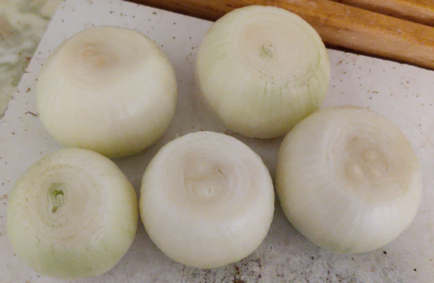
… then the onions were cleaned and trimmed …
Onions cleaned and trimmed
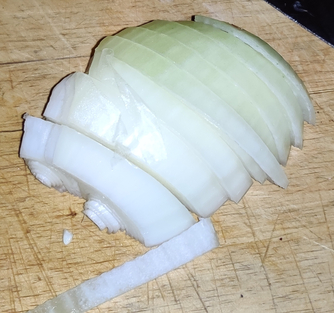
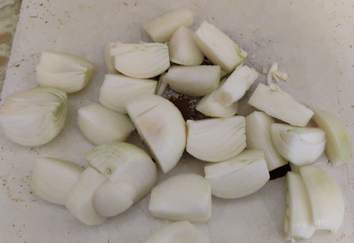
… then the onions were sliced …
Sliced onions
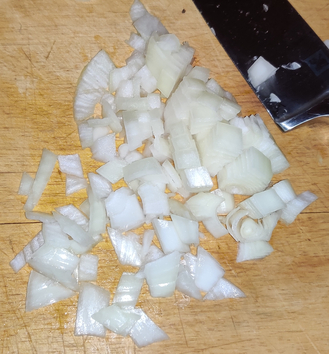
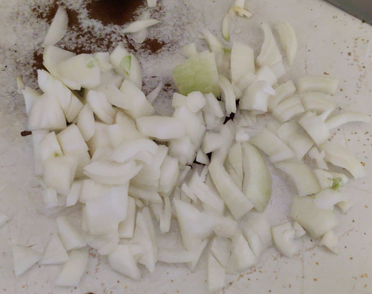
… then the onions were chopped …
Chopped onions
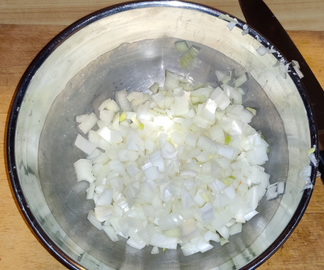
… and the chopped onions were placed in a mixing bowl:
Chopped onions placed in mixing bow
A potato was taken out …
A potato
… and the potato was cleaned and trimmed:
Potato cleaned and trimmed
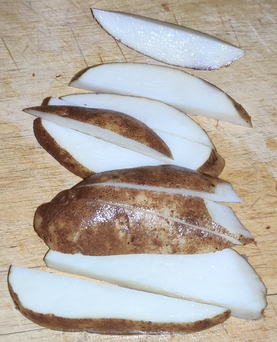
The potato was sliced along its length …
Potato sliced along its length
… the potato was then sliced into spears …
Potato sliced into spears
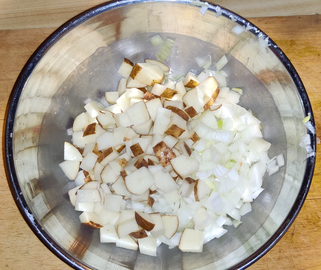
… then the potato was sliced into cubes …
Potatoes sliced into cubes
… and the potato cubes were placed into the mixing bowl with the chopped onions:
Potato cubes placed in mixing bowl with chopped onions
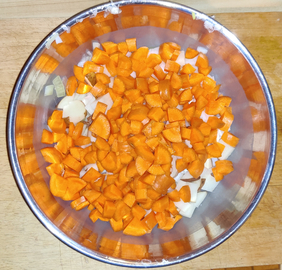
Two carrots were taken out …
Two carrots
… the carrots were cleaned and trimmed …
Carrots cleaned and trimmed
… then the carrots were quartered to make spears …
Carrots sliced into spears
… then the carrots were then chopped coarsely …
Carrots chopped coarsely
… and the chopped carrots were placed in the bowl with the potato cubes and chopped onions:
Chopped carrots placed in mixing bowl with potatoes and onions
Throughout all the vegetable chopping, I mixed the ingredients already in the pot while it was heating up, in order to avoid burning on the bottom of the pot.
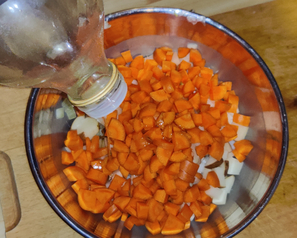
Next, olive oil was added to the bowl of chopped vegetables …
Olive oil added to the chopped vegetables
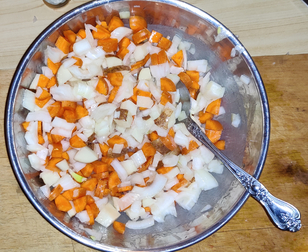
… then the chopped vegetables and olive oil were mixed together to fully coat the chopped vegetables:
Mixed vegetables and olive oil mixed together
A cast iron skillet was preheated on the stove:
Cast iron skillet preheated on the stove
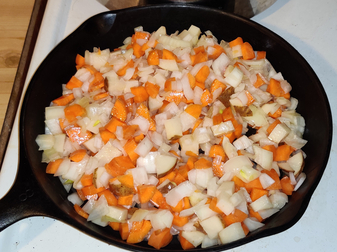
… and the mixed chopped vegetables and olive oil were transferred to the skillet:
Transferring mixed chopped vegetables and olive oil to the cast iron skillet
Mixed chopped vegetables and olive oil in the cast iron skillet
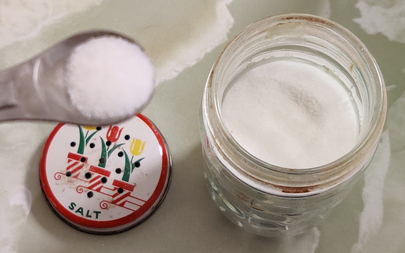
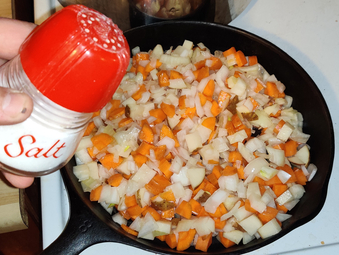
Salt was added to the frying chopped vegetables:
Salt added to the frying chopped vegetables
Once the chopped vegetables started to brown in the skillet, they were transferred to the soup pot that was continuing to be heated up:
Fried vegetables transferred to the soup pot
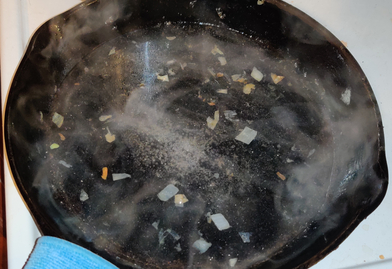
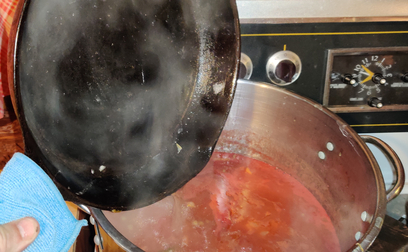
The skillet was deglazed with water …
Deglazing hot skillet
… and the deglazing liquid was added to the soup pot:
Deglazing liquid added to the soup pot
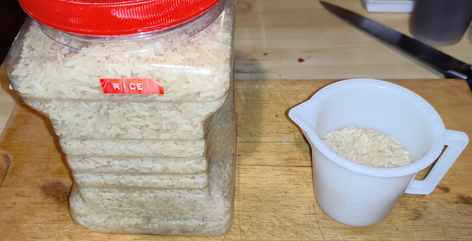
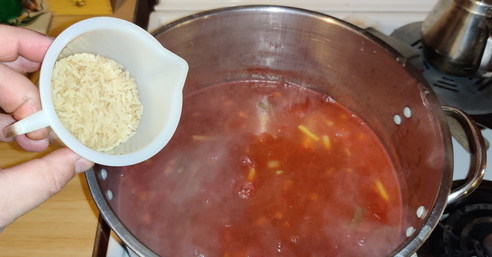
Half a cup of rice was measured out:
Half a cup of rice measured out
… and the rice was added to the soup.
Rice added to the soup
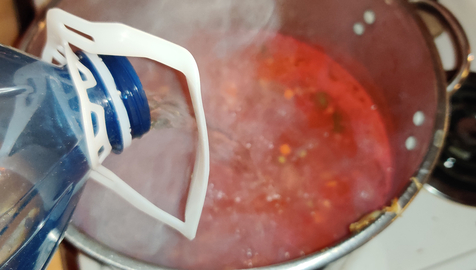
Water was added to the soup pot to bring the liquid level up to the eight quart mark:
Water added to soup pot to bring it to eight quart mark
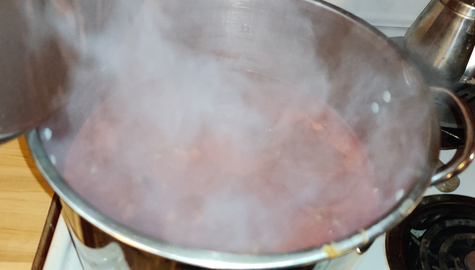
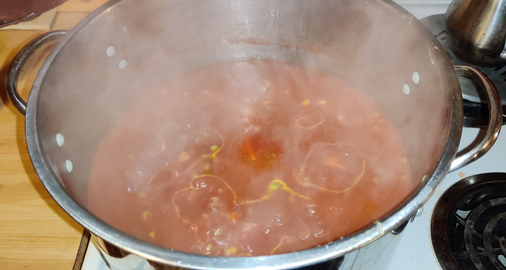
The soup was continued to be heated:
Soup heating up
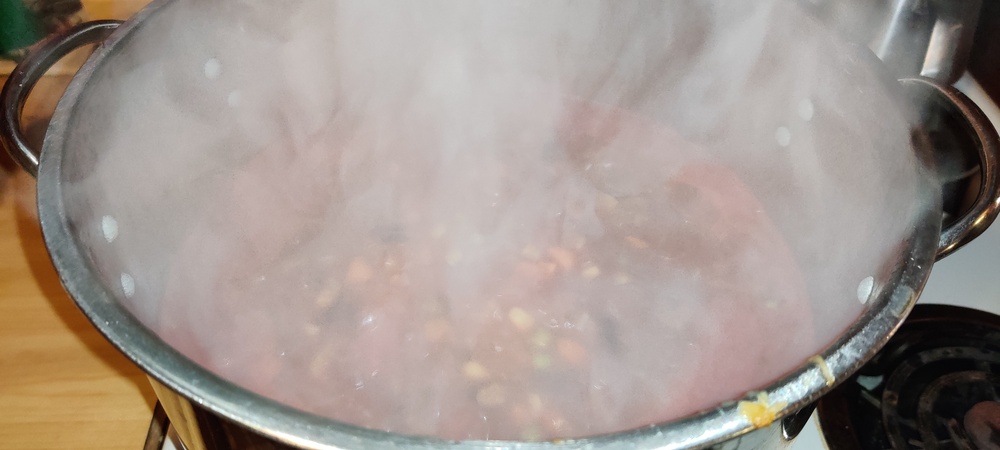
… and brought to a boil:
Boiling soup
The heat was reduced and the soup was simmered for over half an hour:
Simmering soup
I continued adjusting the salt level in the soup until it was to my taste.
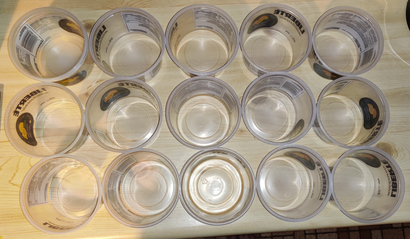
While the soup was simmering, plastic containers (in this case, reused yoghurt containers) were laid out:
Plastic containers laid out
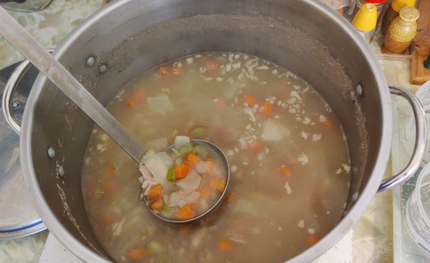
Once the soup had simmered for over half an hour (probably coming on to an hour), the soup was taken off the stove, and transferred to the containers with a ladle (the golden sheen is the olive oil reflecting the camera flash):
Soup transferred to plastic containers
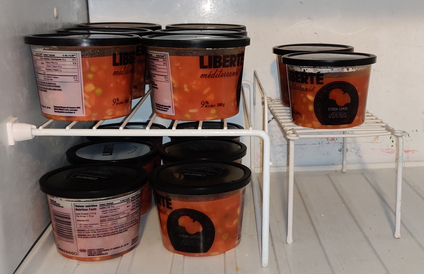
And the containers were covered, and placed in the freezer:
This week’s cooking projects from my recipe collection was to make my mini meat loaves, the subject of this post, plus, earlier in the week, blondies and bran muffins. My recipe for meat loaf is another example of one of my easy recipes whose formal existence lies in simply documenting rough amounts of ingredients required to make the dish, as well as filling the freezer with convenient prepared-in-advance foods in portions convenient for one to two people; admittedly, the recipe hardly describes a particularly technical, involved, or challenging dish.
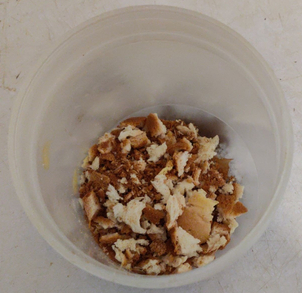
First, I checked my container in which I collect and save bread crumbs and bread pieces to see if I’d had enough dried bread crumbs and bread pieces:
My container of dried bread crumbs and bread pieces
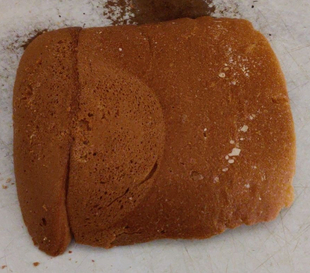
Although I did have a sufficient supply, I decided to add to it, by taking out a bread heel …
Bread heel
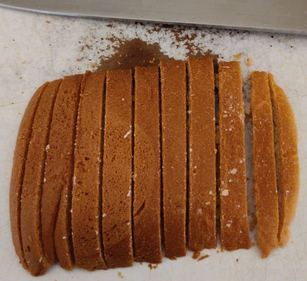
… which was sliced into spears …
Bread sliced into spears
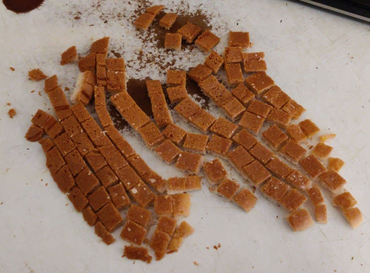
… and then sliced again into cubes:
Bread cut into cubes
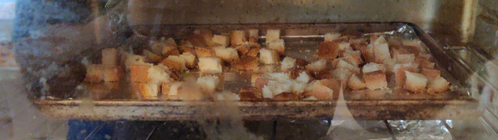
The bread was placed into a countertop convection oven in order to dry the bread cubes:
Bread cubes drying in a countertop convection oven
When dried (and perhaps slightly over-browned), the bread cubes were taken out of the countertop oven, and allowed to cool:
Dried bread cubes
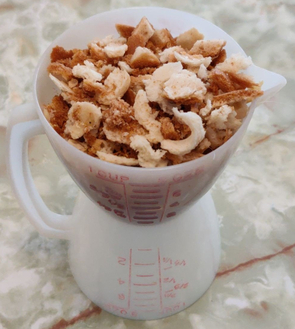
The cooled bread cubes, and some of my existing supply, were placed in a measuring cup and put aside:
Dried bread put aside
Two onions were taken out …
Two onions
… trimmed …
Trimmed onions
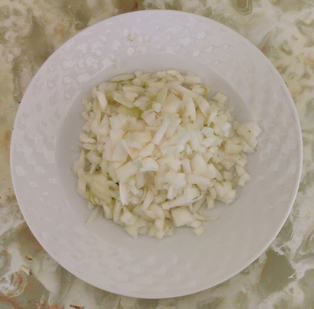
… chopped somewhere between coarsely and finely …
Chopped onions
… and placed in a bowl, to be put aside for later use:
Chopped onions placed in a bowl
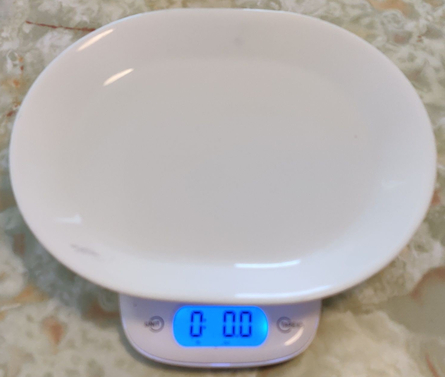
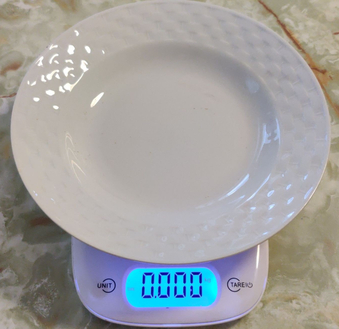
A serving plate was placed on a kitchen scale, which was set to imperial units, and set to zero:
Plate, and kitchen scale set to zero
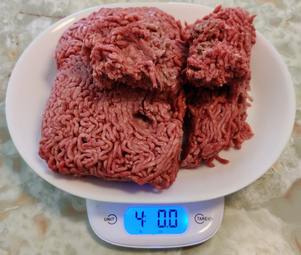
Four pounds of ground beef were measured out …
Four pounds of ground beef
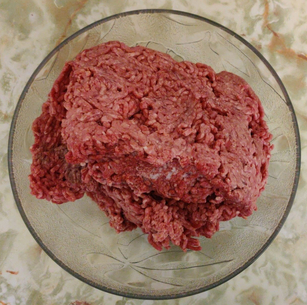
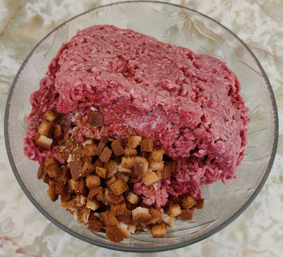
… and placed in a large mixing bowl (well in this case, a large salad bowl):
Ground beef placed in a mixing bowl
The dried bread cubes and bread crumbs were added to the mixing bowl:
Dried bread cubes and bread crumbs added to the mixing bowl
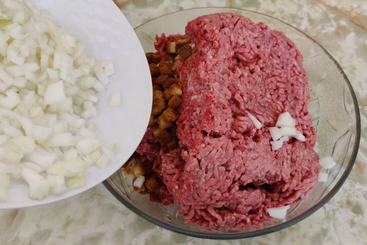
The chopped onions were added to the mixing bowl:
Chopped onions being added to the mixing bowl
Chopped onions added to the mixing bowl
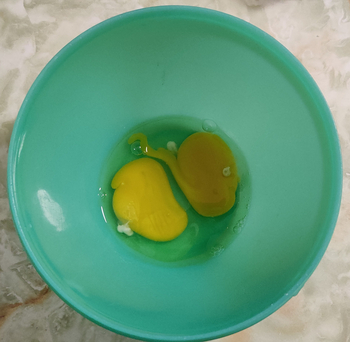
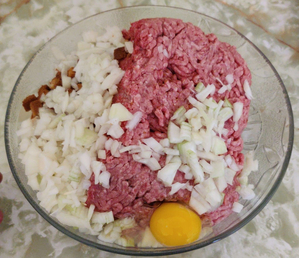
A large egg was cracked and added to the mixing bowl:
Large egg added to the mixing bowl
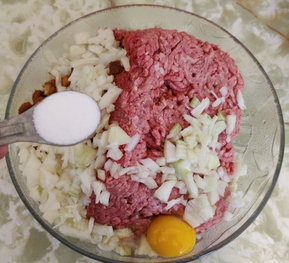
A teaspoon of salt was added to the mixing bowl:
A teaspoon of salt was added to the mixing bowl
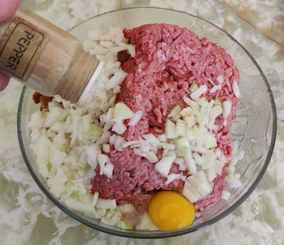
And pepper was added to the mixing bowl:
Pepper added to the mixing bowl
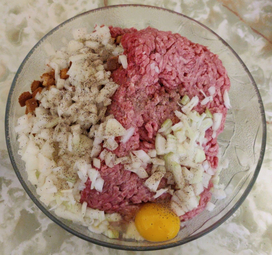
Here is the mixing bowl with all the ingredients in it:
Mixing bowl with all the ingredients
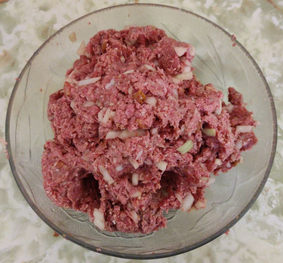
All ingredients were thoroughly mixed by hand:
Ingredients mixed by hand
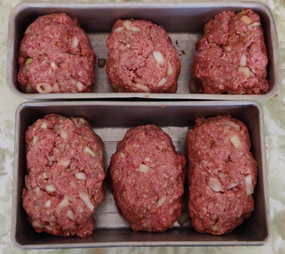
The meat mix was formed into six individual mini loaves, and three mini loaves were placed in each of two loaf pans:
Meat mix formed into individual loaves and placed in loaf pans
The meat loaves were placed in a countertop oven preheated to 350F:
Meat loaves placed in countertop oven
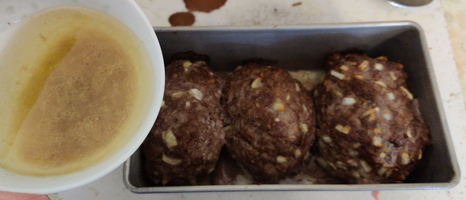
Partway through the cooking, the meat loaves were removed from the oven, and basted with the drippings from the bottom of the baking pans:
Basting the meatloaves with drippings from the baking pan
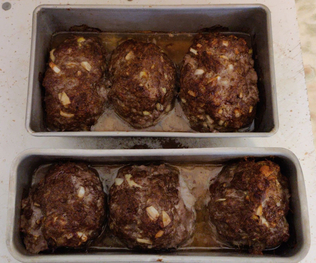
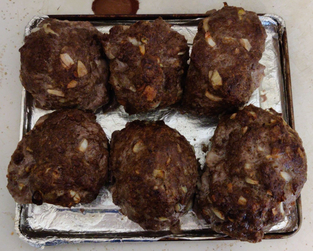
At the end of the cooking, the meat loaves were removed from the countertop oven:
Fully cooked meat loaves
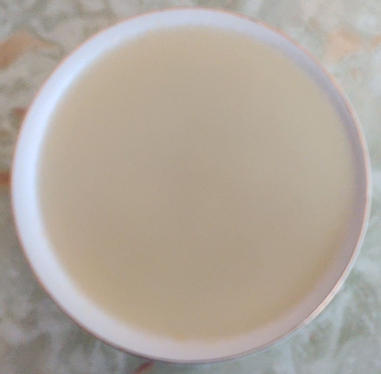
The drippings were transferred to a bowl …
Drippings from the pan were transferred to a bowl
… and the grease was cooled solid in a refrigerator:
Solidified grease
The solidified fat was separated from the other drippings, which were saved in a container and frozen for use in some future soup not yet otherwise planned; the solidified fat was wrapped in paper towelling, and placed in the curbside brown box for municipal composting.
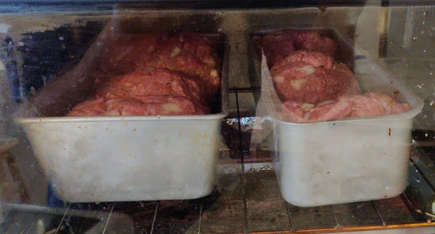
In the meantime, the meat loaves were placed on a tray, to be placed in the freezer to quickly cool down:
Meat loaves placed on a tray to place in the freezer to cool down
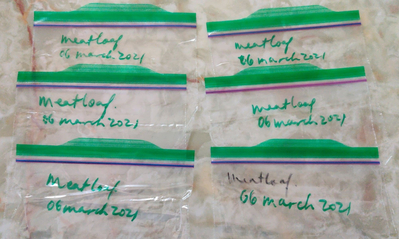
Sealable sandwich bags were identified with the intended contents and the date:
Sandwich bags identified with the intended contents and the date
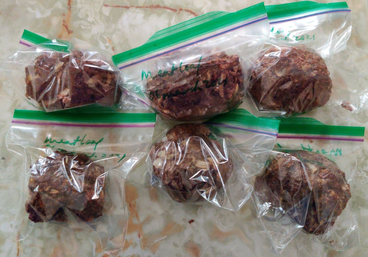
The now partially frozen meat loaves were placed in the sandwich bags:
Meat loaves placed in sandwich bags
Finally, the meat loaves were placed in the freezer again, for when I will be eating them.
They are really convenient to take out for last minute supper plans for two, and / or to have leftovers for lunches.
First, a bowl was placed on a kitchen scale and the scale weight was set to zero:
Kitchen scale set to zero after placing a bowl on it
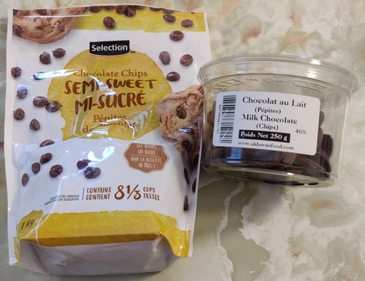
Then semi-sweet chocolate chips and milk chocolate buttons (as well as a few rosettes) were taken out …
Semi-sweet chocolate chips and milk chocolate buttons
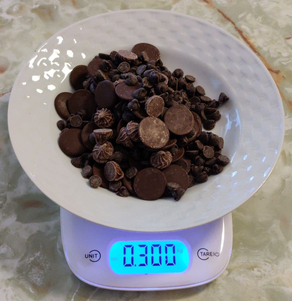
… and 150 grams of each were weighed out in the bowl, for a total of 300 grams:
300 grams of semi sweet chocolate chips and milk chocolate buttons and rosettes
The chocolates were then put aside for later.
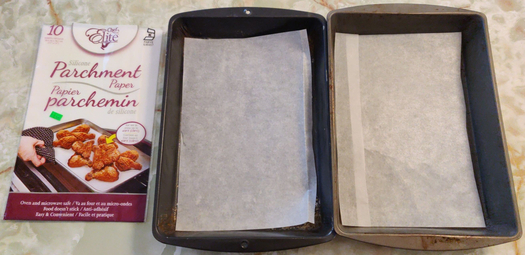
Then, two 13″ x 9″ baking pans were lined with parchment paper, and put aside for later:
Two 13″ x 9″ baking pans lined with parchment paper
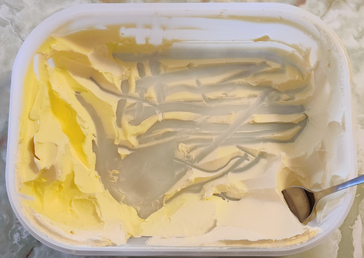
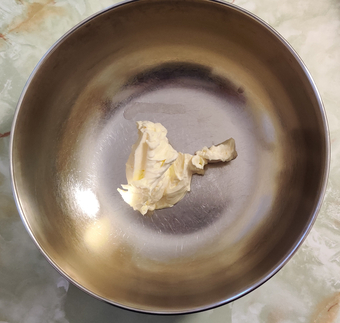
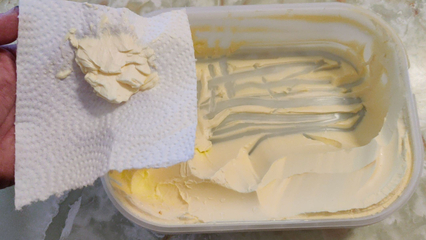
To begin making the buttercrunch part, margarine was scooped up in a paper towel …
Margarine on a paper towel
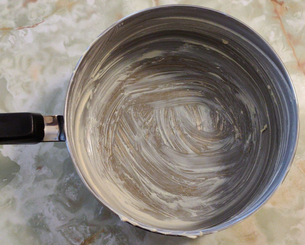
… and a heavy pot was coated with the margarine:
Heavy pot coated with the margarine
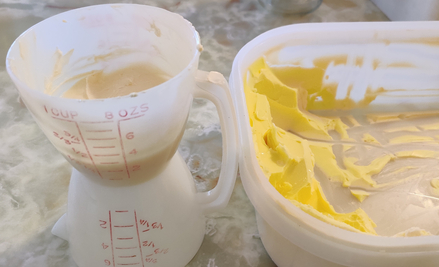
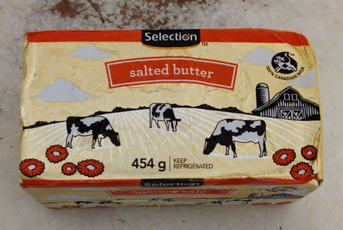
A pound of butter was taken out …
A package of butter
… and half a pound of butter was cut off to be used in the recipe, while the remaining portion was put away:
Half a pound of butter was cut off
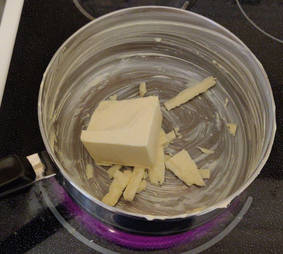
The butter was placed in the greased, heavy pot, and the stove turned on low:
Butter placed in the greased pot
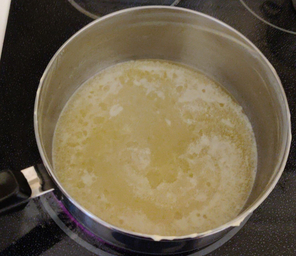
On a low heat, the butter was completely melted:
Melted butter
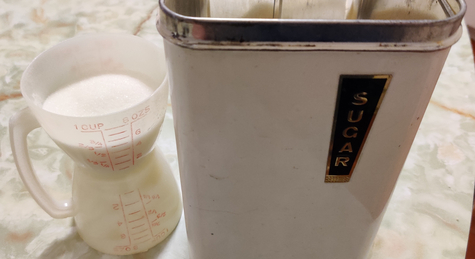
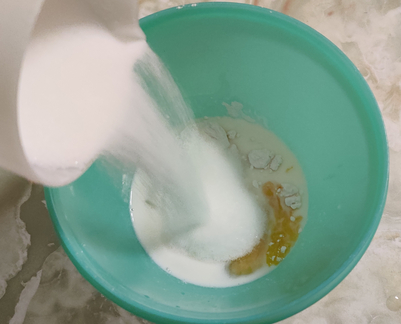
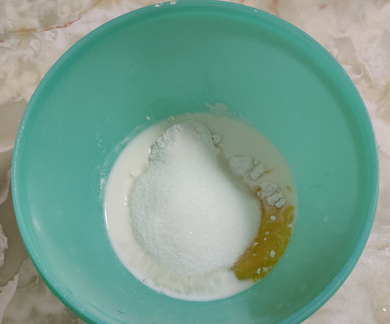
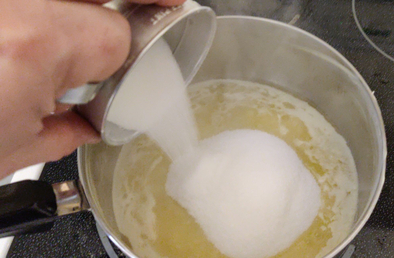
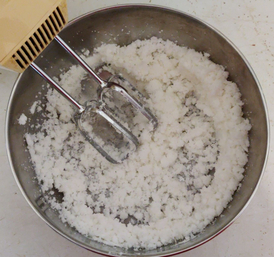
A cup and a quarter of granulated white sugar was added to the melted butter …
A cup and a quarter of granulated white sugar added to the melted butter
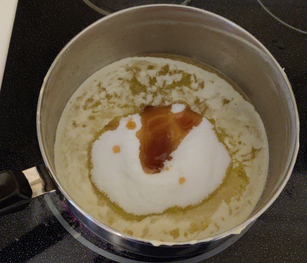
… along with roughly two tablespoons of maple syrup …
Two tablespoons of maple syrup added
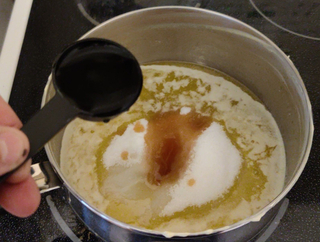
… and roughly two tablespoons of water:
Two tablespoons of water added
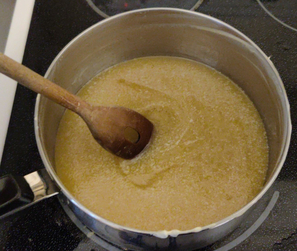
The melted butter, sugar, maple syrup, and water were mixed together …
Melted butter, sugar, maple syrup, and water mixed together
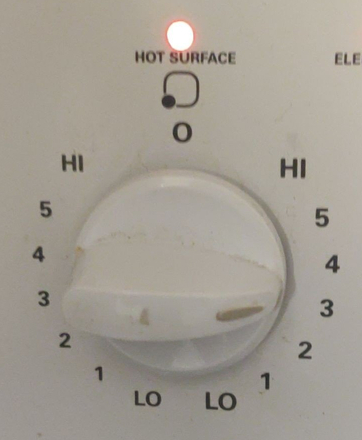
… and then stove burner was turned up from a low setting to a medium setting:
Stove raised to medium heat
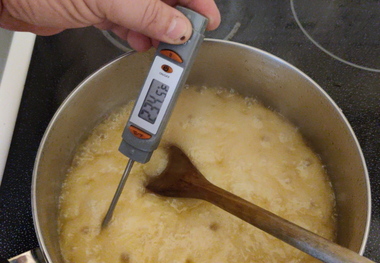
And the mixture was heated, while constantly being stirred, and the temperature being monitored with a candy thermometer:
Mixture being heated, while constantly being stirred, and the temperature being monitored
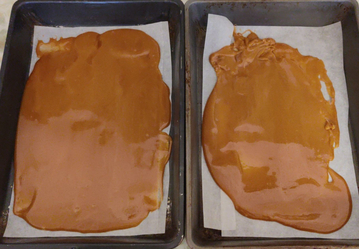
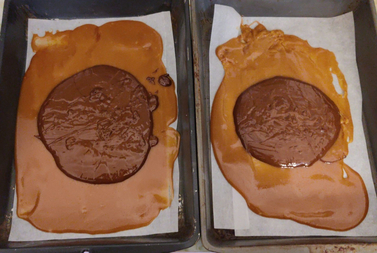
Once the mixture reached 300F, it was transferred to the baking pans lined with the parchment paper …
Hot buttercrunch mixture transferred to baking pans lined with parchment paper
… and immediately spread out using a stiff spatula:
Buttercrunch mixture spread out in the baking pans
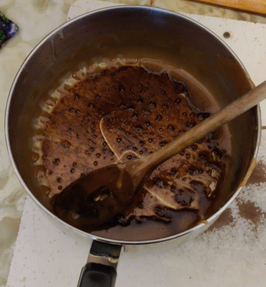
As a cautionary mention, be careful not to overheat the buttercrunch mixture, since shortly after 300F, the pan will scorch (this picture is normal, but it is at the point at which the candy would scorch if the buttercrunch were left in the pot any longer):
Scorching pot bottom
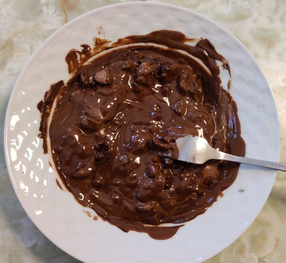
The chocolate prepared earlier was placed in a microwave oven for two and a half minutes to melt, and partway through, I took it out to blend it so as to help with even melting and to avoid hot spots which would promote burning:
Partially melted chocolates
And then the fully melted chocolate was taken out of the microwave, and fully blended (Note that this photo is from a previous batch some months ago):
Fully melted and blended chocolate
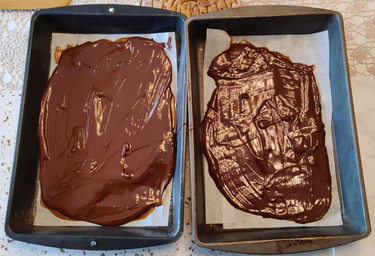
The fully melted and blended chocolate was poured onto the still-warm buttercrunch …
Melted chocolate poured onto the still-warm buttercrunch
… and then the chocolate was promptly spread over the buttercrunch with a stiff spatula:
Chocolate spread over the buttercrunch
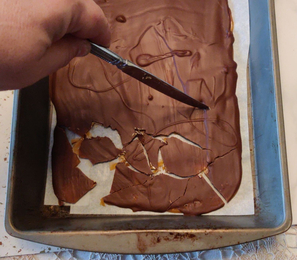
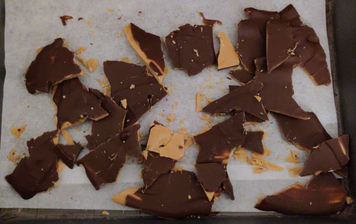
The chocolate was allowed to just about fully cool to room temperature, and hence once the chocolate was congealed, a table knife was use to break the buttercrunch into rough pieces:
Chocolate buttercrunch broken into rough pieces with a table knife
The trays of chocolate buttercrunch were then placed in a fridge to completely cool and solidify the candy, and then the pieces were gingerly broken apart by hand (be careful, too much effort or enthusiasm in doing so will separate the chocolate from the buttercrunch):
Pieces of chocolate buttercrunch separated from each other
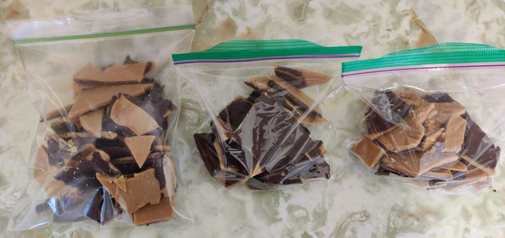
And finally, the candy was separated into bags:
Chocolate buttercrunch pieces separated into bags
Of course, mom received the largest bag, while my brother will get one of the other two bags.
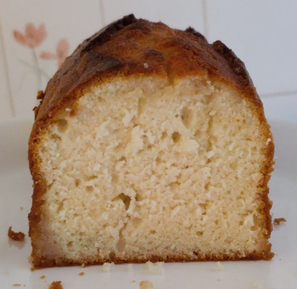
I came about to learning to make plain cake from scratch after I attempted to make a New York crumble cake I’d seen being made on a Martha Stewart cooking show. Not only was the cake not as expected — we were expecting mostly cake with a modest but tasty crumble crust, instead of the actual small amount of cake and a sizable crumble crust — the cake did not bake well, and I was very disinclined to try it again. The next day, I looked for a plain cake recipe on the internet and found one, which I adapted to my format.
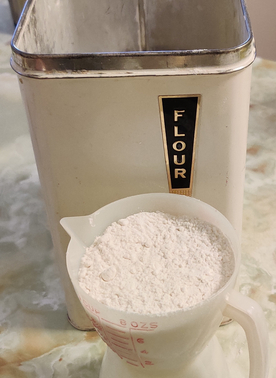
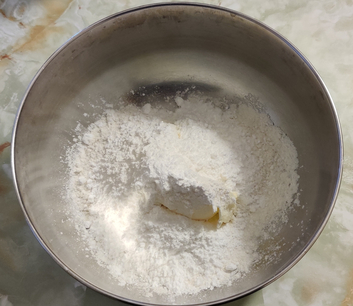
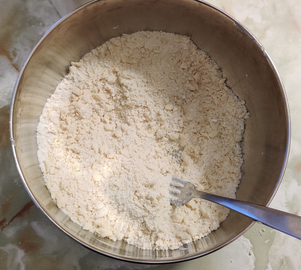
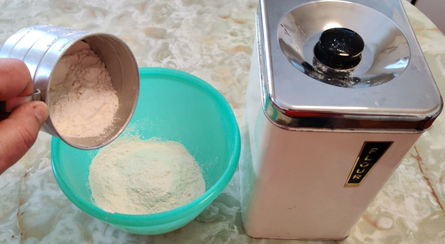
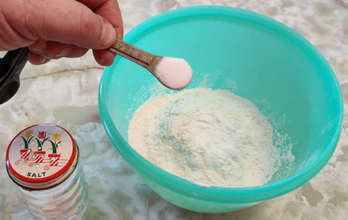
First, two cups of flour were placed in a mixing bowl:
Two cups of flour added to a mixing bowl
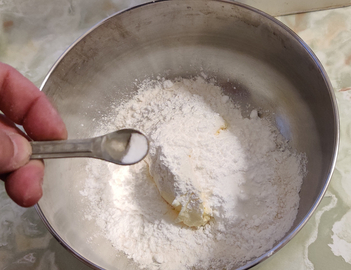
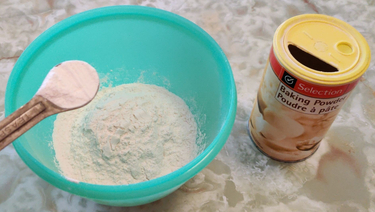
… to which two teaspoons of baking powder were added:
Baking powder added to the flour
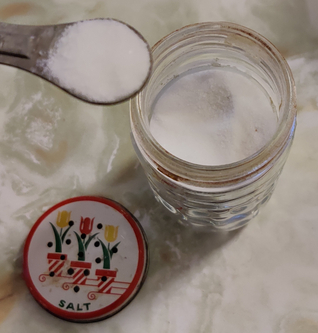
… as well as a quarter teaspoon of salt:
Quarter teaspoon salt added to flour and baking powder
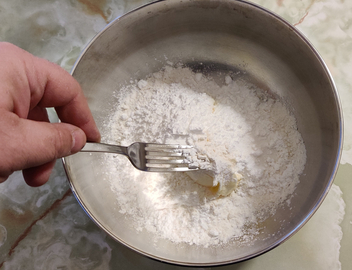
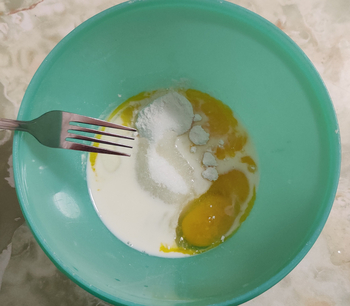
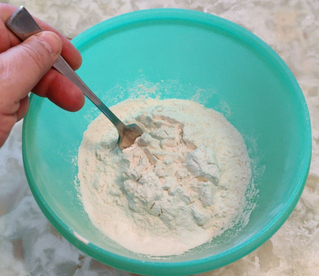
The flour, baking powder, and salt were blended with a fork:
Blending flour, baking powder, and salt
The bowl was then put aside until later.
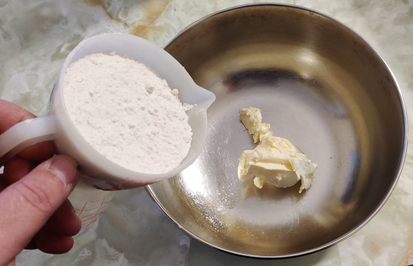
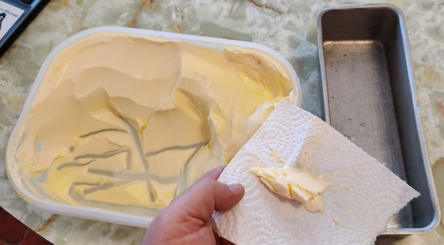
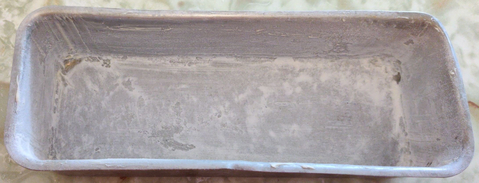
Margarine was picked up on a piece of paper towelling:
Margarine on a piece of paper towel
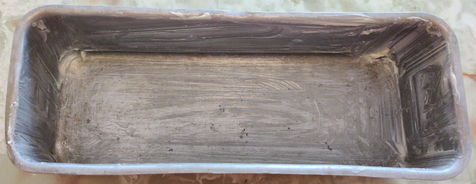
… in order to coat the interior surfaces of the baking pan:
Inner surfaces of baking pan coated with margarine
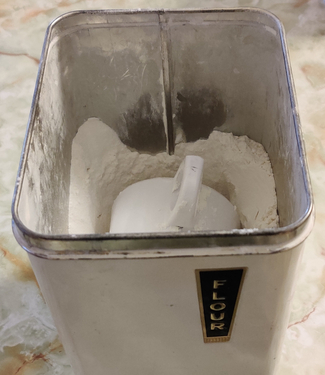
Then, a bit of flour was put in the pan …
Flour put into pan
… and spread around to coat the margarine:
Baking pan coated with flour and margarine
The baking pan was also put aside until later.
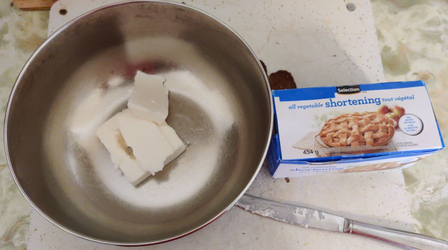
In another mixing bowl, a quarter cup of shortening was added:
A quarter cup of shortening in a mixing bowl
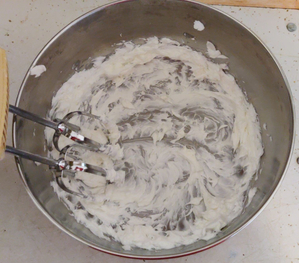
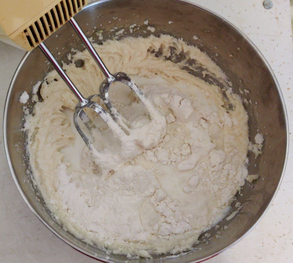
The shortening was creamed with an electric mixer:
Creamed shortening
A cup of sugar was added to the creamed shortening:
Adding a cup of sugar to the creamed shortening
… and the sugar and shortening were blended:
Sugar and shortening blended
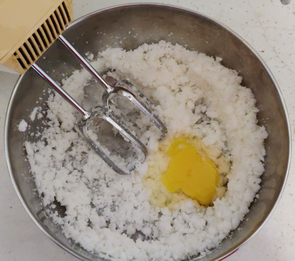
An egg was added to the mixing bowl:
Egg added to mixing bowl
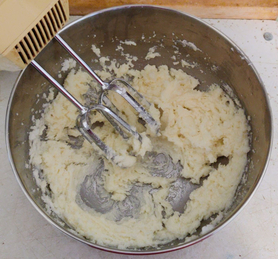
… and the ingredients were again blended:
Egg, sugar, and shortening blended
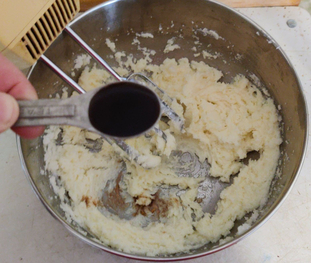
A teaspoon of vanilla extract was added to the mix:
A teaspoon of vanilla extract being added to the mix
A teaspoon of vanilla extract added to the mix
… and again, the ingredients were blended.
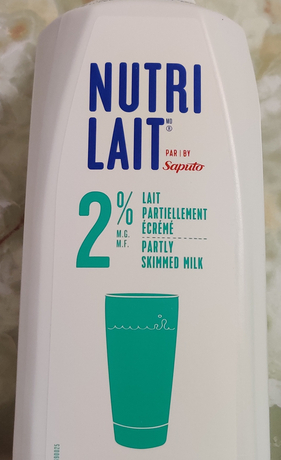
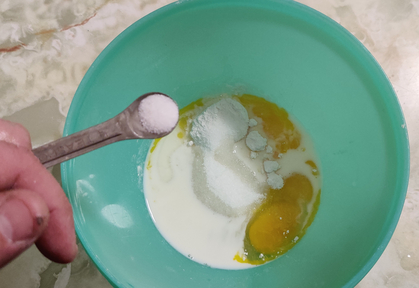
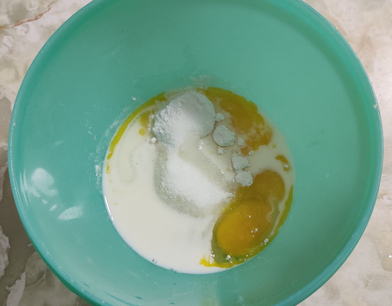
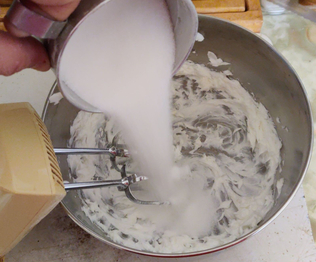
About a third of the flour mix prepared earlier, and about a third of a cup of milk, were added to the ingredients:
A third of the flour mix and a third of a cup of milk added to the ingredients
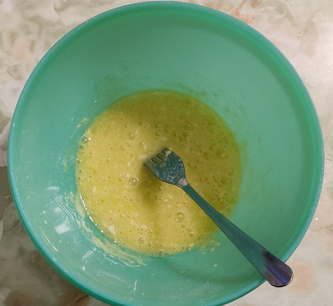
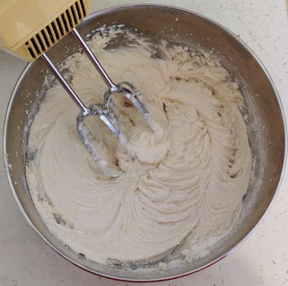
… and completely blended:
Cake batter thoroughly mixed
The previous two steps were repeated twice until all the milk and flour mix were blended into the batter.
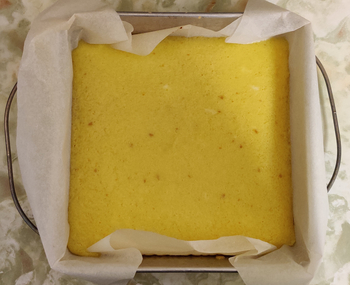
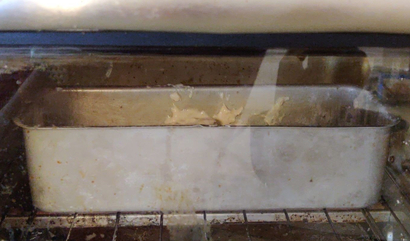
The batter was then transferred to the floured baking pan:
Batter transferred to baking pan
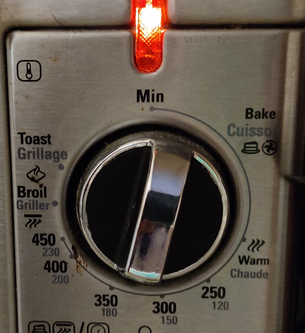
… and placed in a countertop convection oven preheated to 350F:
Cake pan in countertop convection oven
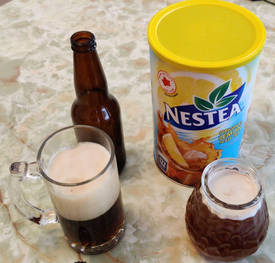
At this point, I was getting rather thirsty, so I poured myself some iced tea, and a bottle of my homebrew, a Belgian-style brown ale, made with water from filtered, melted ice from the lake at my cottage:
Some of my homebrew, and some iced tea
Aaahhhhh …
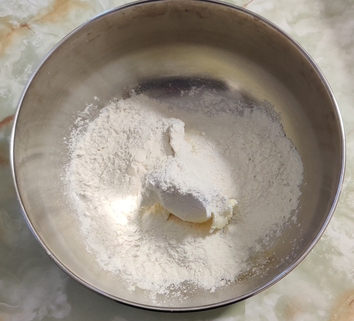
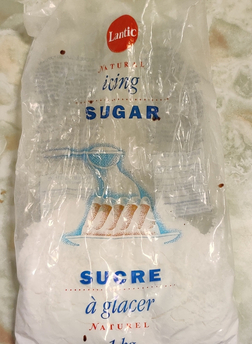
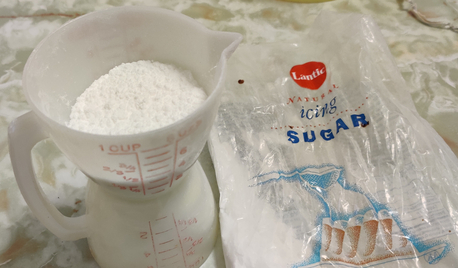
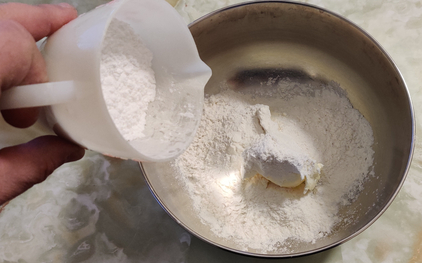
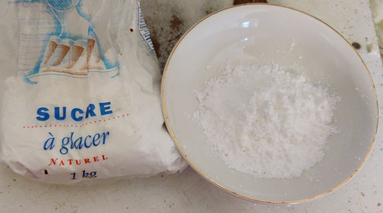
Since my mom suggested that a lemon drizzle be added to the cake, first a few tablespoons of icing sugar were placed in a bowl:
Icing sugar added to a bowl
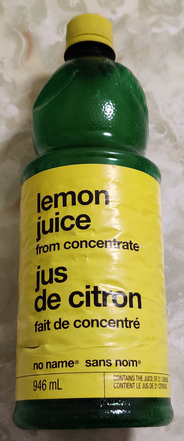
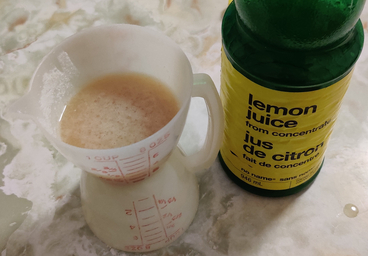
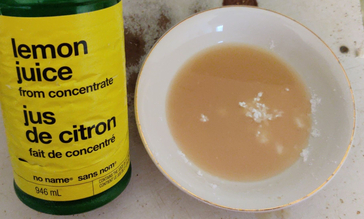
… to which half the number of teaspoons of lemon juice were added:
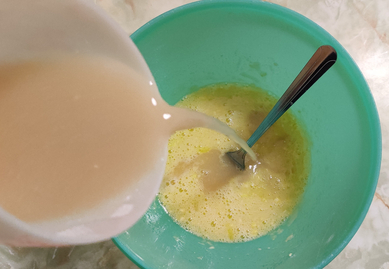
Lemon juice added to the icing sugar
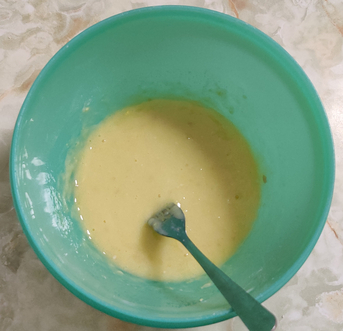
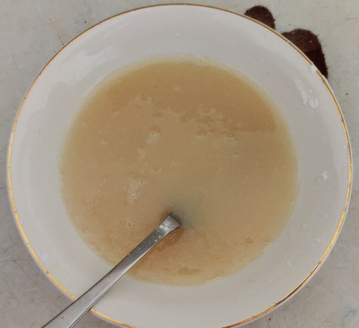
… and the ingredients were mixed, then put aside for later:
Icing sugar and lemon juice mixed together
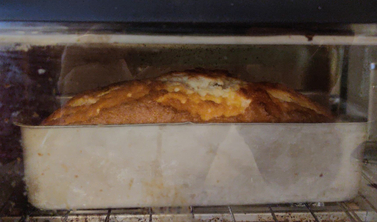
Soon, the cake in the oven was puffing up and browning:
Cake baking in the oven
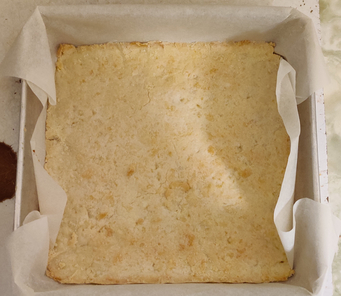
… and was taken out of the oven after 55 minutes of baking:
Fully baked cake
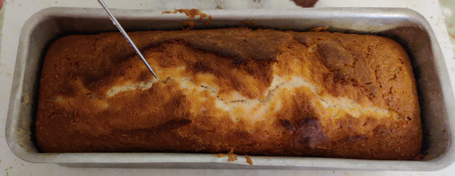
The cake was pricked multiple times with a thick needle …
Pricking the cake
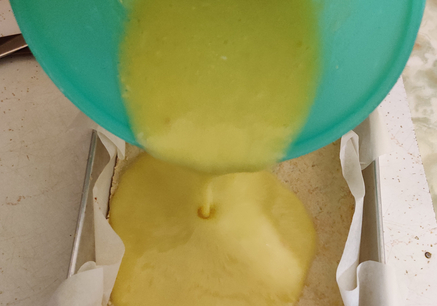
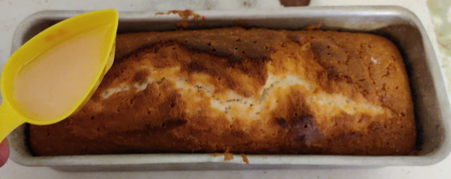
… to allow for some absorption of the lemon sauce which was poured over the cake with a small plastic scoop:
Pouring the lemon sauce on the cake
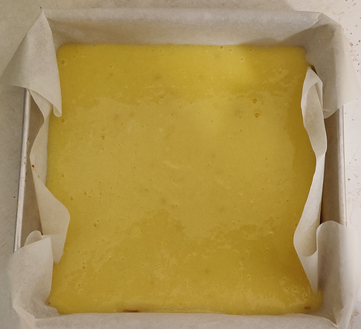
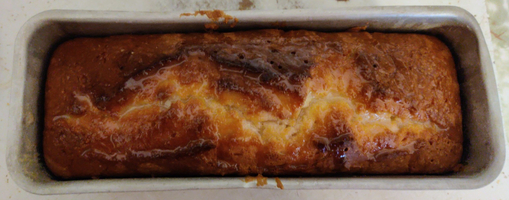
… at which point, the cake looked like follows:
Baked cake with lemon sauce
When cooled, a knife was used to loosen the cake around its edges in the baking pan, and the cake was taken out of the baking pan:
Cake removed from baking pan
A few slices of cake were cut from the cake:
Cake with some pieces sliced off
And, of course, the cake was yummy! And mom said “Delicious!”
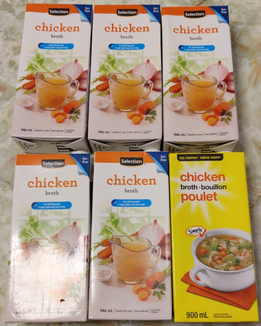
This week’s cooking project from my collection of recipes is my recipe for chicken soup. Originally, I put together the recipe to make soup on one of the occasions I did so for the coffee and social hour at my church (a different kind of soup from the vegetable soup I initially, and usually, make on such occasions), hence a volume of eight quarts; normally at home, I make four quarts of this soup. However, today I decided I would make the full eight quart recipe and test out how well it freezes, never having tried to freeze this soup before. (Update 20210407: I have since made another eight quarts of the soup, it having been gobbled up rather quickly, and for both batches, it froze and defrosted quite nicely.)
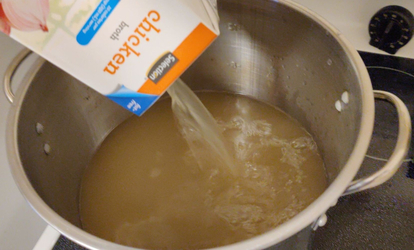
First, I emptied six 900ml boxes of store-bought chicken broth …
Six – 900mL boxes of chicken broth
… into my 16 quart stock pot:
Chicken broth transferred to a pot
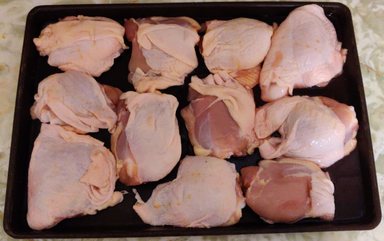
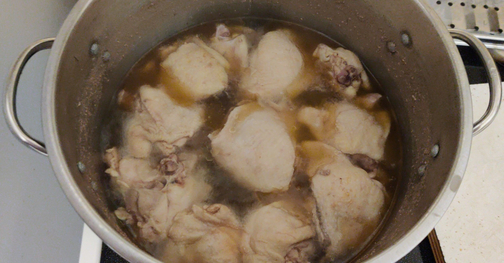
Then, four pounds of chicken pieces …
Four pounds of chicken
… were placed into the chicken broth …
Chicken pieces placed in the chicken broth
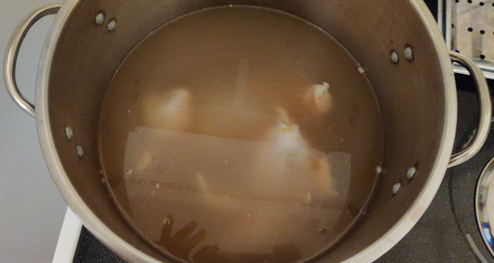
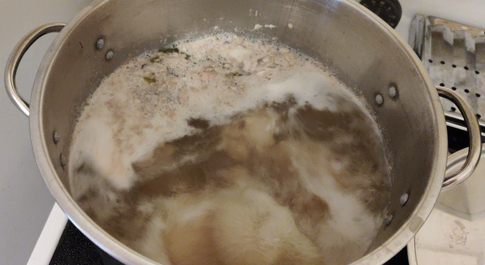
… and brought to a boil:
Broth and chicken brought to a boil
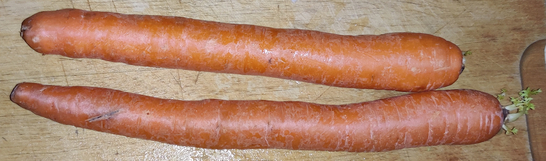
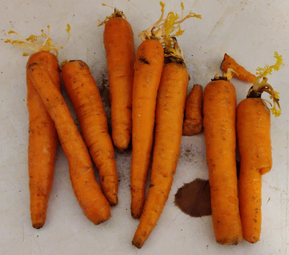
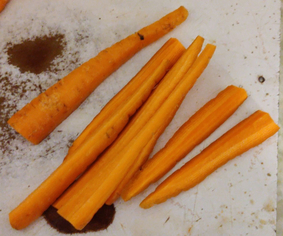
While the broth and chicken were heating up and boiling for about 30 minutes, carrots were taken out (yes, these were a bit on the old side):
Carrots taken out
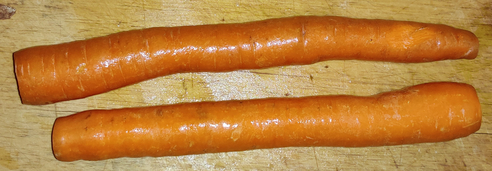
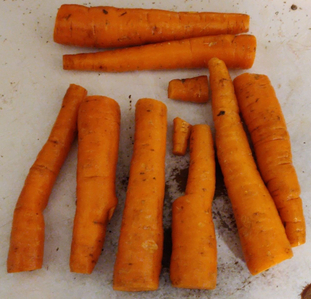
The carrots were cleaned and trimmed:
Cleaned and trimmed carrots
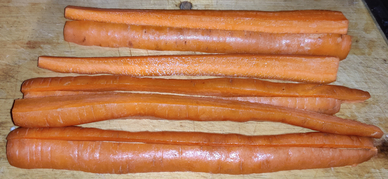
Then, they were quartered, length-wise:
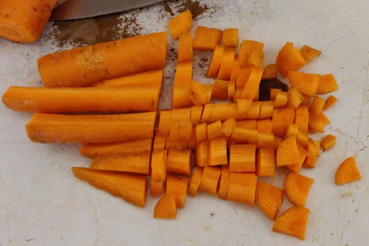
Quartered carrots
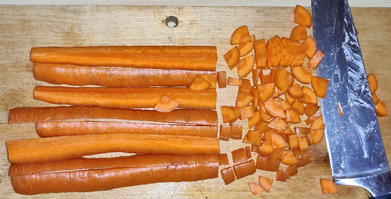
… and then the carrots were chopped coarsely:
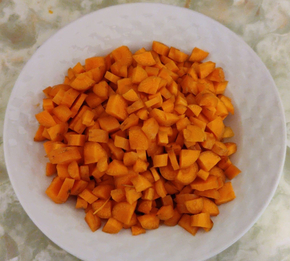
Chopped carrots
The chopped carrots were placed in a bowl, and put aside for later:
Chopped carrots in a bowl and put aside
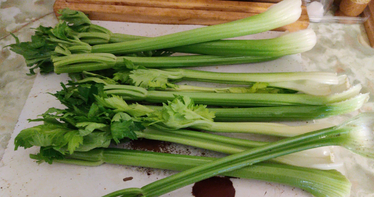
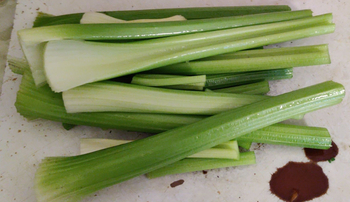
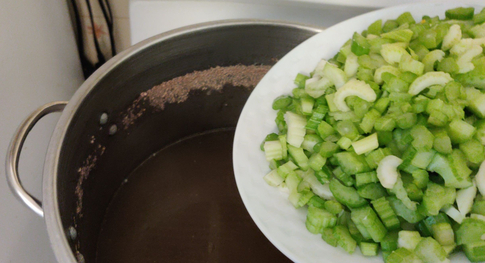
Then, celery (a bit more than called for in my recipe) was taken out and cleaned:
Cleaned celery sticks
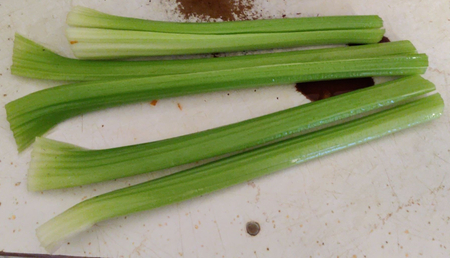
The celery stalks were trimmed:
Trimmed celery stalks
Then the celery stalks were were sliced lengthwise:
Celery stalks sliced lengthwise
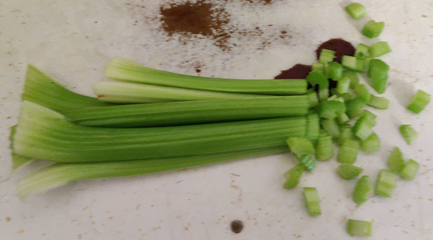
… and then the celery stalks were chopped coarsely:
Chopping the celery
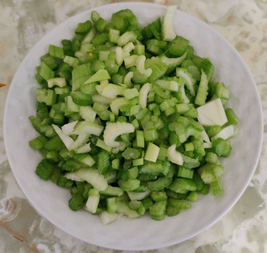
The chopped celery was placed in a bowl, and put aside for later:
Chopped celery in a bowl and put aside
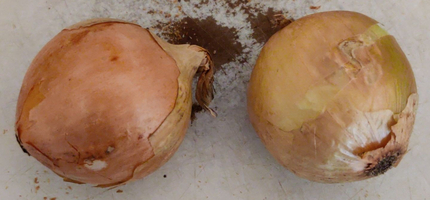
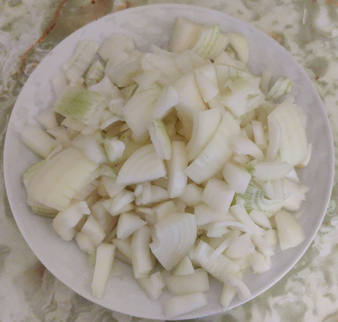
About two pounds of onions were then taken out …
About two pounds of onions
… trimmed …
Trimmed onions
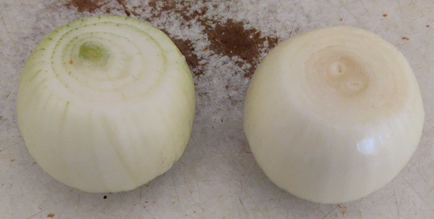
… quartered …
Quartered onions
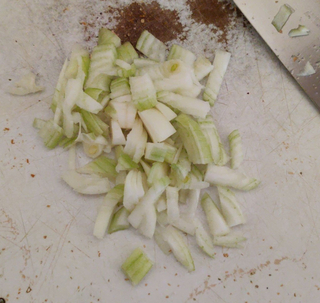
… and chopped coarsely:
Chopped onions
The chopped onions were placed in a bowl, and put aside for later:
Chopped onions in a bowl and put aside
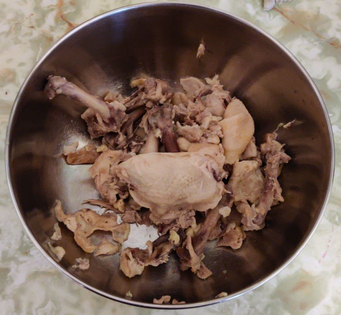
At this point, the chicken and broth had been boiling for about 30 minutes:
Cooked chicken after boiling for 30 minutes
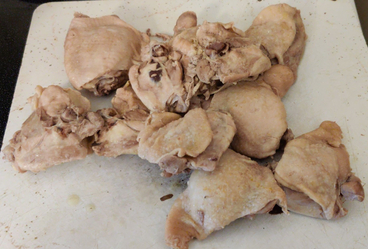
… and the chicken pieces were taken out of the broth, and placed on a cutting board:
Cooked chicken taken out of the broth and placed on a cutting board
The heat under the broth was turned off for the time being, and the chicken put aside for a few moments to allow some cooling.
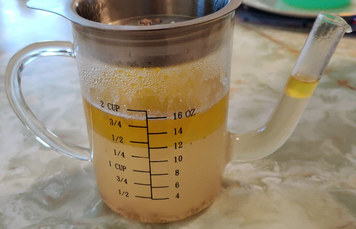
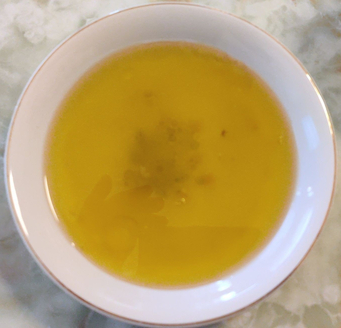
In the meantime, the chicken fat was skimmed off the top of the broth and placed in a fat separator:
Skimmed chicken fat in a fat separator
The soup fraction at the bottom was transferred back to the soup pot, and the fat was transferred to a bowl to solidify:
Liquid chicken fat transferred to a bowl
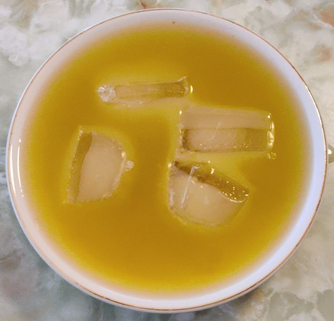
Should one not have a fat separator, the skimmed fat can be placed in a large bowl or pot, and ice can be added to more quickly solidify the fat, allowing for its easy removal so that the (now diluted) soup fraction underneath can be returned to the soup pot:
Ice added to the chicken fat to solidify it and recover the liquid soup underneath
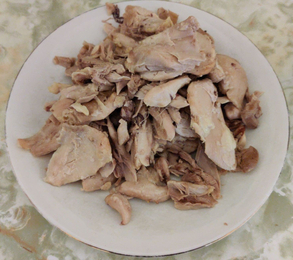
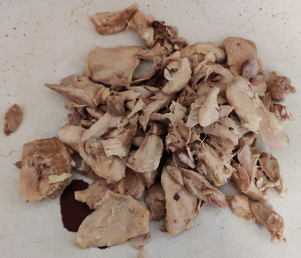
Returning to the soup ingredients, I separated the somewhat cooled chicken meat …
Chicken meat separated from bones, skin, and cartilage
… from the bones, skin, and cartilage:
Bones, skin, and cartilage separated from the chicken meat
The bones, skin, and cartilage were wrapped up in paper along with the solidified chicken fat, and the trimmings from the carrots, celery, and onions, to be placed in my curbside brown box for pickup for municipal composting.
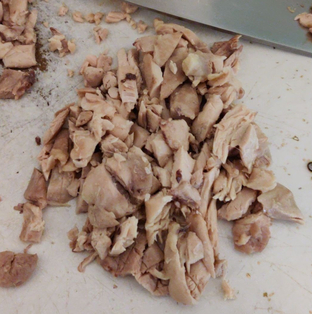
The chicken meat was placed back on the cleaned cutting board:
Chicken meat placed back on the cutting board
… and the chicken meat was chopped coarsely:
Coarsely chopped chicken
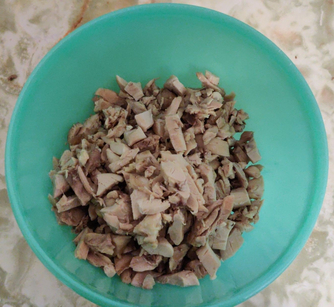
The chopped chicken was placed in a bowl, and put aside for later:
Chopped chicken
At this point, I started “assembling” the soup, by adding the chopped celery to the still-hot broth:
Adding chopped celery to the chicken broth
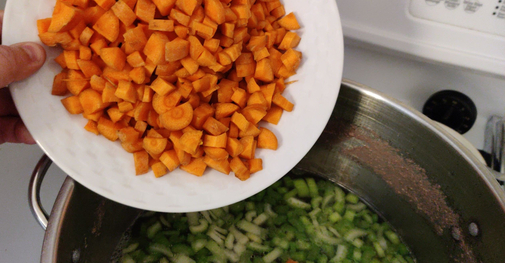
… then the chopped carrots:
Adding chopped carrots to the chicken broth
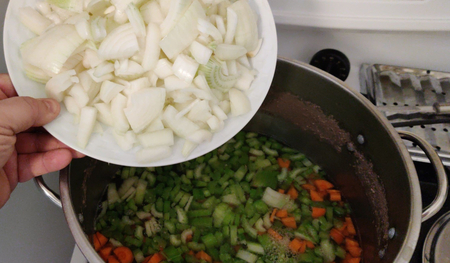
… then the chopped onions:
Adding chopped onions to the chicken broth
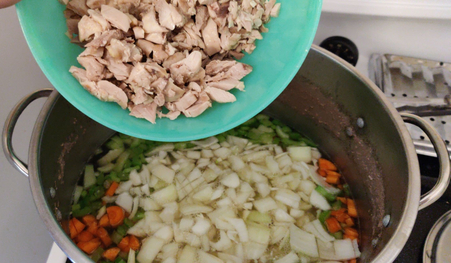
… and finally the chopped chicken meat:
Adding chopped chicken to the chicken broth
Given that the commercial broth purchased for today’s cooking had sufficient salt content for my liking, barely a shake of extra salt was added to the pot.
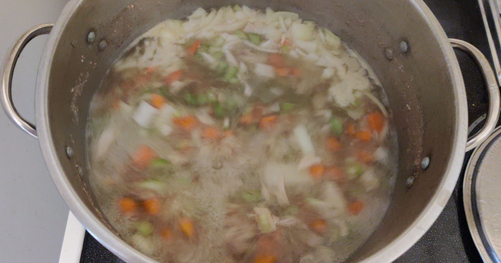
The soup was brought to a boil again, and boiled for another thirty minutes:
Soup boiling again
Here’s the soup after boiling all the ingredients together for thirty minutes:
Cooked chicken soup. Yummy!
The cooked chicken soup was transferred to ten used yoghurt containers for freezing, and two more slightly larger containers (on the right) to put in the fridge for supper later on in the day:
Ten containers of soup for freezing, and two more slightly larger containers for supper
The soup for supper was great, and the individual containers are already in the freezer for future eating.
My recipe for stuffed potato skins is a bit of a no-brainer, whose formal existence as a recipe lies more in the documenting the amounts of ingredients required so as to minimize waste and leftovers, or scrambling about to prepare extra ingredients to use up other already-prepared ingredients. Originally, making the stuffed potato skins was both an effort to add to my collection of recipes that could be used to fill the freezer, as well as a response to a desire to make stuffed potato skins, critically, using items I normally have on hand (potatoes, cheese, and in this case, frozen cooked breakfast sausages); however, yummy as they are, there was no pretense to attempt to replicate some mythically great potato skins eaten at some hypothetical pub.
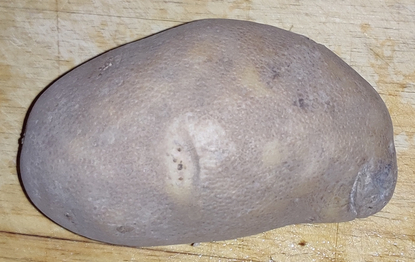
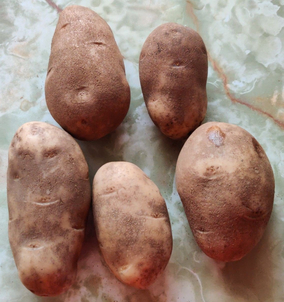
First, five potatoes were taken out …
Five potatoes
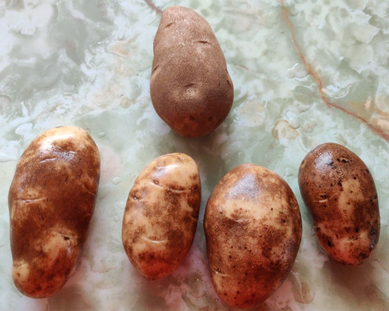
… and then washed — in this picture, save one, to show the comparison between cleaned and not (although the bag of potatoes does say “washed potatoes”).
Washed potatoes
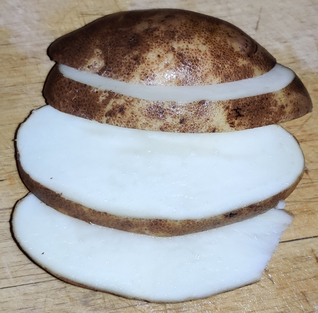
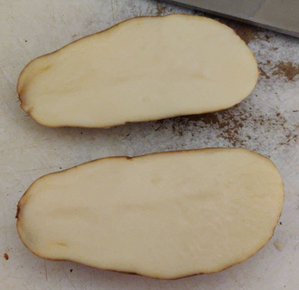
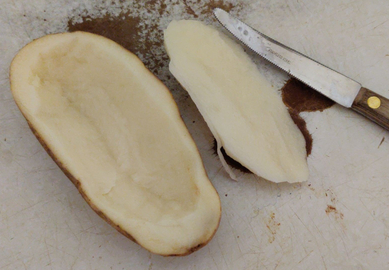
Potatoes were halved along their length:
Potato cut along its length
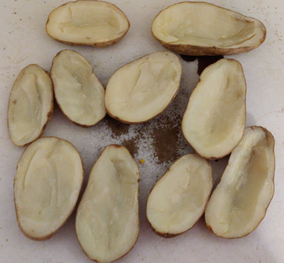
The potatoes were then somewhat hollowed out (before cooking, instead of after, as mentioned in my recipe, so that I could boil the removed pulp later to make mashed potatoes), while leaving a generous amount of the potato pulp in the skins:
Hollowed out potato skin and removed pulp
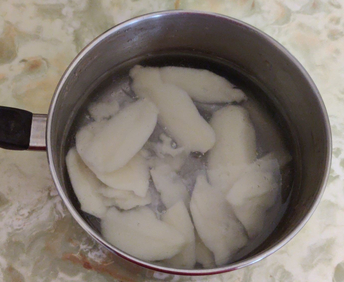
The pulps from the potatoes were placed in water, to boil later …
Pieces of potato pulp hollowed out from the skins, to be boiled later
… and with which to ultimately make a bit of mashed potatoes to be used in a lunch in the next couple of days:
The mashed potatoes made from the pulp parts of the five potatoes used today, to be eaten at an upcoming meal
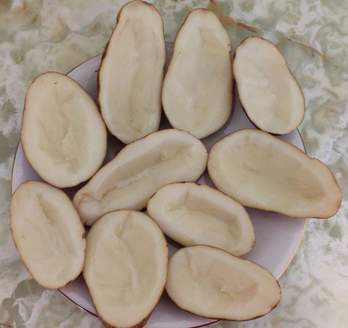
Back to the potato skins: The hollowed out potatoes were placed on a microwave-safe plate:
Hollowed out potatoes on a plate
The plate of hollowed out potatoes were placed in the microwave oven (1200 watts) for 10 minutes:
Hollowed out potatoes in the microwave oven
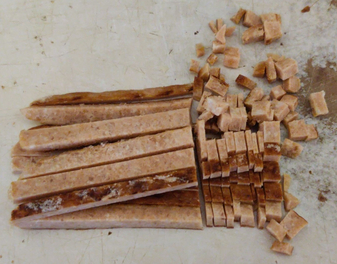
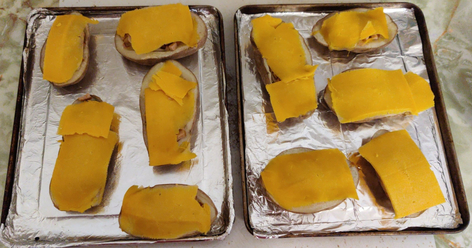
Once cooked (a few skins needed another couple of minutes to finish cooking), the hollowed out potatoes were placed on a flat surface (a cutting board), ready for stuffing with sausage cubes:
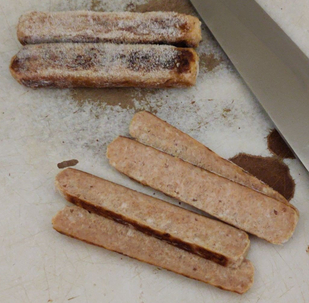
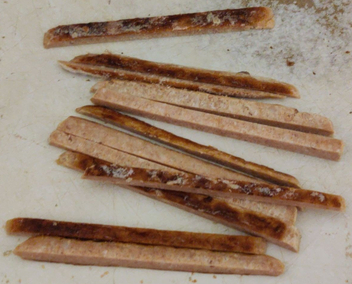
The spears were sliced cross-wise in order to make little cubes …
The spears were sliced to make little cubes
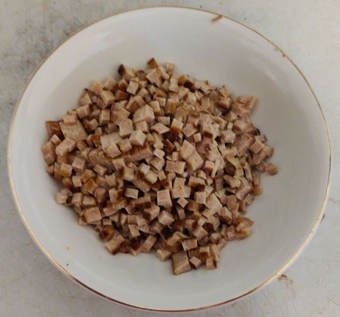
… which were then transferred to a bowl …
Sausage cubes placed in a bowl and put aside
… and which was put aside to be used at the point at which the cooked potato skins were to be stuffed:
Potato skins filled with sausage cut into little cubes
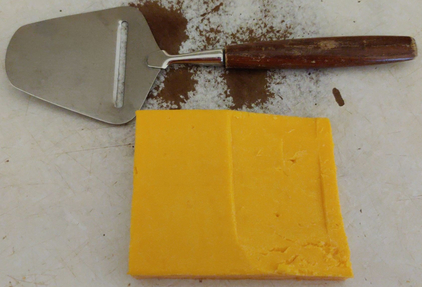
A block of cheese (cheddar in this case) was taken out, along with a cheese slicer:
Block of cheddar cheese and a cheese slicer
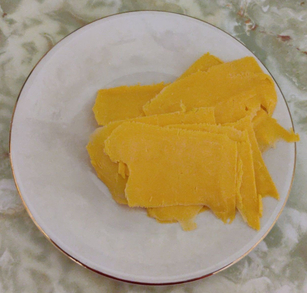
About 100g of slices of cheese were cut off of the block …
Cheese slices
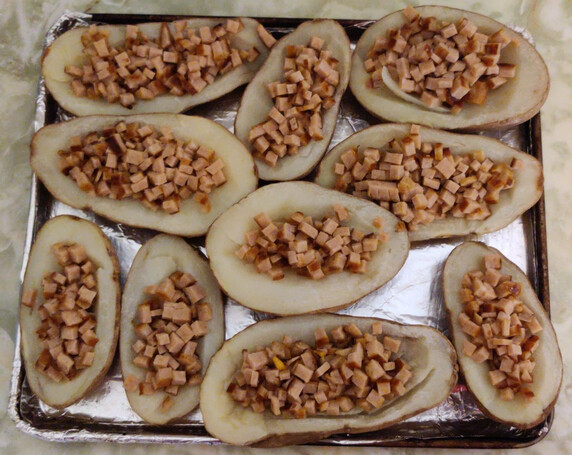
… and placed on top of the potato skins filled with sausage cubes:
Cheese slices placed on top of the potato skins filled with sausage cubes
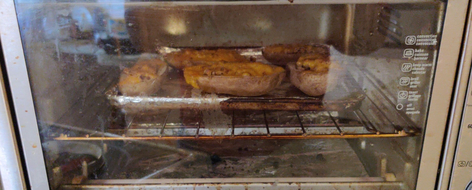
The potato skins were placed in a countertop convection oven preheated to 350F for 15 minutes:
Stuffed potato skins cooked in a countertop convection oven
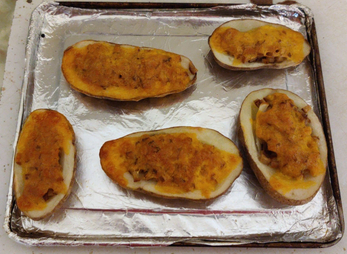
The first batch of cooked potato skins were taken out of the oven, smelling yummy!
Cooked stuffed potato skins
Once all the stuffed potato skins were cooked and cooled, a couple of them were put aside for supper, while the other eight stuffed potato skins were placed in a container for freezing:
Cooked stuffed potato skins in a container for freezer as well as a plate for supper
Today’s cooking project from my recipe collection was bacon-wrapped chicken pieces, something I originally started making a couple of years ago for their value as an easy enough to make last minute hors d’oeuvres contribution for a party; now I principally make them for the value of having them pre-made in the freezer, including to possibly use at a later time as hors d’oeuvres at a party.
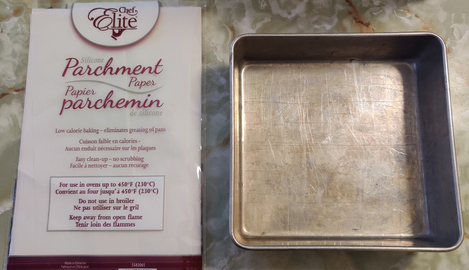
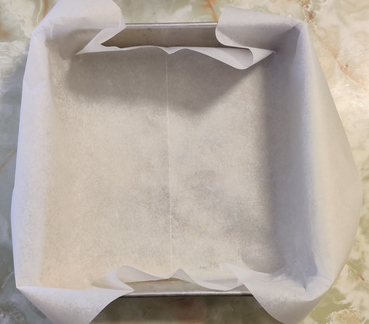
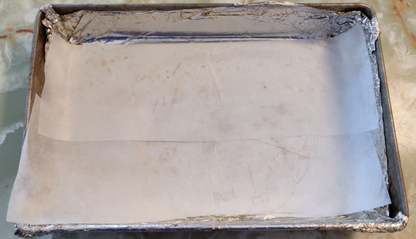
To begin, parchment paper was placed in a baking pan:
Placing parchment paper in a baking pan
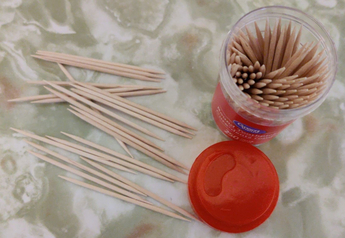
Wooden toothpicks were also taken out:
Wooden toothpicks prepared
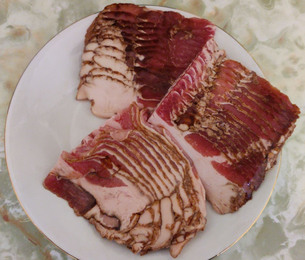
I cut a package and a half’s worth (375g each package, for a total of about 560g) of bacon into half-lengths, which worked out to 40 half-slices, the amount of pieces I target in my recipe.
40 half-slices of bacon, from a pack and a half of bacon (each pack 375g)
The rest of the bacon was placed in a bag and frozen, for later use.
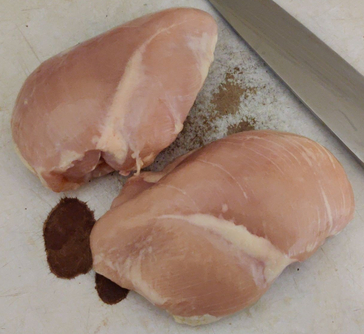
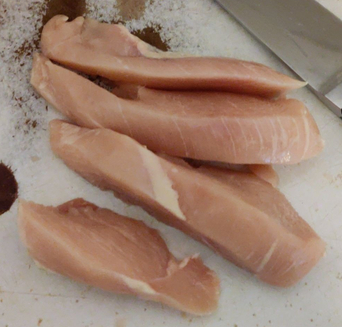
Two chicken breasts were placed on a cutting board:
Two chicken breasts placed on a cutting board, beside a kitchen knife
The chicken breasts were sliced along their length …
A chicken breast cut along its length
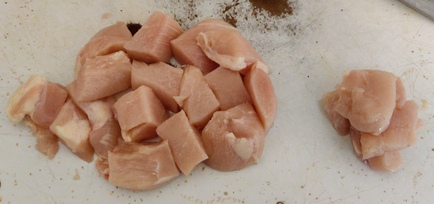
… and then each chicken breast was cut into approximately 20 cubes:
Chicken breast cut into cubes
In this case, the pile on the left are the cubes to be used directly, while the pile on the right are smaller pieces which were bundled together two or three pieces at a time in half-slices of bacon as though they were full pieces of chicken.
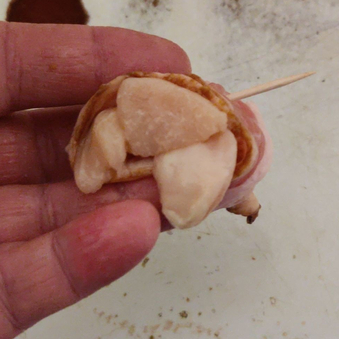
The cubes were individually wrapped in a half-slice of bacon, and skewered with a wooden toothpick:
Cube of chicken wrapped in bacon, and skewered with a wooden toothpick, to keep them together
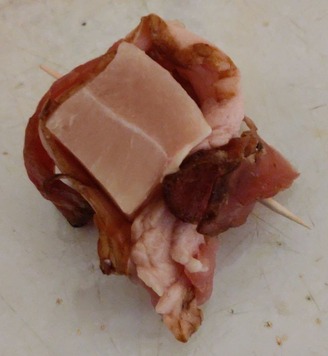
Smaller pieces of chicken were bundled together, two or three pieces at a time, and wrapped in bacon, then skewered with a wooden toothpick:
Smaller pieces of chicken bundled together
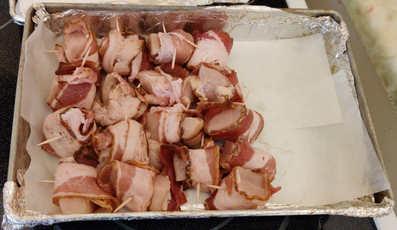
As each piece of bacon was wrapped in bacon and skewered, they were placed on the parchment paper in a baking pan:
Bacon-wrapped chicken pieces placed in a baking pan
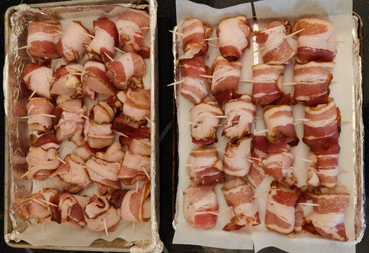
Once all the pieces of chicken were wrapped, they were equally divided between two baking pans that fit (one tray at a time) in my countertop convection oven:
40 pieces of bacon-wrapped chicken divided between two baking pans
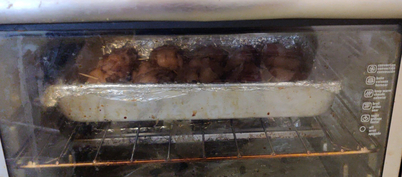
The first tray was placed in my countertop convection oven (and yes, the glass door was dirty, and was cleaned afterwards):
Tray of bacon-wrapped chicken pieces in the oven
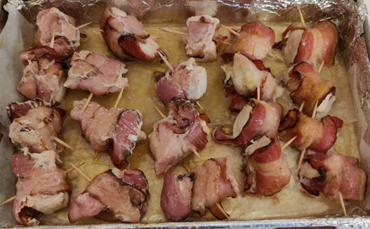
Partway through the cooking (after about 25 minutes), the pieces were turned over (in this case, the three columns on the left):
Turning over the pieces of bacon-wrapped chicken
When the pieces were fully cooked after about 50 minutes, they were taken out of the oven:
Cooked pieces of bacon-wrapped chicken directly out of the oven
Cooked pieces were transferred to a clean tray to be placed in the freezer:
Cooked pieces were transferred to a clean tray
The first tray of cooked bacon-wrapped chicken was placed in the freezer to cool and freeze.
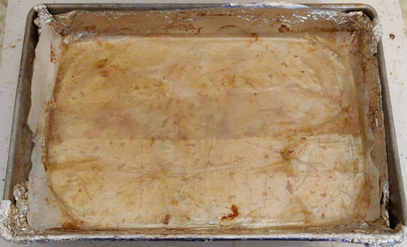
Meanwhile, the grease and drippings in the baking pan …
Grease and drippings in the baking pan
… were drained into a bowl, cooled and solidified, and then wrapped in paper, to be placed in the municipal brown box for composting.
Grease and drippings transferred to a bowl
The second tray’s worth of raw bacon-wrapped chicken pieces was transferred to the first baking pan, because of its deep sides and all the grease and drippings produced:
Second tray’s worth of bacon-wrapped chicken transferred to the first baking pan with its deep sides
The pieces of bacon-wrapped chicken were cooked the same way as the first tray, and once taken out of the drippings, looked like the first tray of cooked pieces:
Cooked bacon-wrapped chicken pieces on a tray, ready to place in the freezer before transferring to a plastic container
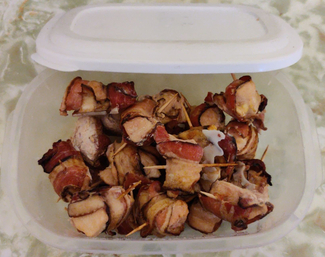
After the second tray of bacon-wrapped chicken had cooked, the frozen pieces from the first tray were transferred to a plastic container:
Frozen pieces of bacon-wrapped chicken placed in a plastic container to be placed in the freezer
Those from the second tray, once cooked, were also transferred to a separate tray, frozen, and then transferred to a plastic container.
All the bacon-wrapped chicken pieces are now in the freezer again, waiting to be eaten — some of them tomorrow!
Of course, the pieces were tasty (I tasted one to make sure they were good!)
Here is the next entry in my series of photo posts of me making the various recipes in my recipe collection.
This week, I took photos while I made more bran muffins for my mom, using a recipe I’d found on allrecipes.com and which so far I have not yetwhich I have now (20210214) converted into my own format. As a side note, I should I have now converted it to my usual recipe format, because when I make them, I use regular milk instead of buttermilk, and I normally make a major change: Instead of placing the batter into twelve muffin papers in a twelve-welled baking tin, I bake the batter in a six-welled baking tin (with slightly larger wells), lined with coffee filter papers, and the baking time was adjusted to 22 minutes.
This batch of muffins had a further deviation from the recipes above, which was the intentional omission of raisins for reasons beyond the scope of this post.
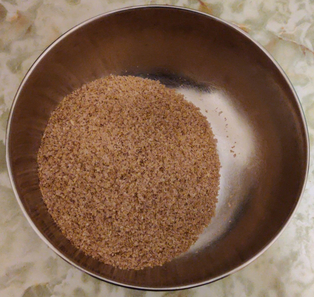
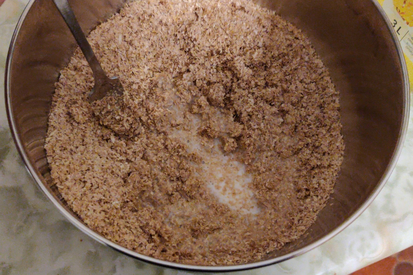
First, I measured out a cup and a half of wheat bran into a mixing bowl:
A cup and a half of wheat bran
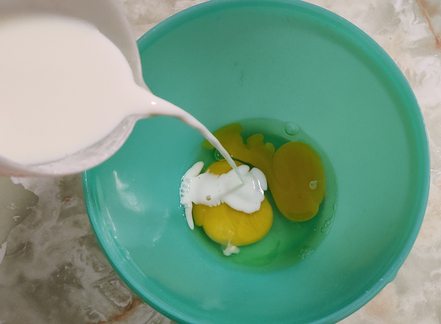
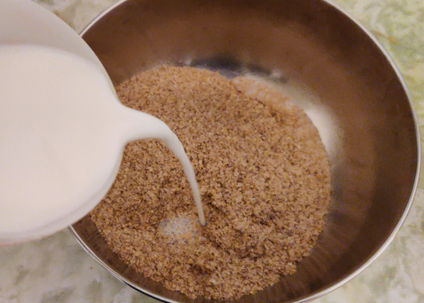
A cup of milk was added to the bran:
A cup of milk added to the bran
The bran and milk were mixed with a fork, and put aside:
Mixing the bran and milk
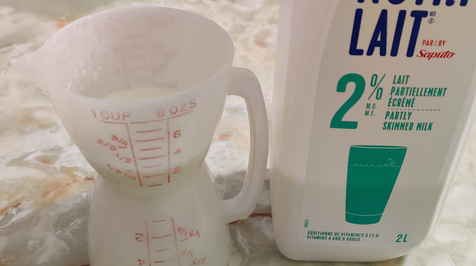
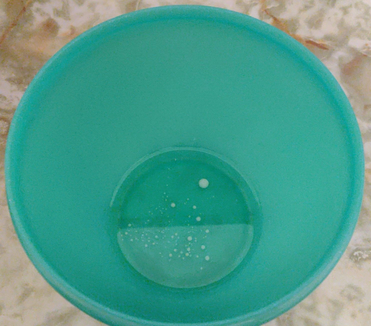
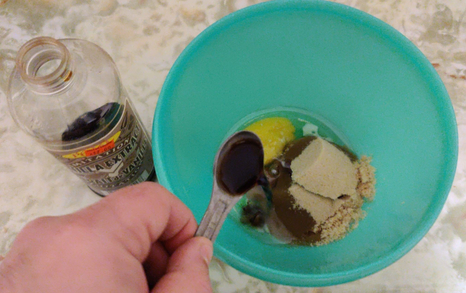
A third of a cup of vegetable oil was measured out and placed in a separate bowl (the white dots are milk leftover in the measuring cup):
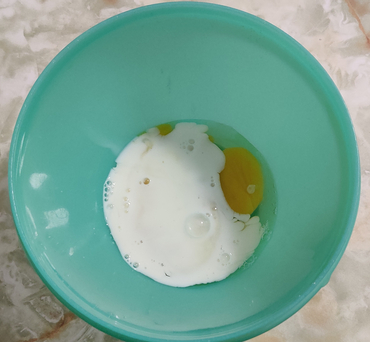
1/3 cup vegetable oil measured out
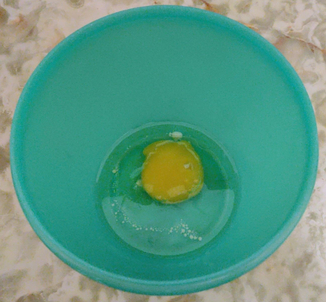
A large egg was added to the vegetable oil:
A large egg added to the vegetable oil
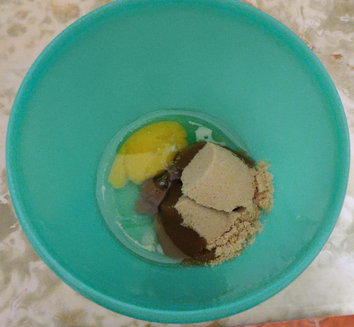
Two thirds of a cup of packed brown sugar were added to the oil and egg:
2/3 cup (packed) brown sugar added to the vegetable oil and egg
A teaspoon of vanilla extract was added to the vegetable oil, egg, and brown sugar:
A teaspoon of vanilla extract added to oil, egg, and brown sugar
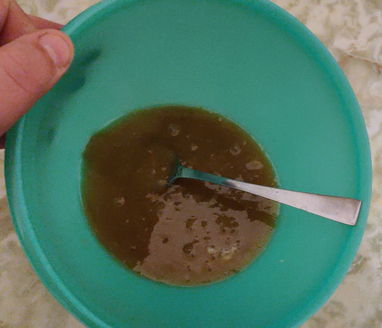
The vegetable oil, egg, brown sugar, and vanilla extract were blended with a fork:
Blending of vegetable oil, egg, brown sugar, and vanilla extract
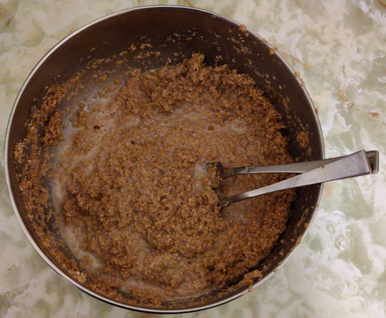
The vegetable oil, egg, brown sugar, and vanilla extract were added to the bran and milk mix:
Vegetable oil, egg, brown sugar, and vanilla extract added to the bran and milk mix
All the ingredients were blended together with a fork:
The ingredients were blended together
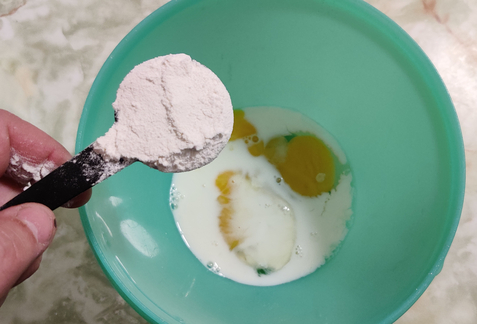
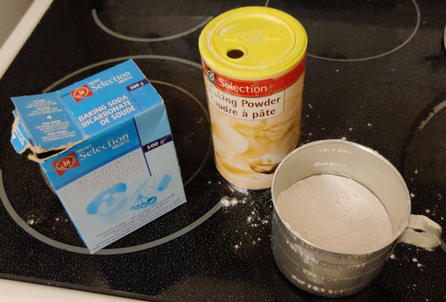
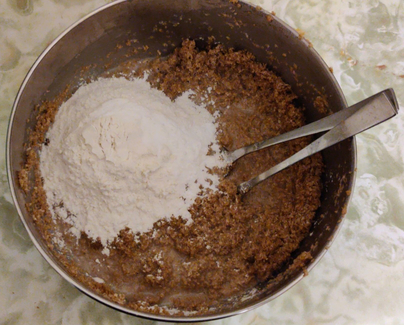
A teaspoon each of baking powder and baking soda were added to a cup of flour — unfortunately, I forgot to add the quarter teaspoon of salt, to no apparent ill effect.
A teaspoon each of baking powder and baking soda added to a cup of flour; salt was forgotten
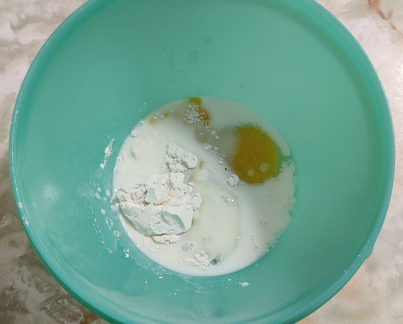
The flour, baking powder, and baking soda were mixed together in the cup, and added to the rest of the ingredients:
Flour, baking powder, and baking soda mix were added to the rest of the ingredients, and then blended together
Again, all the ingredients were blended together with a fork. At this point, I would normally have added three quarters of a cup of raisins, which I didn’t do this time.
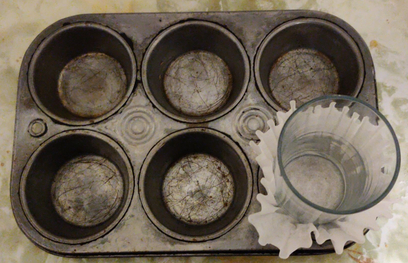
I make double sized muffins for my mom, so I use coffee filter papers, for which I use a glass to help form within the baking tin:
Forming the coffee filter paper in the baking tin wells
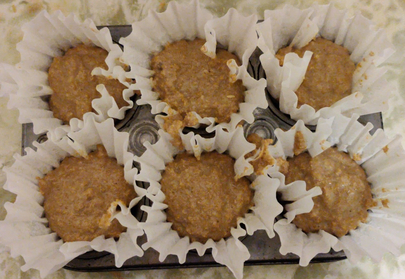
The batter was spooned into each of the wells:
Muffin batter spooned into each of six baking tin wells
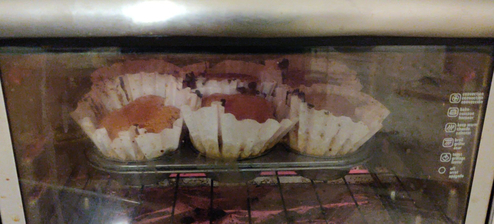
The muffin tin was placed in a counter-top convection oven preheated to 350F, and baked for 22 minutes (rotated 180 degrees part way through):
Muffins baking in a counter-top convection oven.
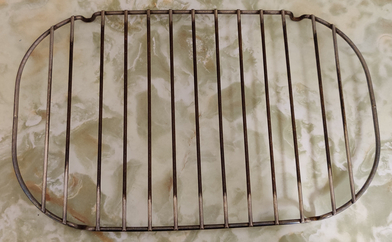
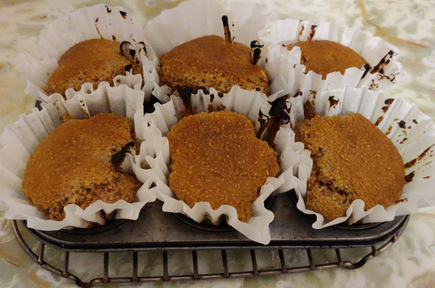
The muffins were taken out of the oven after 22 minutes and placed on a cooling rack:
Baked muffins placed on a cooling rack
After a few minutes, the still cooling muffins were taken out of the baking tin, and returned to the cooling rack to continue cooling:
Baked muffins placed on a cooling rack
Once cooled, I placed the muffins in a sealed container.
Mom was so impressed, she said that the following morning, she would have one from this batch, before eating the last muffin from the last batch!
Although I have already done someposts on my pickled eggs, as per my recent wont of photo posts of me making my various recipes, I took a lot of photos yesterday when I made pickled eggs. Sigh, the stores know how to get me every time when they advertise eggs on sale!
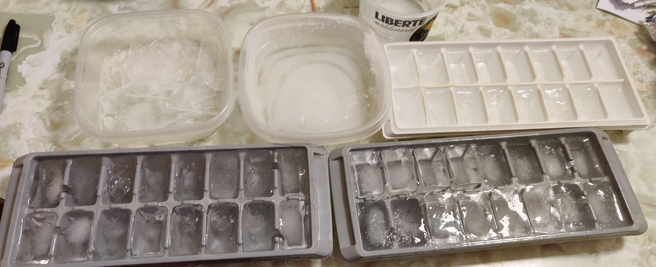
Before I went to buy the eggs, I prepared some extra ice, which would be needed later on once the eggs were boiled:
Ice made before leaving to buy the eggs; photo taken later when the ice was frozen
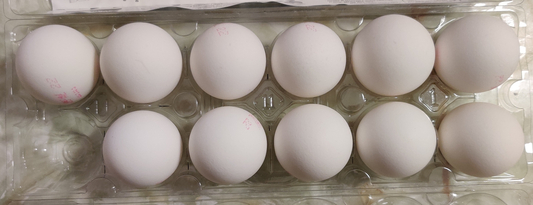
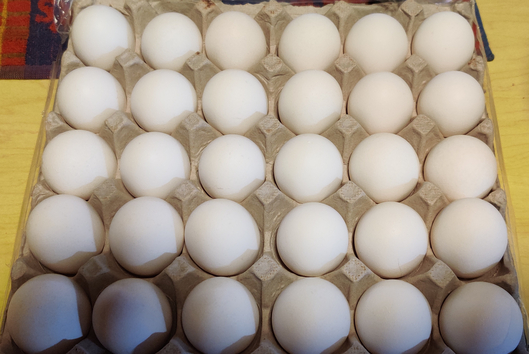
Then I went out to do some shopping and I purchased three flats of 30 eggs each, for a total of 90 eggs, at the advertised price of $4.44 CDN per flat (14.8 cents per egg).
A flat of 30 eggs; I purchased three such flats of eggs.
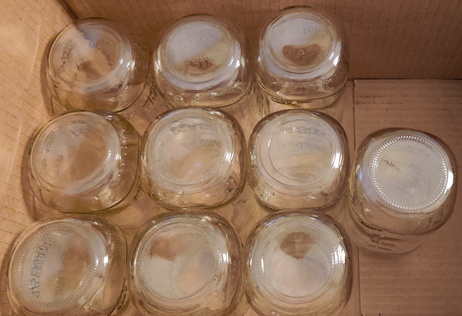
I took out ten jars with mason openings; although the jars shown aren’t strictly speaking mason jars, they have mason jar threading, and I’ve never had trouble with them.
Ten clean jars with mason jar threading
Of course, I also prepared ten rings and lids (in this case, clean reused lids, since I expect that I will be eating the eggs from most of the jars):
Ten rings and lids for mason jars
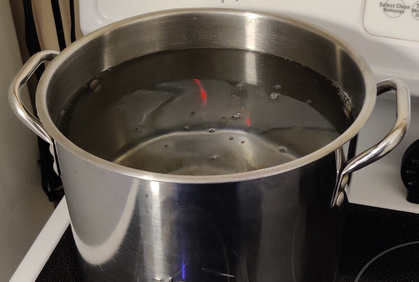
Cold water was put in a pot and heated, for later use when boiling the jars.
Cold water put in a pot and boiled, for later use to boil the jars
I boiled and shelled the eggs over two sessions of 45 eggs each, one after the other.
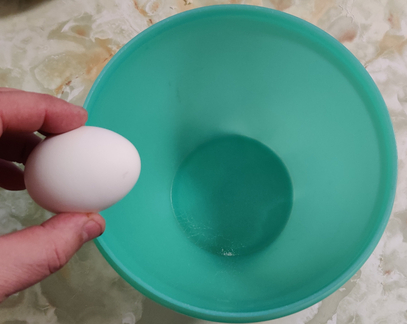
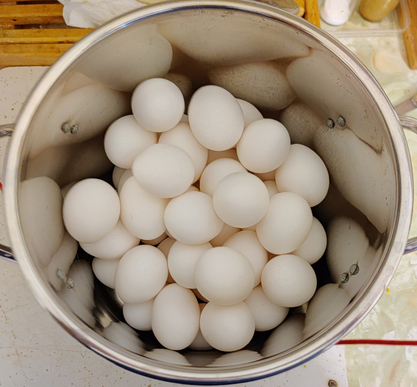
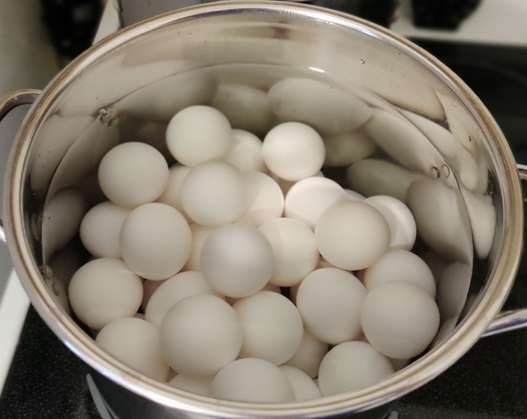
First, eggs were placed in a pot:
45 eggs in a stock pot
Cold water was added to the pot with the eggs, covering the eggs.
Adding cold water to the pot with the eggs
Pot of eggs with water, covering the eggs and about an inch more of water
The stove was turned on, and I brought the eggs to a boil, and then boiled them for eight minutes.
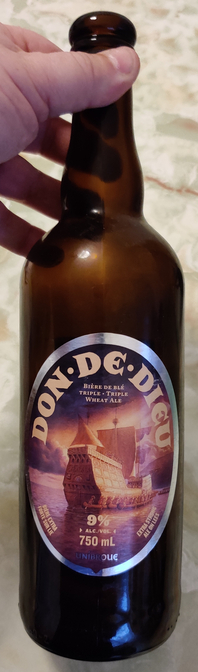
During the time it took to heat up and boil the eggs, the first thing I did was pour myself a nice beer:
Don de Dieu, a 9% bottle refermented abbey-style triple wheat beer
Yes, that is a double sized, 750mL bottle of beer containing 9% alc/vol; it’s called “Don de Dieu”, and it’s a bottle refermented abbey-style triple wheat beer, from Unibroue, in Chambly, Québec.
Yummy!
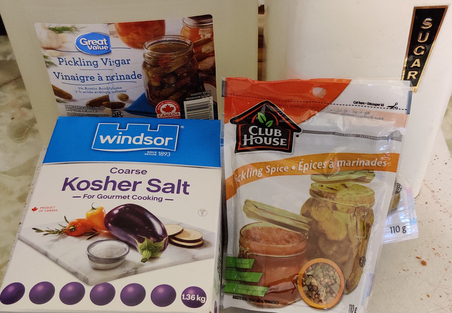
Back to work, still while the eggs were heating up and boiling, I prepared some pickling solution:
My pickling solution uses 7% pickling vinegar, sugar, salt, and a commercial blend of pickling spices
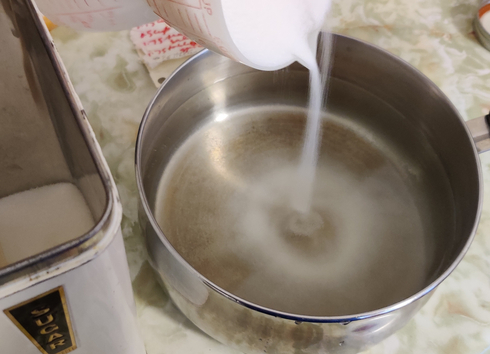
Vinegar was measured out into a pot (in this case, 7-1/2 cups; according to my recipe, I knew I would need another 3-3/4 cups, as well as the commensurate amounts of sugar, salt, and spices) :
Pickling vinegar measured out into a pot
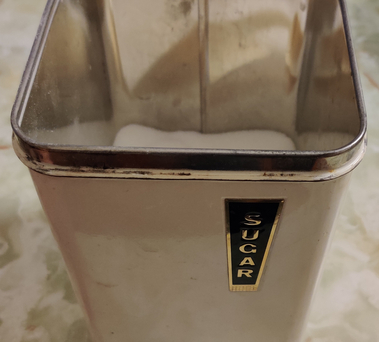
Sugar (in this case, 1 cup) was added:
Sugar was added to the vinegar
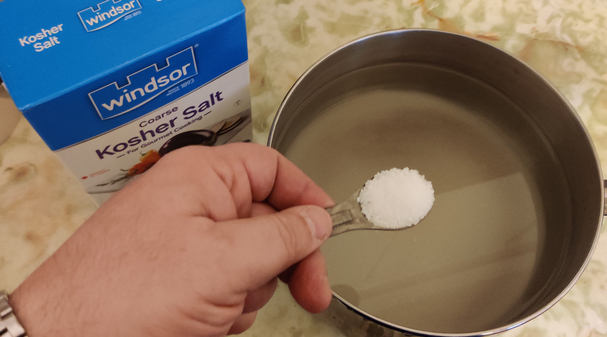
Salt (in this case, 3-1/2 teaspoons) was added to the pickling solution:
Salt was added to the pickling solution
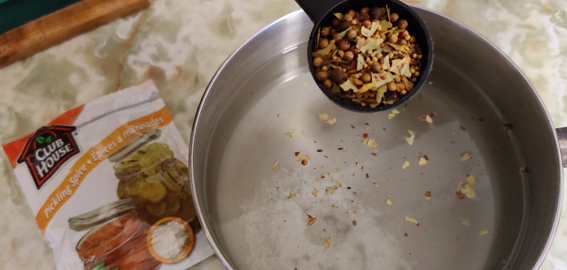
A commercial pickling spice blend (in this case, 3-1/2 tablespoons) was added to the pickling solution:
Pickling spices were added to the pickling solution.
The pickling solution was covered and put aside, to be boiled later.
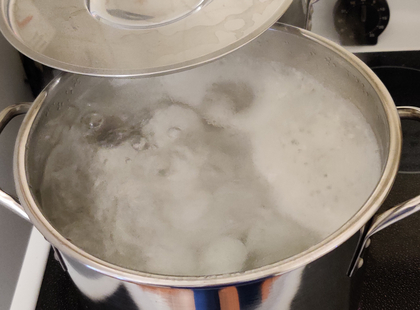
Soon, the eggs had reached the boiling point, and the eggs were boiled for eight minutes:
Eggs boiling for eight minutes
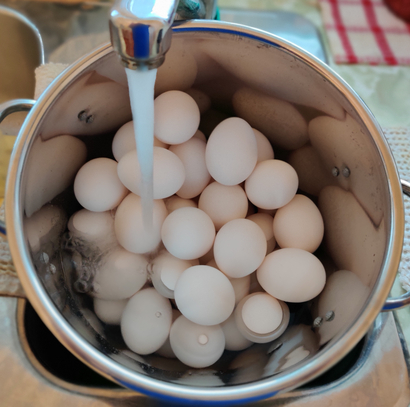
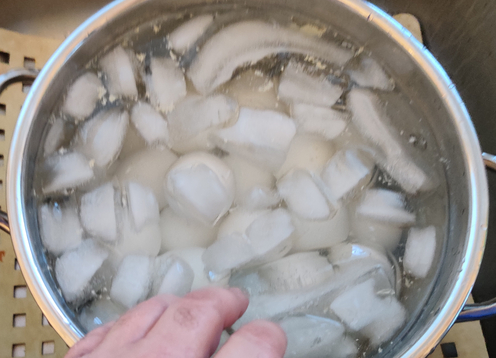
After eight minutes of boiling, the boiling water was immediately drained from the pot of eggs, and cold water was added to the pot of eggs, as well as ice:
The pot of eggs was drained of its boiling water, and cold water and ice were added.
The ice water and eggs were gently mixed by hand, in order to quickly and thoroughly cool the eggs, which takes a few minutes. This is necessary so as to avoid the development of a greenish-blackish ring around the egg yolks (which is harmless, but aesthetically undesirable), as well as to aid in the peeling; the sharp temperature change helps dislodge the membrane just inside the shell, which will then make it easier to remove the shells and minimize tearing.
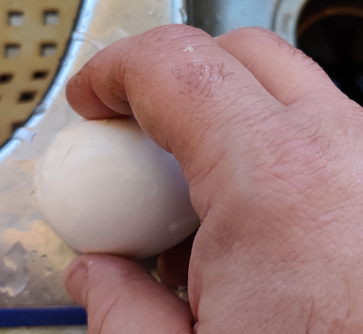
The eggshells were then peeled:
Cracking the shell on an egg against the edge of my sink
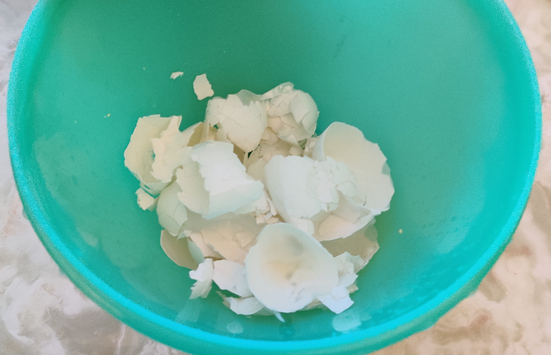
Egg shells collected into a bowl, and eventually sent to the brown box for curbside collection and municipal composting
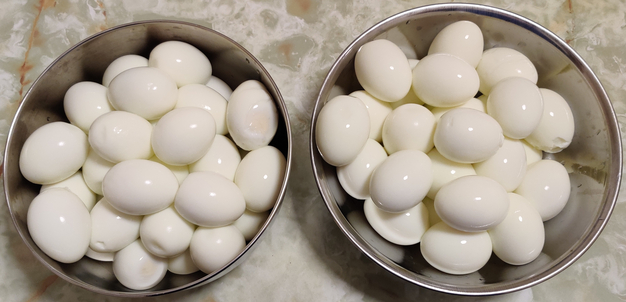
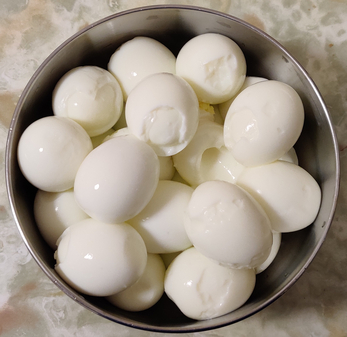
Shelled eggs were rinsed in cool water and placed in a couple of bowls:
Of the 90 eggs, the shells of 65 peeled nicely
Sometimes, there are tears when shelling eggs. In yesterday’s case, there were 25 eggs with tears; however, tears don’t affect the eggs’ ability to be pickled, they just make the eggs not always look as nice. As such, these eggs were merely placed in a separate bowl so that they could be bottled together for personal consumption, and to distinguish them from the nicely peeled eggs, should I decide to give away a jar of the “nice” eggs (see below).
.Bowl of 25 eggs with some tears
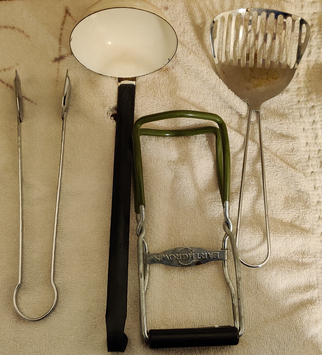
At this point, a few hand tools were needed: Some tongs, a ladle, a jar holder, and a slotted spoon. Not shown: mason jar filler.
Some tongs, a ladle, a jar holder, and a slotted spoon
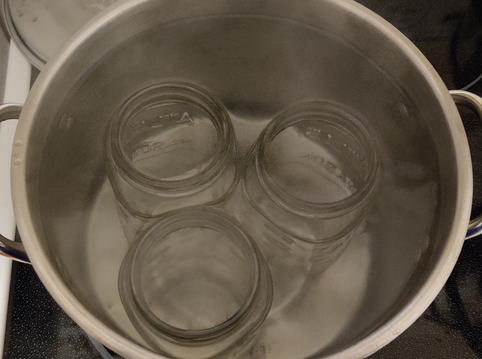
At this point, the water which was heated earlier for the bottles was brought up to boiling again, and jars were put in the water once it was boiling:
Mason jars placed in boiling water
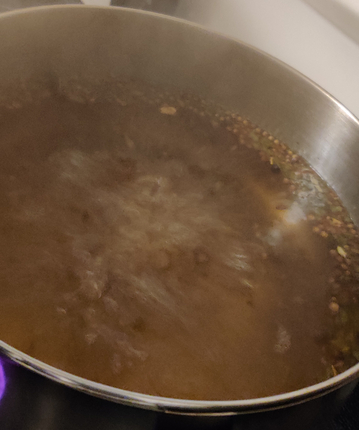
At the same time, the pickling solution was brought to a boil:
Pickling solution brought to a boil
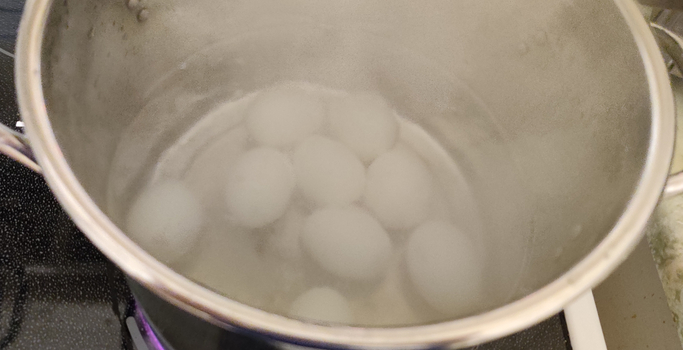
In a third pot — the same one in which the eggs were originally boiled — fresh water was brought to a boil, and eggs (in this case, nine eggs at a time, the number of eggs which fit in the size of jars used) were added, once all three pots were boiling:
Shelled eggs reboiled for a few moments in a boiling water bath
Eggs are only kept in the boiling water long enough to take out a jar from the boiling water bath (just as the jars need only be in the boiling water bath for the time it takes to put the eggs in the boiling water bath.)
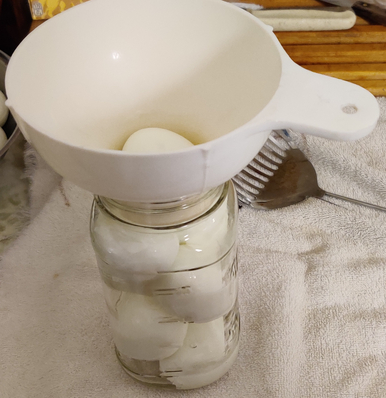
A jar is taken out of the boiling water bath, and the eggs in the boiling water bath are transferred to the hot jar:
Reboiled eggs transferred to the hot jar
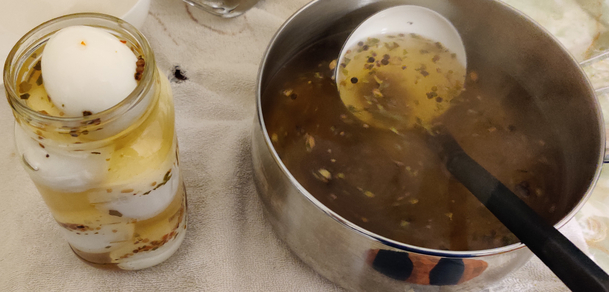
The pot of hot pickling solution — which is kept simmering to boiling on the stove in between filling jars — is brought over, and hot pickling solution is added to the hot jar with the hot eggs:
Pickling solution added to the hot jar filled with hot eggs
The lids and rings were individually placed in the mason jar hot water bath and immediately placed on the filled jars.
Seven jars were each filled with nine eggs without tears, and three jars were each filled with nine eggs with tears.
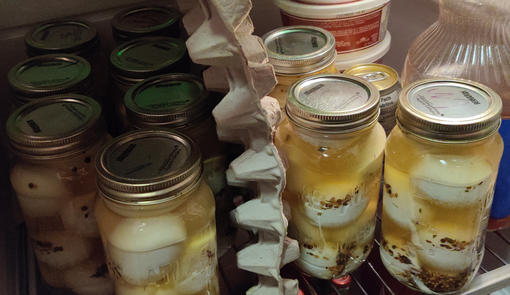
Once all the jars were filled, they were placed in a refrigerator overnight to cool the contents relatively quickly, in order to avoid the development of greenish-blackish rings around the egg yolks (which is harmless, but aesthetically undesirable.)
Jars of pickled eggs placed in the fridge, with a divider to help quickly distinguish between jars of eggs with and without tears.
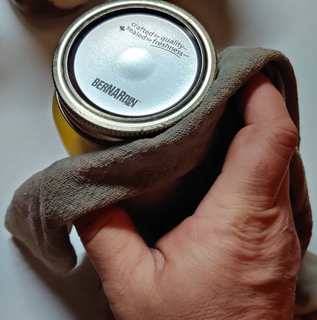
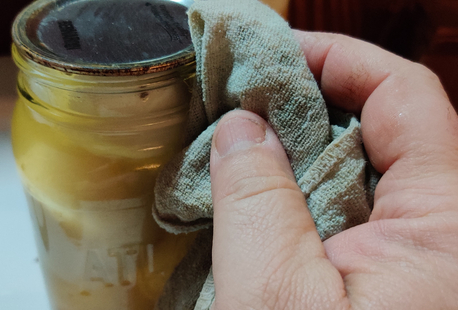
This morning, I took the jars out of the fridge, and wiped down the jars, since when filling the jars and putting on the lids, sometimes the pickling solution spilled a bit.
Wiping down the outside of the jars
This included taking off the rings to wipe down the necks of the jars, which wasn’t a problem since all the lids on the jars formed a good vacuum seal.
Wiping down the necks of the jars
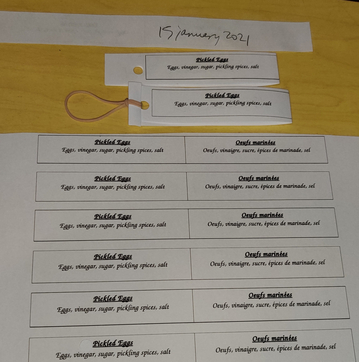
I have a computer file of labels I use for my pickled eggs, which I printed out. I do both English and French parts because I live in a primarily French speaking area, and therefore it’s good to have both languages for when I give away and sell jars. I cut out the individual labels, folded them over lengthwise, wrote the date on the backsides, punched a hole in each, and looped an elastic band in the hole of each label.
Labels for the jars of eggs
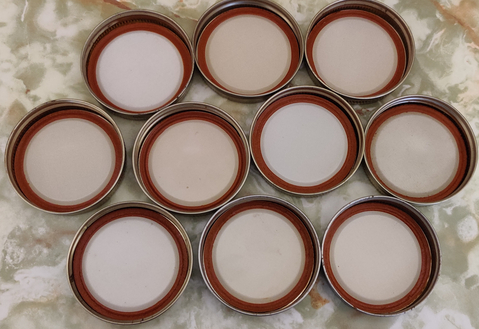
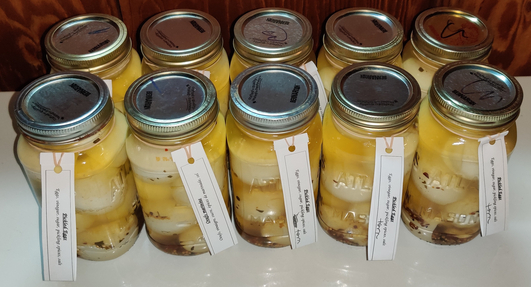
I placed the labels around the necks of the jars. In this photo, the three jars of eggs with tears are in the front row and on the right.
The ten jars of pickled eggs I made yesterday.
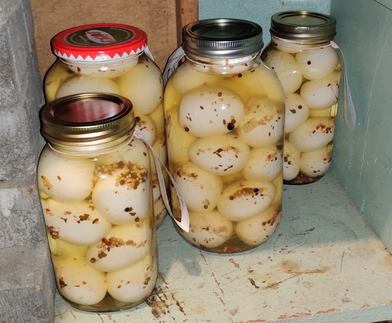
Since I already had some pickled eggs in stock (a total of 91 over seven jars), which I made about a month ago, I moved them around to make space in the storage room:
Four of seven jars of pickled eggs I already had in my store room
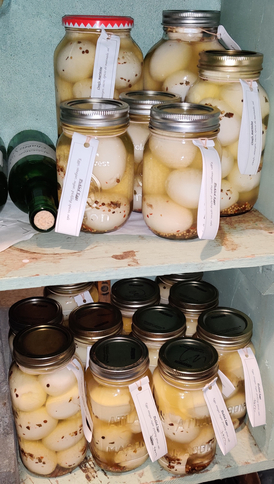
Things were moved around, and yesterday’s jars of pickled eggs are now all put away, on the bottom shelf below the existing jars:
My collection of 181 pickled eggs over 16 jars
As you’ll notice, there are also three extra jars of six pickled eggs in the stock I’d already had, that were not in the above photo; these will likely be given as gifts before I give away any of yesterday’s production since new lids were used when they were made.
And if I don’t give out any jars as gifts? Then I’ll have enough pickled eggs for myself until at least early summer of this year!
ps: And the beer? Of course it was good! It’s a beer I’ve had several times before, it’s from my favourite brewery (Unibroue — no, not the multinational brewery with a slightly different spelling), barring the fact that my favourite beer is from another brewery, and I have a particular taste for Belgian abbey beers and wheat beers.