Making Beer at Home — Photos

I learned how to make home-made wine during a university microbiology course in 1990, and I quickly picked up the hobby. After many years, I picked up making beer, to the pleasure of many friends over the years at local Canada Day celebrations.

Incidentally, while this page follows the preparation of beer from beer concentrate kits, the process is almost identical for making wine from wine concentrate kits.

The photos shown below cover a period of nine weeks, starting in early March, 2023, through to bottling the beer three weeks later at the very end of March, and taste testing the beer about six weeks after that — nine weeks total — in mid May, 2023. Normally, my “official” answer to “How long does it take to make beer?” is “A minimum of six weeks. Don’t believe the instructions when they say two, or three, or four weeks. Just don’t.” (Wine from kits takes about eight to nine weeks minimum.)

Making the beer:

The following is showing a very detailed progression of making beer using two kinds of beer concentrates, a blonde beer, and a brown ale. The narrative of this page will be primarily following the preparation of the blonde beer.

Day one:

First, a couple of kinds of beer concentrate kits were purchased, for a brown ale, and for a blonde beer.
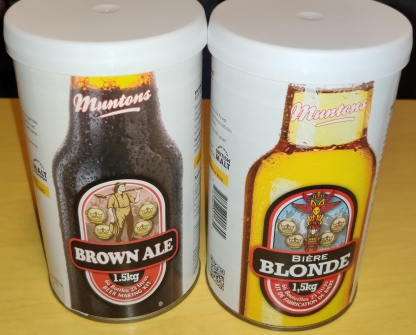
Two beer concentrate kits purchased

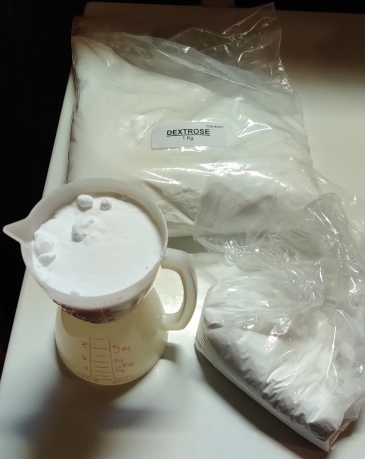
Since beer concentrate kits often do not contain fermentable sugars, 1kg bags of dextrose were also purchased at the same time; in this case, about a bag per batch will be used, to produce a bit less than 5% alc/vol given the amount of beer I will be making (although I am not particular at all on this point beyond not wanting the alcohol content to be significantly different either way.)
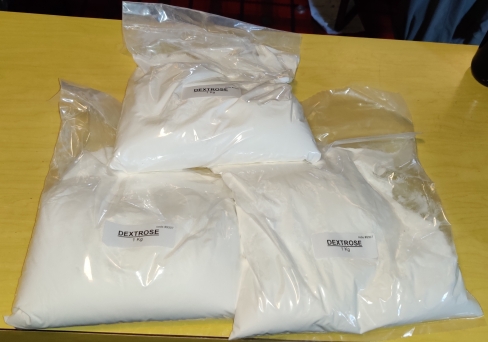
Bags of dextrose purchased

Having brought the beer concentrates and dextrose home, the first thing I did was take out a beer from a previously brewed batch of beer:
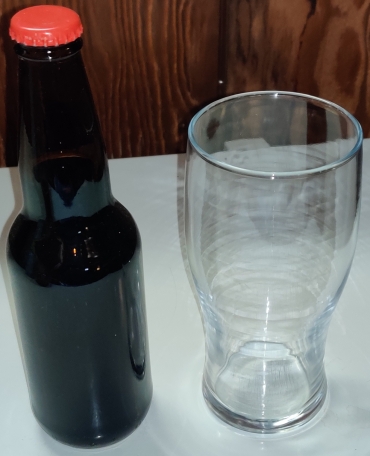
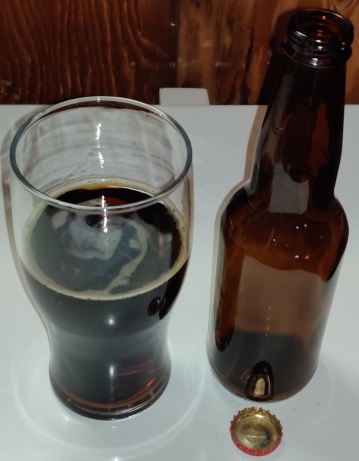
Beer and glass taken out

The beer was poured into the glass:

Beer poured into glass

… and the beer was enjoyed:

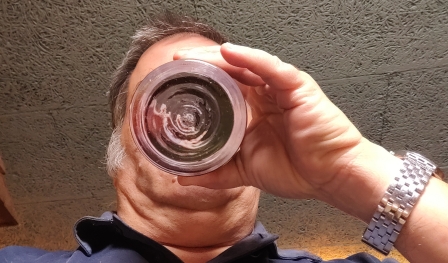
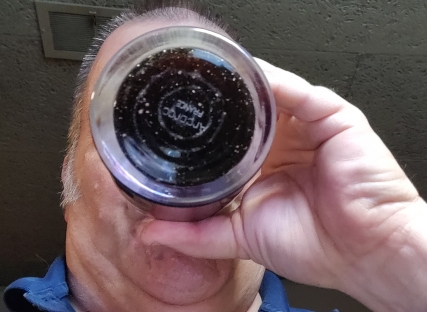
Beer enjoyed

On to making new beer:

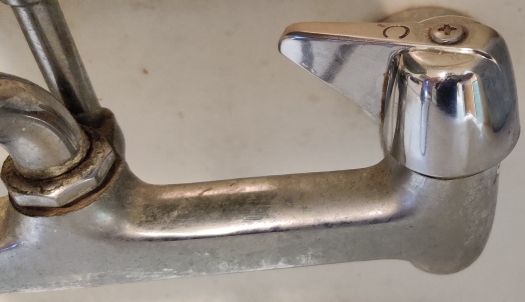
The aerator on the tap in the laundry tub was removed:
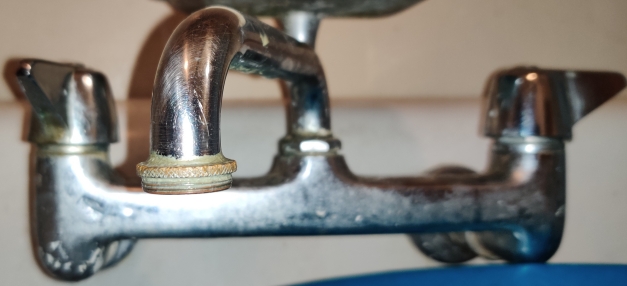
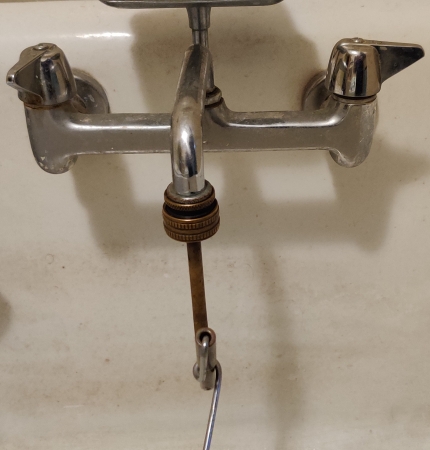
Aerator removed from tap

A five (imperial) gallon water jug was placed under the tap:
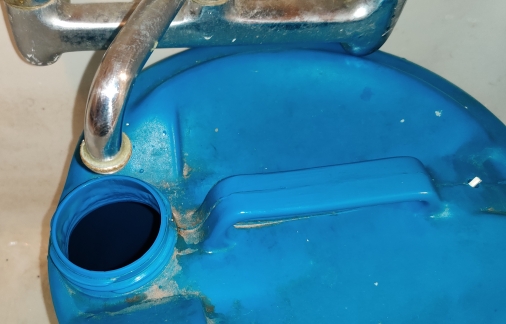
Water jug placed under tap

The water was turned on, and the jug filled with water …
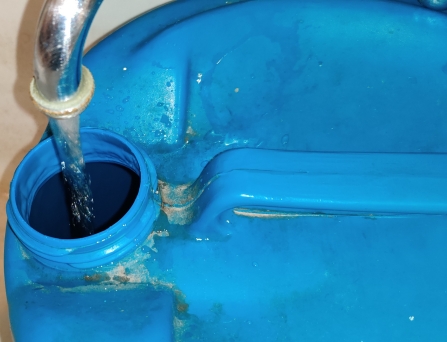
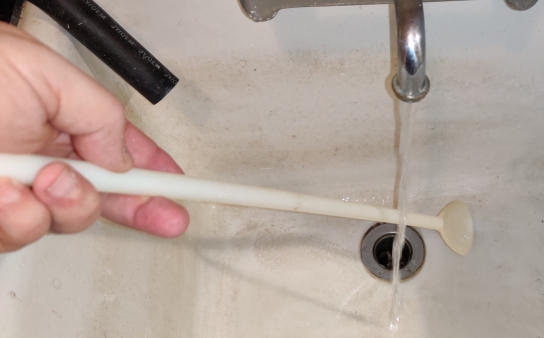
Filling jug with water

While the jug was filling with water, a plastic cloth was laid out on the floor:
Plastic cloth laid out

A fermentation bin was taken out (incidentally, the original bin I bought back in late 1990 when I started making wine):
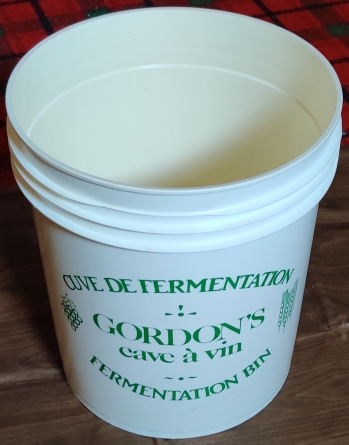
Fermentation bin taken out

A large stirring spoon, pliers, a large spoon, and a can opener, were taken out:
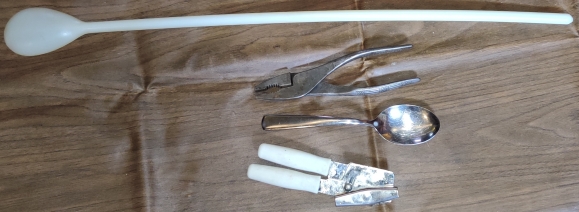
Tools taken out

The now-filled water container was brought out to the plastic cloth:
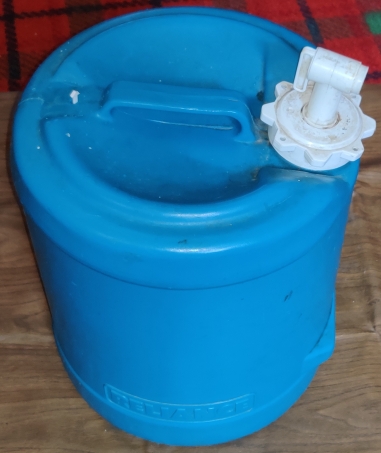
Filled water jug brought out

A kettle was filled with water …

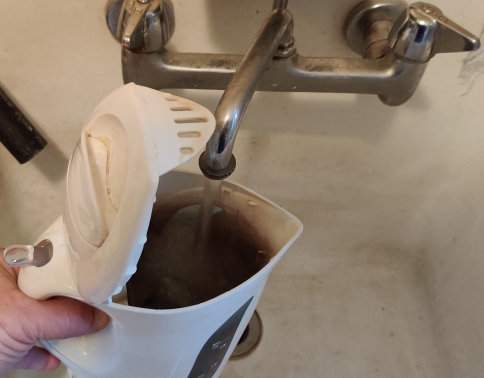
Kettle filled with water

… the kettle was plugged in …

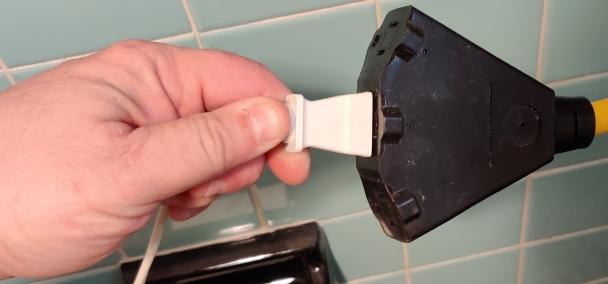
Kettle plugged in

… and finally the kettle was turned on:
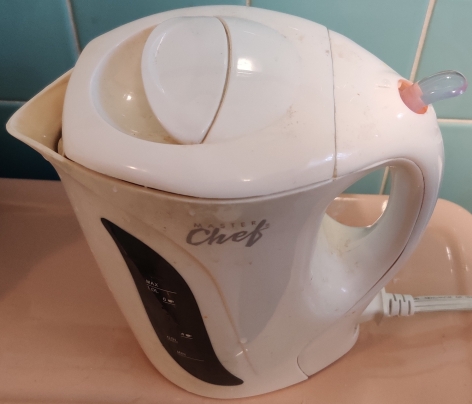
Kettle turned on
Kettle turned on

A jet washer was taken out …

Jet washer taken out

… and the jet washer was attached to the tap in the laundry tub:
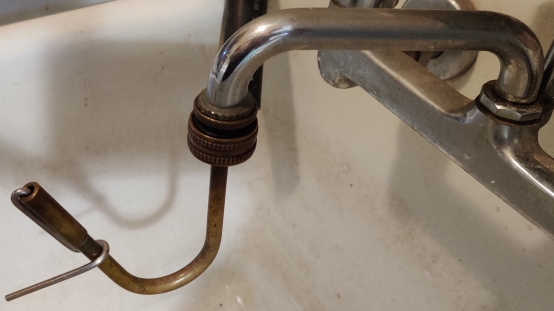
Jet washer attached to tap

The tap was turned on again:

Tap turned on

The aforementioned fermentation bin was brought to the laundry tub …
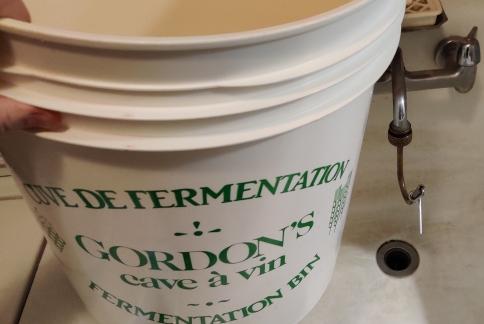
Fermentation bin brought to laundry tub

… then the fermentation bin was placed over the jet washer …
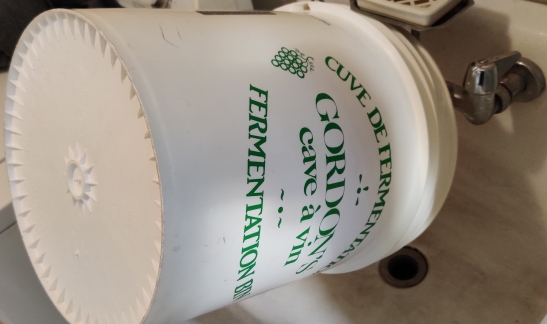
Fermentation bin placed over jet washer

… and I used a finger to activate the jet washer to rinse out the (previously cleaned) fermentation bin:
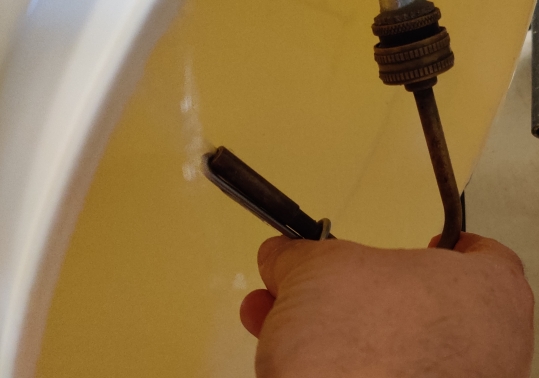
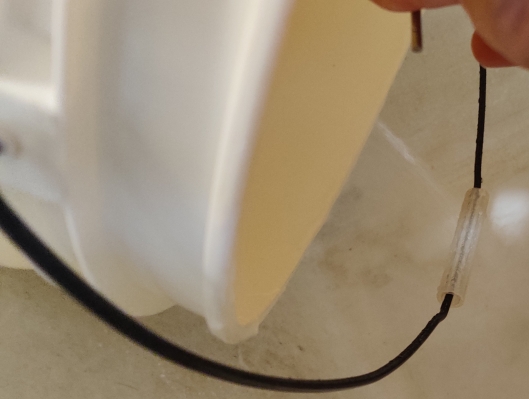
Fermentation bin rinsed with jet washer
Rinse water draining from fermentation bin

At this point, I took advantage of the moment to jetwash the emptied beer bottle from earlier:
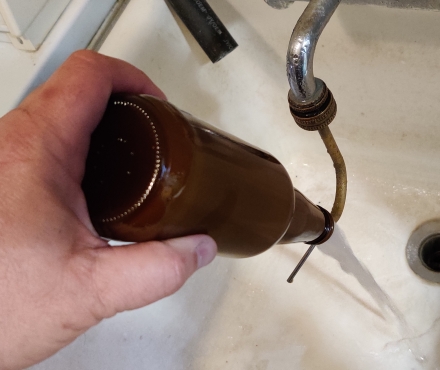
Beer bottle jetwashed

… which was then placed in the dishwasher along with my other dishes, to clean for future bottling purposes (see later on).

Scissors were taken out:
Scissors taken out

The scissors were used to open a bag of dextrose:
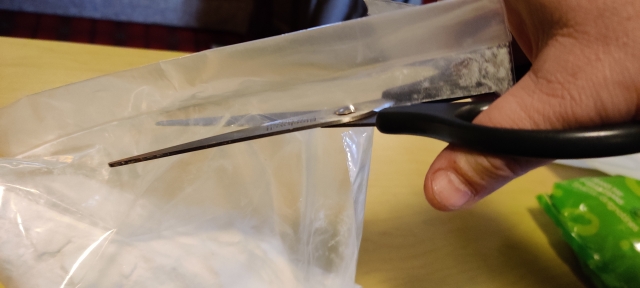
Bag of dextrose cut open

The full contents of a bag of dextrose were poured into the fermentation bin, which was brought back to the plastic cloth:
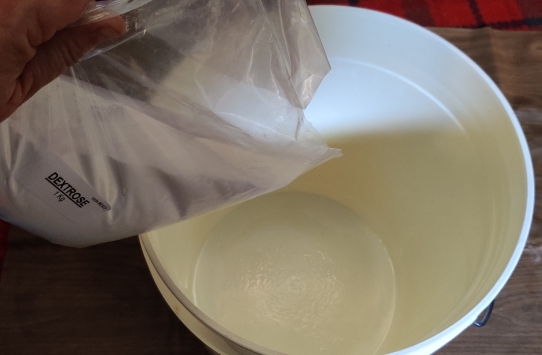
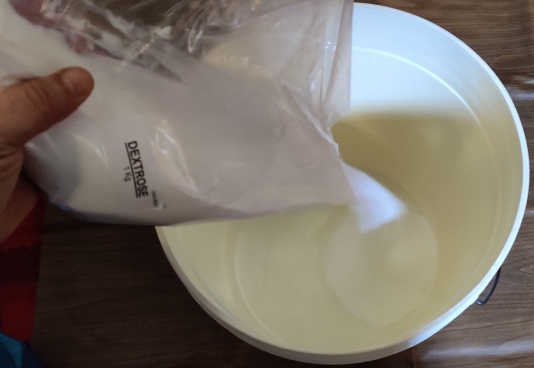
Dextrose poured into fermentation bin
Dextrose poured in fermentation bin

A can of beer concentrate, for the blonde beer, and the can opener, were taken out.
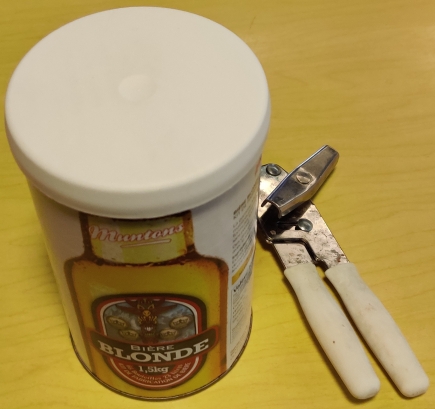
Beer concentrate and can opener taken out

The plastic top was removed from the can, revealing a yeast packet and the kit’s instructions.
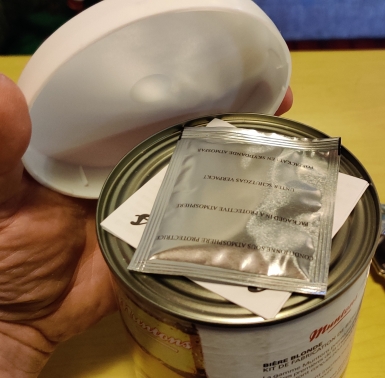
Yeast packet and instructions revealed

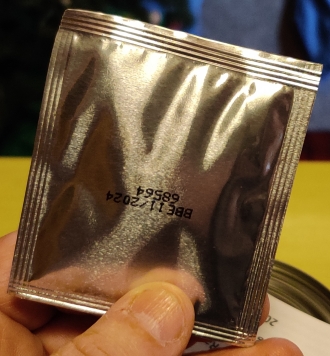
The yeast packet was taken out …

Yeast packet taken out

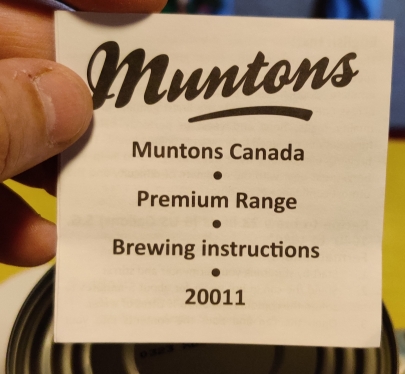
… as were the instructions:

Instructions taken out
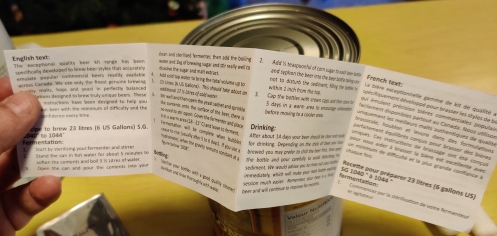
Instructions opened up

Note that while I generally follow the instructions, I apply my own fine tuned procedures. 🙂

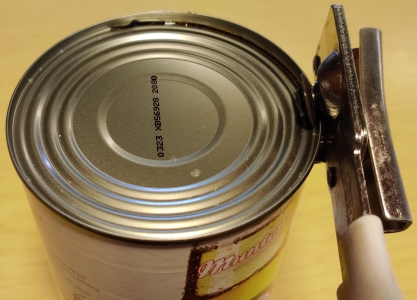
The can opener was used to open the can of beer concentrate:
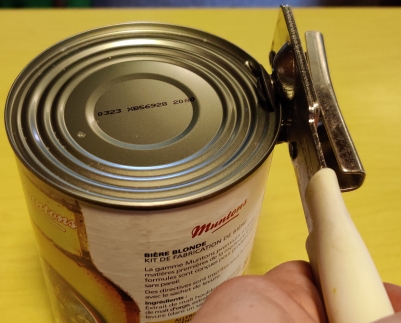
Beer concentrate can opened with a can opener

A spoon was used to remove the top of the can:
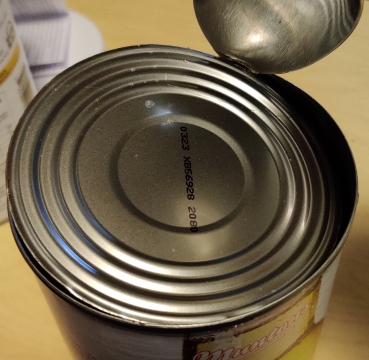
Spoon used to open can
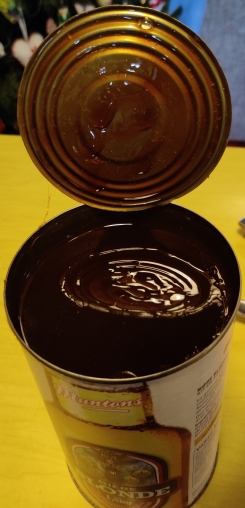
Can opened up

… and the top of the can was finally properly removed:
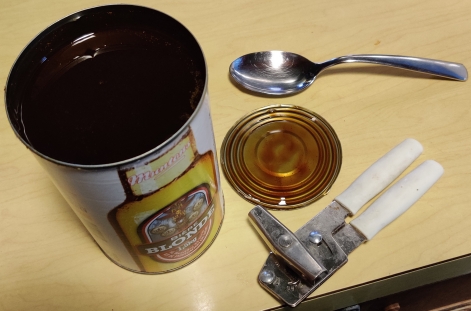
Can top removed from can

The viscous beer concentrate was poured into the fermentation bin:
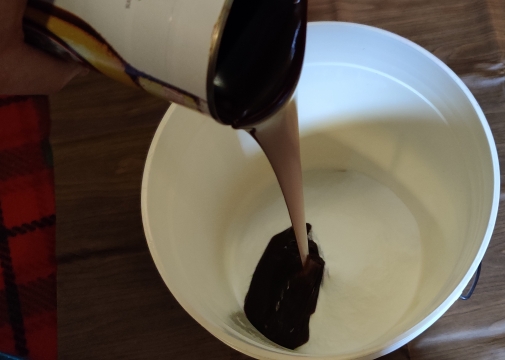
Beer concentrate poured into fermentation bin

The spoon was used to scrape out the rest of the concentrate from the can:
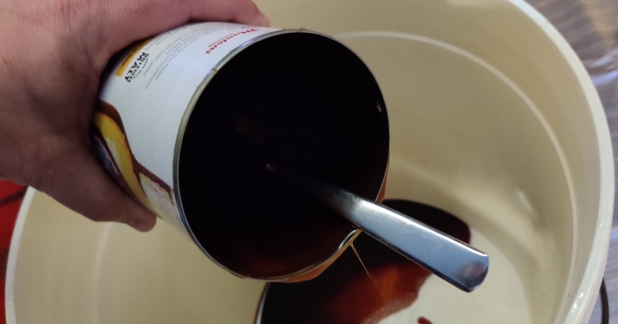
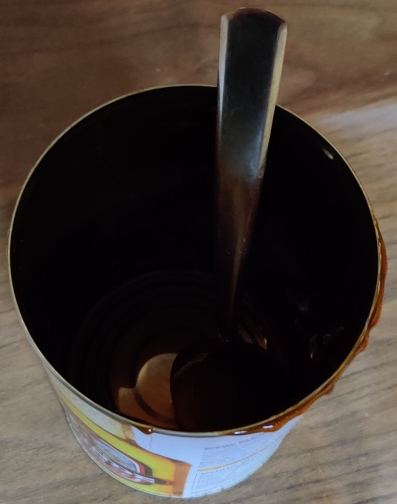
Beer concentrate scraped out of can

The kettle of water, while still hot, was reboiled, and boiling water was poured into the can:
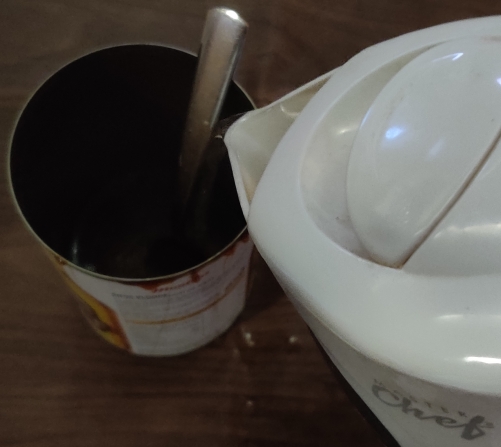
Boiling water poured into beer concentrate can

The hot can was picked up with the pliers …
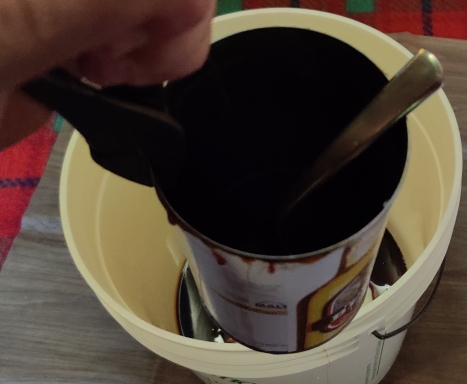
Can picked up with pliers

The hot water was swirled around in the can to dissolved the last of the concentrate from the can walls, and the water was poured out and into the fermentation bin:
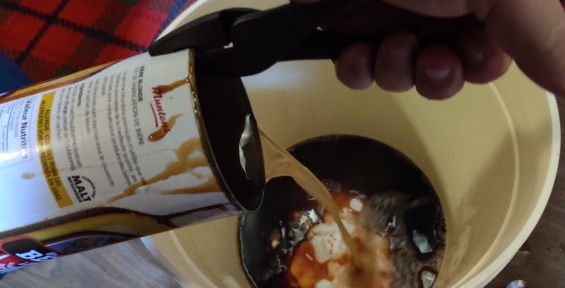
Hot water poured out of can into fermentation bin

The rest of the boiling water was poured into the fermentation bin:
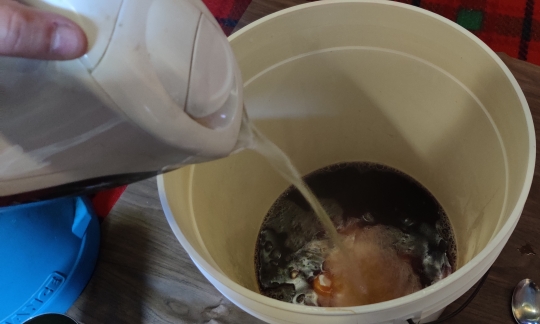
Hot water poured into fermentation bin

The large plastic stirring spoon was quickly rinsed under the tap at the laundry tub:
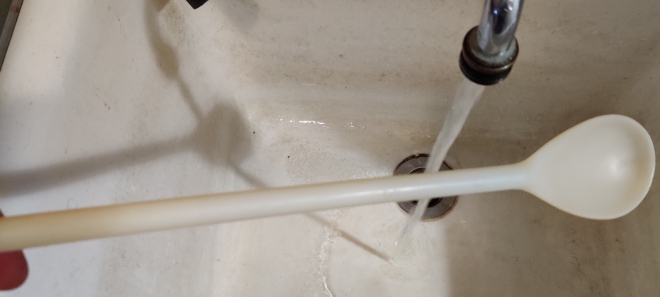
Plastic spoon rinsed with water

The spoon was brought to the fermentation bin:
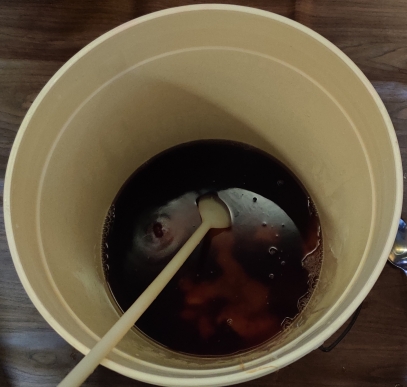
Spoon brought to fermentation bin

… and the hot water, beer concentrate, and dextrose were thoroughly mixed:
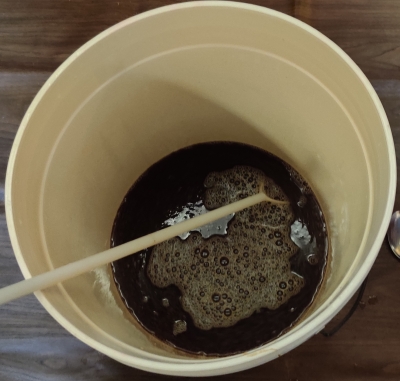
Hot water, beer concentrate, and dextrose thoroughly mixed

The plastic tap placed on the water jug was removed:
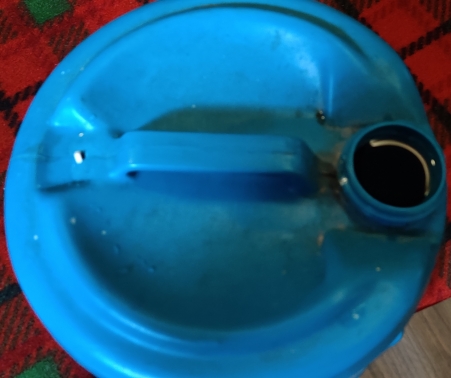
Tap seal removed from water jug

The water in the jug was poured into the fermentation bin with the other ingredients:
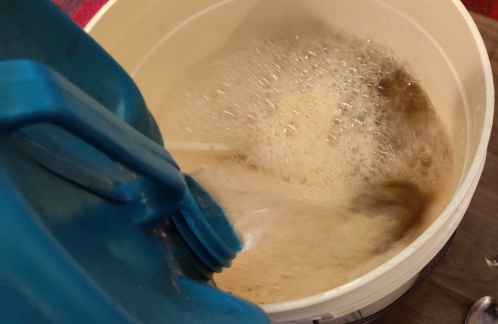
Water poured into fermentation bin

At this point, all the ingredients are called wort (pronounced “wurt”), and the wort was mixed with the big plastic spoon:
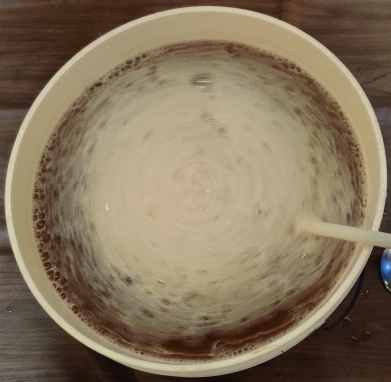
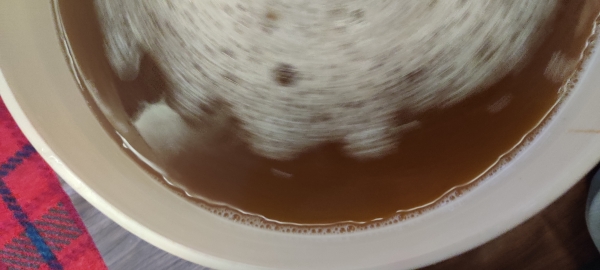
Wort mixed
Wort mixed

The temperature on the thermometer stuck onto the side of the fermentation bin was checked, and the wort temperature had not yet risen come up to fermentation range (one of the temperature ranges would be highlighted were it the case):

Temperature not yet in range

Despite this, and knowing that the water temperature was below optimum range, as opposed to too warm and dangerous to yeast, the yeast packet was taken out:
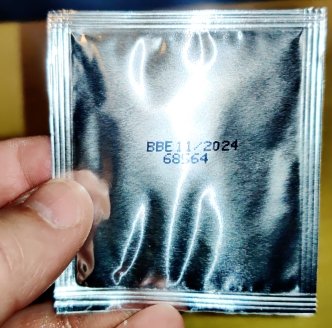
Yeast packet taken out

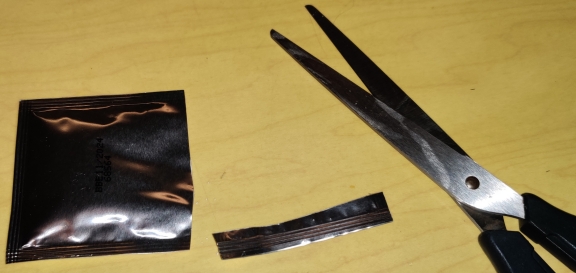
The yeast packet was cut open with scissors:
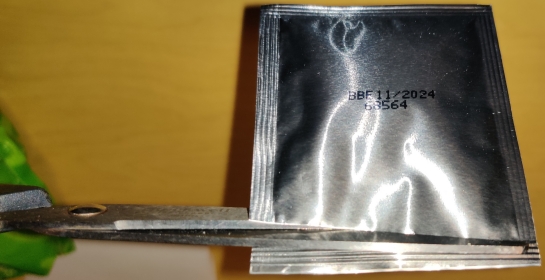
Yeast packet opened with scissors

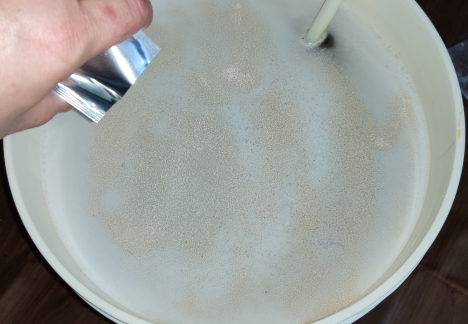
The yeast was pitched into the wort (ie. sprinkled onto the surface of the unfermented beer):
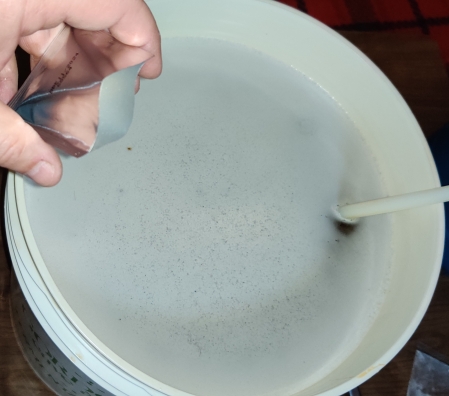
Pitching yeast
Pitching yeast

The wort with the yeast was lightly stirred, in order to moisten the yeast and reactivate it:
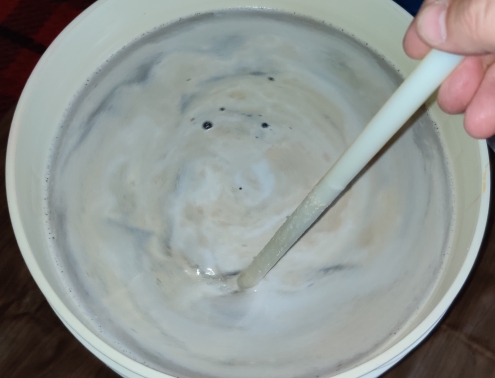
Wort and yeast lightly stirred

A plastic shopping bag — in fact, one of the bags I’d received when the beer kits had been purchased earlier in the afternoon — was taken out:
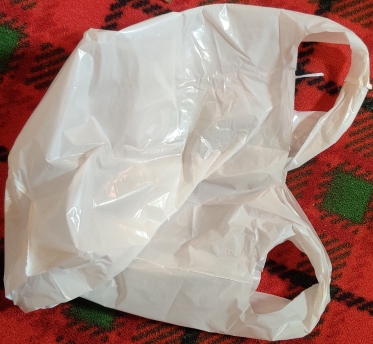
Plastic bag taken out

The bag was partially cut so as to allow it to be used as a cover for the fermentation bin:
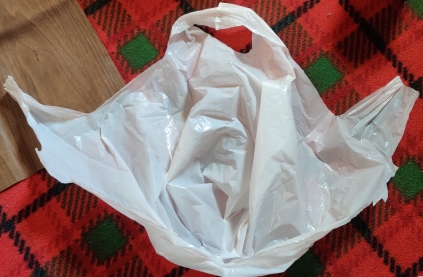
Bag cut to make plastic cover

Elastics and paper clips were taken out:
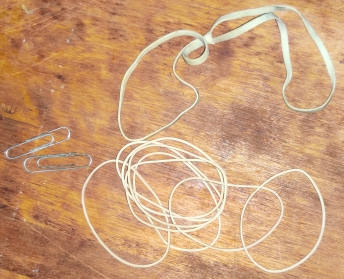
Elastics and paper clips taken out

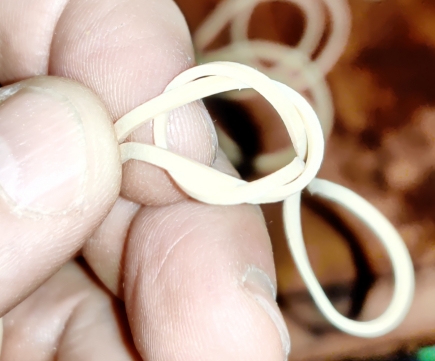
Elastics were looped together:

Elastics looped together

The ends of the looped elastics were joined together with a paper clip to make a “belt”:
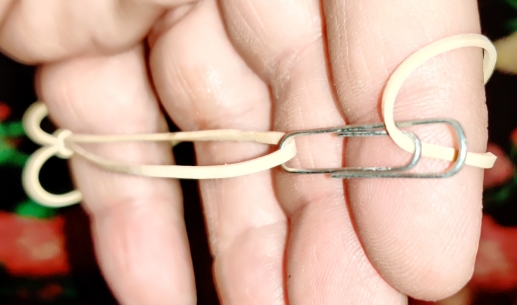
Ends of looped elastics joined together

The plastic bag was placed on top of the fermentation bin, covering the wort:
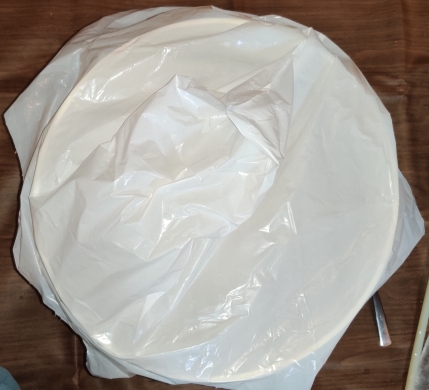
Wort covered with plastic sheet

The elastic loop was wrapped around the plastic sheet to keep it in place on the top of fermentation bin:

Elastic loop wrapped around plastic sheet

At this point, I had to clear the bar so that I could place the fermentation bin, full of wort, on it:
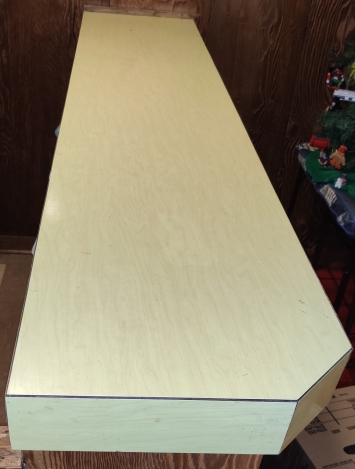
Bar cleared

A chair was placed beside the bar, so as to help in raising the heavy fermentation bin full of wort:
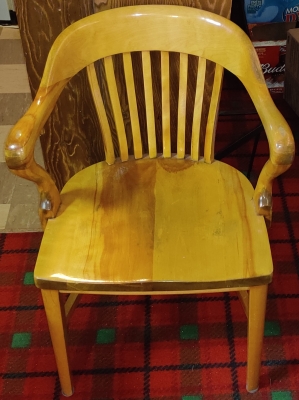
Chair placed to help lifting the bin full of wort

The heavy fermentation bin full of wort was lifted off the floor and onto the chair, in order to allow me to get a better hold on the bin while lifting it up to the level of the bar:
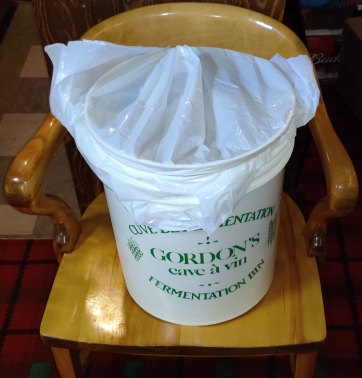
Fermentation bin full of wort lifted onto chair

The fermentation bin full of wort was then lifted up to the level of the bar:
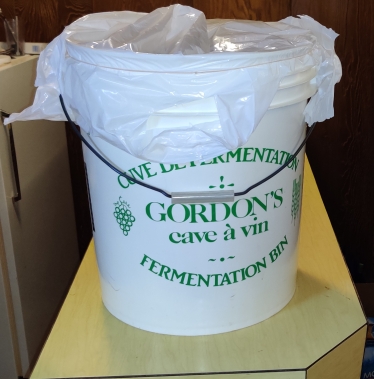
Fermentation bin full of wort lifted up to bar level

… and finally, the fermentation bin full of wort was moved to the end of the bar, against the wall:
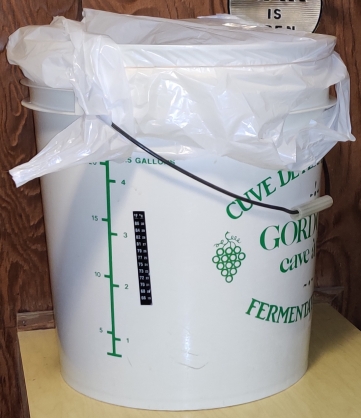
Fermentation bin moved to end of bar

The instructions, principally used as piece of paper on which to identify the type of beer in the fermentation bin, were placed within the elastic loop:
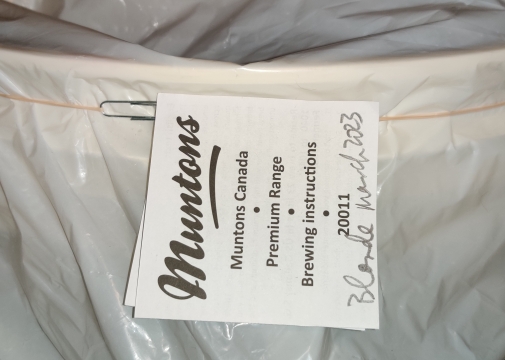
Instructions identifying beer placed in elastic loop

The whole process was repeated for the brown ale beer kit, and producing a second identified fermentation bin filled with wort, placed beside the first bin:
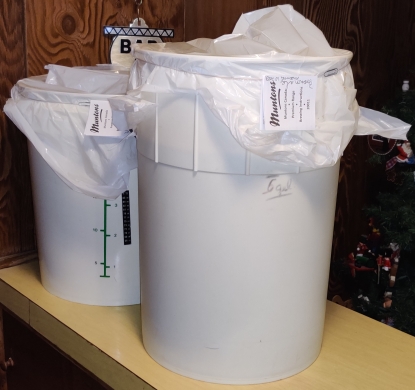
Second fermentation bin filled with wort placed on bar

Day two:

Fourteen hours later (the following morning), I peeked into the fermentation bins, and could see signs of the beginnings of fermentation:
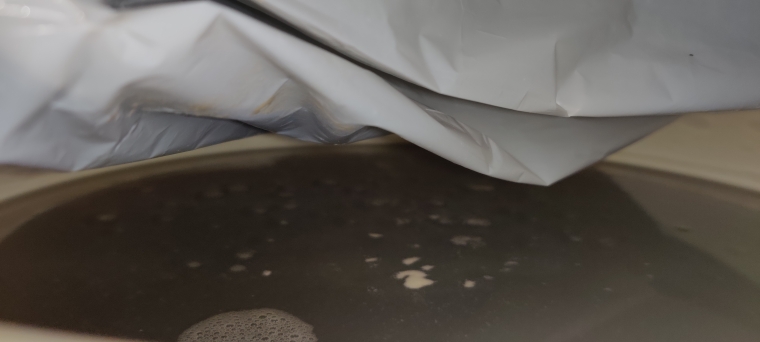
Yeast growth after 14 hours

That evening, after about 27 hours had passed, the wort temperature was checked again, and it was barely up to 68F:

Wort temperature up to 68F

… and, at the same time, I peeked again at the wort, noticing more yeast growth:
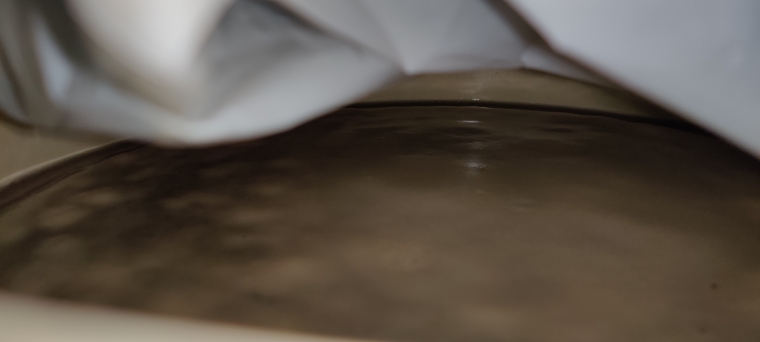
Yeast growth after 27 hours

Day three:

After about 39 hours, I peeked once again at the wort, and the yeast was bubbling away:
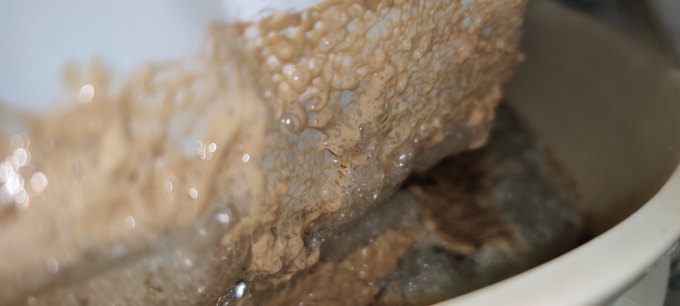
Yeast growth after 39 hours

Day six:

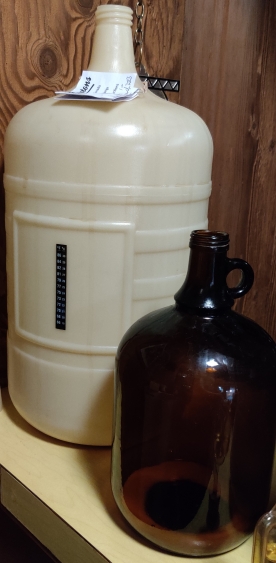
After six days, secondary fermentors were taken out; in this case, a large five gallon plastic bottle, a one gallon jar, and, just in case, a soda bottle for last little bits:
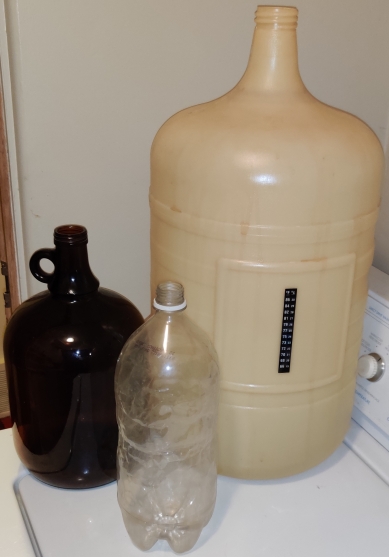
Secondary fermentors taken out

The jet washer was again installed on the tap in the laundry tub:
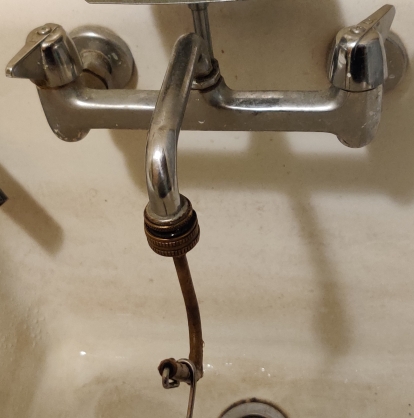
Jet washer installed again

The secondary fermentors were rinsed out with the jet washer:
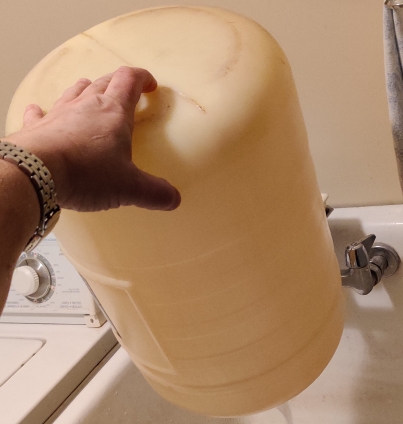
Secondary fermentor rinsed

Racking equipment — items used to transfer the now-fermenting liquid easily — were taken out: Plastic tubing, a stiff plastic racking cane, a cone shaped holder to hold the racking cane (including this item was an oops, since I wouldn’t be needing it on this day), and a clip to hold the plastic tubing in place on the edge of the secondary fermentor:
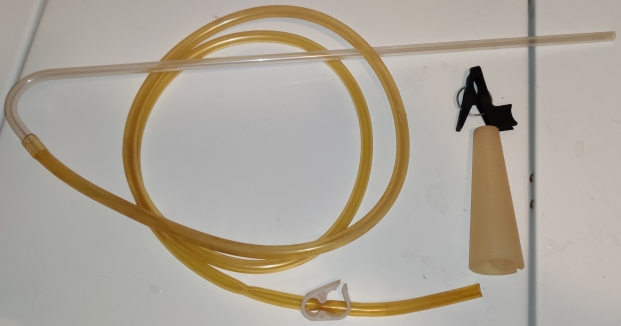
Racking equipment taken out

The racking tubes were rinsed with water:
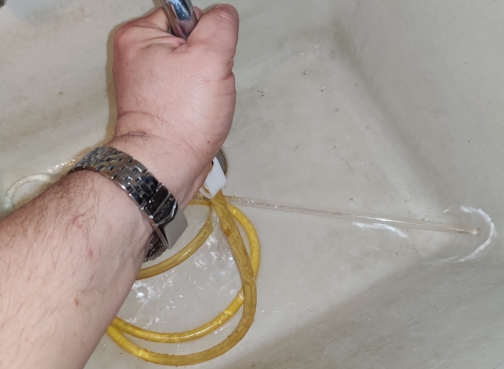
Racking tube rinsed

The secondary fermentors were placed on the floor of the bar next to where the fermenting beer was located:
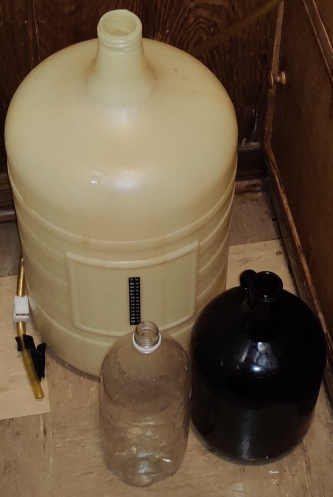
Secondary fermentors placed on bar floor

The racking tube was placed in the fermentation bin with the fermenting beer, and leading all the way down to the floor where the secondary fermentors were placed:

Racking tube placed in fermentation bin and leading down to secondary fermentors

The flow of liquid beer was started by sucking on the end of the flexible section of the racking tubing (avoiding to leave any spit!), which was then secured in the neck of the secondary fermentor using the black clip, allowing for the flow of beer from above down below:
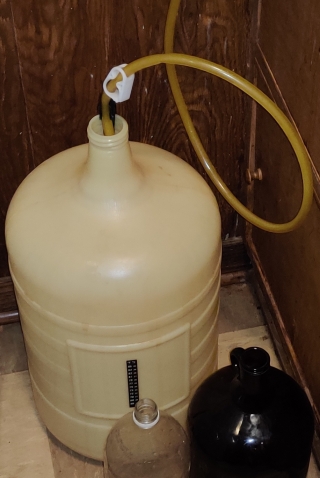
Beer flow begun and tubing secured to secondary fermentor neck

Here is the neck of the racking tube in the fermentation bin, with beer flowing through down to the secondary fermentor:
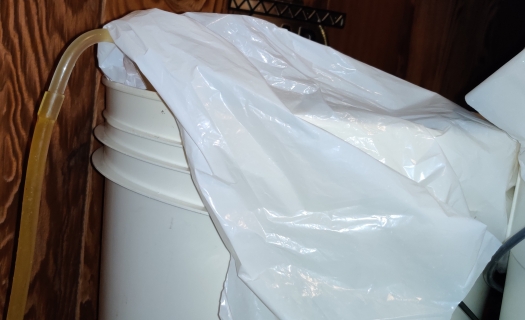
Beer flowing out of the fermentation bin

And here’s a photo of the secondary fermentor as it was filling with fermenting beer:
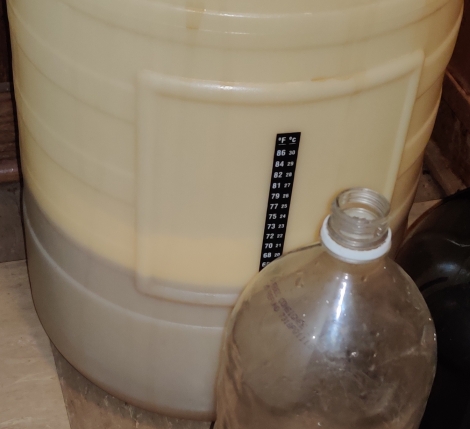
Secondary fermentor filling up

At a certain point when the secondary fermentor was almost full, foam formed up to the top of the secondary fermentor …
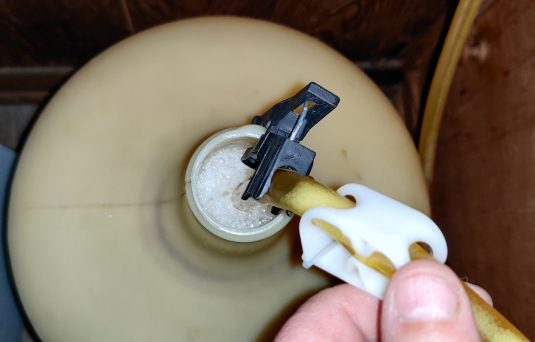
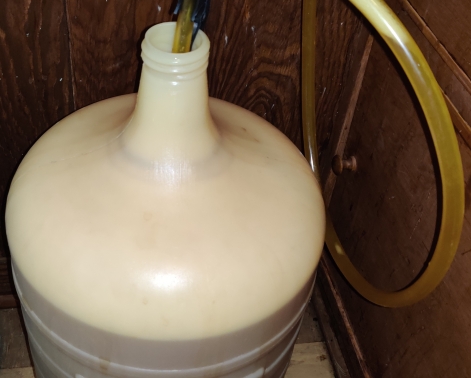
Secondary fermentor foaming up

… and the racking tubing was transferred to the gallon jug:
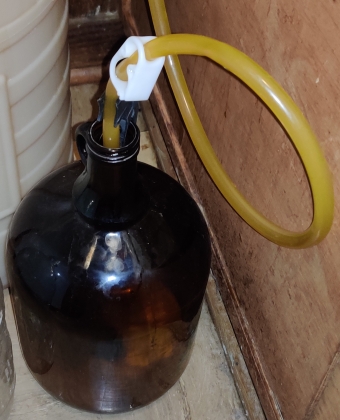
Racking beer into gallon jug secondary fermentor

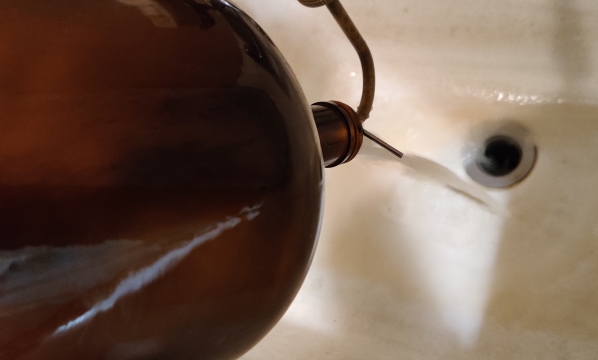
At this point, I should explain that during the primary fermentation, the fermentation was sufficiently vigorous to avoid air getting back in, while during secondary fermentation and the following period during which solids drop to the bottom of the secondary fermentor, the rate of gas production is insufficient to protect the beer from oxidation and contamination from the air outside the fermentor.

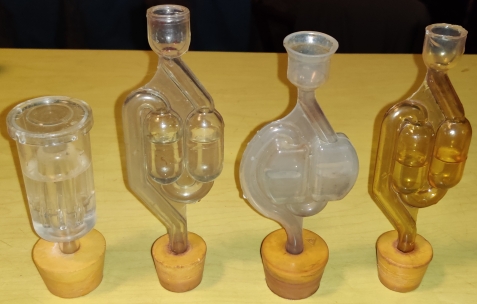
Therefore, airlocks, plugs for the secondary fermentors which allow gas — in this case, carbon dioxide produced by the yeast fermenting the dextrose into alcohol — to escape the secondary fermentors while keeping air from getting back in, were taken out:
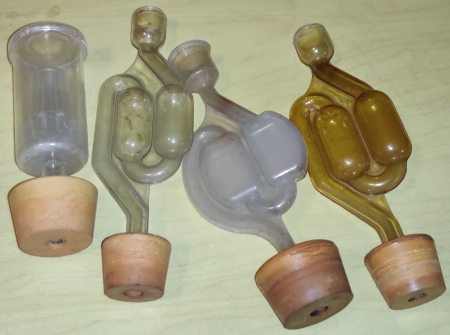
Airlocks taken out

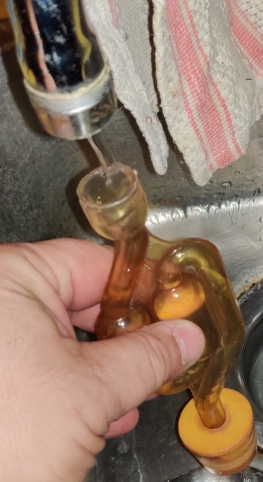
Airlocks were filled with water:

Airlock filled with water
Airlocks filled with water

Water-filled airlocks were fitted onto the now-filled secondary fermentors, which were raised up to the level of the bar:
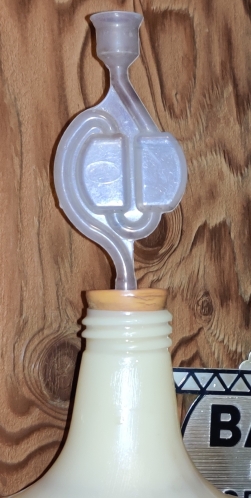
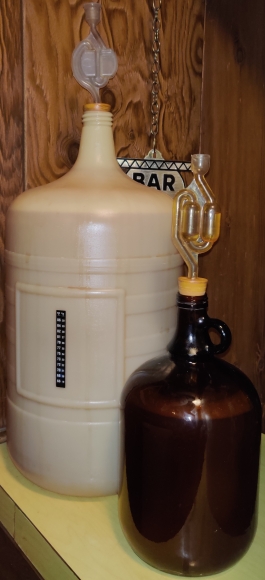
Airlocks fitted to secondary fermentor
Airlocks fitted to secondary fermentors, and secondary fermentors raised to bar level

At the bottom of the fermentation bin, there was a sediment of dead and dying yeast:
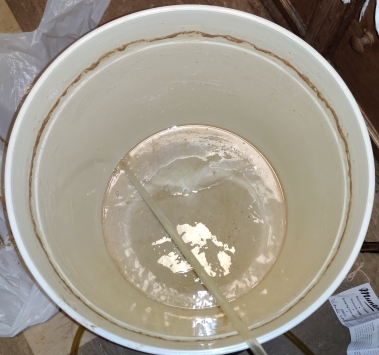
Sediment at bottom of fermentation bin

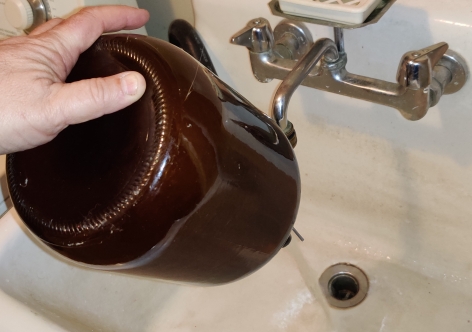
The fermentation bin was brought to the laundry tub, and the sediment was drained out:
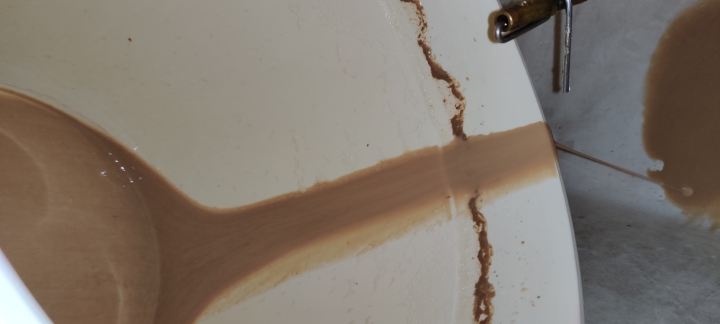
Sediment drained from fermentation bin

The fermentation bin was washed and rinsed with the jetwasher and a rag (not shown):
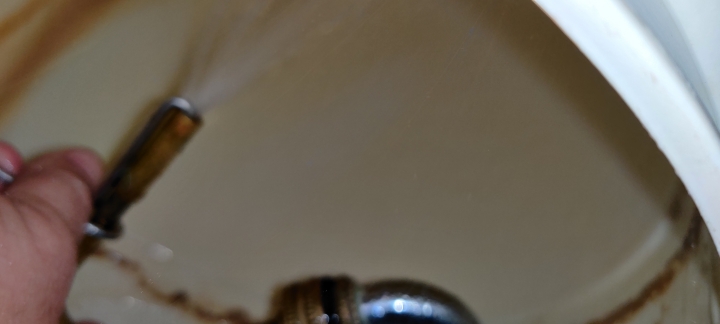
Fermentation rinsed with jetwasher
Washed and rinsed fermentation bin

The airlock was already bubbling at this point:

Airlock bubbling

The whole process was repeated for the other beer, the brown ale, and at this point, a second set of identified secondary fermentors filled with beer was placed beside the first set of secondary fermentors:
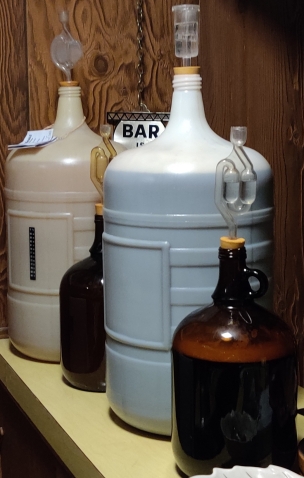
Two sets of secondary fermentors with two kinds of beer

Day nine:

At this point, sediments had formed in the secondary fermentors:

Sediment in secondary fermentor

You should start this now if you haven’t already:

Normally, I have a collection of cleaned and de-labeled beer bottles in storage. Should you not have an adequate number of bottles for bottling your beer — 23 litres requires about 66 or thereabouts 341mL bottles, or equivalent — by now you should begin collecting them.

Normally, I get beer bottles from city streets; as I am walking about in the streets, I am continuously on the lookout for empty beer bottles to reuse for my beer; fortunately for brewers like myself, but in more general terms unfortunately, in the general area where I live, they are far more common and abundant than I might want to admit, and, surprisingly, most are in excellent condition! In the following few pictures, I show the cleaning of larger 1.18 litre bottles, since I use them as well as regular 341 mL bottles for beers I produce sometimes.

Other places to get beer bottles are to buy beer at stores, consume the beer, and then clean the bottles; or, ask friends and family to save beer bottles for you; and, be really nice with the bottle return clerk at the store and politely ask them if you may pay the bottle deposits on empty returned beer bottles.

Hence, an empty bottle was taken out:

Empty beer bottle to be cleaned and delabled

The cap was unscrewed from the bottle, and kept:
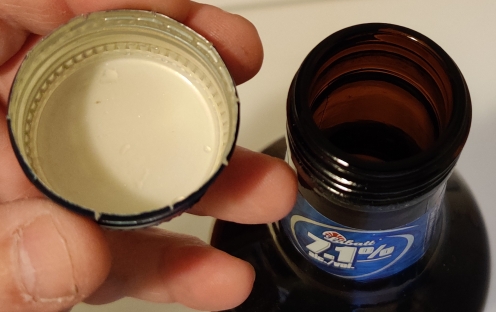
Cap removed from bottle

The bottle was inspected for chips, cracks, and any other defects:
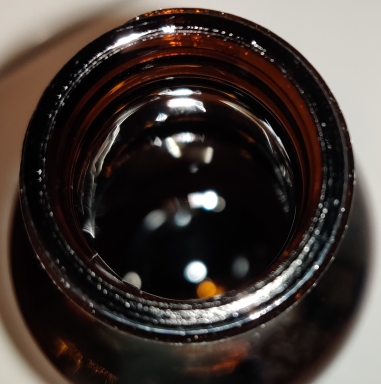
Bottle inspected for defects

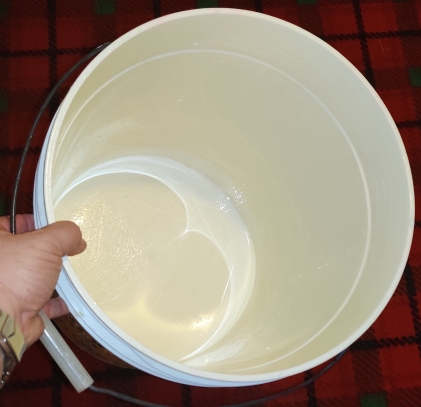
A plastic bucket was partly filled with water for soaking off the labels:
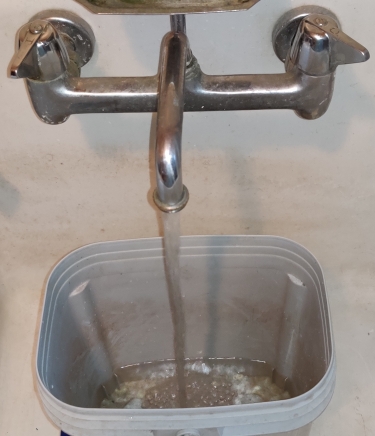
Bucket filled with water for soaking labels

The bottle was placed in the bucket and filled with water …
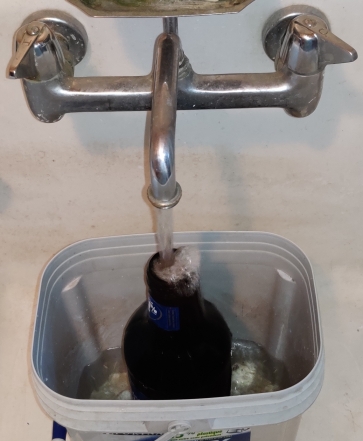
Bottle filled with water

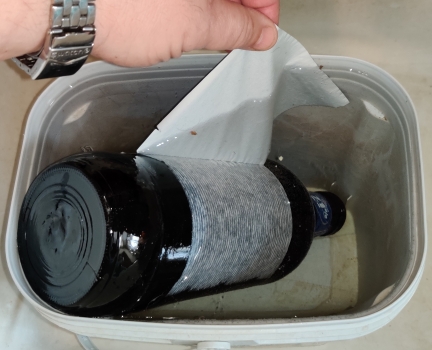
Once filled, the bottle was turned over (in order to properly soak the label on the neck), and the bucket was almost fully filled with water:
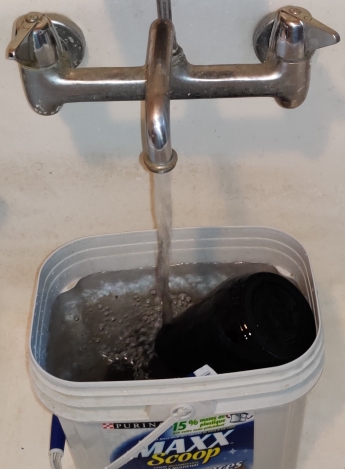
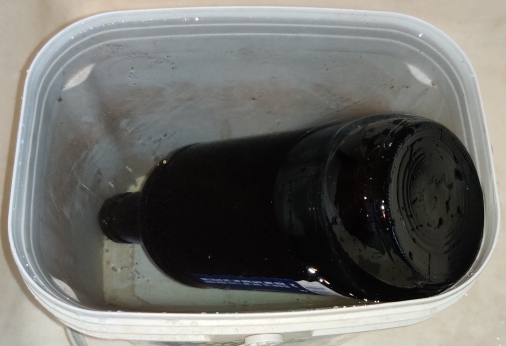
Bottle turned over and bucket filled with water

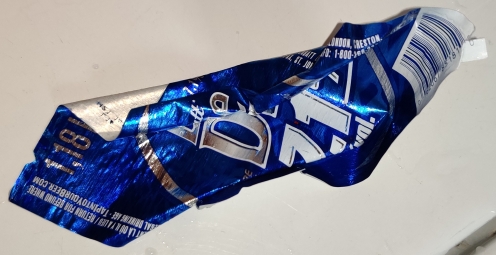
After a while, the label was carefully removed from the bottle:
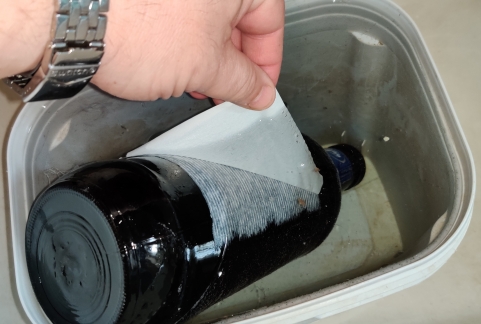
Label removed from bottle

An old vegetable scraping brush was taken out:

Brush taken out

The brush and partially delabeled bottle were brought together …
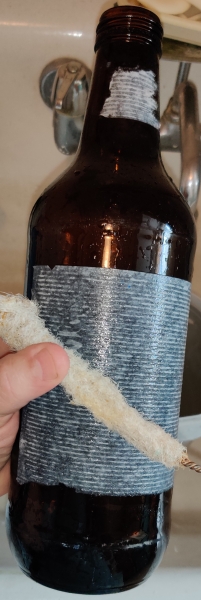
Brush used to scrape off vestiges of label from bottle

… and the vestiges of the label were removed …
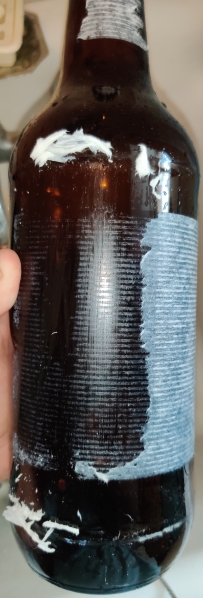
Vestiges of label partly removed from bottle
Vestiges of label mostly removed from bottle

… including the glue:

Vestiges of label glue scraped off

Yet again, the jet washer was installed onto the tap in the laundry tub:
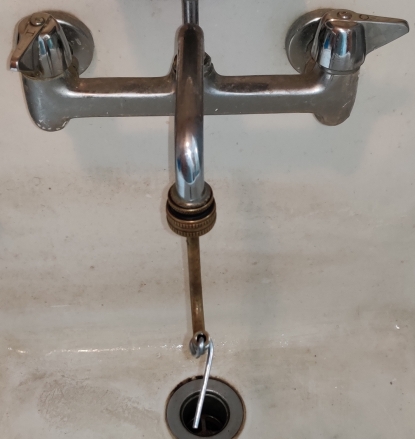
Jet washer installed

… and the bottle’s interior was rinsed with the jet washer:
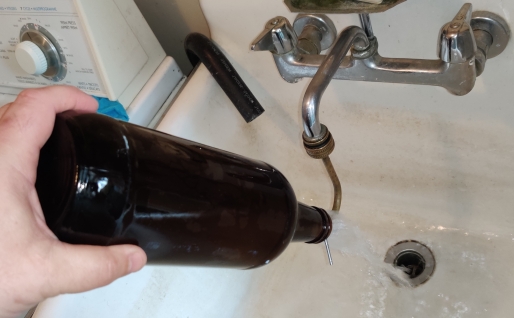
Bottle interior jet washed

The bottle’s cap, which for these bottles and cap model can be reused if in good condition, was removed from the soaking water:
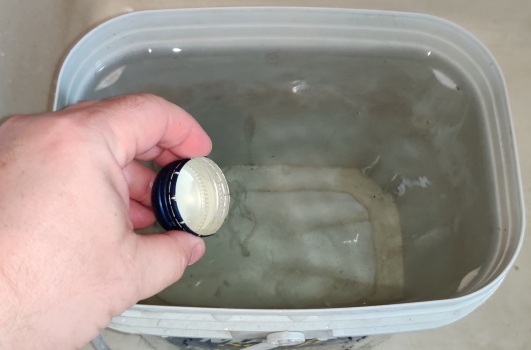
Cap removed from soaking water

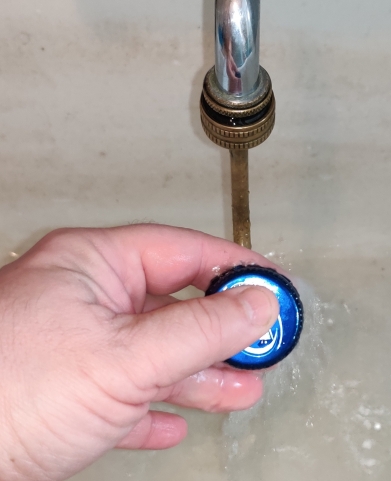
The cap was jet washed:

Jet washing cap

The bottle and cap were placed in the dishwasher with other dishes, to be washed and sanitized before storing for bottling day:
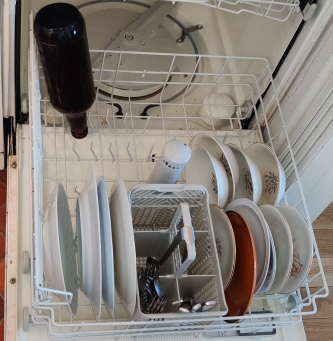
Bottle and cap placed in dishwasher

After the dishwasher had been run, the clean bottle was taken out, ready to be stored in anticipation of bottling day:

Clean bottle ready for storage

After three weeks:

On bottling day, clean bottles were taken out to bottle the beer:
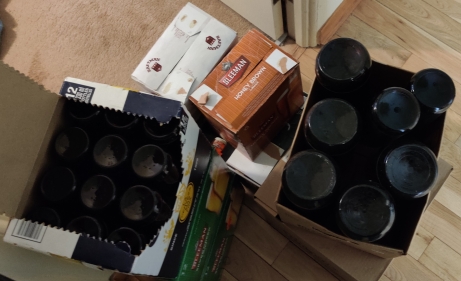
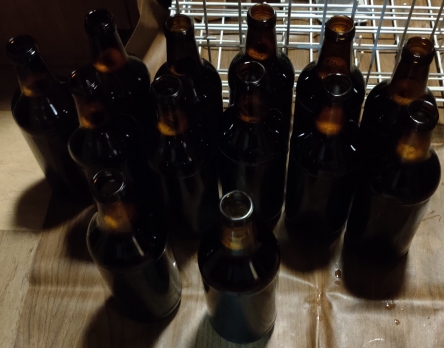
Clean bottles taken out

The dishwasher had been previously run to clean dishes, and then the clean dishes were all taken out, leaving an empty and clean dishwasher:
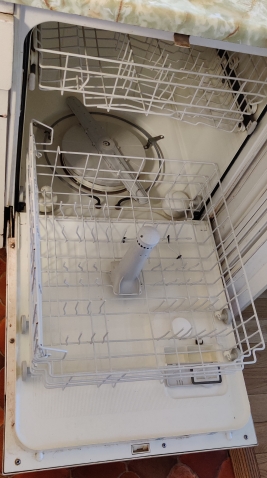
Clean and empty dishwasher

Large, 1.18 litre beer bottles were placed in the dishwasher:
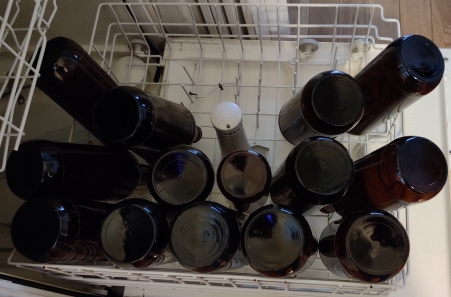
Large bottles placed in dishwasher

Small, 341 mL beer bottles were placed in the lower rack of the dishwasher alongside the larger beer bottles …
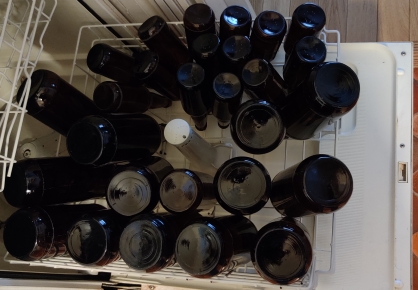
Small beer bottles placed in dishwasher

… as well in the dishwasher’s upper rack:
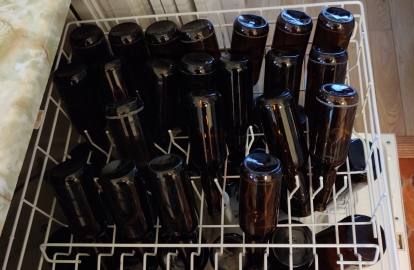
Small beer bottles placed in the dishwasher’s upper rack

The dishwasher racks were rolled into the dishwashwer …
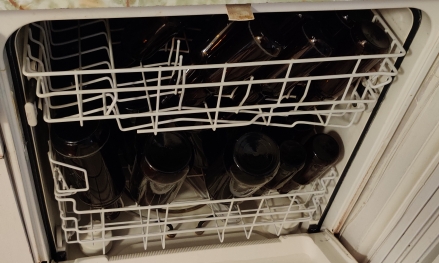
Dishwasher racks rolled into dishwasher

The dishswasher door was closed, and the dial set to start running the dishwashwer (without any soaps):
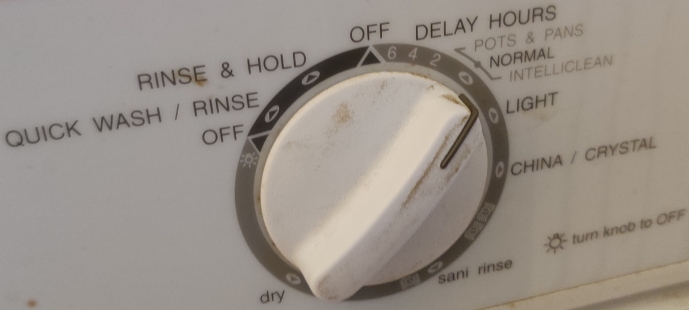
Dishwasher set to operate

At this point, with the dishwasher running, I took out another beer and glass:
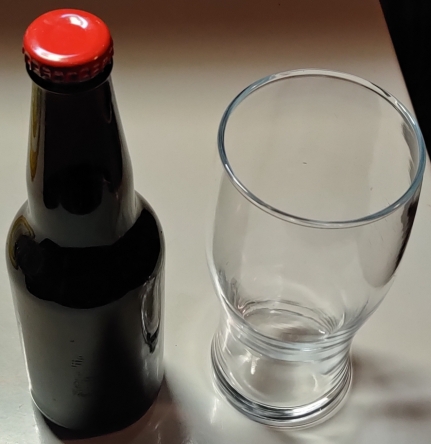
Beer and glass taken out

The beer was poured into the glass:

Beer poured into glass

And the beer was enjoyed:

Beer enjoyed

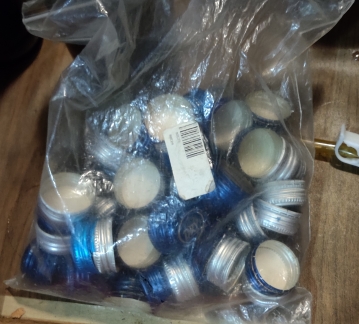
Various supplies and equipment were taken out for bottling, such as more dextrose to mix into the beer (to carbonate the beer once bottled), a racking tube, a large plastic mixing spoon, a measuring cup, a cone used to hold the racking cane in place in the secondary fermentors, a measuring cup to measure out the dextrose, some bottle caps for the smaller bottles, and the bottle capper for securing the caps on the smaller bottles. Missing: Caps used for larger bottles.
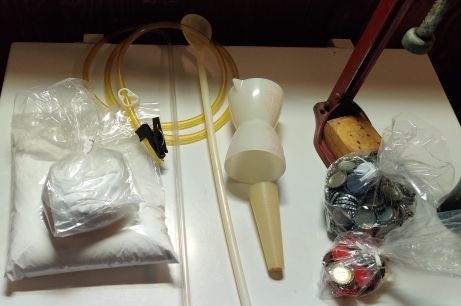
Supplies for bottling the beer

The racking tube and cane were rinsed with water:
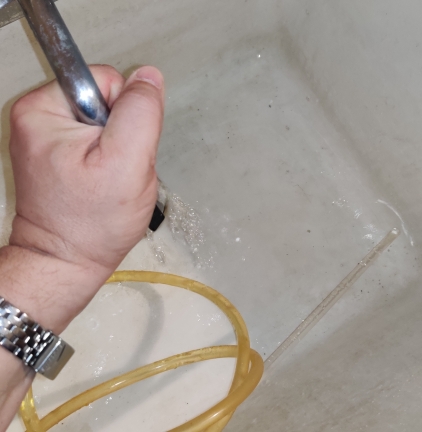
Racking tube and cane rinsed

The long plastic spoon was rinsed:

Mixing spoon rinsed

The jet washer was installed again:

Jest washer installed

The original fermentation bin was taken out:
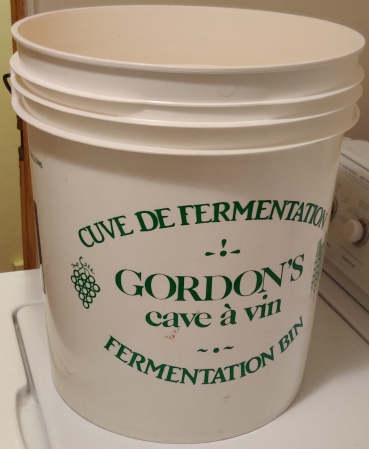
Fermentation bin taken out

The fermentation bin was rinsed with the jet washer:
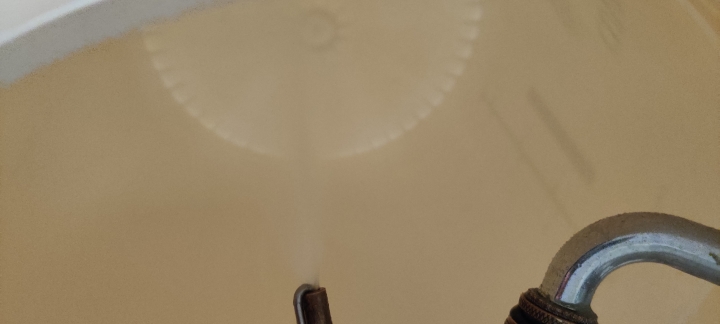
Fermentation bin rinsed with jet washer

The rinsed fermentation bin was brought over to the bar:
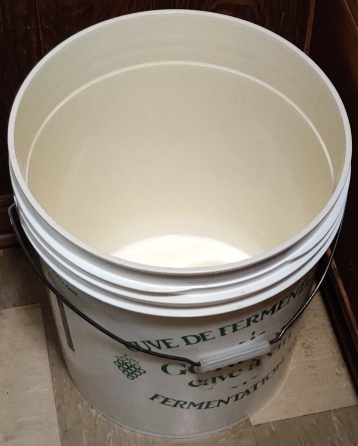
Rinsed fermentation bin brought to bar area

Dextrose was measured out:

Dextrose measured out

The dextrose was brought to the fermentation bin:
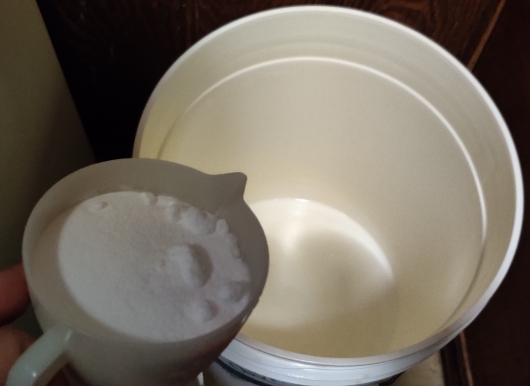
Dextrose brought to the fermentation bin

The dextrose was poured into the fermentation bin:
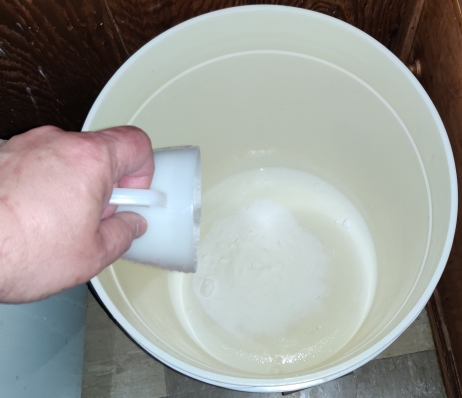
Dextrose poured into fermentation bin

The conical cane holder was placed on the racking cane:
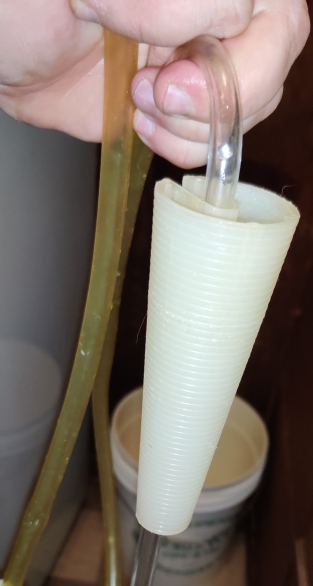
Conical cane holder installed on racking cane

The airlock was removed from the secondary fermentor whose beer was going to be racked:
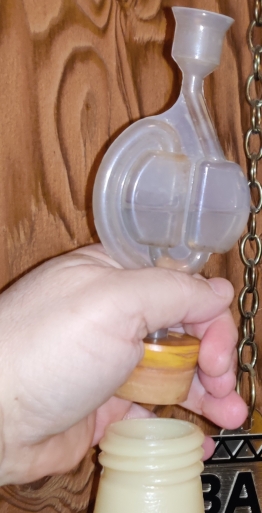
Airlock removed from secondary fermentor

The racking cane was carefully placed in the secondary fermentor whose beer was about to be racked:
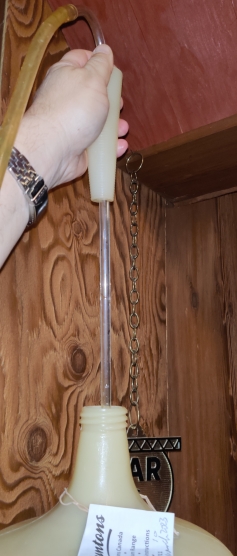
Racking cane placed in secondary fermentor

I sucked a bit on the end of the tubing to start the transfer of the beer from the secondary fermentor …
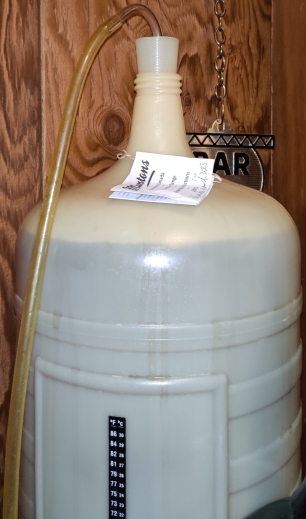
Beer transferring from secondary fermentor

… which allowed for the beer to be siphoned off and transferred to the primary fermentor with the dextrose, which was on the floor of the bar:
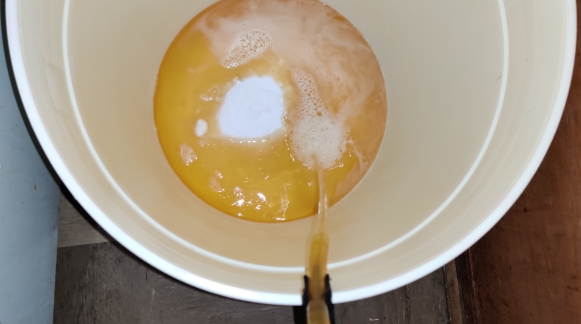
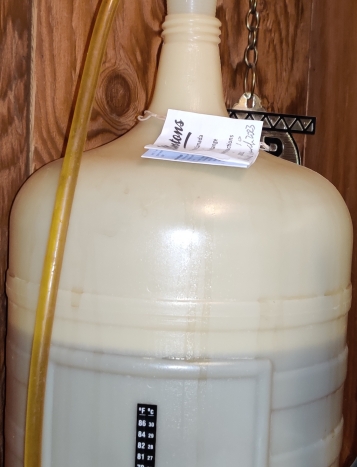
Beer transferring to fermentation bin
Beer level in secondary fermentor becoming lower

As the beer was transferring to the fermentation bin at floor level, I stirred the beer a bit to dissolve the dextrose:
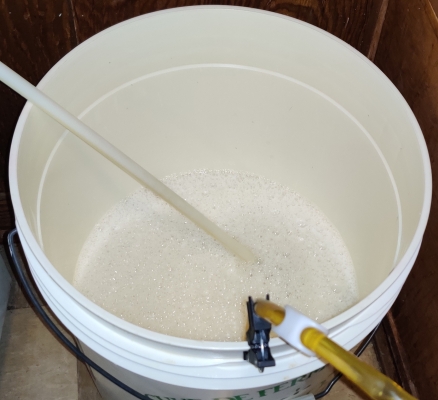
Beer stirred to dissolve dextrose

As the beer was being transferred, the level in the secondary fermentor kept on dropping:
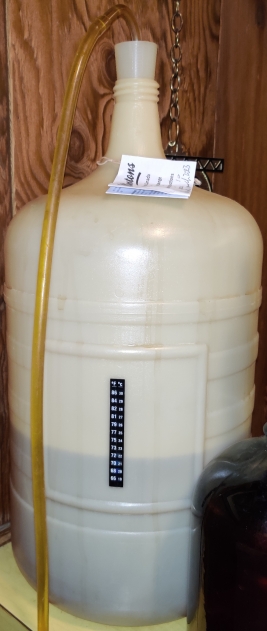
Beer level in secondary fermentor becoming lower

Once the liquid had been fully transferred from the secondary fermentor, I transferred the racking tube to the gallon jug:
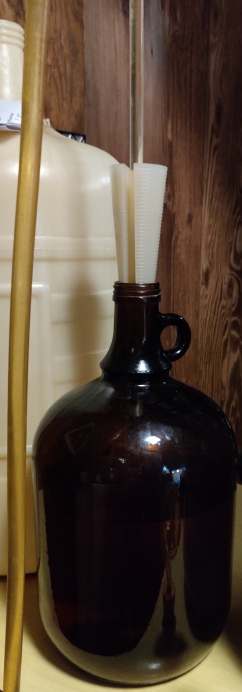
Racking tube transferred to gallon jug

… until it too was empty:

Both secondary fermentors emptied

The large secondary fermentor was jetwashed …
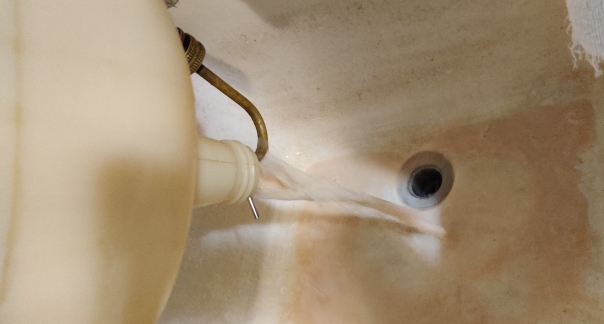
Secondary fermentor jetwashed

… as was the gallon jug:

Secondary fermentor jetwashed

At this point, the original fermentation bin was filled with the beer, and was thoroughly mixed again:
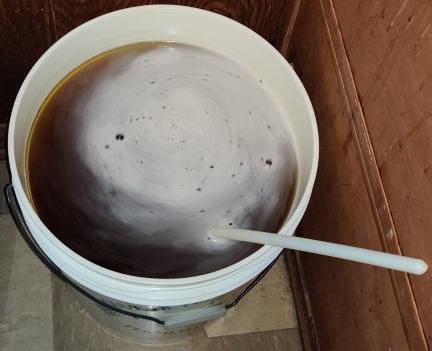
Fermentation bin filled with beer, and beer mixed

While the beer was still being racked, a section of the bar was cleared again …
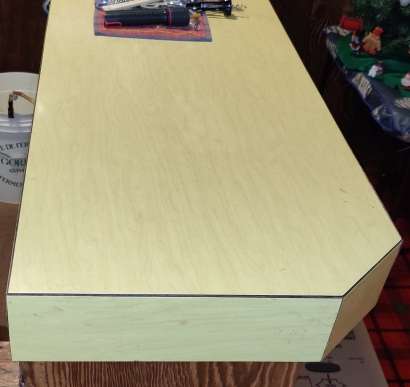
Section of bar cleared

… the plastic cloth was placed on the floor beside the cleared section of the bar …
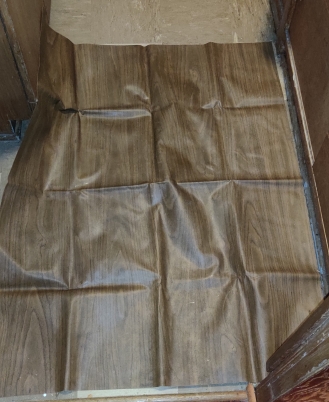
Plastic cloth placed on floor

… and the fermentation bin with the beer was raised up to the bar again, with the racking cane and tubing having been placed in the bucket and draping down to floor level:

Beer raised to level of bar

At this point, the dishwasher had finished operating, so the bottom rack with the large 1.18 litre and some 341 mL bottles were brought downstairs to the bottling area:
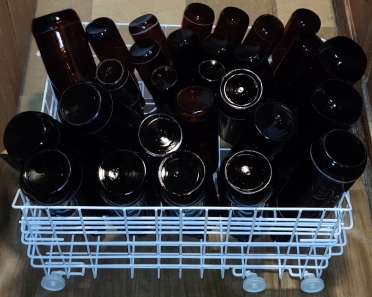
Rack of sanitized bottles brought to bottling area

Large 1.18 litre bottles were taken out of the rack and stood upright for filling:
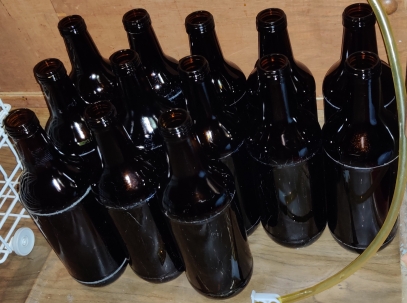
Large bottles stood upright for filling

The racking tube was primed (flow started) and used to fill bottles one by one:
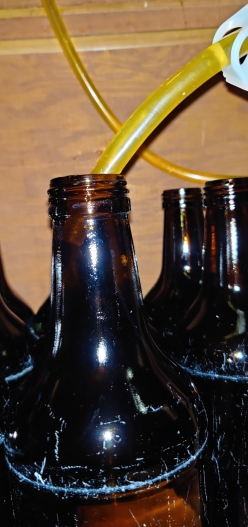
Filling beer bottles
Filled beer bottles

The clean caps were taken out:

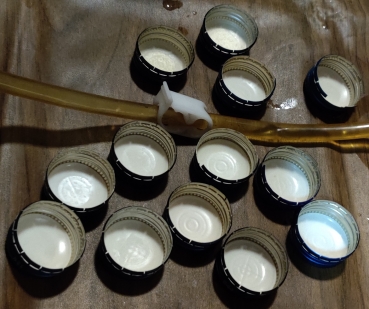
Clean caps taken out

… and the bottles were capped, and moved out of the bottling area. And here is my cat helping out with the beer bottling!
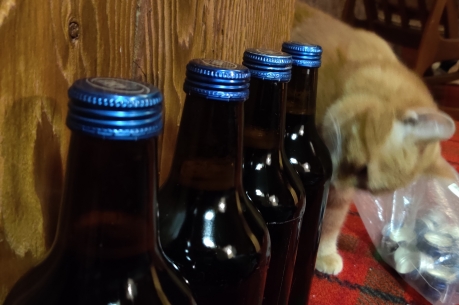
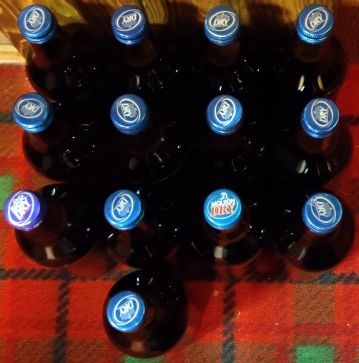
Bottles capped and cat helping
All 1.18 bottles capped

Smaller 341 mL and a single 750 mL bottles were taken out of the dishwasher rack and stood upright for bottling:
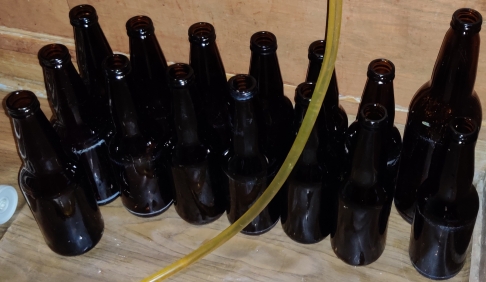
Regular beer bottles stood upright for bottling

The regular-sized beer bottles were filled with the racking tube:

Regular-sized bottles filled with beer

The filled beer bottles were moved out of the filling area as they were filled:
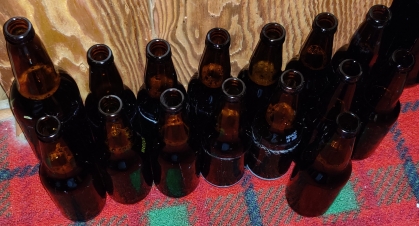
Regular-sized bottles filled with beer

At this point, the level of beer in the fermentation bin had gotten low, however it still contained several bottles of beer:
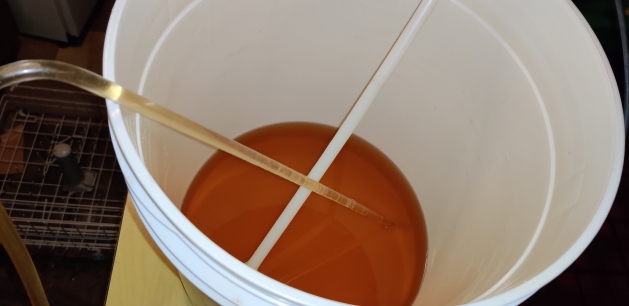
Beer still left in fermentation bin

Also at this point, all the bottles from the lower rack of the dishwasher had been filled with beer:
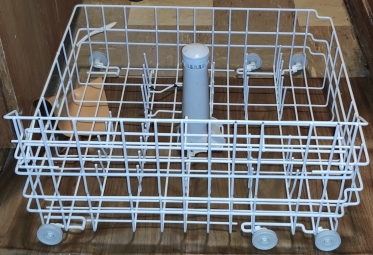
Dishwasher rack empty

The upper rack from the dishwasher was brought down to the bottling area:
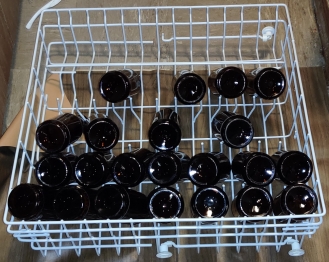
Upper rack brought to bottling area

The rest of the beer was bottled, and the uncapped bottles were placed in beer cases in order to facilitate moving them over to where I capped the bottles:
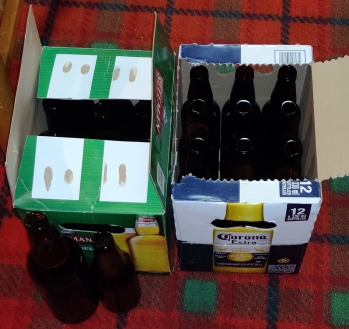
Filled beer bottles placed in beer cases

At this point, I had set up my capping station, and had moved the cases of filled beer bottles there:
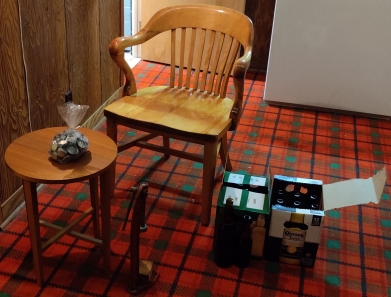
Bottle capping station

My beer bottle capper was taken out, along with a wooden booster to accomodate “modern” beer bottles, which are shorter than the tall bottles for which the capper seems to have been designed:
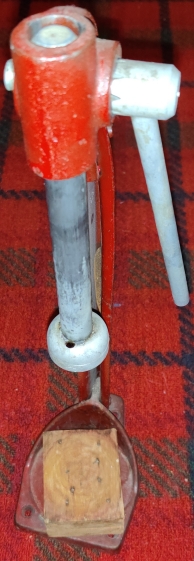
Beer bottle capper with wooden booster

Uncrimped beer bottle caps were placed on bottles one at a time …
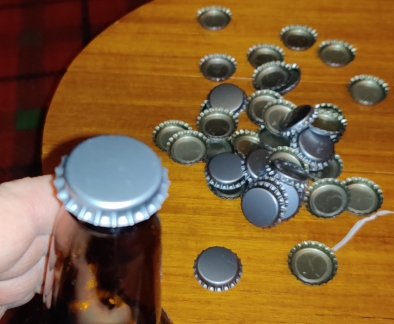
Uncrimped beer bottle cap placed on bottle

Bottles with caps were placed in the bottle capper, starting with a tall bottle not needing the wooden booster …

Bottle placed in capper

… and the plunger was pushed down over the cap, in order to crimp it onto the bottle:
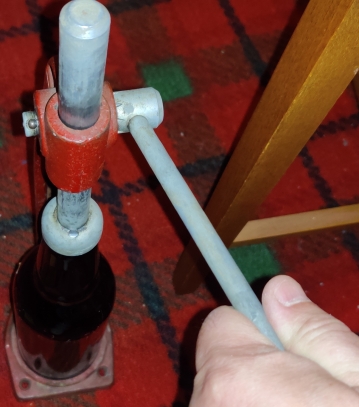
Bottle cap crimped

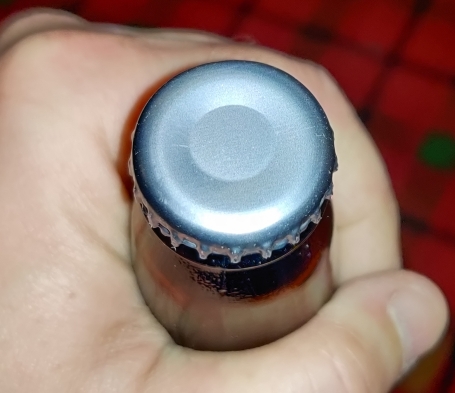
… producing a capped and sealed bottle of beer:
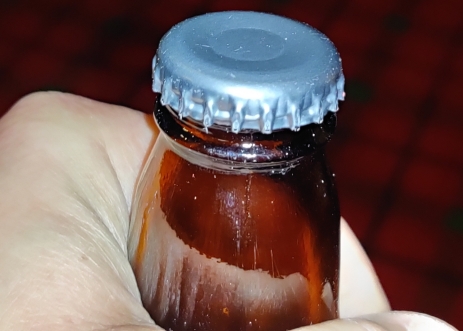
Capped and sealed bottle of beer, showing crimping around edges
Capped and sealed bottle of beer, showing the depressed top of the cap

The wooden booster was placed back on the base of the capper:
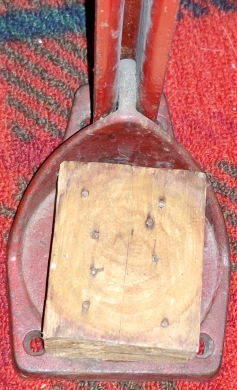
Wooden booster placed in capper

The bottles of beer were all capped:

Beer bottles capped

A permanent marker was taken out:

Permanent marker taken out

The tops of the bottles were identified, in this case with “BL” for the blonde beer, and 2023 … for the year 2023. 🙂
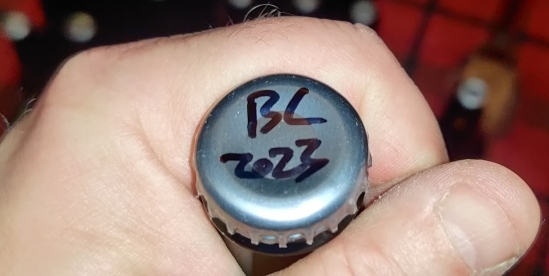
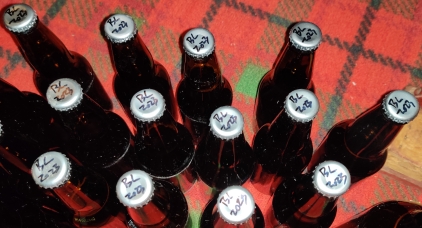
Bottle caps identified

The bottles were placed back in beer cases:
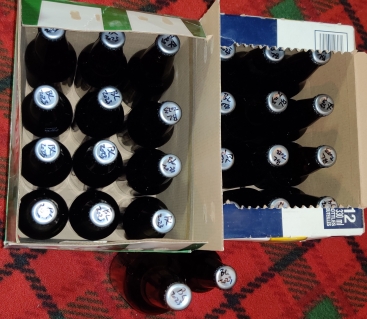
Beers placed back in cases

Here are all the bottles of beer of the blonde beer:
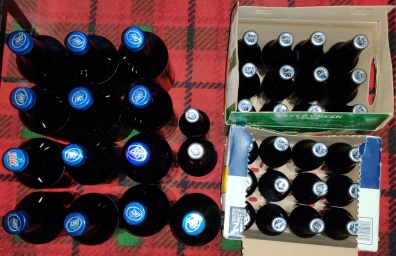
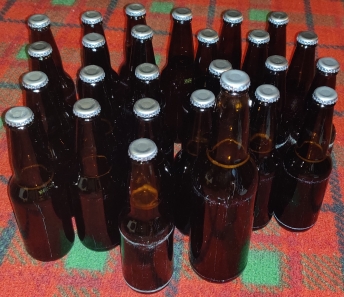
All bottles of blonde beer

The bottling process was repeated for the brown ale:
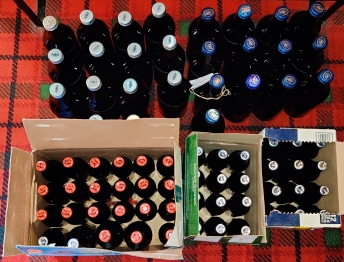
Bottles of blonde beer and brown ale

After nine weeks:

Of course, the beer had to be taste tested, so a bottle of the blonde beer, as well as a glass, were taken out:
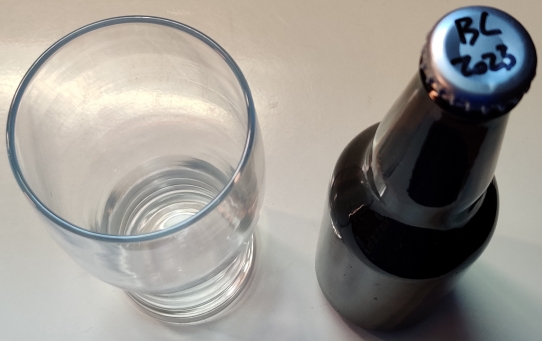
Blonde beer and glass taken out

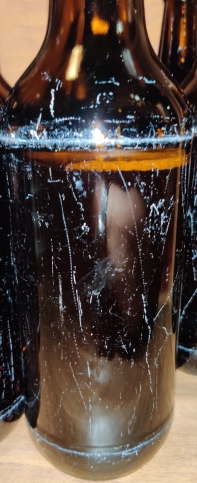
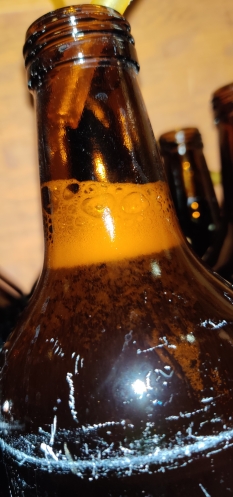
The bottle was held up to the light of a window to check that it had cleared on its own:

Beer checked for clarity

The blonde beer was poured into the glass …

Beer poured into glass

… and the beer was enjoyed:

Beer enjoyed

The beer is now ready to be consumed on … well, poor weather postponed the Canada Day festivities where I live, so it will be ready when Canada Day is rescheduled!

New malak.ca internet connection

www.malak.ca is hosted by myself on an old desktop computer in my bedroom, using my home internet connection. The general specs are:

  • Dell Vostro 420 Series (64bits) — BIOS date of October 24, 2008
  • Intel(R) Core(TM) 2 Quad CPU @ 2.66GHz (with hyperthreading), with a clock speed of 333MHz; L1d cache 128KiB (4 instances); L1i cache 128KiB (4 instances); L2 cache 6MiB
  • 8GB (4 x 2GB) memory, clock speed 800MHz
  • HD: 240GB SSD (OS and blog)
  • External USB hard drive: 1TB (static website data and other stuff)

Currently, it is running Fedora Linux version 37 Workstation Edition. Using the Server Edition for such a small, home-grown vanity project seemed unnecessary given a comfort level with the Workstation Edition and, since at its core, the two editions are subsets of the same OS. Ultimately, missing packages from one edition compared to the other are a “dnf install” command away. (As for a longer-term distro, I have always been a Red Hat user, so Debian or an Ubuntu LTS release aren’t interesting to me, while the new community respins of RHEL have neither captured my imagination, nor do they hold sufficient appeal anymore on a technical level.) Hence, I started from the Edition with which I and my brother (the technical heavy-lifter) are familiar, which allows for the (admittedly rare) use of a GUI as needed.

The filesystems are with ext4 on the boot partition of the SSD, as well as on the external USB hard drive; I use ext4 because I’m used to it, but can’t truly say I know, or can recommend, one filesystem from or over the next. UPDATE: I checked the filesystems and … the boot partition is ext4, and the SSD’s data portion seems to have defaulted to BTRFS; there you go, proof I don’t know much about the differences between various filesystems and their comparative advantages and disadvantages. 🙂

I have been hosting my personal website at home since at least December 2017 on a few used computers (I think the current computer is at least the fourth since transferring my website from a friend-of-my-brother’s web hosting service):

  • December 2017: IBM ThinkCentre, circa 2003 era and running CentOS 7.X (retired due to a suspected thermal event)
  • Sometime after 2017 and until April 2020: A Core 2-duo circa possibly 2010 era, running various current Fedora versions up to version 31 (repurposed due to power issues)
  • April 2020: IBM ThinkCentre, circa possibly 2006 or 2007 era, running Fedora 31 to Fedora 37 (retired due to unknown problems causing constant reboot cycles, which were not fully investigated)
  • The current 2008 era computer installed in February 2023: Dell Core 2 Duo, 2008, (described above) using the same SSD and therefore instance of Fedora 37 from the previous IBM ThinkCentre

But to wit, since hosting www.malak.ca myself, it has always been on my home internet service, a DSL line with a (now-)paltry 6.05MBit-ish down and, what, 0.67MBit-ish up capacity, which for reasons beyond the scope of this post had not been upgraded for (best I can remember) over 20 years.

Time marching on and the increase of devices in the household meant that while still minimally usable and just functional, the internet connection regularly became inadequate for daily use, and barely usable for things like weekly simultaneous videoconferences (and with slightly-more-than-tacit rules of “no other internet usage during said weekly dual videoconferences” and the like.) The slow internet access, especially the slow uplink, affected a blogging project started in late 2020 showing pictures of the preparation of my recipes from my collection by limiting photo sizes not only as a good idea for reasons of netiquette, page layout and formatting, but as an outright necessity given the limited upload capacity (thank you WordPress for lazy-loading!)

Well, last week we finally upgraded the internet package to cable with 120MBit down and 20MBit up. Interestingly, we had had a cable modem for a few years in the late 1990’s until it became quite unusable and made a switch to DSL; as a side note, a box, some equipment inside it, and some cable wiring from that period were still attached to the outside of the house, not having been removed at the time, and were still compatible and usable when we got the install last week.

As such, www.malak.ca now has decent upload speeds!
Drying Pineapples — Photos

I bought a food dehydrator in early 1997 while I was still involved as an adult member in Scouting, and began by drying (mostly) various fruits for Scout Troop camping trips; Troop members were eager to test out the results of my efforts. While I am no longer involved in Scouting, I have continued drying fruits; I quickly decided that my favourite by far was dried pineapple, which comes out like candy to me.

A short overview of my very early experiences with drying food, from a Scouting perspective, is at what would have been a blog back in the late 1990’s before blogs were a thing at https://www.malak.ca/super.html#dried.

Drying the pineapples:

I keep an eye out for sales on pineapples, and brought home six pineapples last week:

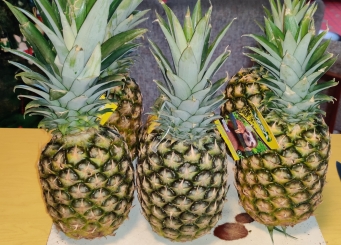
Six pineapples (one is on its side)

I brought my cutting board, knife, and corer down to the bar area downstairs, where I normally do my fruit drying:

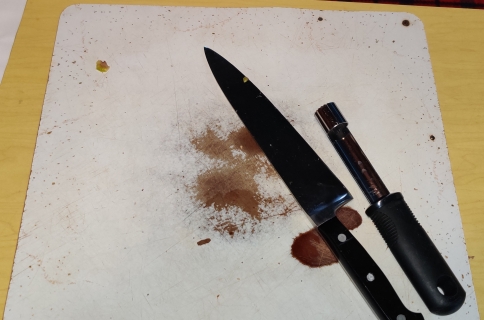
Cutting board, knife, and corer taken out

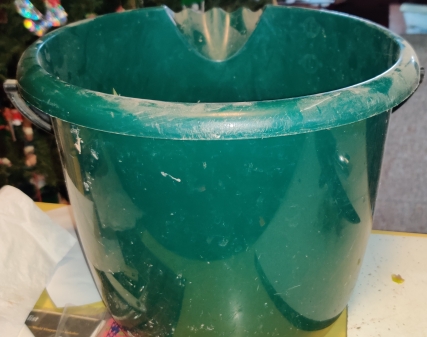
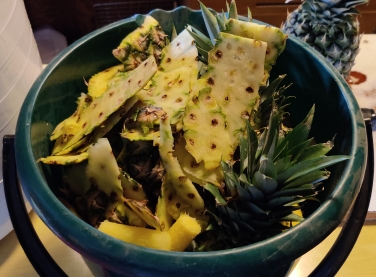
A bucket for the compostable trimmings was also set out:

Bucket for compostable trimmings taken out

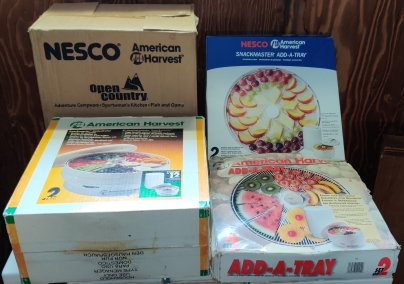
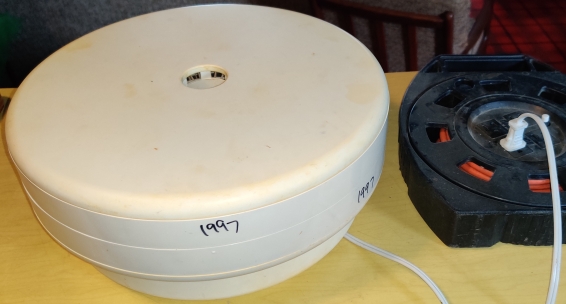
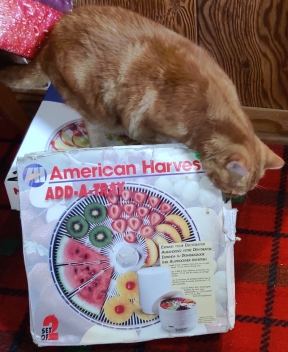
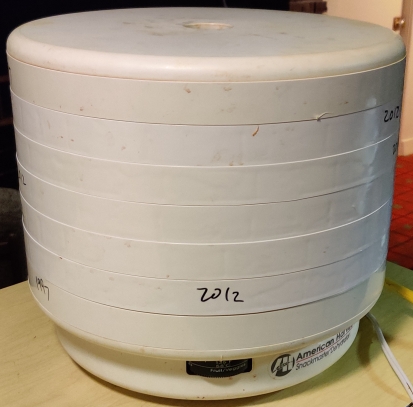
My food dehydrator was of course taken out, with all its extra trays …

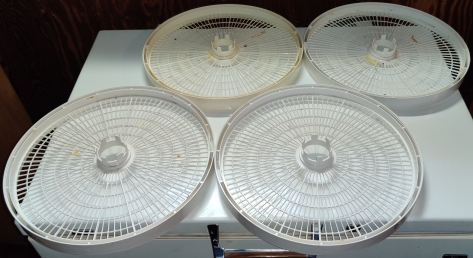
Food dehydrator and trays taken out

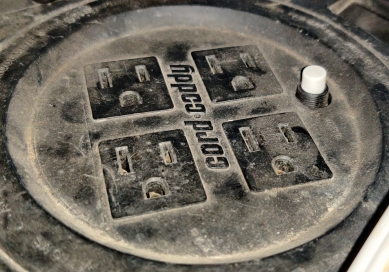
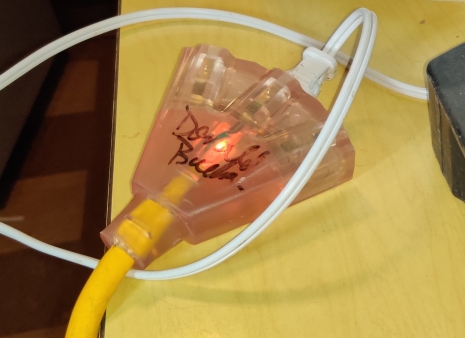
… and the unit was plugged into an extension cord caddy that was plugged into an outlet in an adjoining room, since the bar has an old outlet that doesn’t accept polarized plugs:

Food dehydrator plugged in

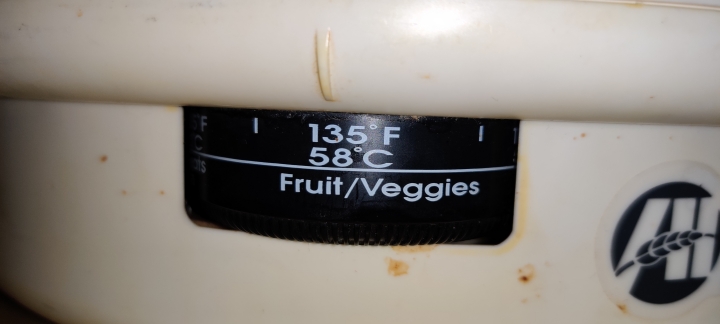
The food dehydrator was set to 135F for drying fruits and vegetables:

Food dehydrator temperature set

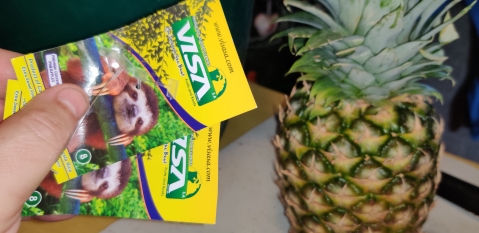
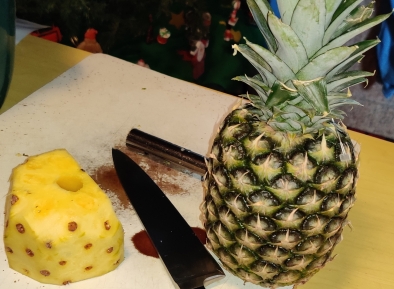
Now to the pineapples: The labels and their plastic tags were removed from the pineapples:

Labels removed from pineapples

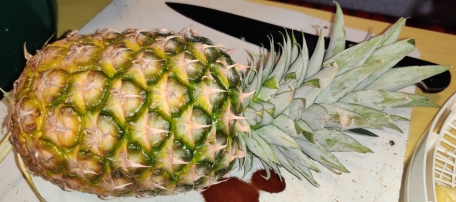
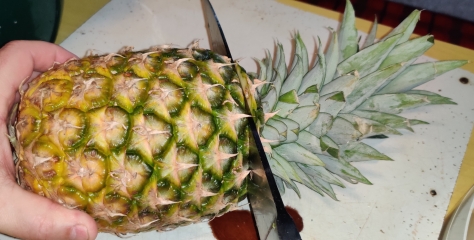
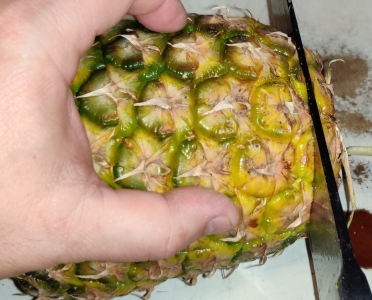
A pineapple was placed on its side in order to trim off the top:

Pineapple placed on its side

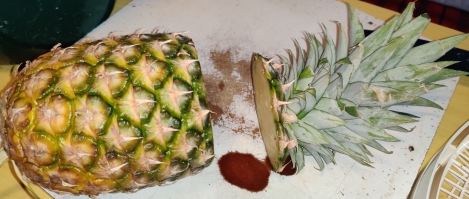
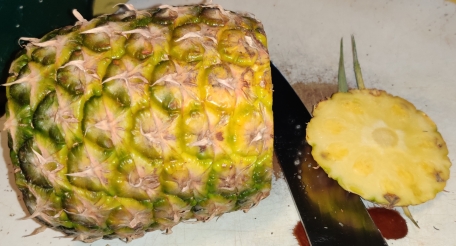
The top of the pineapple was sliced off:

Top of pineapple sliced off

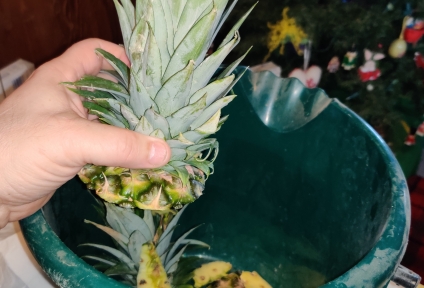
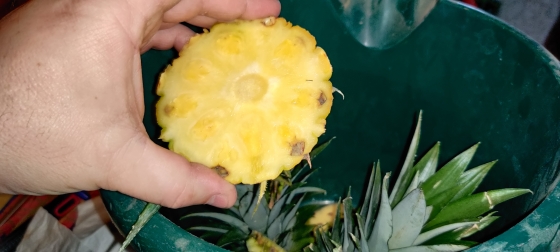
The top of the pineapple was placed in the scraps bucket:

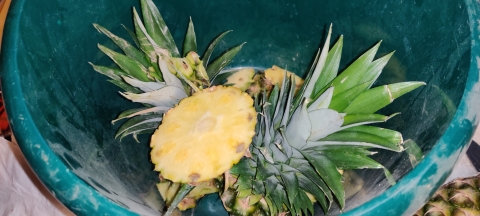
Top of pineapple placed in scraps bucket
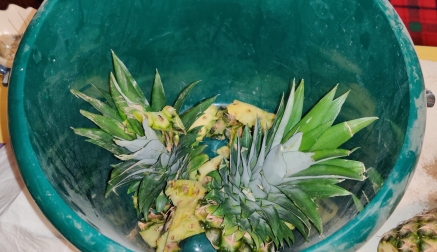
Pineapple tops in scraps bucket

The pineapple was rotated so as to slice off the bottom:

Bottom sliced off pineapple

The bottom of the pineapple was placed in the scraps bucket:

Pineapple bottom placed in scraps bucket

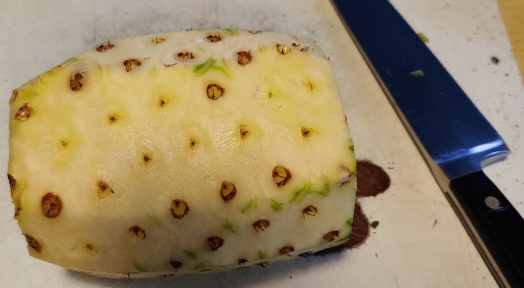
The pineapple is now ready for the rest of the trimming:

Pineapple ready for trimming

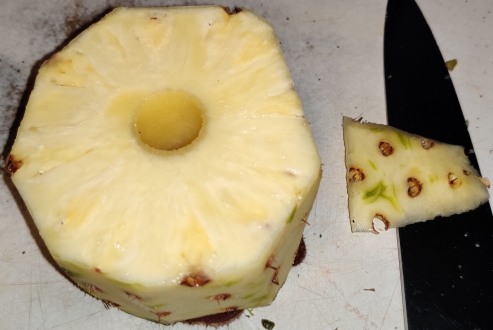
I started trimming the skin off the pineapple:

Trimming the skin off the pineapple

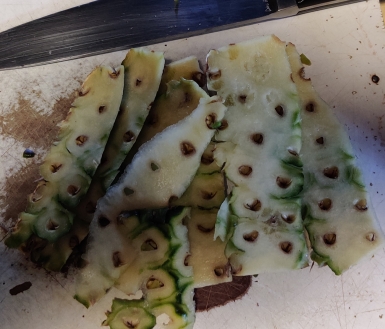
As part of trimming the skin off the pineapple, sometimes the bottoms have to be trimmed too because of the somewhat rounded shape of pineapples, making it tricky sometimes to trim off the skin in full slices:

Bottoms to be trimmed as well

The trimmed pineapple skins …

Trimmed pineapple skins

… were placed in the scraps bucket:

Pineapple skins placed in scraps bucket

The trimmed pineapple was again placed on its side …

Pineapple placed on its side

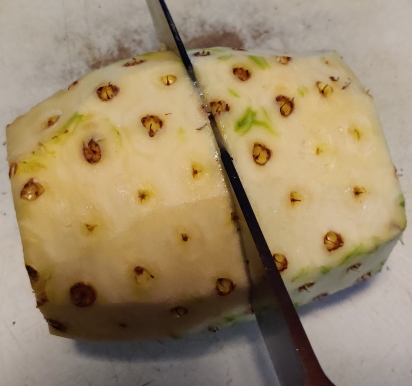
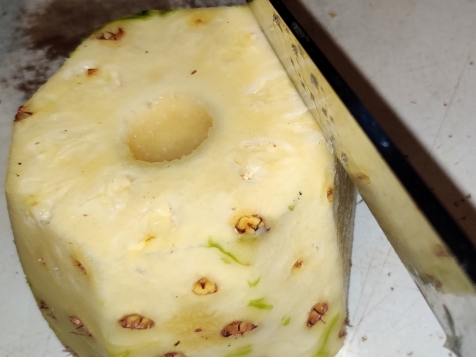
… and sliced into two halves roughly at its centre, essentially to accommodate the length of my corer, although the resulting slices tend to be of a convenient size as well:

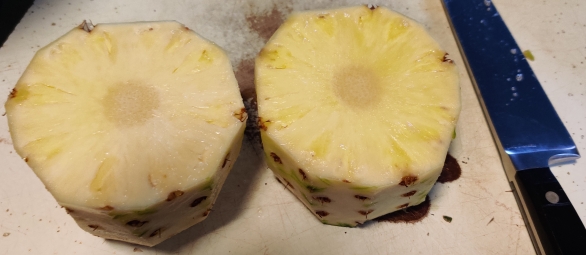
Pineapple cut in half
Two pineapple halves

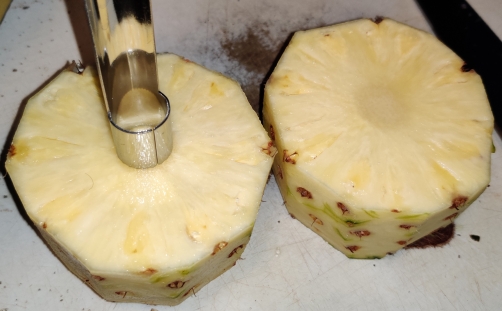
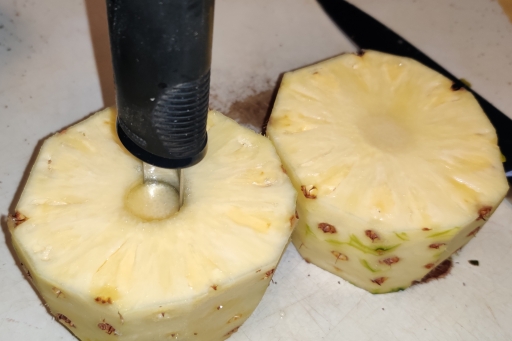
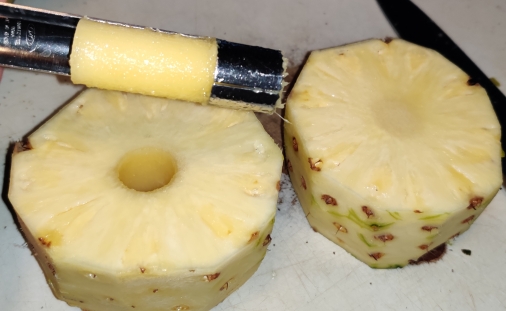
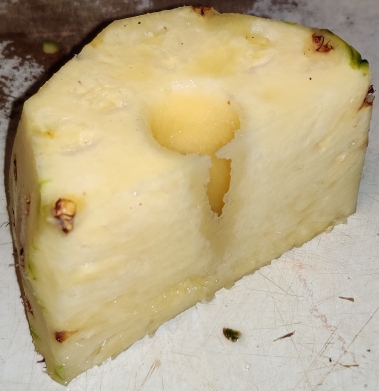
An apple corer was used to remove the pineapple cores:

Coring half of a pineapple
Cored pineapple half

I began slicing pieces off the cored pineapple half, roughly two milimetres thick:

Slicing piece off pineapple

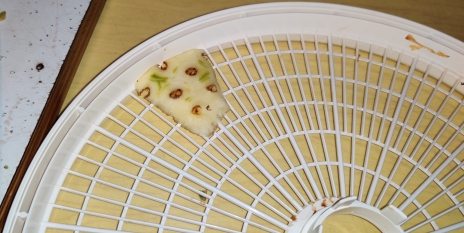
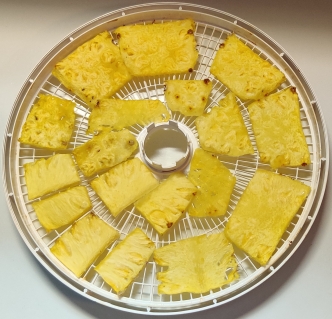
The slices were placed on a drying tray:

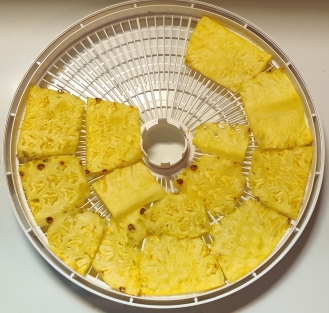
Sliced pineapple placed on drying tray

More slices were sliced off the pineapple, to about half of the pineapple half:

Almost half of the half pineapple sliced off

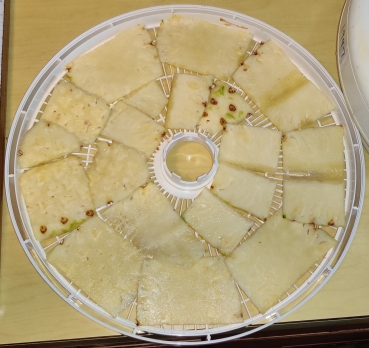
… until the tray was filled:

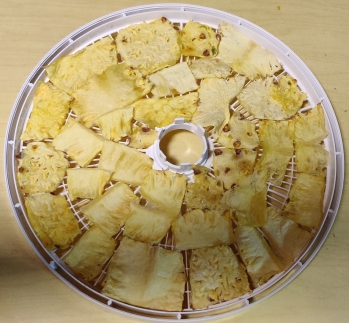
Tray filled with pineapple slices

The filled tray was placed on the food dehydrator base:

Filled tray placed on dehydrator base

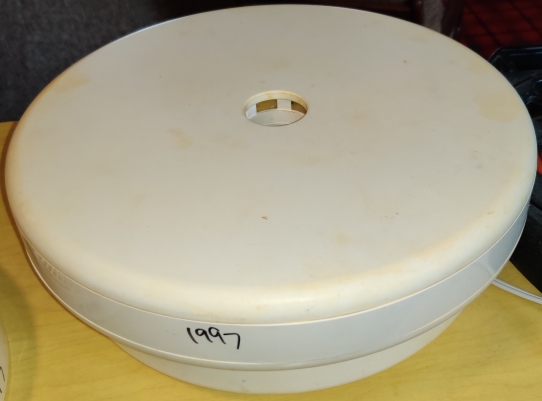
The top of the dehydrator was placed on the tray:

Top placed on the dehydrator

Oh and here’s my cat to help me out:

My cat helping me out

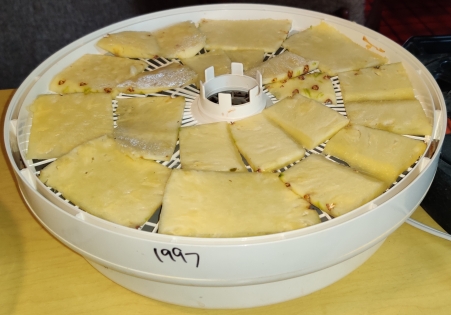
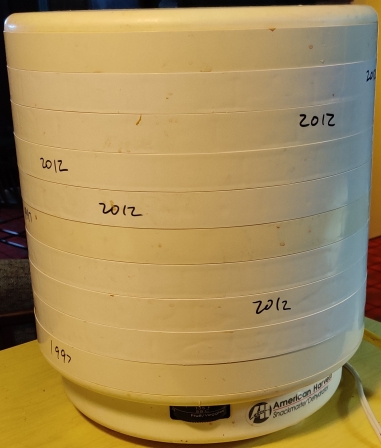
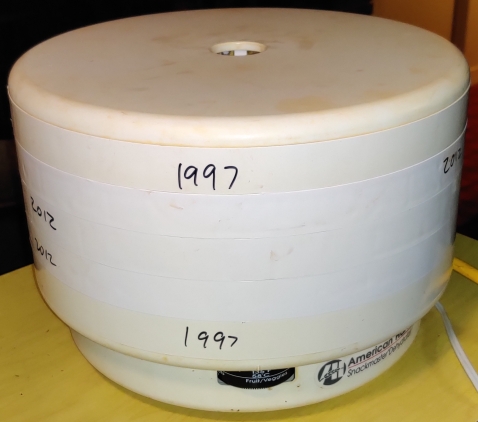
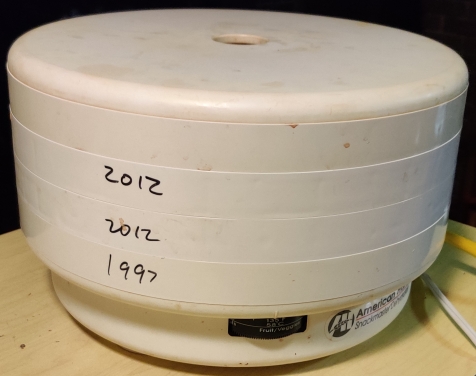
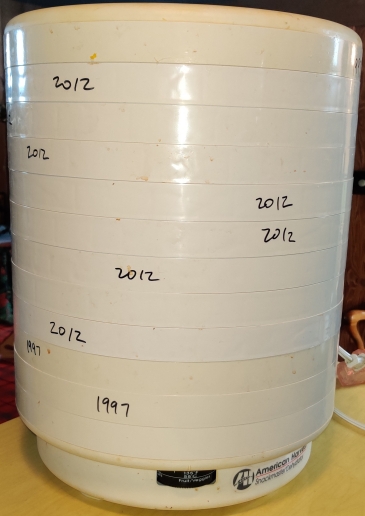
I continued trimming and slicing the pineapples, filling twelve trays; as can be surmised from the following picture, in 2012, I added an additional eight trays to the original four I’d bought in 1997!)

Twelve trays filled with pineapple slices

The twelve trays were filled with a bit more than four and a half of the pineapples I’d purchased, leaving at this point a little less than one and a half pineapples to slice up later as the slices in the dehydrator dried and made space:

One and a half pineapples left after filling twelve trays

At this point, the breaker on the extension cord carrying case decided to trip (in my experience, unusual for a single device with a peak draw of only about 550 watts, although I do suspect that the caddy does have a lower trip level than a normal household circuit breaker):

Tripped breaker

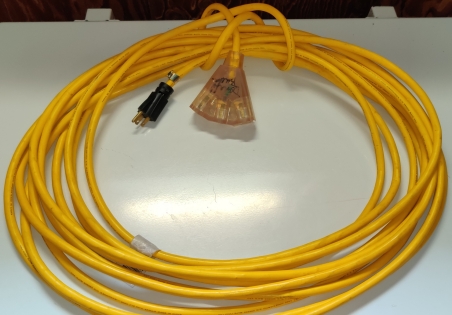
Quickly, a new extension cord was taken out:

New extension cord taken out

… which was plugged into an outlet, and the dehydrator plugged into the new extension cord:

Dehydrator plugged in to new extension cord

Back to the pineapples, the scraps were placed in the scrap bucket, which was ultimately emptied into my municipal compostable waste bin:

Scrap bucket filled with pineapple trimmings

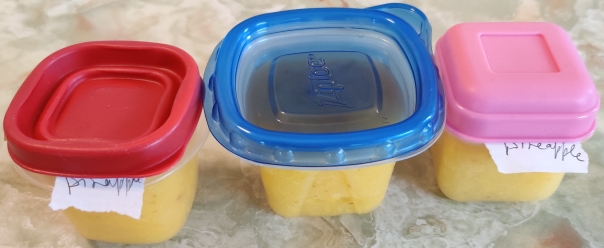
At this point, Mom asked for some mashed pineapple, and got a total of six containers, which were placed in the freezer:

Three of the six containers of mashed pineapple Mom got

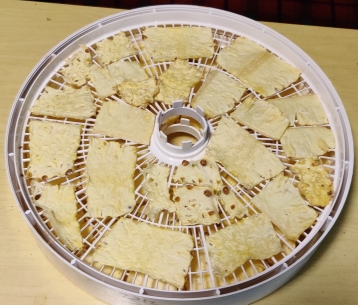
After about six hours, here’s what a tray of partly dried pineapple slices looked like, including the size shrinkage:

Tray of partly dried pineapples

The partly dried pineapple slices were shifted around to make space:

Space made on tray

After space was made on all the trays, four trays were emptied:

Four trays of space freed up

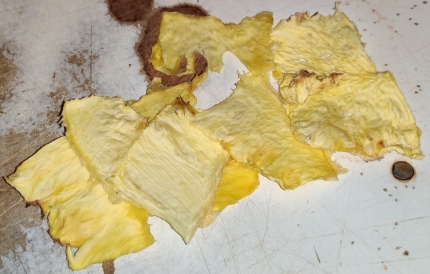
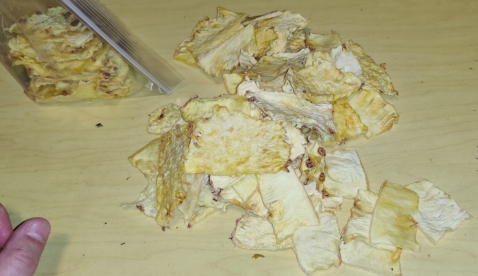
… and the first few pineapple slices dried to my liking were removed from the trays. Allowed to completely dry, pineapple will become crispy like potato chips; I like dried pineapple that is still a bit chewy and flexible, while there is still a very small amount of humidity left in the slices. As such, I remove slices when they have a leathery feel, and after the surface of the slices are no longer sticky.

Almost completely dried slices of pineapple

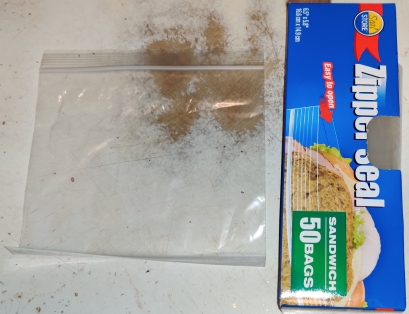
A zipper style sandwich bag was taken out to store the dried pineapple:

Zipper style sandwich bags taken out

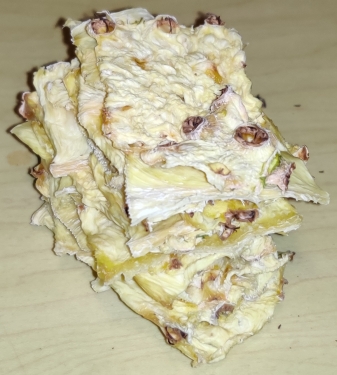
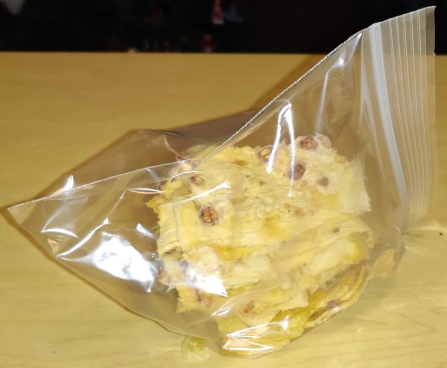
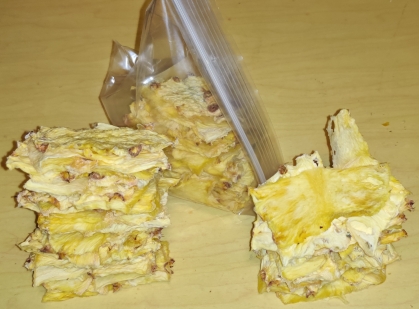
… and the dried pineapple slices were stacked and placed in the bag:

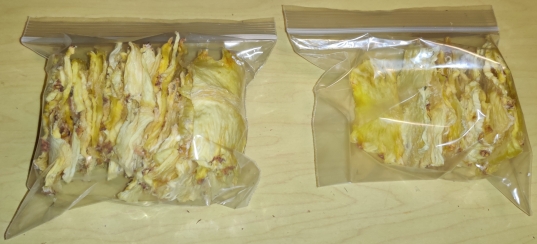
Dried pineapple placed in bag

At this point — seven hours in — I finished slicing the rest of the pineapples, spread them on a couple of the emptied trays, and inserted the filled trays back in the dehydrator stack, for a total of ten trays:

Ten trays after seven hours

After nine hours, here’s what the pineapple looked like:

Tray after nine hours

… and a few more slices of dried pineapple were taken out for bagging:

More dried pineapple after nine hours
Collection of dried pineapple after nine hours

… and my dehydrator was down to seven trays after nine hours:

Seven trays after nine hours

After twelve hours, the dehydrator was checked again:

Tray of dried pineapple after twelve hours

… and more dried pineapple was taken out after twelve hours:

Dried pineapple taken out after twelve hours

… and stacked for bagging:

Dried pineapple stacked for bagging after twelve hours

… and bagged:

Dried pineapple after twelve hours

… and after all the shifting around and bagging, I was down to five trays in the dehydrator:

Five trays after twelve hours

At this point, I had gone to bed, but I woke up after a couple of hours at midnight, and checked on the dehydrator, shifting pineapple slices around and removing dried sliced pineapple. Here’s the bagged cumulative production after fourteen hours:

Total production after fourteen hours

… and I was down to four trays after fourteen hours:

Four trays after fourteen hours

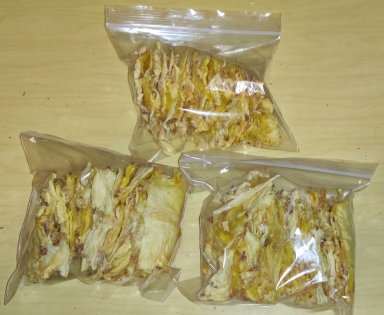
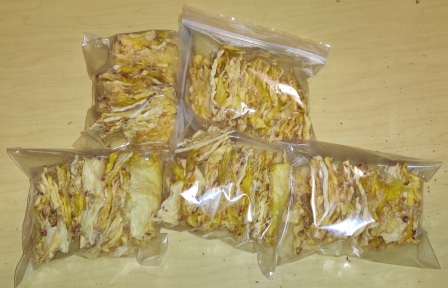
Finally, after seventeen hours — in this case, three in the morning! (yes, I had set my alarm) — I emptied the dehydrator and bagged the last of the dried pineapple slices, for a total of five bags of dried pineapple slices, from a bit over five pineapples:
Five sandwich bags of dried pineapple

After a couple of days, I started eating the dried pineapple — yes, like a kid in a candy shop! 🙂

Using a Backwoods Washing Machine — Photos

For several years, I have used a backwoods washing machine — basically, and literally, a slightly modified 20 litre bucket using a modified toilet plunger as an agitator — up at the cottage to wash clothes, towels, and even bed sheets, for its inherent value of washing clothes of course, but also to reduce the workload upon my return from holidays, as well as to implement a certain DIY ethic, and pass the time (in my eyes, in an amusing way). This is of course in the context of not having an automatic, electric washing machine at the cottage for a variety of reasons, including a lack of space, and the fact that the cottage is not winterized, hence there would issues related to freezing.

Note that while the use of modern conveniences of concentrated laundry detergent, as well as plentiful, clean water (from a pressurized water system) and a garden hose are shown in this post, depending on your circumstances and should you wish to make a backwoods washing machine for yourself, you may wish or need to adjust steps, practices, and so on.

Washing the laundry:

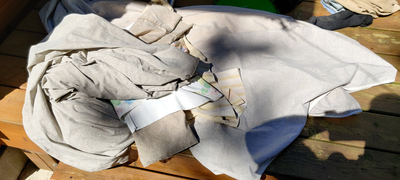
First, since my bed sheets at the cottage needed washing, I stripped my bed and took them outside to the back deck:

Laundry taken out

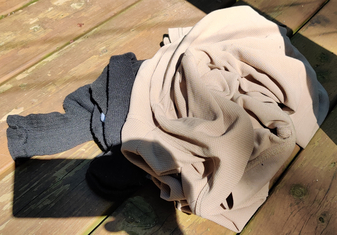
I also took out some other laundry to add to the wash:

Other laundry added to the lot

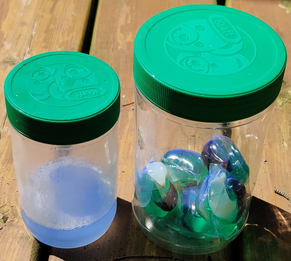
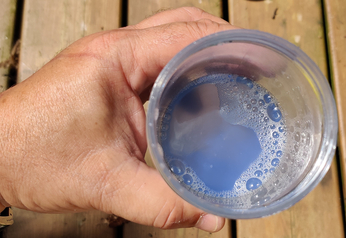
Laundry detergent was taken out (on the right), and previously, one of the laundry packs was diluted in water for easier use and dividing up in smaller laundry loads (on the left).

Dissolved laundry pack, and concentrated laundry detergent packs

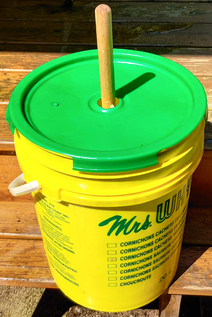
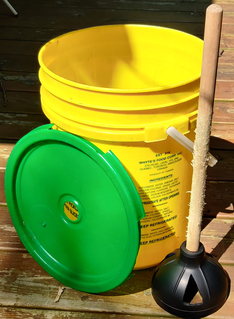
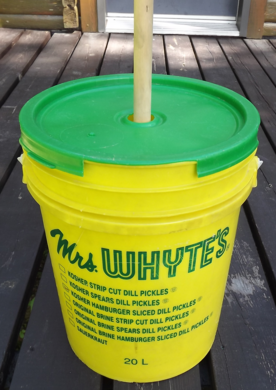
My backwoods washing machine was taken out — a modified 20 litre plastic bucket and a modified toilet plunger:

Backwoods washing machine taken out

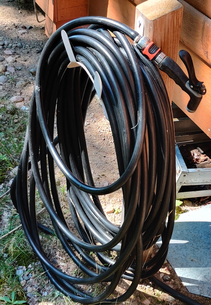
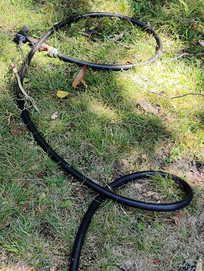
A garden hose was taken out:

Garden hose taken out

The clothes line was also up and in place for use:

Clothes line set up

Finally, sufficient clothespins were in place:

Clothespins needed for later

The lid to the backwoods washing machine was taken off the bucket:

Backwoods washing machine opened up

Clothes were added to the backwoods washing machine’s bucket:

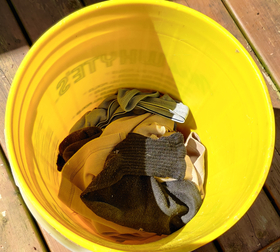
Clothes added to backwoods washing machine

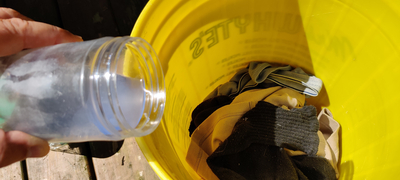
The diluted laundry detergent was taken out and added to the backwoods washing machine:

Diluted laundry detergent taken out
Laundry detergent added to backwoods washing machine

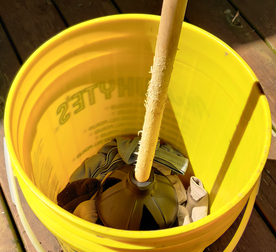
The plunger-agitator was added on top of the clothes in the backwoods washing machine:

Plunger-agitator placed in backwoods washing machine

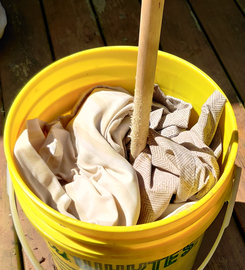
More laundry was placed in the backwoods washing machine:

More laundry placed in backwoods washing machine

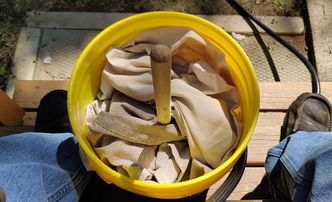
The backwoods washing machine was moved to a more convenient location on the steps of the deck at the cottage:

Backwoods washing machine moved to a convenient location on steps

The garden hose was used to fill the backwoods washing machine with water:

Garden hose used to fill backwoods washing machine

The lid to was picked up and placed on the backwoods washing machine’s bucket:

Lid picked up to place on backwoods washing machine
Lid placed on backwoods washing machine

The plunger-agitator was moved up and down like a butter churner:

Plunger-agitator was moved up and down

As part of moving the plunger-agitator up and down, the laundry will sometimes get caught a bit:

Laundry caught in plunger-agitator

After about five minutes of manual agitation, the lid was taken off the backwoods washing machine:

Lid removed from backwoods washing machine

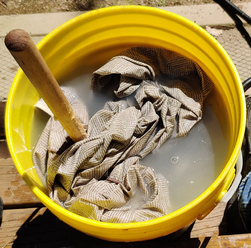
Sometimes, the laundry may become caught up in the holes in the plunger-agitator:

Laundry caught in plunger-agitator

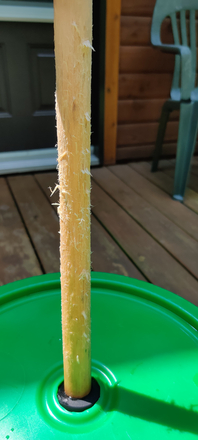
Given the rough-edged hole in the lid of the backwoods washing machine, the wooden handle can become worn and the wood fibres dislodged …

Fibres dislodged from wooden handle of plunger-agitator

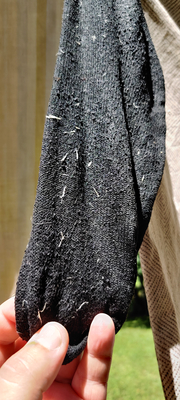
… and which may transfer to some of the laundry:

Dislodged fibres transfer to laundry (already on clothesline)

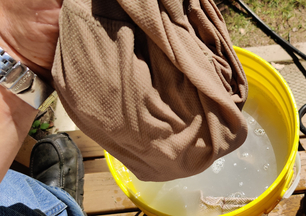
After the washing had been completed for the first load, the individual items were taken out of the backwoods washing machine and hand-wrung, and were put aside for a few moments:

Washed clothing taken out of backwoods washing machine and hand-wrung

The rest of the dirty bed sheets were placed in the backwoods washing machine, and the agitation action mentioned above was repeated:

More bed sheets added to backwoods washing machine and the agitation process repeated

As the water on the steps of the deck and the garden tiles at the foot of the steps shows, the process can be a bit wet:

Wet steps and garden tiles at the foot of steps

At the end of the manual agitation, the bed sheets were removed from the backwoods washing machine and hand-wrung, and were put aside for a few moments.

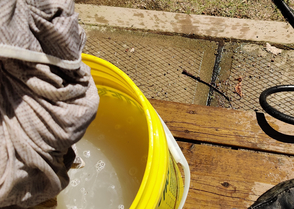
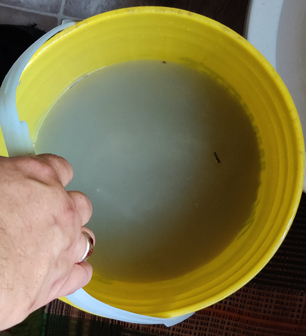
At this point, the backwoods washing machine’s bucket of dirty wash water …

Bucket of dirty wash water

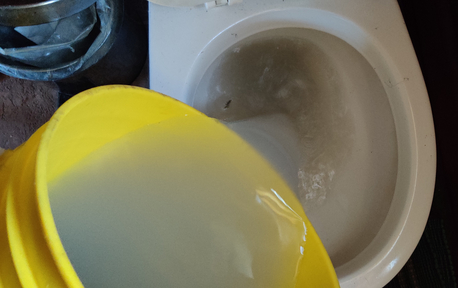
… was brought inside and emptied in the toilet, and the toilet flushed:

Dirty wash water flushed down toilet

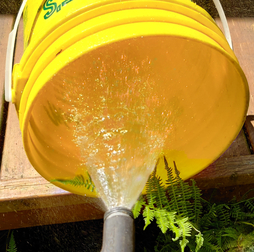
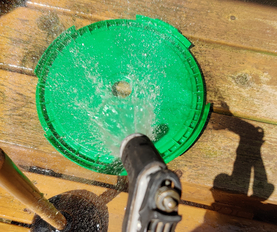
Back outside, the backwoods washing machine’s bucket was rinsed with the garden hose:

Bucket rinsed with garden hose

The backwoods washing machine’s lid was rinsed with the garden hose:

Lid rinsed with garden hose

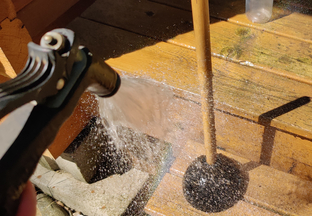
The backwoods washing machine’s plunger-agitator was rinsed with the garden hose:

Plunger-agitator rinsed with garden hose

At this point, the backwoods washing machine components were allowed to dry, and the backwoods washing machine was put away until the next use.

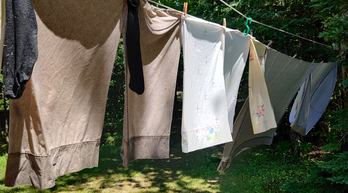
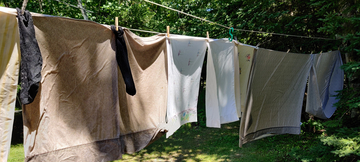
The laundry was hung on the clothesline:

Laundry hung on clothesline

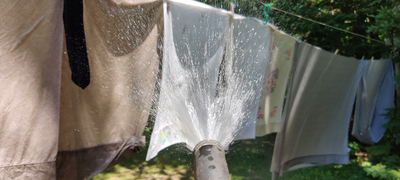
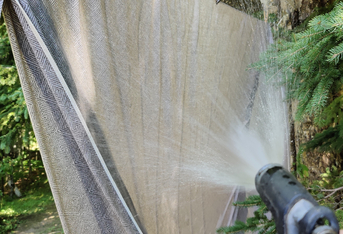
In order to rinse the laundry, the garden hose was used to spray clean water on the laundry hanging on the clothesline:

Laundry being sprayed with clean water from garden hose

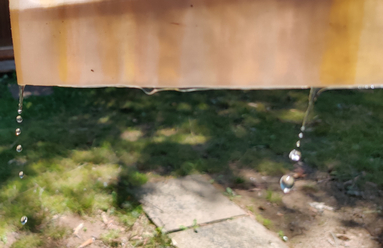
At this point, the laundry on the clothesline is dripping water:

Water dripping from laundry on clothesline

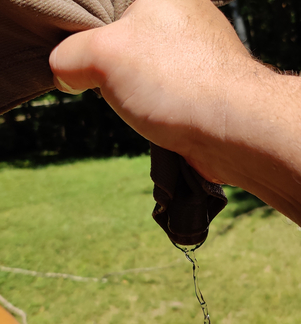
The bottoms of the various pieces of laundry were hand-wrung at their bottoms in order to remove the rinse water:

Laundry on clothesline hand-wrung to remove rinse water

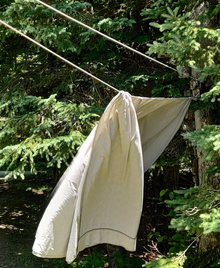
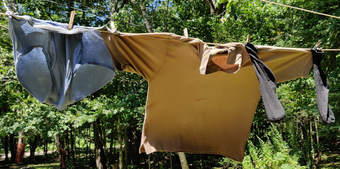
As the laundry dries and become less heavy, they begin to get caught in the breeze:

Drying laundry beginning to catch the breeze

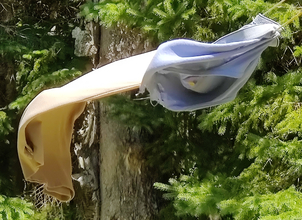
And depending on the amount and strength of the breezes and the winds, the laundry can really get caught in the wind:

Laundry really getting caught in the wind

As the laundry dried, it was taken off the clothesline …

Dried laundry taken off the clothesline

… while the rest of the laundry remained on the clothesline to continue drying out:

Rest of laundry continuing to dry on clothesline

Ah, the wind picked up quite a bit again, making the remaining laundry on the clothesline really get caught up in the wind:

Laundry really caught up in the wind

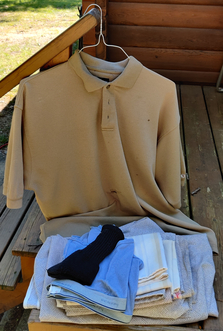
As the dried laundry was taken off the clothesline, it was folded up, ready for their next use:

Folded laundry

Although the backwoods washing machine has its limits regarding just how much laundry it can wash at once or just how well it deals with ground-in dirt, it is quite effective at washing regular albeit small loads, and is quite useful in situations in which more modern and convenient, automatic washing machines are not conveniently available!

Katadyn Pocket Water Filter Capacity — Update II

In 2016, I wrote about my estimate of my Katadyn Pocket Filter’s real life capacity.

I had reached an estimated 1,500 litres of filtered water over four winter seasons of using the filter at the cottage during the off-season when our water system is turned off. I had further guessed — hoped, really — that I might get as much as another 1,500 litres, spread over two to four more seasons, and as such it might take as long as until the year 2020 to know when the filter cartridge would need to be replaced.

I was overly hopeful. In January of 2017, I was up at the cottage for a week, doing a lot of cooking and needing a good amount of filtered water.  I tested the filter unit against the gauge supplied with the filter, and since the gauge passed over the filter unit, “it was time” to change it.

The winning total (as of January, 2017):  1650 litres. Or, about 3.3% of the oft-touted capacity of 50,000 litres.

As of September, 2017, I have not replaced the filter yet, and am at approximately 1750 litres, or about 3.5%.

This makes me wonder, yet again, what Katadyn knows about the “in the wild” capacity of its filters.  As in, how come I have only gotten 3.5% of the rated capacity of the filter before it has worn out.

And it makes me wonder why, in my perhaps modest efforts to find out how much water people actually filter with their units, just about everyone (including myself, admittedly, shortly after I bought the unit) talks about 50,000 litres, but few talk about “well I only filtered this much before I had to replace it”, or the like.

There are reviews I found on the mec.ca website there from people whose posts are meant to imply that they’ve gotten a lot of use out of their filter.  I saw one that said that over 25 years, the person was on their third replacement, and claimed to have filtered over 250,000 litres! (or over 62,500 litres per filter!)

A comment I came across said “I bought mine in 1988 and I have yet to change the filter”.  I can imagine that over 29 years one might have used it quite a number of times; but what, every weekend for groups varying from two to five people? Once or twice a year when they take their children hiking one afternoon around the cottage or campsite that they rented for a few days during the summer holidays, and the rest of the time they’re on a water system? Or “I’m an avid hiker who goes out hiking every weekend I can, and I bring my Scout Troop hiking all the time and they are constantly asking me to filter water for them”?

Yes, I have seen some reviews that are “a bit more detailed” than that, such as “well after 15 years I replaced it, having filtered thousands of litres of water” … which still begs the question: Thousands of litres of water … that sounds vaguely less than 50,000; 7,000 litres is “thousands of litres”, as are 4,500 litres, and 25,000 litres. So did you keep a log of roughly how much you filtered? Trip diaries such that you could guestimate or have a basis on which to assume that each trip you used it, you typically filtered a given amount a day and you were gone a given number of days, and at least have a ballpark idea of how much water was filtered?

And here’s one that I found mildly useful:  “I used it travelling for 18 months through India, and used it instead of buying bottled water all the time” … but that doesn’t really tell me how much water they filtered.  But, it allows for some hypothetical arithmetic.  Let’s say there were two people producing let’s say three litres per day per person for 18 months — 548 days, give or take — that’s 3,288 litres, or almost 6.6% of the rated capacity of 50,000 litres.  At four litres per person per day, that’s 4,384 litres, or almost 8.8%.  At five litres per person per day, that’s 5,480 litres, or almost 11.0%.  Now that’s a lot of drinking water, both per person, and just a lot of water to filter in a given day while travelling.  After that, I have to ask what they were using the water for!  Were they filtering enough water to wash their clothing and showering or bathing?  If so, given how much time it takes in reality to filter a few hundred litres a day with the unit, were they spending *all* of their time filtering water and not actually taking advantage of their trip in India?!?  And, of course, it should be noted that they *didn’t* mention that they bought the unit expressly for this trip, or never used it again before or after.

I am obviously getting worked up: Were I to have filtered 25,000 litres (50% capacity) or more, over a decade or two, I might not be as upset, and would likely chalk it up to the expected variation in the field due to “real world circumstances”. However, losing more than 96% of the rated capacity is frustrating to the point of unacceptable, to say the least.

The only consolation?

In January, 2017, after having passed the plastic gauge over the filter unit and having learned that it was at the end of its designed lifespan, I went to a Mountain Equipment Coop (MEC) to buy a new filter unit, not really sure whether I wanted to go through with the expensive purchase; the replacement filter units cost $235, compared to $435 for a new complete unit.

The last unit on the rack — which is the unit I therefore bought — looked like a returned unit. (Later when I got home, I was able to open it and learn that everything was there: A new filter unit, a new spigot hose, new o-rings, a new scrubby pad or two, a new bag for the spigot hose, a new tube of lubricant, and whatever else was supposed to be there.)

The list price: $235.00

The price that rang up at the till: $63.00

Discount: 73.2%

I did a double take, and without thinking I said, “That isn’t the correct price.” I of course should have kept my mouth shut, but no matter:  Québec’s consumer protection laws were on my side. Were the price at the register to be higher than the advertised price, the customer would pay the advertised price, less a $10 indemnity (with a few exceptions as well as a few other pricing rules applying as per the case); if the price at the register were to be lower than the advertised price, then the customer would pay the lower price, regardless of the difference between the two prices.

Nonetheless, we went through the motions of verifying the price on the MEC website, and indeed confirmed that the list price was $235.  However, either the clerks were savvy and well trained, knowing the law in this case, or they were naïvely trusting of the price scanner / computer / register, and insisted that the $63 price that rang up on the machine was the price to be paid.

You can be sure that the next day, I made a point of going back to the same MEC to see if they’d restocked the shelf with that item, in order to hopefully take advantage of another massive discount. Sadly, they had not. And, I expect that the store knew that the item I bought was the last unit in the store, and that (I presume that) it was a returned and restocked item, hence (presumably) the discounted price. Perhaps this doesn’t explain just how deep the discount was, but it nonetheless explains some of it. A few months later, I was at another location of the MEC and I looked at the section with water filters; they had replacement cartridges, in factory sealed boxes of course, and the price at the rack was $235, as expected. I did not dare ask for a price check. 🙂

So the experience was not a complete loss, to the point of it almost having a mildly pleasant dénouement, but the deep discount on the replacement unit still does not make up for the remaining 23.5%-ish of capacity I had expected but did not receive, and continue to not expect to receive, out of the original filter. Which, incidentally, as of September 2017, nine months later, has not yet been replaced; like one of the pub patrons in the following joke, I want to squeeze as much capacity as I can out of the filter before I finally replace it.

The promised joke:

Three people are in a pub, each ordering a drink of their preference. Unfortunately, each drink comes with a fly in the glass.

One returns the drink and requests a replacement, without a fly of course.

Another removes the fly from his drink, and proceeds to drink it.

The third grabs the fly from the drink and calls out “Spit out every last drop, you little scoundrel!”

Backwoods Washing Machine

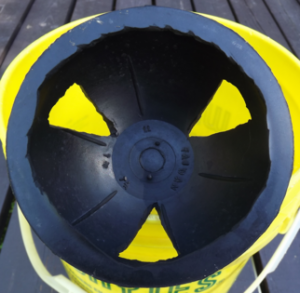
Backwoods washing machine

I used to be rather involved in Scouting and camping, so it was no surprise when my brother recently sent me a link to “41 Camping Hacks That Are Borderline Genius“. (Here is my archive of the page in case it disappears ) The idea was to present a list of camping tips that, while often easy once you’ve looked at them, seem to elude many of us. The tips ranged from the small to large, from the really backwoods to mostly the car camping with a family crowd variety, from the simple to the involved. I read the list and found some tips interesting, some I’d done before, some I’d never thought of, and enough of which I thought were downright gratuitous in their inclusion in the list (in my mind — although this itself isn’t listed — along the lines of “if you’re going for more than an hour you’ll want some food”.)

This post is about one of the tips that I found useful.

The “hillbilly washing machine” was a gem for me: Someone else would no doubt list it as mundane, impractical, or on some level conceptually obvious. According to the proponent, this backwoods washing machine could be made for about $6. (Here is my archive of the page.) This person was a blogging mom telling about her participation in the Second Annual Flats and Handwashing Challenge (again here’s my archive), trying to involve other parents in a challenge to use reusable cotton diapers for a week instead of expensive store-bought disposable diapers. One of the challenge’s rules suggests that buying / making / securing a sufficient quantity of reusable diapers in order to last the week without having to wash them seemed to defeat the purpose of the challenge, and as such the challenge suggests the washing machine as one of the ways to make participation (both short and long term) practical.

By the way, here is their survey results page (and of course my archive) which I find interesting just from a simple numbers perspective, but also in how it seems to at least moderately promote the hillbilly washing machine as practical.

The concept is really simple: Take a five gallon bucket with a hole in the lid and use an old fashioned toilet plunger to simulate the function of a washing machine agitator. Add water, soap and clothes to be washed, and voilà , you have a functional washing machine.

I found the idea intriguing: Having a three-season cottage that lacks the space and appropriate place for a washing machine (read it lacks a heated space during the winter to avoid freezing), this seemed to fit the bill, regardless of the time of year. Over the years I’d gotten mildly tired of always making sure that I’d be bringing clothes up from the city for the weekend, let alone enough. As such I had stocked my wardrobe and drawers there with old shirts, pants and the like that were perfectly serviceable but of course not exactly appropriate for showing up to work, let alone the likes of a wedding. I’d even gone so far as to buy a dedicated set of socks and underwear in sufficient quantity for the usual longest stint of two weeks that I would spend up there. I of course had backup plans that I could hand wash some small items in the sink or bathtub, drive to one of the towns about 45 minutes away and use a laundromat, or in an extreme emergency ask one of the neighbours if I may draw on their goodwill and use their washing machine, a plan I hope I never have to use. (This goodwill capital is reserved for “it’s the middle of the winter, I don’t have running water, and I desperately need a shower because such-and-such occurred; a sponge bath just won’t do.”)

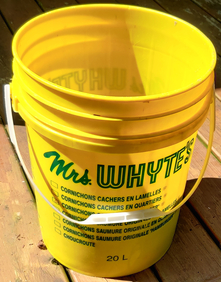
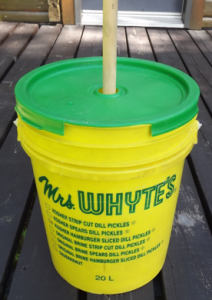
So for the next couple of weeks, I kept my eye out for a five gallon bucket on the side of the road on garbage days, having a 16 litre square bucket in reserve just in case I was unsuccessful. Fortunately, my “nice” square bucket did not have to be sacrificed. The “new” bucket was in a previous life apparently used to hold kitty litter, based on the kitty litter dust on the bottom and its proximity to a cat box being thrown out. Its original function was to hold commercial hamburger pickles for a restaurant — and the brine smell permanently permeates the plastic, but, even for one who does not care for pickles, only to a pleasantly low level.

As a side note: I don’t know about how the geometry would have worked out, but based on my experience, the size absolutely does matter — a full 20 to 23 litre bucket is absolutely necessary.

The first part of the job was a general cleaning of the bucket — removing a commercial label, a general washing, and the like.

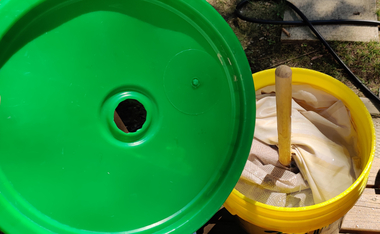
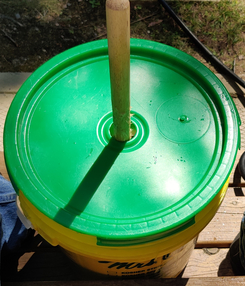
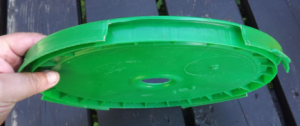
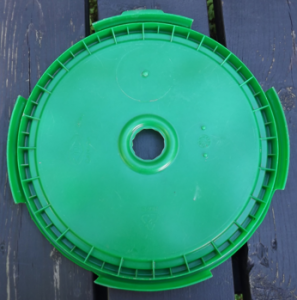
The next part was to cut out four of the eight sections along the side of the lid that holds the lid to the bucket — I obviously would want the lid to hold to the bucket during usage, but as many people familiar with buckets intended to be water-tight and resealable after opening know, these lids can be a pain to secure properly onto the bucket, and then remove from the bucket. Removing four of the eight sections changed this dynamic from a bucket that was frustrating to open and close to a bucket that is easily opened and closed, while of course maintaining reasonable water tightness during operation.


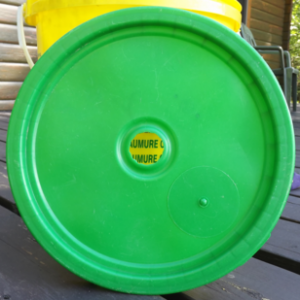
Then there was the hole to cut in the centre of the lid, large enough to freely allow the plunger to come up and down. It’s about two inches in diameter and was easily cut with a pocket knife.

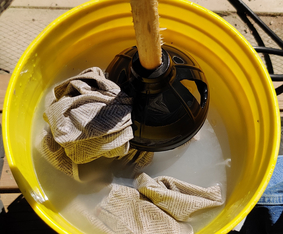
Then for the most expensive part of the machine: The plunger. Firstly, just finding an old-fashioned plunger that is full sized does not seem to be the easiest thing to do; they seem to be going the way of the dodo bird. Even the now-almost-old-fashioned plunger with a flexible extension that is meant to fit more snugly into the bottom of a toilet and increase performance and effective pressure seems to have competition with new-fangled, ergonomic and style conscious designs. However, I found one of the plungers with the flexible extensions for a whopping $1.97 plus applicable sales taxes. Following some advice I’d seen on some of the pages describing how to make this project, I trimmed off the extension while maintaining the structural integrity of the bottom part where it would have flexed, and I cut out three triangular holes in the cupped part so as to allow for less water resistance when using the plunger.


And voilà ! Backwoods washing machine for a paltry sum of about $2.27 or thereabouts, plus of course a (very) little bit of effort.

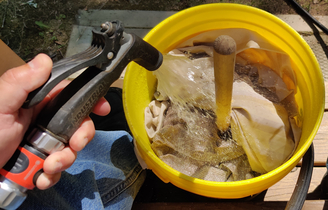
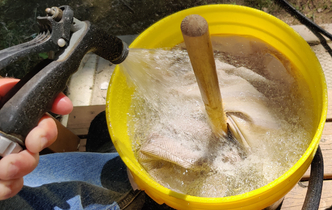
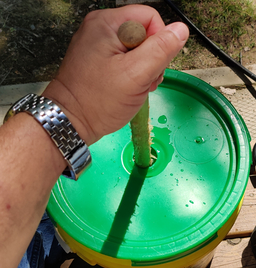
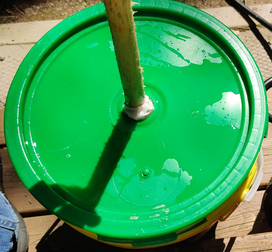
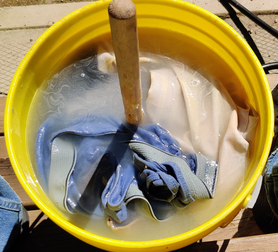
At this point, I tested it a couple of times; see below.

Hence, having used it a couple of times, the notion of getting a wringer of some sort seemed useful, and this was my “target item” a couple of weeks later when I went to a flea market. I found a mop bucket with a couple of wooden dowels integrated into it which act as a wringer when you put the mop between them and use foot to create pressure between the dowels, which squeezes out the water. $10 later, and I’d thought I’d really gotten a good deal; I later decided wasn’t worth more than “It was nice to have an objective for the flea market, but in retrospect it wasn’t worth the money at any price.” I tried to use the wringer, but decided that it wasn’t of much use. It not only added extra work to the process, but it wasn’t particularly effective for wringing out clothing, at least given that I was still able to easily wring out more water with hand pressure afterwards. (sigh …)

Now that I’ve used the washing machine a few times, I’ve decided a few things about how to use it and get acceptable results:

1) it’s only good for about one or two days’ worth of clothing for one person, or equivalent; hence you’ll want to divide up equal piles for more days’ worth of clothing, or if you’re washing for more than one person, or also want to wash up all the linen, towels and rags from yesterday evening’s dinner party and associated cleanup. Interestingly, the original blogger suggested that she’d used it for only a day’s worth of diapers at a time.

This was explicit in the original blog entry regarding the cotton baby diapers: In my experiences, it became obvious that the point (and the capacity) of the unit was tailored and ideally (and only) suited to washing one or two days’ worth of diapers at a time to avoid having to store increasingly smelly items for wash day at the end of the week. The point of the challenge was, beyond using cloth diapers (especially for those who can’t afford disposable diapers), to hand wash the diapers while avoiding the use of automatic washing machines (again in a context of affordability.) It also seemed to come across that perhaps it was intended more as a pre-wash system for such items so that you don’t have to wash them at their dirtiest with your delicates and your picky teenager’s latest styles in jeans, although in re-reading the original posts, it became clear that this obviously was a creation of my imagination, however true it might be.

2a) It seems ideally suited to small items such as socks, underwear, small hand towels, and wash cloths. The occasional polo shirt works too but they seem to be nearing the limit of what the unit can handle — hence the mention above about the importance of the sizing of the bucket being in the 20 to 23 litre area.

2b) It really isn’t suited for bulky items. For instance, during my recent two weeks of holidays, I was glad that I’d had enough pants to not “need” to wash them; for fear that jeans were just to heavy and bulky and would require far too much effort, I never even tried to wash a pair, let alone several.

2c) It seems that washing large items and/or large quantities and/or both would require a larger bucket, and would require something more appropriate for agitation that a simple hand plunger. Some other such items seen on the internet suggest reducing the size of a 55 gallon drum and adapting an old bicycle to agitate the load.

3) For the whole operation, I’ve found that for me, what works best is as follows:
a) put in clothes as above
b) add about a tablespoon or two of wash powder
c) fill with water
d) use plunger action, using two hands — with one you’ll tire out really quickly — for up to about five minutes
e) take out and wring the items individually — as mentioned above, hand wringing seems to be the most effective short of having a proper (old style) wringer or a restaurant-grade vegetable spinner (which I wouldn’t seriously consider buying since I know its cost would defeat the project’s “on a budget” and “let’s keep this simple” themes)
f) hang the laundry on a clothesline or other similar support reasonably securely — outside! Otherwise, you’ll have to go through a rinse cycle or two by repeating a) to e)
g) thoroughly rinse all the items with a garden hose, and allow to drip dry. Hand wringing of items at their bottoms will of course significantly reduce drying time. Obviously, if you rinse as in f), (say, if you do everything inside) then don’t do this!

Overall, despite its limitations, I like the idea. I’d like to think that it’s one of those “why didn’t I do this years ago” ideas. I might not have “wasted” money buying as many new socks just for the cottage.

The “but” part is that it is a useful item that definitely has its limits. Operating it does require a certain amount of manual labour, and is really only useful for a portion of items that need to be washed. I was a bit disappointed that after my two weeks of vacation and despite having kept up with just about all the shirts, socks and underwear I’d worn as well as a few hand towels and wash cloths I’d used, I still had about three loads of laundry to do once the bedsheets, pants, large towels and a few other items were taken into account.

Yes, it was fun. Yes, I recommend it.

Happy washing!

UPDATE September, 2014:

I have used the washing machine since during this year’s holidays at the cottage and a couple of other times. Having formed some opinions last year about its limits, this year I decided not to depend on it for washing or reducing the washload at the end of my holidays, and, surprise, surprise, I found it to be a wonderful and useful tool.

I used it for the predictable small items such as my socks, some underwear, hand towels and wash cloths, for which it is ideally suited.

But I found something else for which it is suited, to my surprise to boot: Much of the bed sheets for a double bed and the pillow cases. Last year I assumed that such items would be too bulky for the washing machine. This year, mid-vacation they needed to be done. They were easy to wash one sheet at a time plus another time for the pillow cases, and to my surprise they were easy to wash, to the point that I have since washed them again in it, “saving me” from having to bring them home to wash and dry in a standard electric washing machine back home in the city.

So two more points for the washing machine and it having continued to demonstrate its usefulness as well as having redeemed itself a bit: Next time going up to the cottage, I won’t have to remake my bed upon arrival, possibly, for all I know, late in the evening and after the proverbial long tiring day at work.