goat cheese omelettes, which is effectively an evolution of the ham and cheese omelettes I used to make for Mom; I started making goat cheese omelettes after Mom preferred a goat cheese omelette my brother bought for her at a high-end pastry shop and bakery;
goat cheese muffins, an addition (developed at my mom’s behest, after having one of my goat cheese omelettes) to my growing collection of muffin recipes that I serve to my mom, to cater to her evolving tastes;
chocolate buttercrunch (“English Toffee”); along with among other things generally updating the recipe text, a section was added stressing the importance of and outlining the mise-en-place(here’s my archive) that I find to be crucial to this recipe (as in, “of course mise-en-place is always a good practice and a good idea and really helpful when cooking, however in the case of this recipe, mise-en-place is essential to the success of, and simply, the execution of this recipe“);
plain cake, mostly adding for the addition of the optional use of fruit and stewed fruit, the use of either a loaf pan or a square cake pan, and allowing for the distinction between the use of either the “old fashioned” greasing and flouring of the pan method and the parchment paper method;
chocolate chip cookie dough cheesecake squares, mostly for minor turns of phrase, as well as any updates I may or may not have done (oops bad memory, it’s been a while!) since the previous version;
shortbread cookies, again mostly for minor turns of phrase, as well as dividing some “multi-step” instructions, and fleshing out a number of implied steps (call my recipe style ridiculously verbose and overly detailed … in order to … live up to a lessonlearned at a computer conference I attended in 2011. 🙂 )
20260105 updated: The recipe for roast potatoes was updated yesterday.
Happy cooking!
PS: as a personal reference, I have made seven batches of chocolate buttercrunch — representing 3-1/2 pounds of butter, over 4-1/2 pounds of chocolate, over 3-3/4 pounds of sugar, and over 200mL of maple syrup — over the past roughly two weeks, to plan for Christmas giveaways. That’s about 90 to 91 bags of 60g of crunch each!
I started making these tasty and easy to make muffins as a result of trying to make another kind of muffin (here’s my archive) for my mom, to add a bit more variety to the muffins I make for her. The story to the recipe, for me, had an alluring appeal that seemed to fit the bill. They turned out mostly nicely; however, the experience unfortunately taught me that when a recipe calls for unsalted butter — such as for the topping, especially since it also calls for a “pinch of kosher salt” — one should use unsalted butter. The resulting topping had just enough saltiness, however mild that it was, such that while of course the muffins were really nice, the slight saltiness was a distraction that did not appeal to my mom. (I enjoyed the rest of the muffins, but I agreed with her regarding the distraction.) In the process, I decided that the amount of effort required to execute the recipe was a bit more than I cared for.
As a result though, I had some sour cream for which I had no further use, since I don’t have a taste for sour cream by itself, nor does my mom ask for it for other dishes. And, I was still in the position of needing another muffin recipe to add a bit of variety for Mom. I looked up “sour cream muffins” or somesuch on the internet, and I landed on a recipe here (here’s my archive), which I adjusted down to a half-batch of six muffins that can be easily and quickly made in a countertop convection oven, and which of course scales up to a dozen or more muffins at a time.
Note: Some of the photos were taken somewhat or a bit more out of order, or were outright recreations — albeit all during the preparation of, or immediately after baking, the same batch of muffins, including separately preparing the wet and dry ingredients the night before baking them fresh the morning of for breakfast for Mom — but are presented here in the order presented below for the sake of the narrative.
Making the muffins:
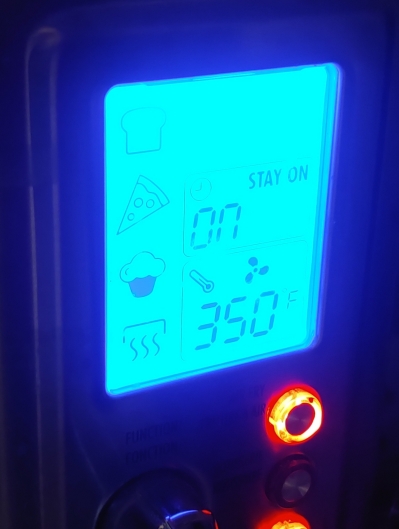
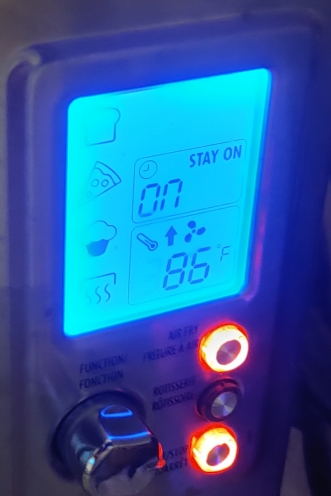
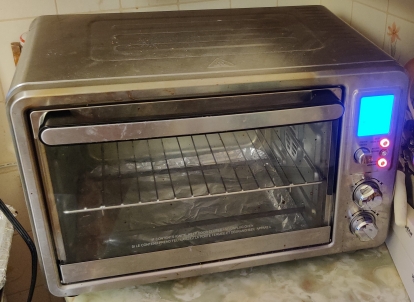
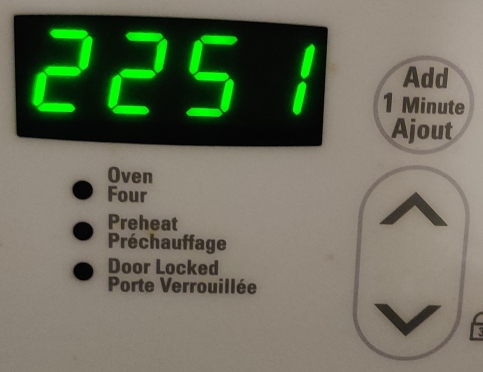
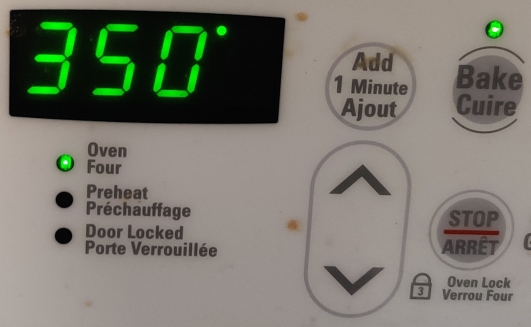
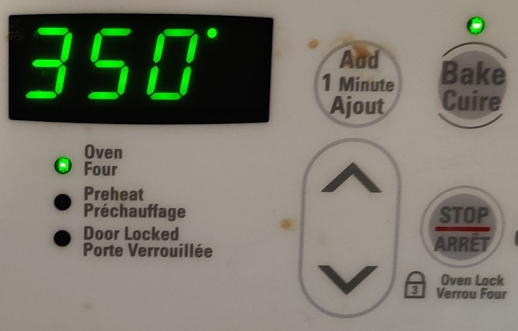
The countertop convection oven was preheated to 350F:
Countertop convection oven turned on
Countertop convection oven set to 350F
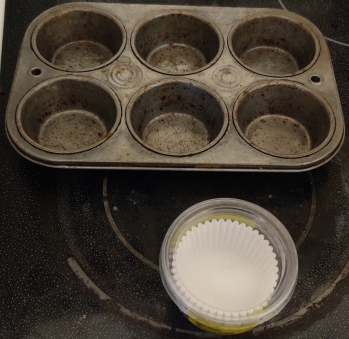
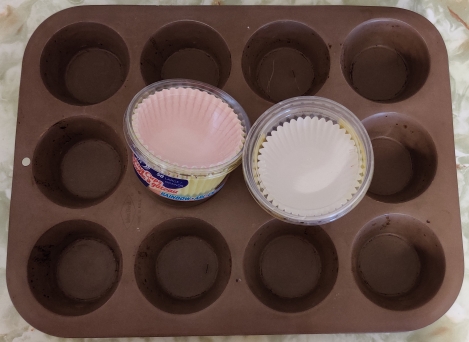
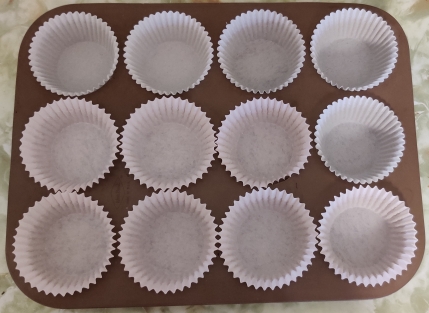
A baking tin and paper muffin liners were taken out:
Baking tin and paper muffin liners taken out
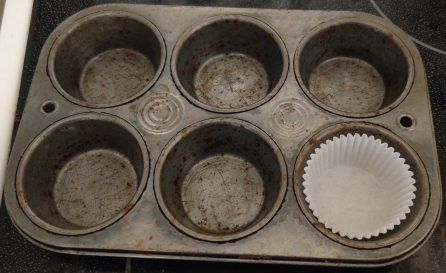
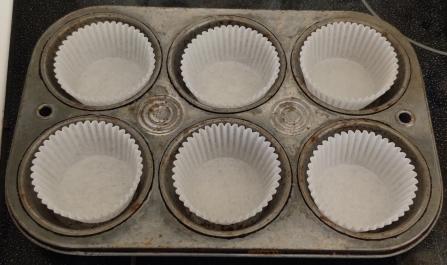
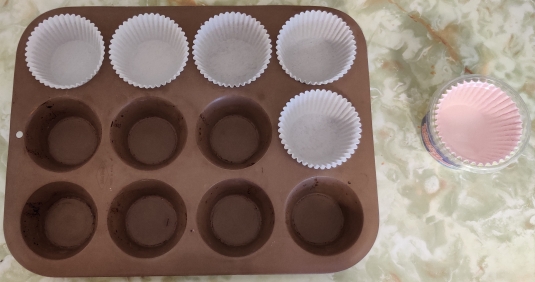
Paper muffin liners were placed in the wells:
Paper muffin liner placed in baking tin well
Paper muffin liners placed in baking tin wells
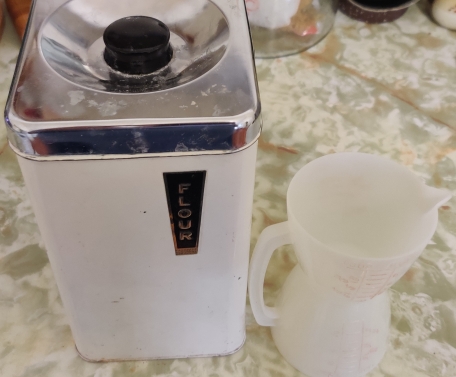
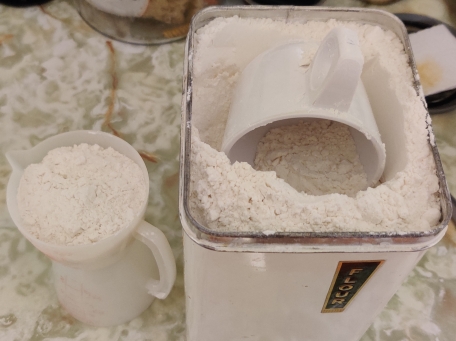
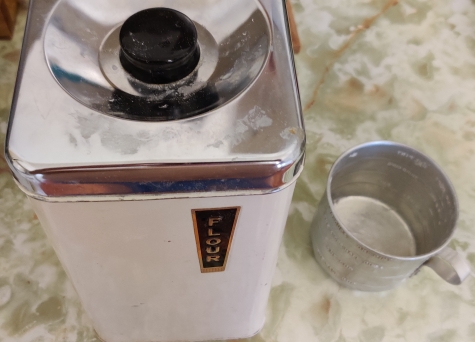
Flour and a measuring cup were taken out:
Flour and measuring cup taken out
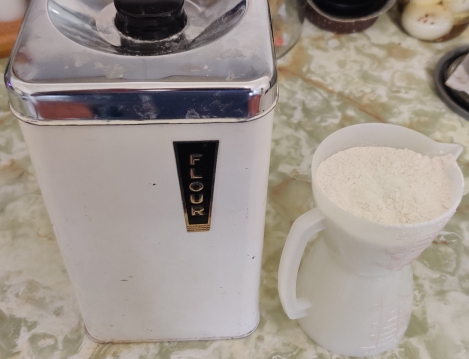
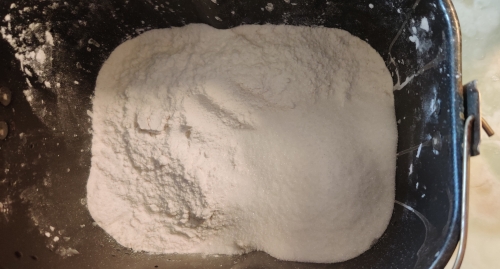
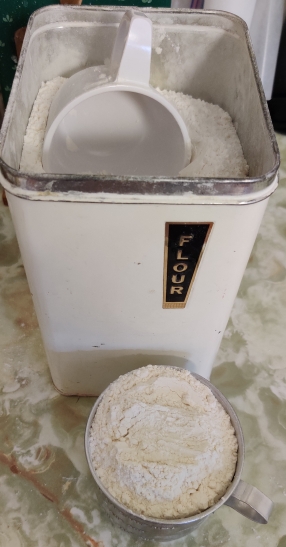
Flour was measured out:
Flour measured out
The flour was transferred to a mixing bowl:
Flour transferred to mixing bowl
Flour transferred to mixing bowl
Flour transferred to mixing bowl
Flour transferred to mixing bowl
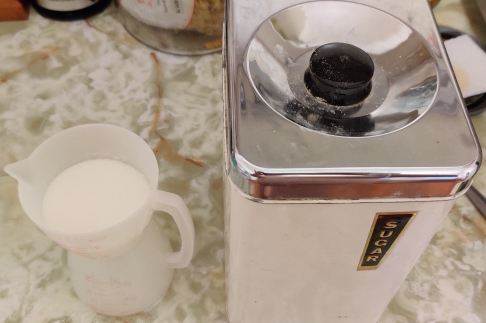
Sugar and a measuring cup were taken out, and sugar was measured out::
Sugar taken out and measured out
The sugar was transferred to the mixing bowl with the flour:
Sugar transferred to mixing bowl with flour
Sugar transferred to mixing bowl with flour
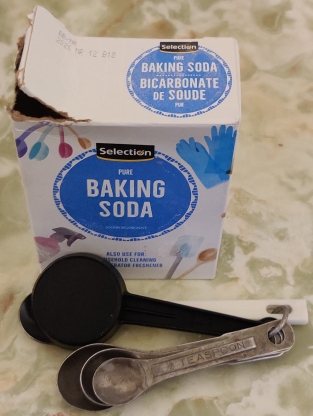
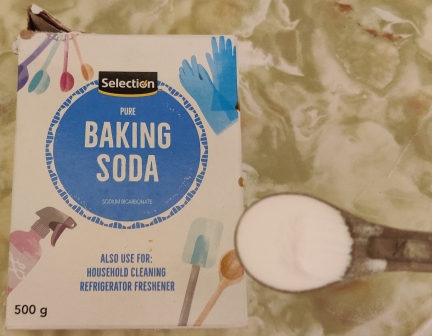
Baking soda and measuring spoons were taken out:
Baking soda and measuring spoons taken out
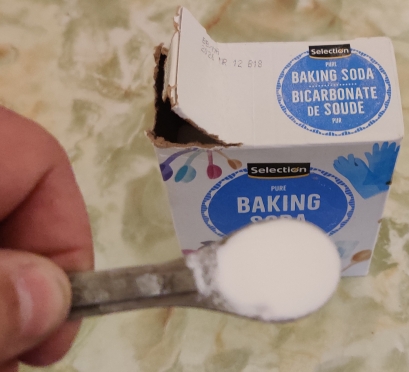
Baking soda was measured out:
Baking soda measured out
The baking soda was transferred to the mixing bowl with the flour and sugar:
Baking soda transferred to bowl with flour and sugar
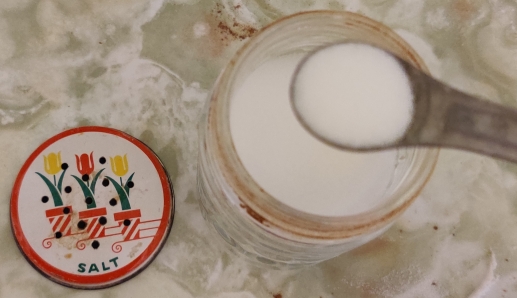
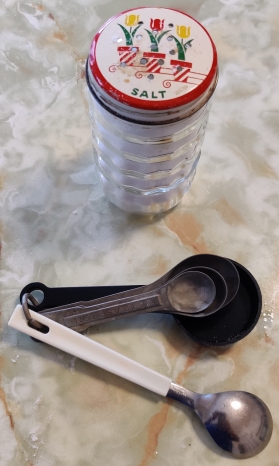
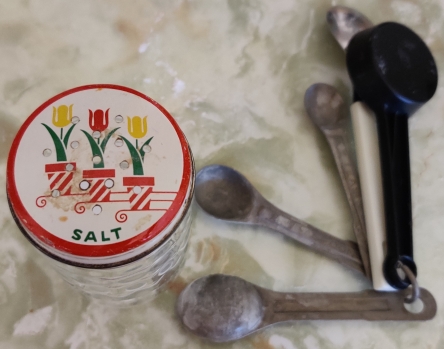
Salt and measuring spoons were taken out:
Salt and measuring spoons taken out:
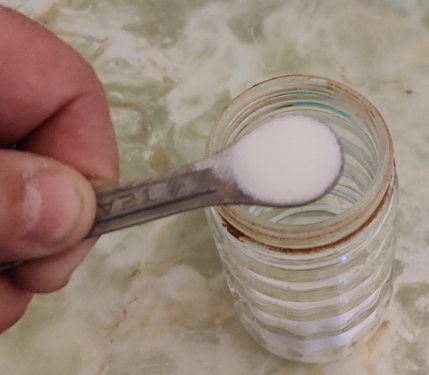
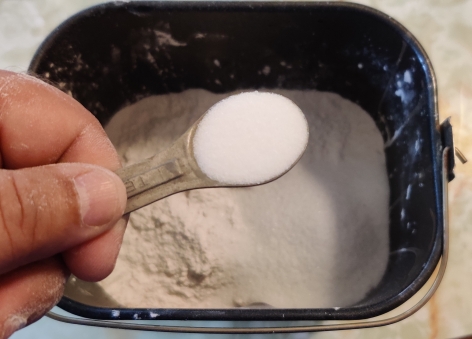
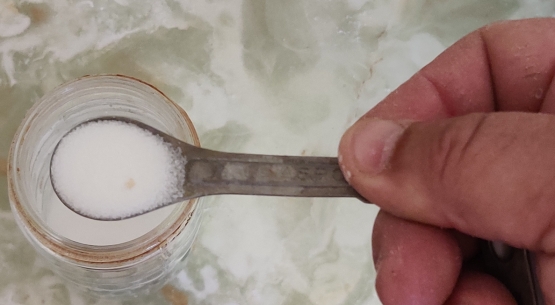
Salt was measured out:
Salt measured out
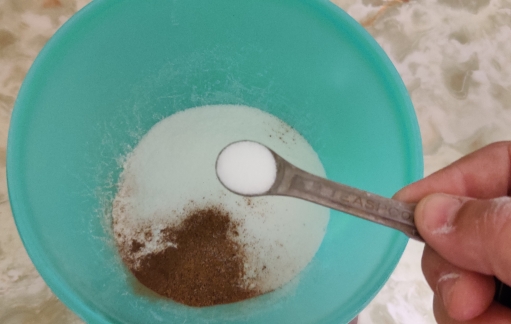
The salt was transferred to the bowl with the flour, sugar, and baking soda:
Salt transferred to bowl with flour, sugar, and baking soda
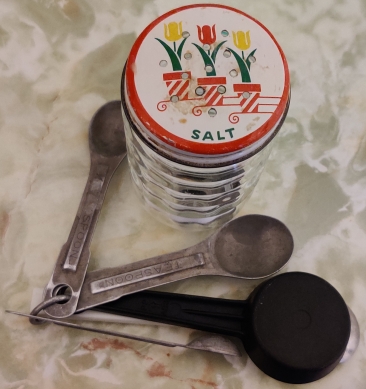
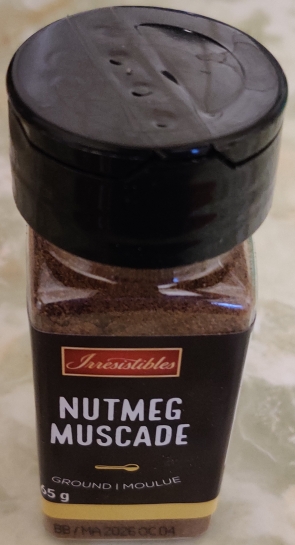
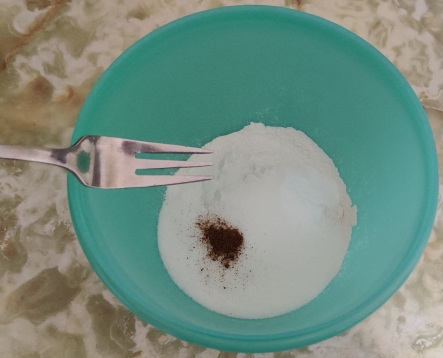
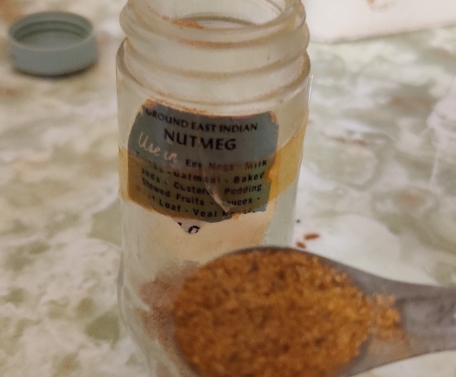
Nutmeg was taken out:
Nutmeg taken out
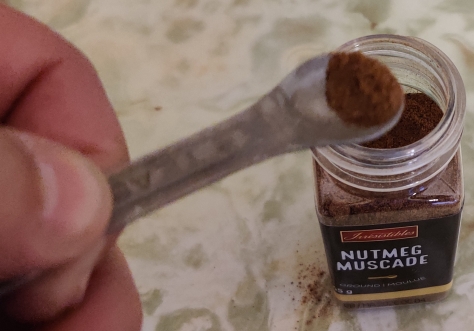
Nutmeg was measured out:
Nutmeg measured out
Nutmeg was transferred to the bowl with the flour, sugar, baking soda, and salt:
Nutmeg added to bowl with flour, sugar, baking soda, and salt
Nutmeg added to bowl with flour, sugar, baking soda, and salt
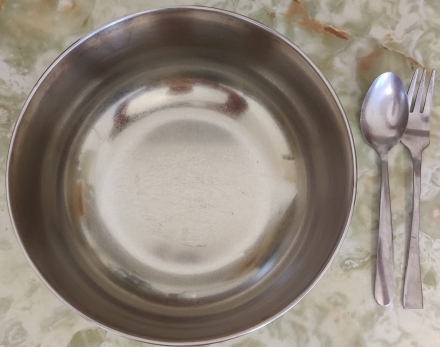
A fork was taken out:
Fork taken out
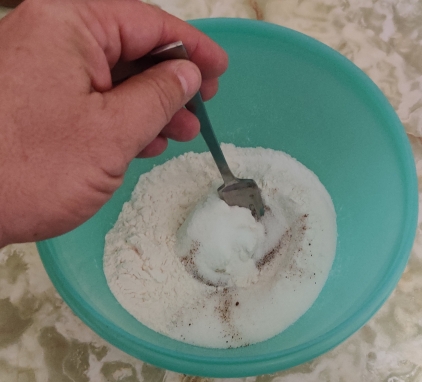
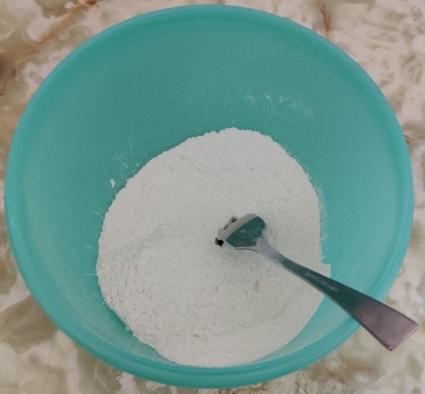
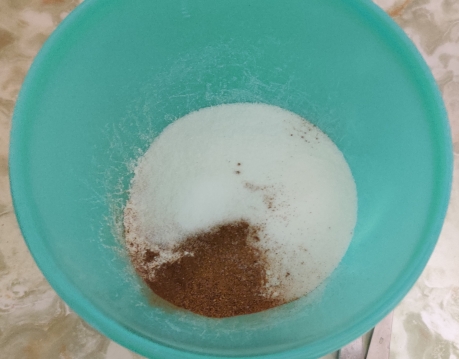
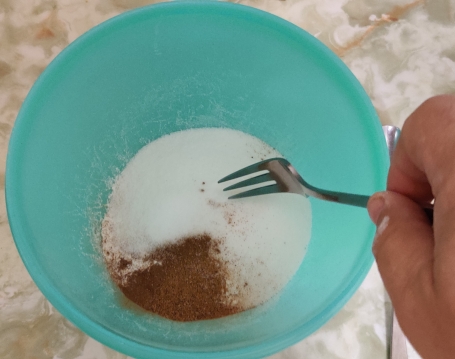
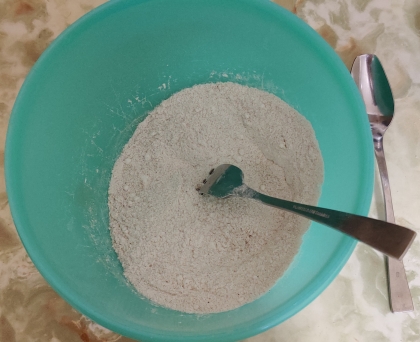
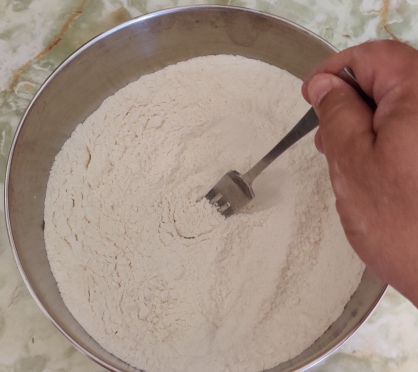
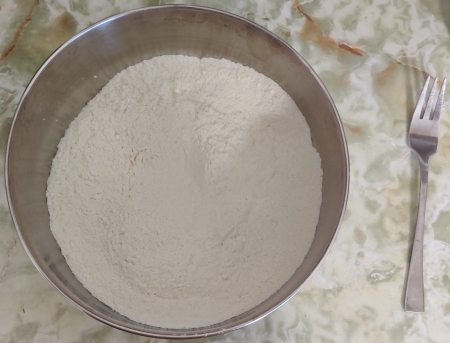
The dry ingredients were mixed with the fork:
Dry ingredients mixed with fork
Dry ingredients mixed with fork
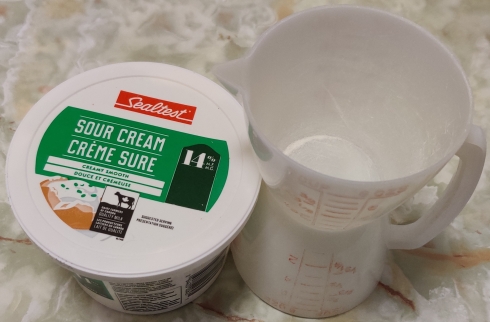
Sour cream and a measuring cup were taken out:
Sour cream and measuring cup taken out
The sour cream was measured out, and since I was missing a very small amount, I topped it up with a bit of milk:
Sour cream measured out and slightly topped up with milk
The sour cream was transferred back to the plastic container:
Sour cream transferred back to plastic container
Vegetable oil and a measuring cup were taken out, and the oil was measured out:
Vegetable oil and measuring cup taken out, and oil measured out
The vegetable oil was transferred to the container with the sour cream:
Oil transferred to container with sour cream
Oil transferred to container with sour cream
Oil transferred to container with sour cream
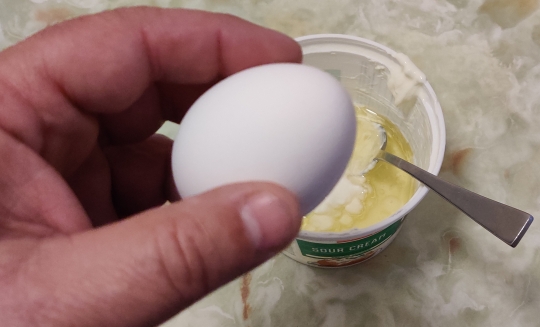
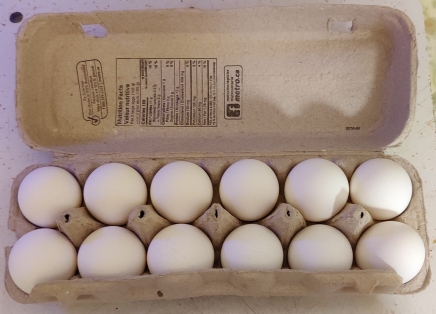
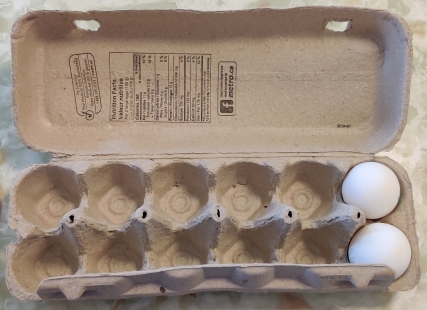
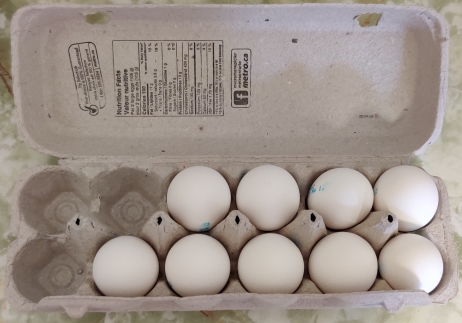
Eggs were taken out:
Eggs taken out
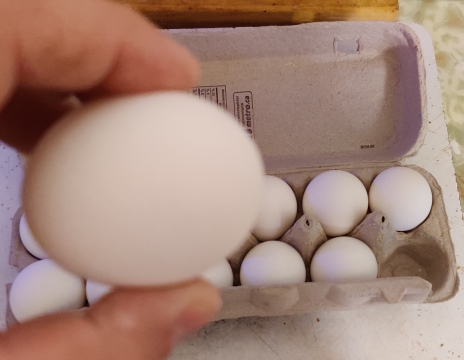
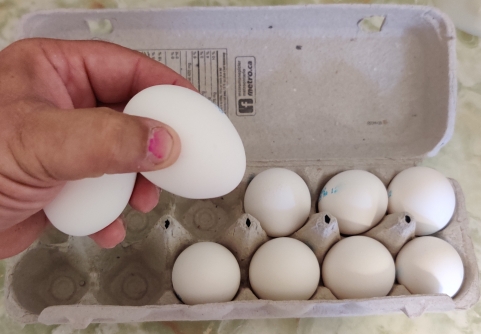
Egg taken out
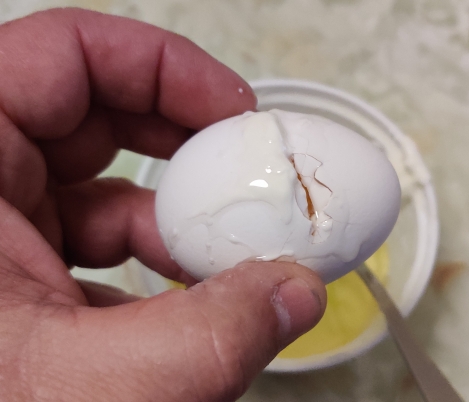
The egg was cracked with a spoon:
Egg cracked
The egg was transferred to the container with the sour cream and vegetable oil
Egg transferred to container with sour cream and oil
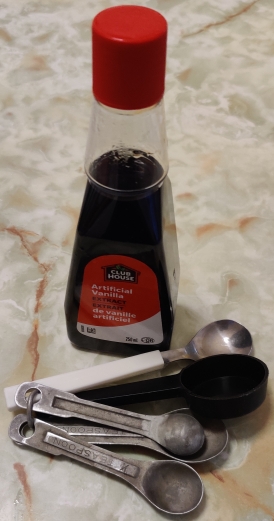
Vanilla extract and measuring spoons were taken out:
Vanilla extract and measuring spoons taken out
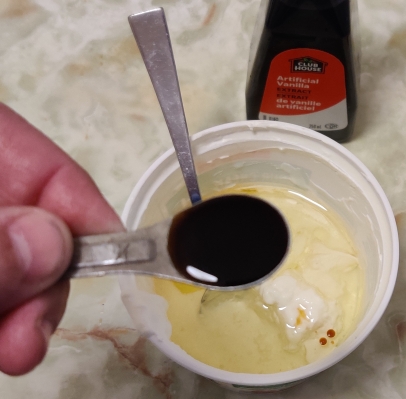
The vanilla extract was measured out:
Vanilla extract measured out
The vanilla extract was transferred to the container with the sour cream, vegetable oil, and egg:
Vanilla extract added to container with sour cream, vegetable oil, and egg
The wet ingredients were mixed together:
Wet ingredients thoroughly mixed
(As mentioned earlier, at this point, the container had been sealed and placed in the refrigerator overnight, and the dry ingredients had been sealed and kept on the counter overnight; as well, immediately prior to the next step listed below is when the countertop convection oven had actually been turned on and preheated.)
The wet ingredients were brought over to the dry ingredients, and a clean fork and spoon were taken out:
Wet ingredients brought to the dry ingredients
The wet ingredients were transferred to the bowl with the dry ingredients:
Wet ingredients transferred to bowl with dry ingredients
Wet ingredients transferred to bowl with dry ingredients
The last bits of the wet ingredients were scraped into the bowl using a spoon:
Wet ingredients transferred to bowl with dry ingredients, and last bits scraped into bowl using spoon
A fork was taken out to start mixing the wet and dry ingredients:
Fork taken out to mix wet and dry ingredients
The wet and dry ingredients were mixed together with the fork:
Wet and dry ingredients mixed with fork
Wet and dry ingredients mixed with fork
The baking tin with the paper muffin liners was brought over to the bowl with the mixed ingredients:
Baking tin with paper muffin liners taken out
The muffin dough was transferred to the paper muffin liners in the baking tin:
Muffin dough transferred to paper muffin liners
Muffin dough transferred to paper muffin liners
The muffin tin filled with muffin dough was placed in the preheated countertop convection oven …
Muffin tin placed in preheated countertop convection oven
… and a timer was set to 22 minutes:
Timer set to 22 minutes
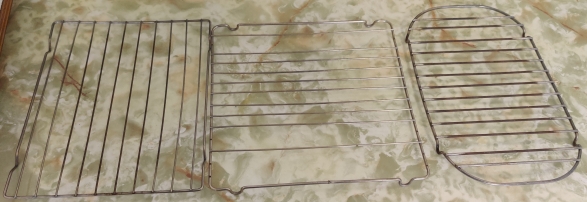
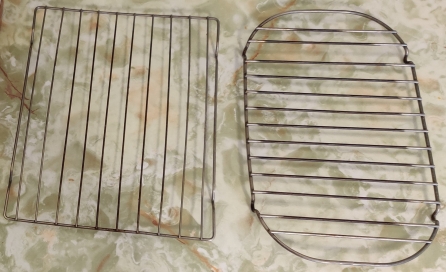
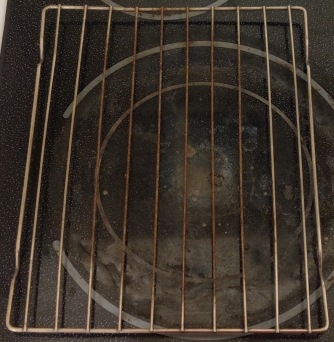
While the muffins were baking, a cooling rack was taken out:
Cooling rack taken out
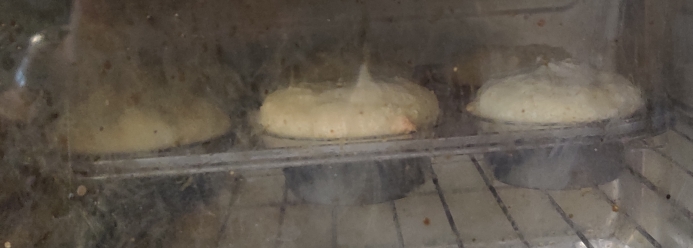
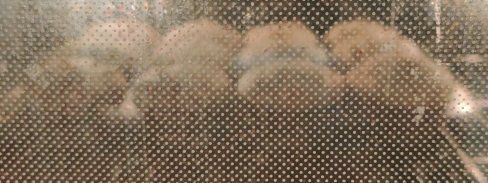
At about half-way (after about 11 minutes), the baking tin was rotated in the countertop convection oven, to help ensure even baking:
Almost 11 minutes passing, the rough halfway point during baking
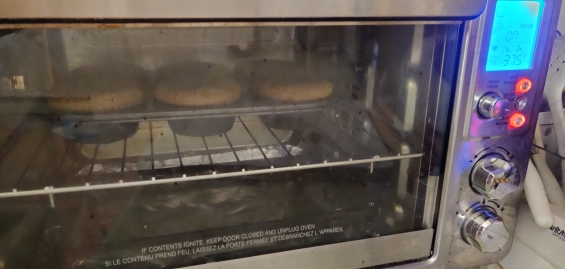
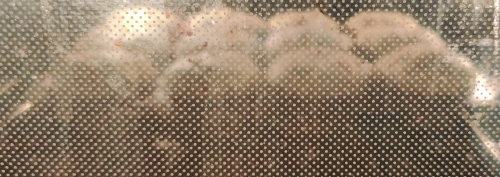
… and at this point, the muffins had clearly begun to rise:
Muffins rising at roughly halfway point in baking
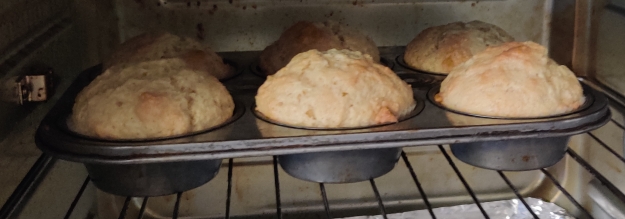
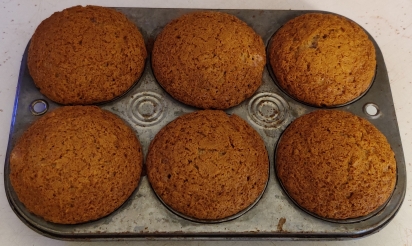
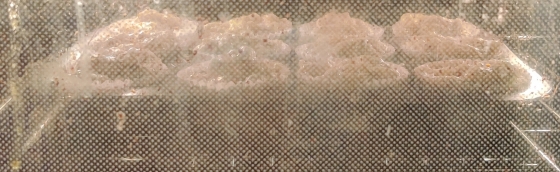
At the end of the baking period, here are the fully baked muffins, which had begun to brown:
Fully baked muffins while still in the countertop convection oven — note the light browning
The muffin tin was taken out of the countertop convection oven and placed on a board, ready for the muffins to be removed from the baking tin, and placed on the cooling rack:
Fully baked muffins taken out of countertop convection oven
The muffins were immediately — hot! hot! hot! — removed from the muffin baking tin …
Hot muffin removed from muffin tin
… and placed on the cooling rack:
Hot muffin placed on cooling rack
… which was continued until all the muffins …
All muffins removed from baking tin
… had been transferred to the cooling rack:
All muffins transferred to cooling rack
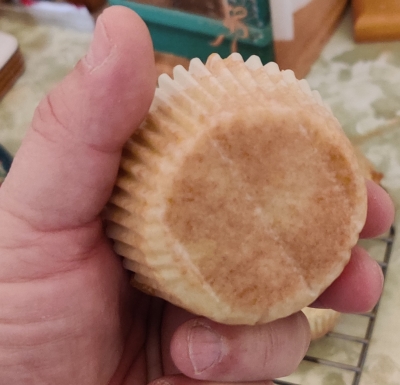
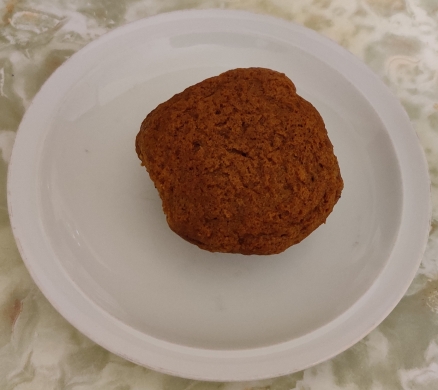
Here’s the bottom of a muffin that had sufficiently cooled in order to safely handle it:
Browning on bottom of cooled muffin
A still warm and definitely fresh! muffin was placed on a plate, and the paper liner was carefully removed (so as to not tear off pieces from the muffin):
In the first podcast, one of the “hosts” remarks, starting at 3:49, “Like, imagine making a super detailed blog post, like, making your morning coffee.”
Well, here is the post that the “hosts” jokingly “suggested” that I create.
Note that I don’t actually drink coffee because I don’t care for it; I like iced tea (this web page was written somewhere between 1995 and 1997; while the page’s premise still stands some 28 to 30 years later, some of the specific information is rather out of date, principally the beer section: Nowadays, I adore Belgian dubbels, quadruppels, and German bocks — but I digress.) However, I regularly prepare coffee for my mom.
Note that there are a small number of photos which were either taken in a slightly different order, or which were recreated during the session, and one which was taken during a different session, but presented as follows for the sake of the narrative.
Update 20250106: I wrote a post about the trials and tribulations of attempting to make a podcast using Google NotebookLM about this post and its tongue-in-cheek premise.
Making the coffee:
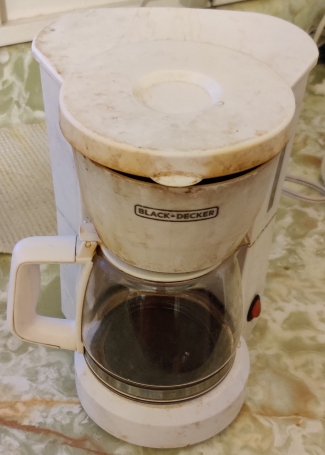
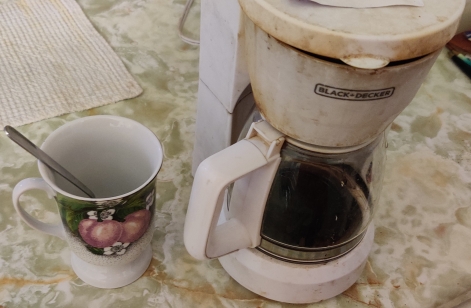
I normally set up a coffee machine for my mom every day, usually the evening before.
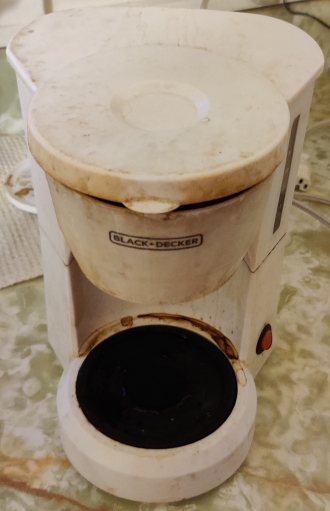
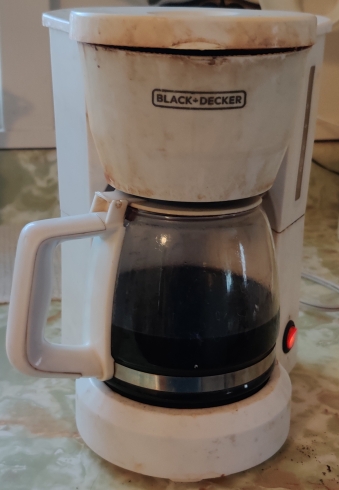
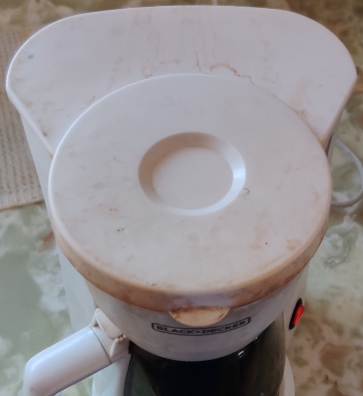
Firstly, the coffee machine was taken out:
Coffee machine taken out
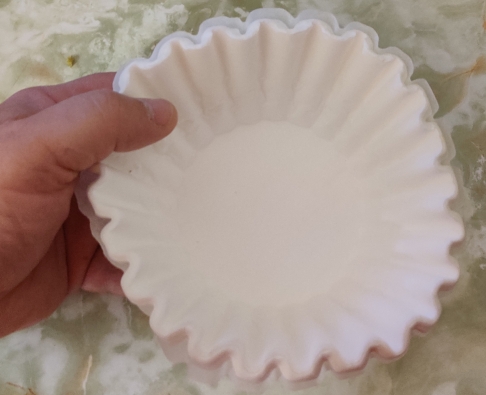
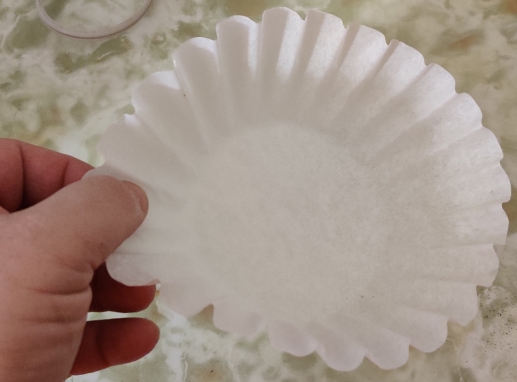
Paper coffee filters were taken out:
Paper coffee filters taken out
A single paper coffee filter was taken from the grouping of paper coffee filters:
Paper coffee filter separated from group
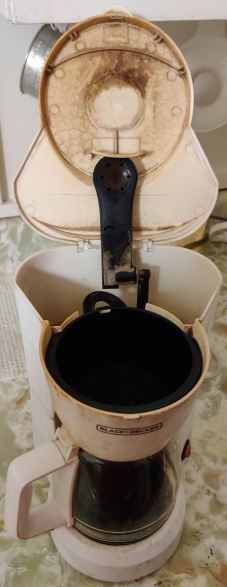
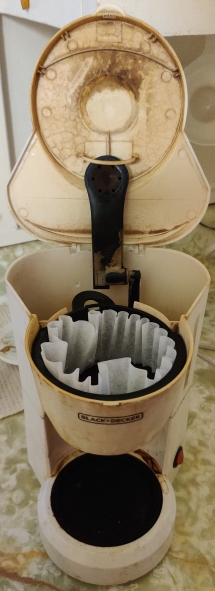
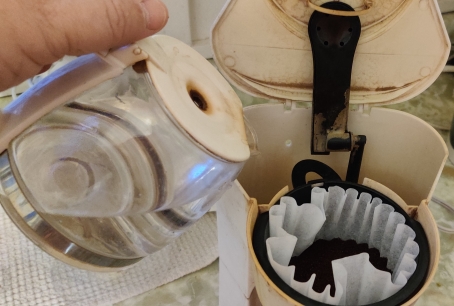
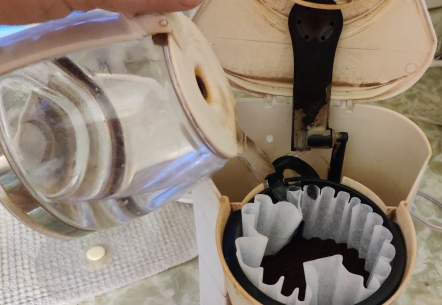
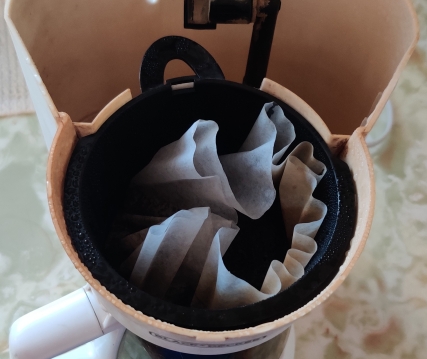
The coffee machine’s lid was opened:
Coffee machine lid opened
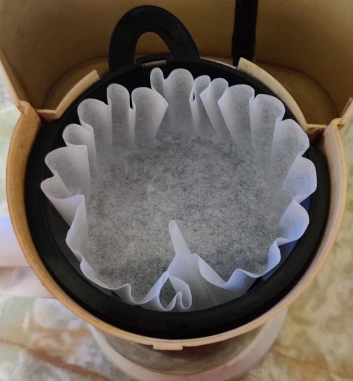
The paper coffee filter was placed in the plastic basket in the coffee machine:
Paper coffee filter placed in coffee machine basket
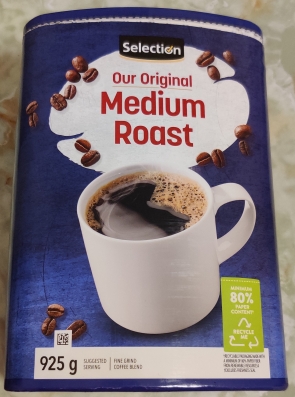
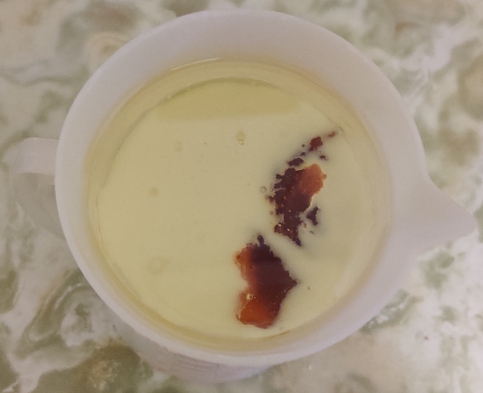
Note that my mom finds “medium roast”, fine grind drip coffee machine coffee grounds meets her liking:
Medium roast fine grind drip coffee machine coffee grounds
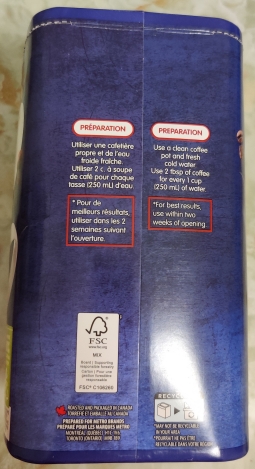
… which of course has suggested preparation instructions:
Manufacturer’s suggested preparation instructions
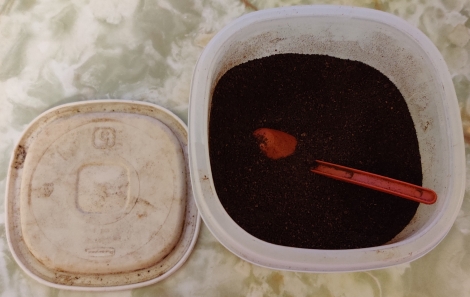
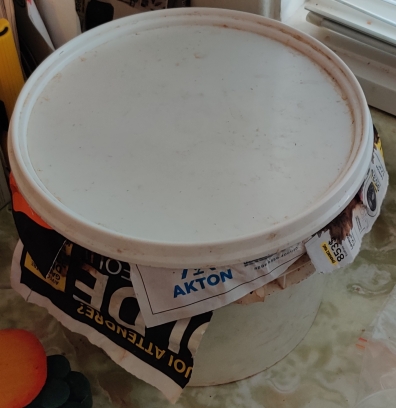
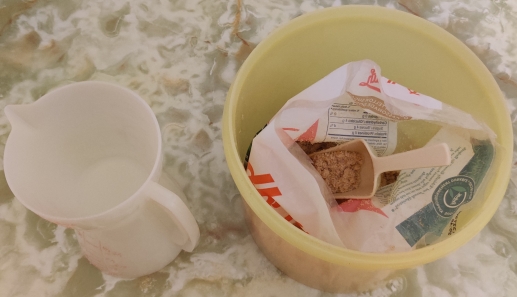
We keep coffee in a resealable plastic container in the fridge:
Coffee kept in sealable container in fridge
The coffee container was taken out:
Coffee container taken out of fridge
The coffee container was opened:
Coffee container opened
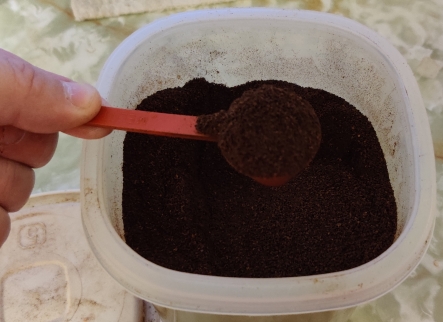
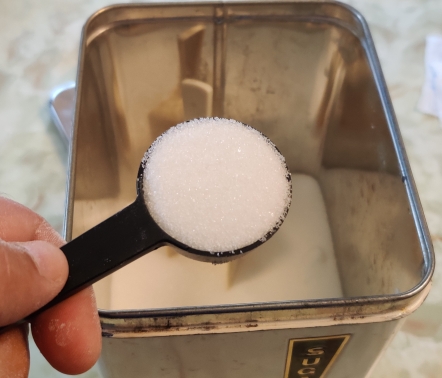
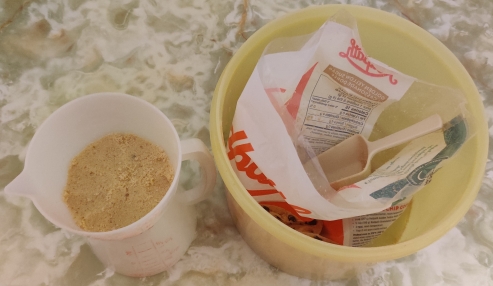
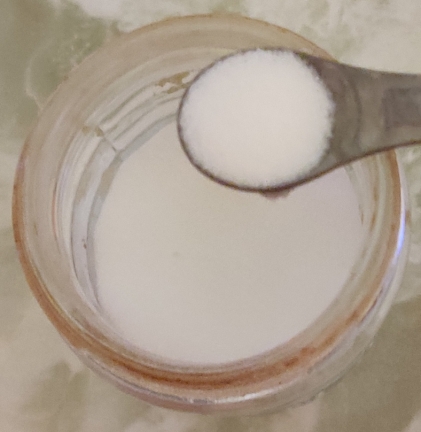
Three heaping tablespoons of the coffee grounds were measured out:
Coffee measured out
The coffee grounds were transferred to the paper coffee filter in the basket in the coffee machine:
Coffee transferred to paper coffee filter in basket
Coffee transferred to paper coffee filter in basket
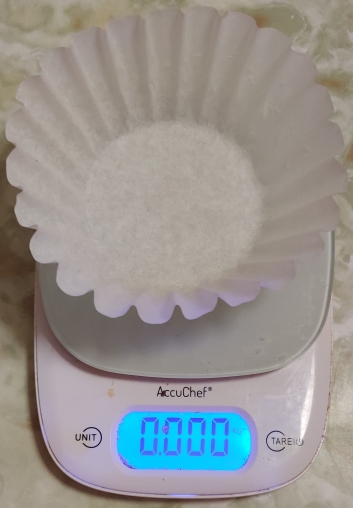
Just for fun, a paper coffee filter was placed on a kitchen scale, and the kitchen scale was set to zero:
Paper coffee filter weighed
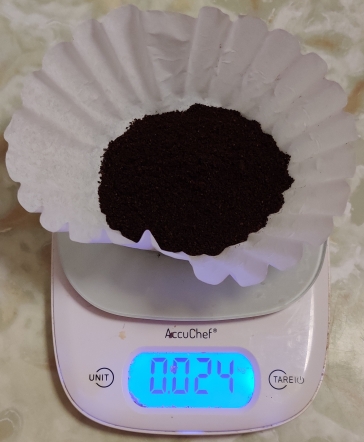
… then the paper coffee filter was switched out, and the paper coffee filter with the measured out coffee grounds were placed on the kitchen scale, revealing that I’d measured out about 24 grams of coffee grounds:
Coffee grounds weighed, 24g
The paper coffee filter and coffee grounds were returned to the coffee machine (photo from a subsequent setup):
Paper coffee filter and coffee grounds returned to coffee machine
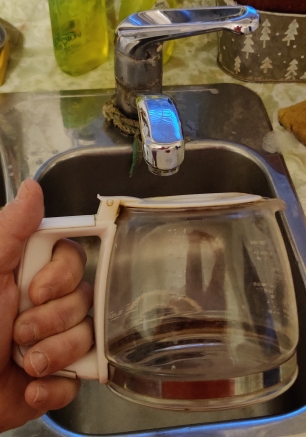
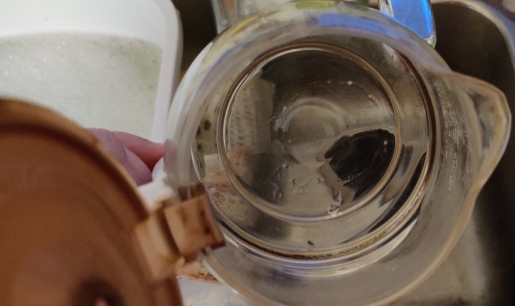
The coffee carafe was taken out of the machine, and brought to the sink:
Rinse water drawn into carafe
A bit of water was drawn into the carafe, and swirled around to rinse out the inside of the carafe:
Rinse water in carafe
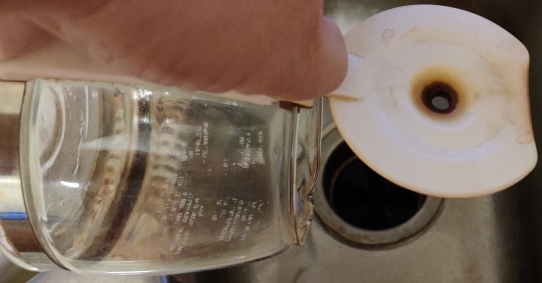
The rinse water was poured out:
Rinse water poured out of carafe
Two cups of water — about up to one of the marks on the side of the carafe — were drawn into the carafe:
Two cups of water in carafe
Back to the coffee machine …
Coffee machine with lid open
The water in the carafe was poured into the water reservoir at the back on the coffee machine:
Water poured into coffee machine reservoir
Water poured into coffee machine reservoir
Water poured into coffee machine reservoir
Water poured into coffee machine reservoir
The coffee machine’s lid was closed:
Coffee machine lid closed
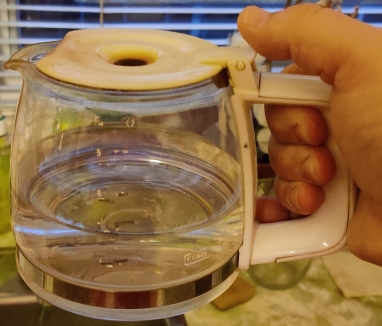
The empty coffee carafe was placed into the machine on the hotplate under the basket:
Carafe placed in coffee machine
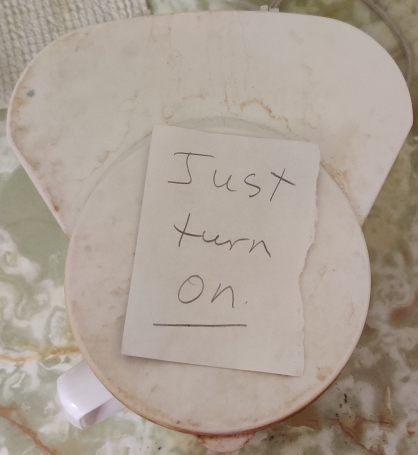
Since I normally prepare the coffee machine for my mom, I normally place a handwritten sign on top of the coffee machine indicating that all she has to do is turn on the machine:
Sign for my mom placed on top of the coffee machine
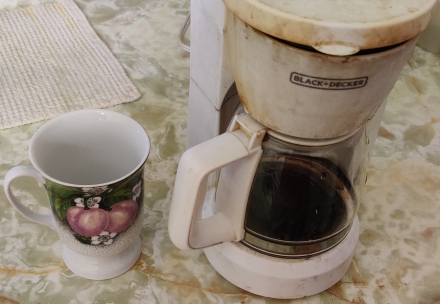
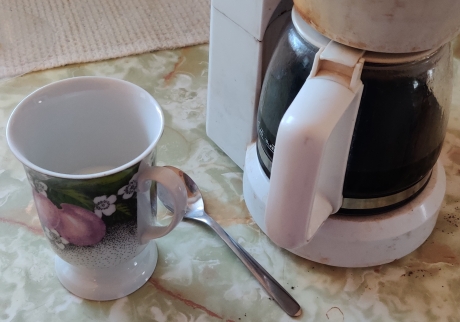
I also normally place a coffee mug beside the coffee machine for her …
Coffee mug taken out
… and I normally also place a spoon in the coffee mug for her:
Spoon added to mug
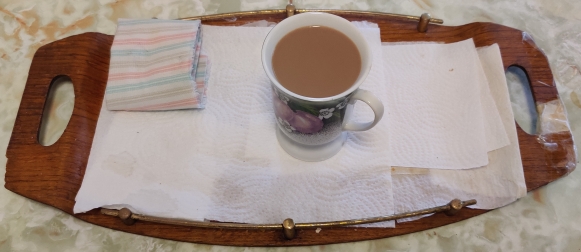
The following morning, a weekend day for me, I prepared the coffee for Mom, and served it to her.
I went up to the coffee machine, which of course was off (and, I noticed in the better morning light, that the machine itself could use a wipe down!) …
Coffee machine ready to be turned on
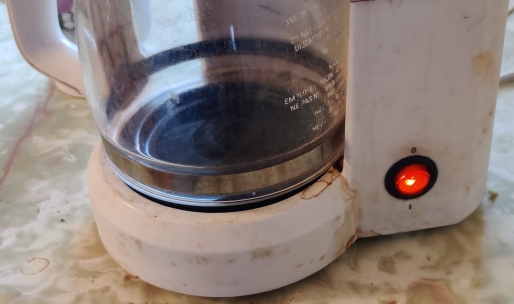
… and I turned it on:
Coffee machine turned on
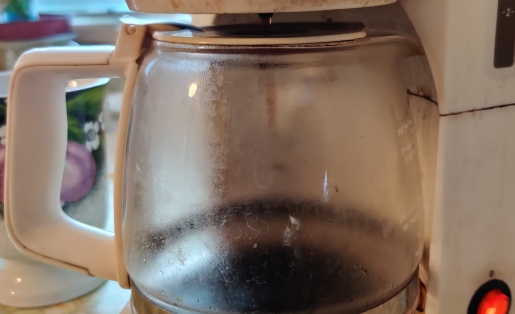
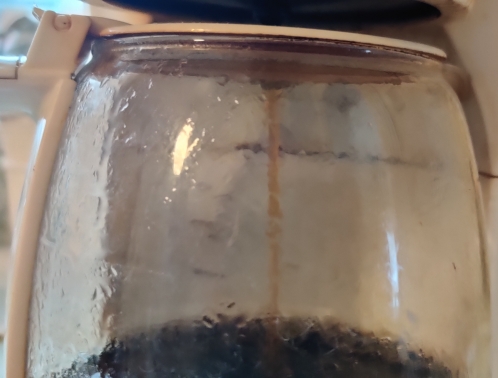
The machine started operating, and liquid started flowing through the machine, and into the carafe, fogging up the inside of the carafe in the process:
Coffee starting to drip through the coffee grounds into the carafe
Coffee carafe starting to fill up
Coffee dripping through the coffee grounds into the carafe
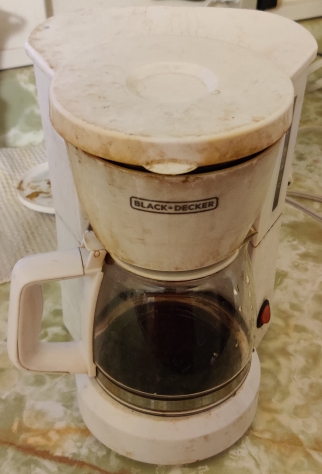
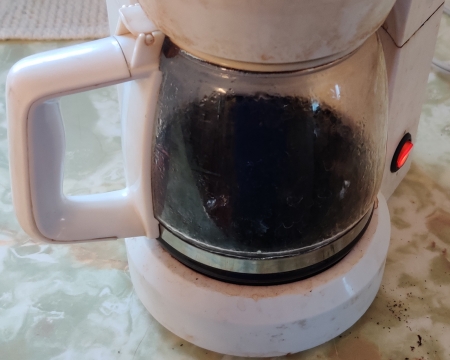
After a few minutes, the machine finished, and the coffee was made:
Brewing cycle completed
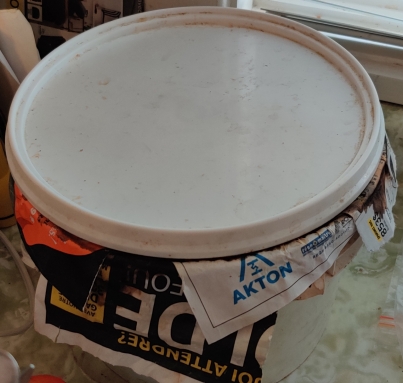
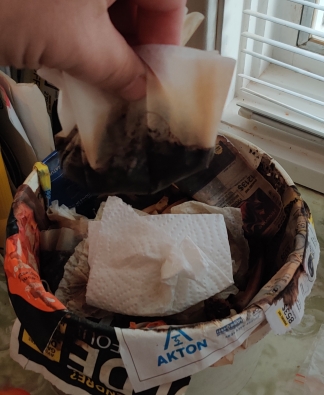
I reached over to the compost bucket across the counter …
Compost bucket across the counter
… to remove its lid:
Lid removed from compost bucket
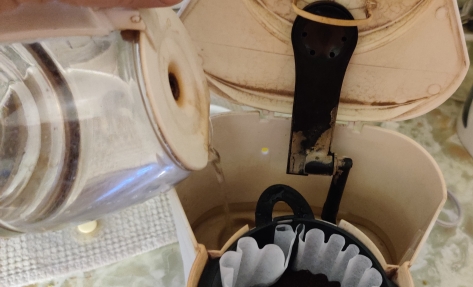
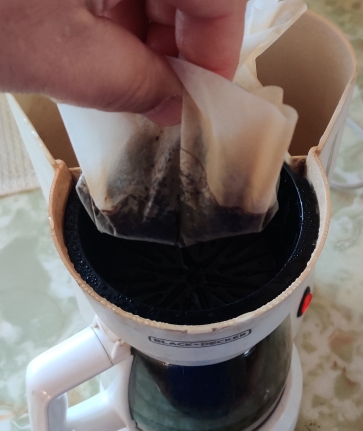
The coffee machine’s lid was opened:
Lid opened on coffee machine
… and the paper coffee filter and wet coffee grounds were removed from the basket:
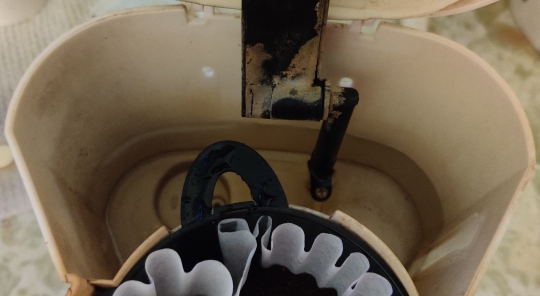
Paper coffee filter and wet grounds lifted out of coffee machine basket
Emptied coffee machine basket
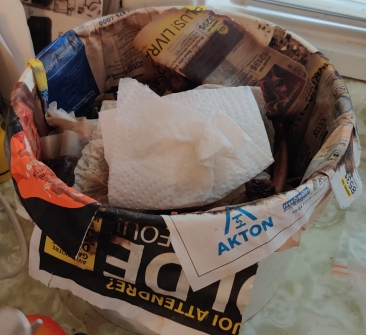
The paper coffee filter and wet coffee grounds were transferred to the compost bucket:
Paper coffee filter and wet grounds placed in compost bucket
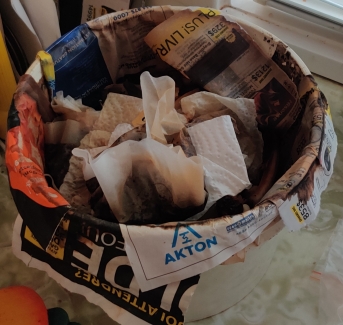
Paper coffee filter and wet grounds placed in compost bucket
… and the compost bucket’s lid was placed back onto the compost bucket:
Compost bucket covered with lid
The coffee maker’s lid was also closed:
Coffee machine lid closed
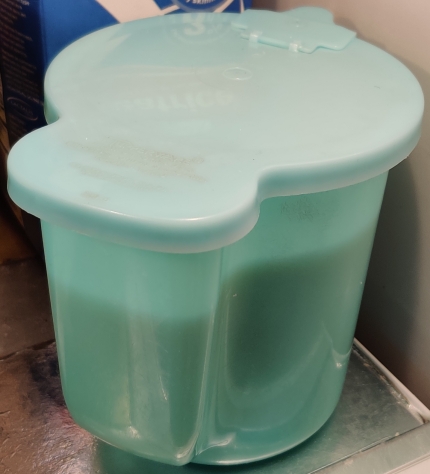
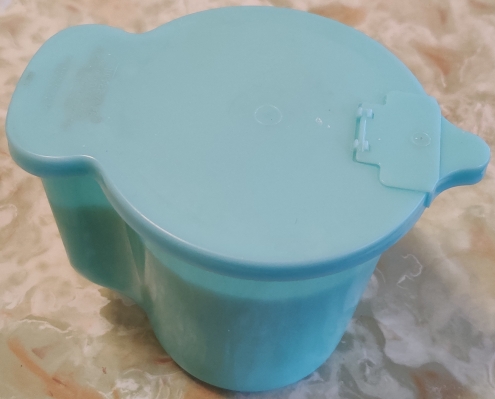
Mom likes to keep milk for her coffee and tea in a plastic container in the fridge:
Milk for coffee and tea in container in fridge
The milk container was taken out:
Milk taken out
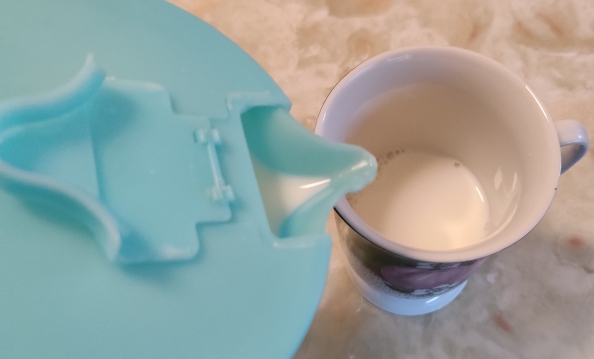
Milk was poured into the coffee mug:
Milk poured into coffee cup
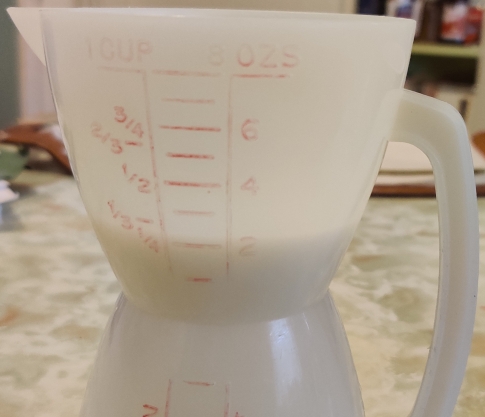
For fun, I decided to measure out how much milk I’d poured out, which was a roughly typical amount:
Milk measured for fun
… leading to it being roughly two liquid ounces:
Two liquid ounces of milk
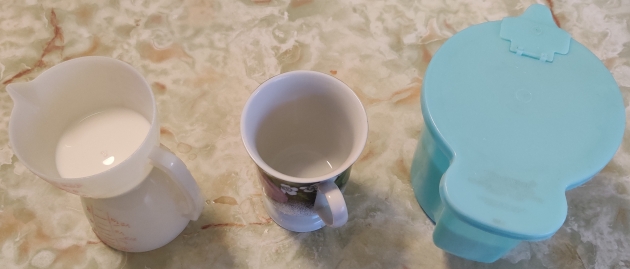
The milk was returned to the coffee cup:
Milk returned to coffee cup
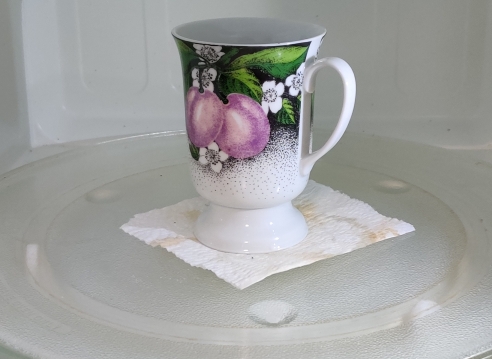
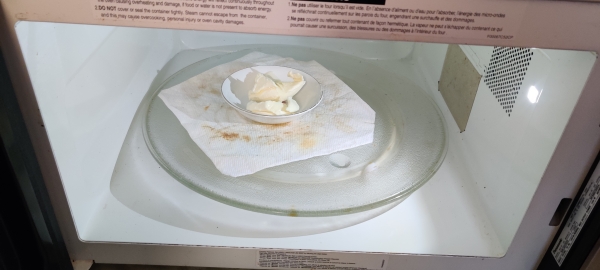
The coffee cup with just the milk was placed in the microwave oven:
Coffee cup with milk placed in microwave oven
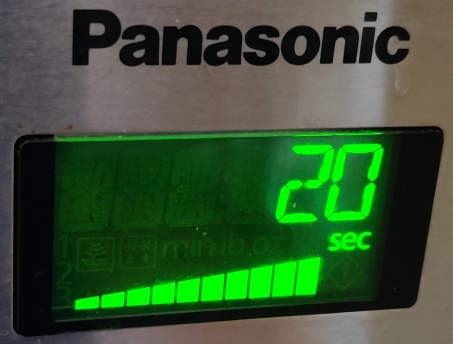
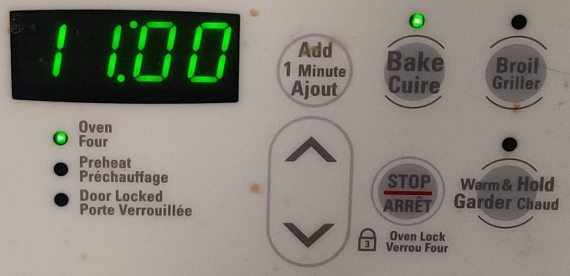
… and the milk was warmed for 20 seconds (1100 watts):
Milk warmed for 20 seconds
The warmed milk was brought back to the coffee maker:
Coffee cup brought back to coffee machine
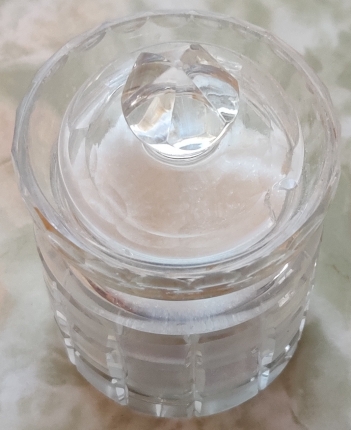
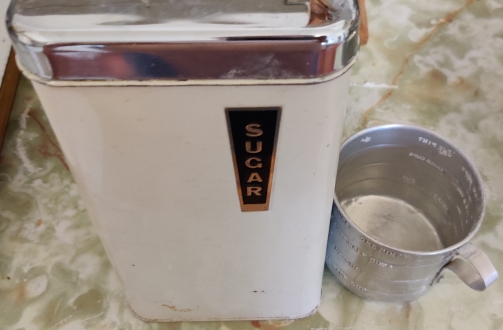
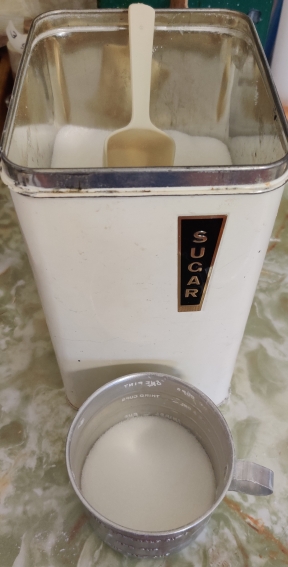
Mom likes sugar in her coffee, so a sugar bowl was taken out:
Sugar taken out
The sugar bowl was opened:
Sugar bowl opened
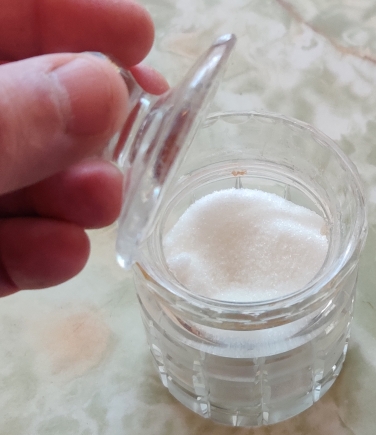
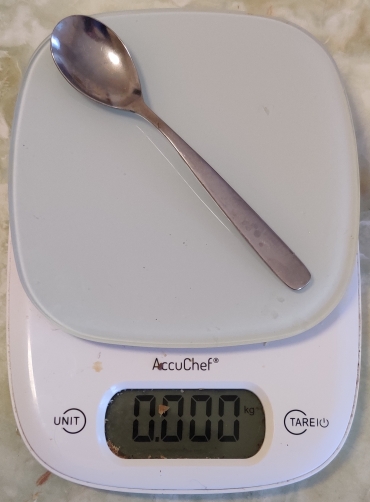
For fun, I thought I’d find out how much sugar I put in Mom’s coffee, so I took out a kitchen scale, placed the spoon on the scale, and set the scale to zero:
Kitchen scale set to zero with spoon on it
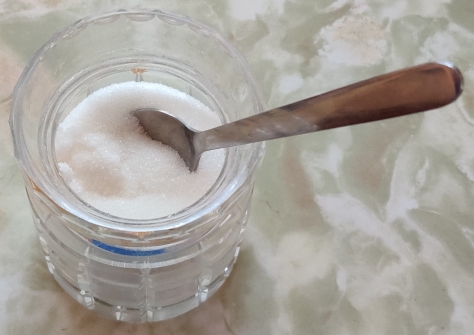
The spoon was placed in the sugar bowl …
Spoon brought to sugar bowl
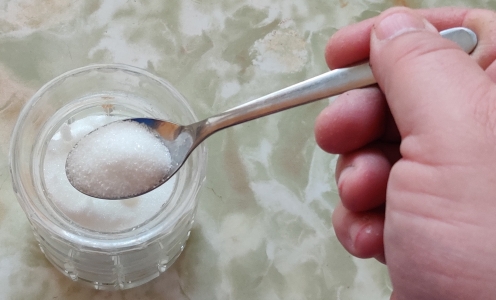
Sugar was measured out:
Sugar measured out
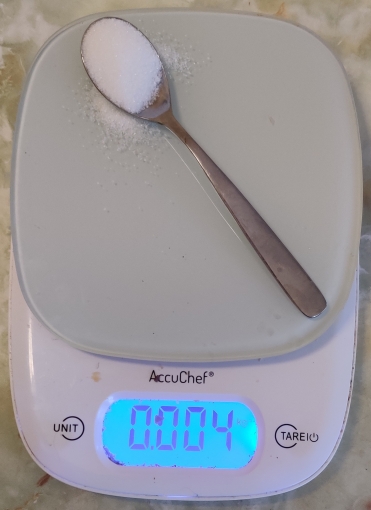
… and the sugar was weighed, proving to be about 4 grams:
Sugar weighed, 4g
The sugar was transferred to the coffee machine with the warmed milk:
Sugar transferred to coffee cup with warmed milk
Sugar transferred to coffee cup with warmed milk
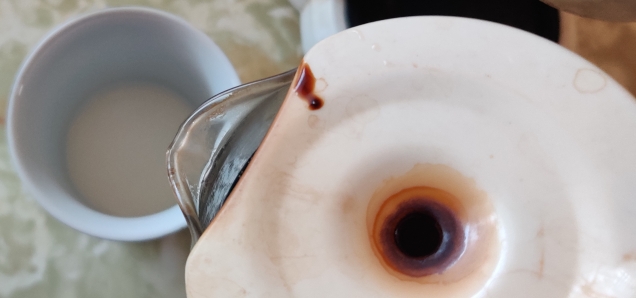
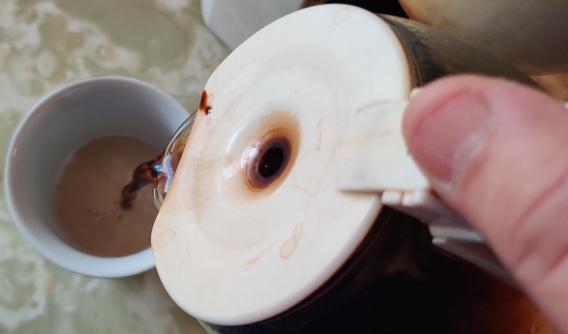
Coffee was poured into the coffee cup with the warmed milk and sugar:
Coffee poured into coffee cup with warmed milk
Coffee poured into coffee cup with warmed milk
Coffee poured into coffee cup with warmed milk
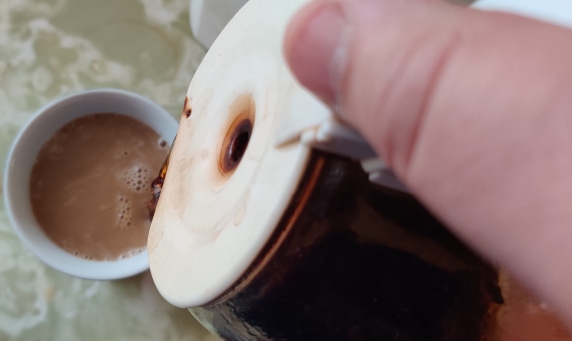
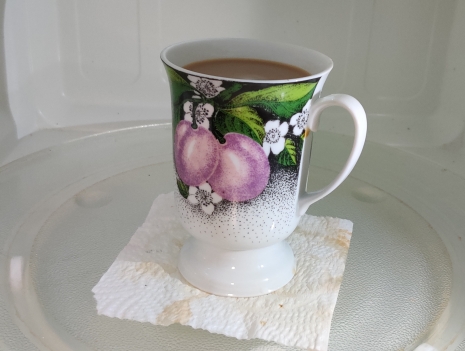
… until the coffee cup had been filled:
Coffee cup filled
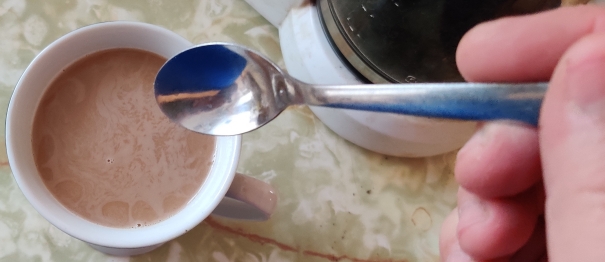
The spoon was picked up …
Spoon picked up
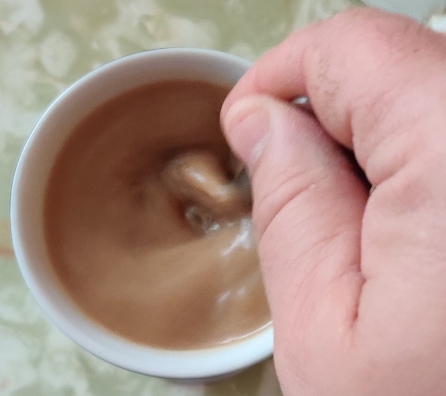
… and the coffee was thoroughly stirred:
Coffee, milk, and sugar thoroughly mixed
The now-filled coffee cup was again placed in the microwave oven, because mom likes her coffee really hot:
Coffee cup with coffee, milk, and sugar placed in microwave oven
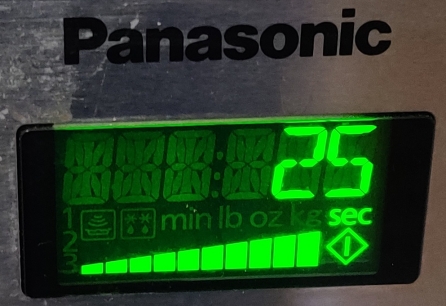
The coffee was warmed for 25 seconds (1100 watts):
Note that while this recipe can be easily multiplied several times to make more muffins at once, this recipe is intentionally tailored to a half dozen muffins instead of the usual custom of a dozen muffins, since the original recipe on which it was based allows it to be halved and therefore be baked in a countertop convection oven.
In addition to this recipe, the following recipes can (usually, depending on oven size and specific dimensions) be made directly without adjustment in a countertop convection oven:
As well, here are a number of my other recipes which allow for adjusting by half to be made, or can otherwise easily be made (sometimes in shifts), in a countertop convection oven:
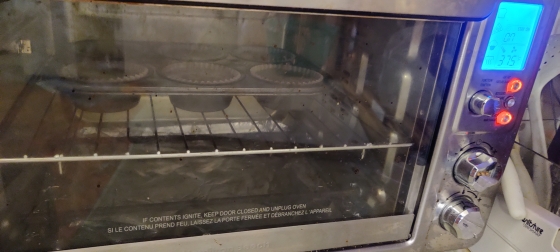
First, my countertop convection oven was turned on and set to 350F (yes, the photo says 86F, it’s preheating!):
Countertop convection oven turned on to be preheated
Countertop convection oven turned on to be preheated
A muffin baking tin and some paper muffin liners were taken out:
Muffin baking tin and paper muffin liners taken out
Paper muffin liners were placed in each of the wells of the muffin baking tin:
Paper muffin liners placed in muffin baking tin wells
A mixing bowl, a fork, and a spoon were taken out:
Mixing bowl, fork, and spoon taken out
Flour and a measuring cup were taken out, and some flour was measured out:
Flour taken out and measured out
The flour was transferred to the mixing bowl:
Flour transferred to mixing bowl
Flour transferred to mixing bowl
Flour transferred to mixing bowl
Flour transferred to mixing bowl
Sugar and a measuring cup were taken out, and some sugar was measured out:
Sugar taken out and measured out
The sugar was transferred to the mixing bowl with the flour:
Sugar transferred to mixing bowl
Sugar transferred to mixing bowl
Sugar transferred to mixing bowl
Baking soda and a measuring spoon were taken out, and some baking soda was measured out:
Baking soda taken out and measured out
The baking soda was transferred to the mixing bowl with the flour and the sugar:
Baking soda transferred to mixing bowl
Baking soda transferred to mixing bowl
Baking soda transferred to mixing bowl
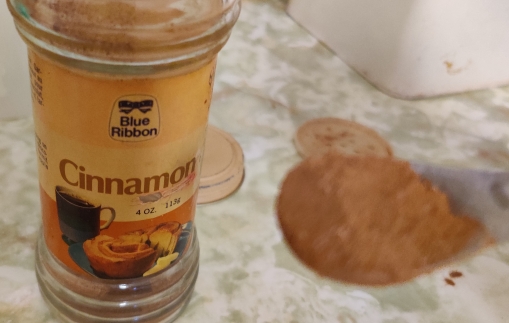
Cinnamon and a measuring spoon were taken out, and some cinnamon was measured out:
Cinnamon taken out and measured out
The cinnamon was transferred to the bowl with the flour, sugar, and baking soda:
Cinnamon transferred to mixing bowl
Cinnamon transferred to mixing bowl
Nutmeg and a measuring spoon were taken out, and some nutmeg was measured out:
Nutmeg taken out and measured out
The nutmeg was transferred to the mixing bowl with the flour, sugar, baking soda, and cinnamon:
Nutmeg transferred to mixing bowl
Nutmeg transferred to mixing bowl
Salt and a measuring spoon were taken out, and some salt was measured out:
Salt taken out and measured out
The salt was transferred to the mixing bowl with the flour, sugar, baking soda, cinnamon, and nutmeg:
Salt transferred to mixing bowl
Salt transferred to mixing bowl
A fork was taken out and used to mix the dry ingredients:
Dry ingredients mixed with a fork
Dry ingredients mixed with a fork
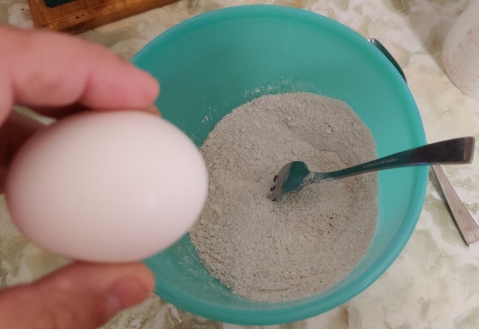
A box of eggs was taken out:
Eggs taken out
An egg was taken out of the box of eggs:
Egg taken out
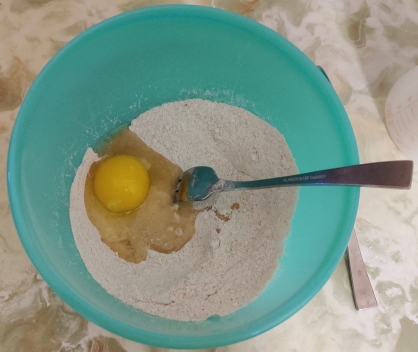
The egg was cracked on the edge of the mixing bowl with the dry ingredients:
Egg cracked into mixing bowl
Egg cracked into mixing bowl
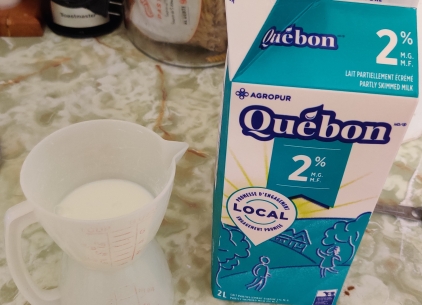
Milk and a measuring cup were taken out, and some milk was measured out, but the milk was not yet transferred to the mixing bowl:
Milk taken out and measured out but not yet transferred to mixing bowl
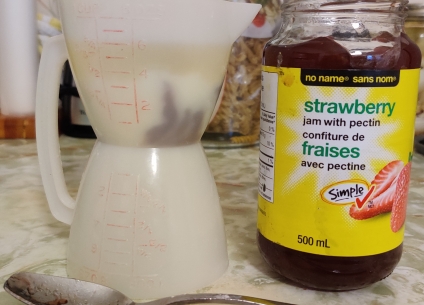
Vegetable oil was taken out, and some oil was measured out in the measuring cup while the milk was still in it, but the milk and oil were not yet transferred to the mixing bowl:
Oil taken out and measured out but not yet transferred to mixing bowl
Strawberry jam was taken out, and some strawberry jam was measured out into the measuring cup with the milk and vegetable oil:
Strawberry jam taken out and measured out
Strawberry jam measured out
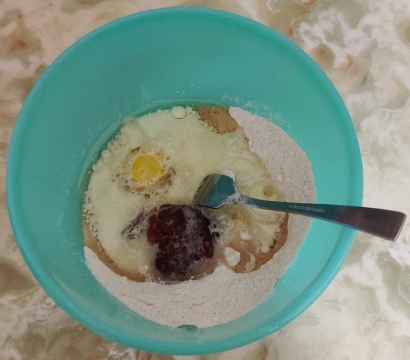
The milk, vegetable oil, and the strawberry jam were transferred to the mixing bowl with the dry ingredients and the egg:
Milk, oil, and strawberry jam transferred to mixing bowl
Milk, oil, and strawberry jam transferred to mixing bowl
Milk, oil, and strawberry jam transferred to mixing bowl
Milk, oil, and strawberry jam transferred to mixing bowl
The ingredients were mixed together with the fork:
Ingredients mixed with a fork
The batter was transferred to the paper liners in the muffin baking tin, using a spoon:
Batter transferred to paper liners in muffin baking tin
Batter transferred to paper liners in muffin baking tin
The filled muffin baking tin was transferred to the pre-heated countertop convection oven:
Muffin baking tin with batter placed in countertop convection oven
A timer was set to 23 minutes:
Timer set to 23 minutes
While the muffins were baking, a cooling rack was taken out:
Cooling rack taken out
Here’s a picture of the muffins rising while baking:
Muffins rising while baking
At the end of the 23 minutes when the muffins were baked, the muffin baking tin with the muffins were taken out of the countertop convection oven:
Muffins taken out of countertop convection oven
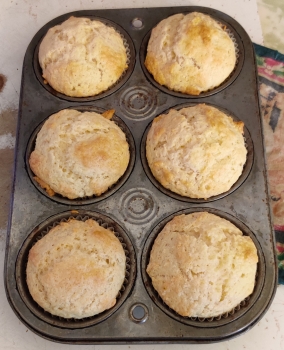
The muffins were taken out of the muffin baking tin and placed on the cooling rack:
Muffins placed on cooling rack
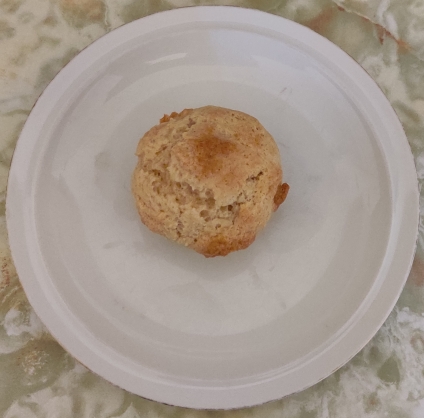
A muffin (in the case of this photo, from a subsequent batch) was taken out to serve to mom:
A delicious muffin is served!
Mom loves these delicious muffins a lot these days!
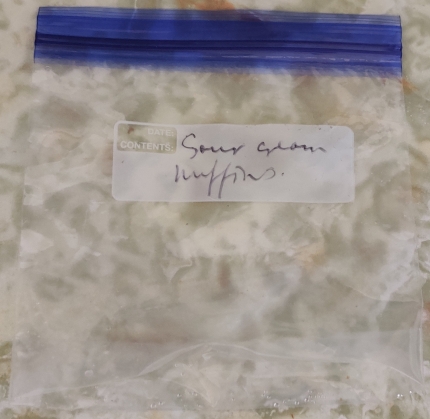
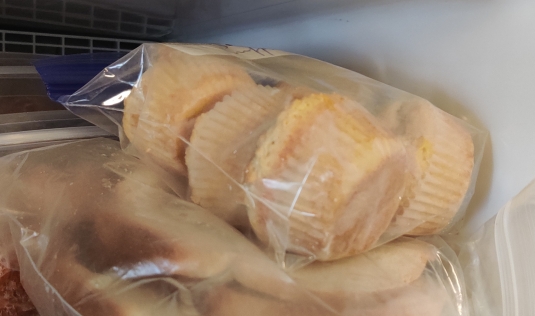
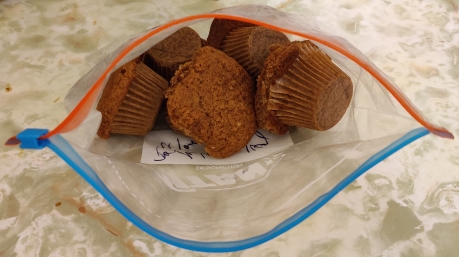
… and I froze the rest of muffins in a freezer bag, as I did with muffins from a subsequent batch:
I came to enjoy a type of convenience frozen pizza in the early 1990’s while in residence at university; of course I enjoyed them then, and continue to occasionally enjoy them to this day. However, what really fascinated me was how the manufacturer managed to produce what amounted to a bun stuffed with a filling, in this case pizza toppings, without an apparent seam or other apparent entry point for the contents (such as the small hole one would see on the size of a jelly doughnut). While said fascination remained, it was not strong enough for me to actually try to figure it out.
Fast forward to late 2023, and a snacks table offered bierocks (here’s my archive), which immediately caught my attention. Before I even picked one up and looked at it, including inspecting its bottom, I immediately realized how they had been made. I definitely ate some, and asked the person who had made them for the recipe. Due to delays in setting up a cooking lesson with said person, I eventually just followed the recipe instead of waiting to be shown how to make them.
(And, I am assuming, the manufacturer of the commercial pizza treats uses some kind of mechanical method analogous to the relevant section(s) below, or, a precisely timed continuous dual extrusion system that minimizes seams, and in either case a dough recipe tuned to be susceptible to the process; ultimately, whichever process is used appears to assure that the edges stay sealed, and the filled units are moved along an Archemides’ screw or the like to the next step, in such a way that smooths out any seams.)
Note that in the following narrative, while the photos are principally from a single session, a few are from two other sessions in order to complete the narrative.
Making the bierocks:
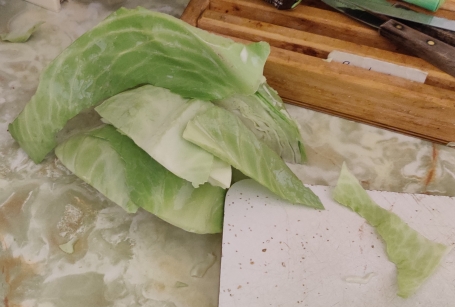
One of the common ingredients in bierocks is chopped cabbage; so cabbage was taken out:
Cabbage taken out
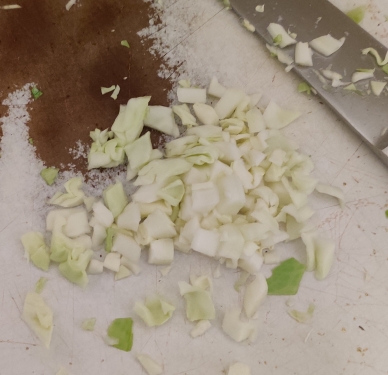
A piece of cabbage was cut off to make chopping easier:
Piece of cabbage placed on a cutting board
The cabbage was chopped up somewhere between coarsely to finely:
Cabbage chopped
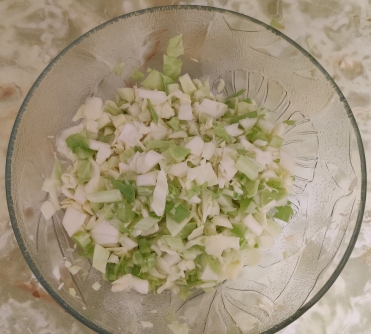
As the cabbage was chopped, it was placed in a bowl:
Chopped cabbage placed in bowl
I continued to chop cabbage, and froze the excess for future use, since a typical cabbage is far larger than the roughly half pound needed for this recipe.
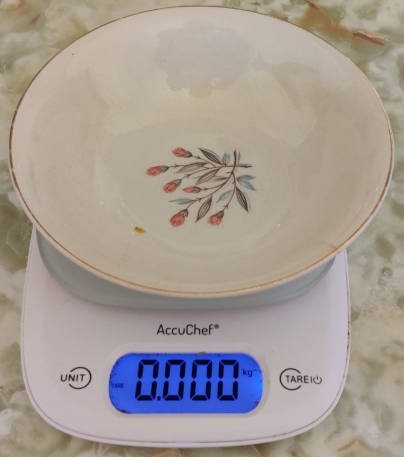
In the case of this session, frozen cabbage from a previous chopping session was used; as such, a plate was placed on a kitchen scale, and the latter set to zero, so as to only be measuring the cabbage:
Bowl placed on kitchen scale, which was set to zero
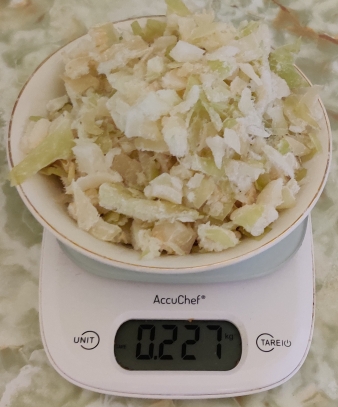
About half a pound (about 227g) of frozen chopped cabbage was placed in the bowl:
Cabbage weighed
The cabbage was put aside in order to allow it to defrost.
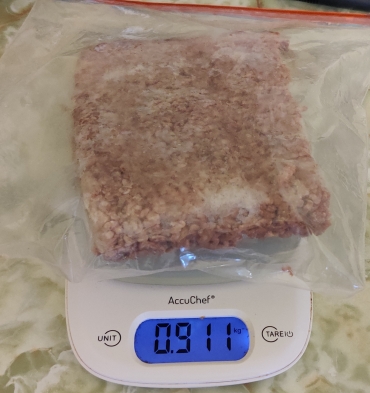
Frozen ground beef was taken out, and weighed to make sure that the appropriate amount of two pounds (911g) would be used:
Ground beef weighed
The ground beef was put aside to allow it to defrost.
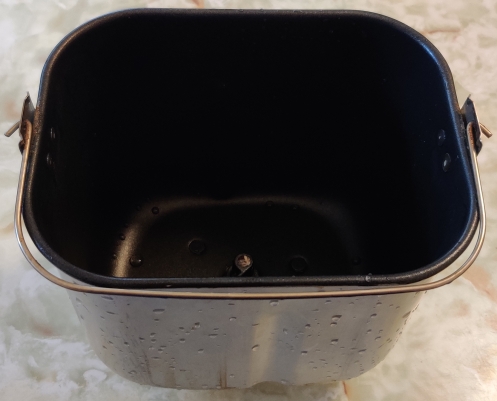
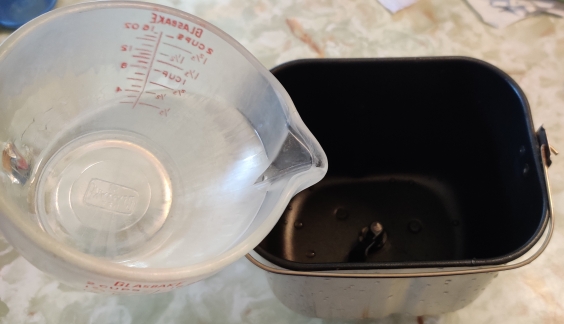
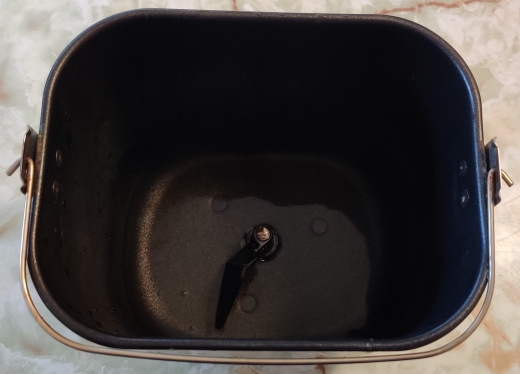
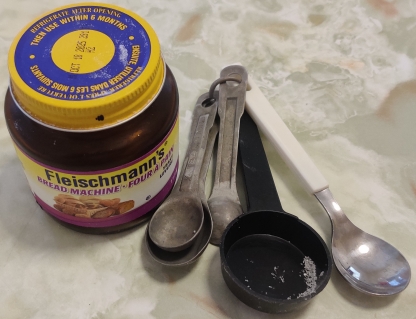
The basket from my bread machine was taken out and cleaned:
Clean bread machine basket taken out
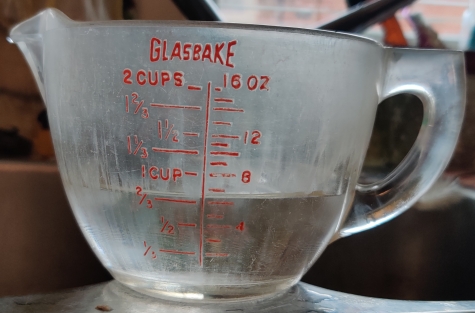
Six ounces of water were measured out:
Water measured out
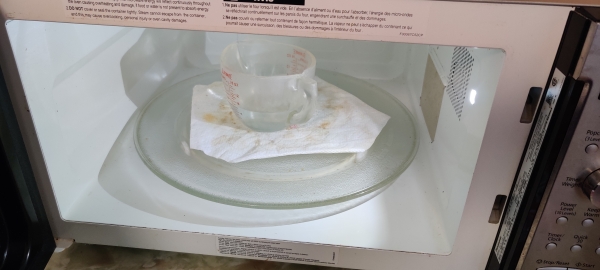
The water was placed in the microwave oven (1100 watts) …
Water placed in microwave oven
… and heated for 45 seconds.
Timer on microwave oven set
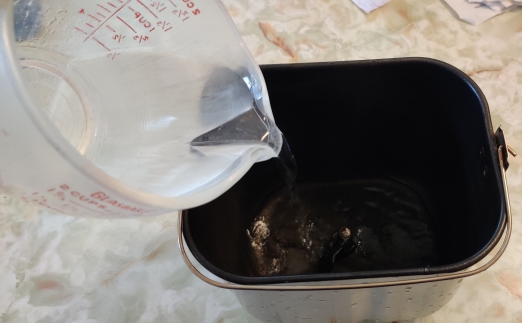
The warmed water was poured into the bread machine basket:
Warmed water poured into bread machine basket
Warmed water poured into bread machine basket
Warmed water poured into bread machine basket
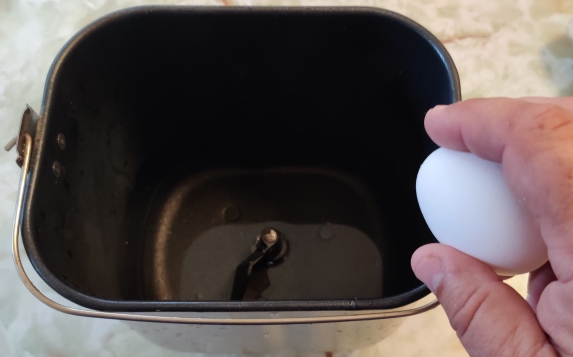
Eggs were taken out:
Eggs taken out
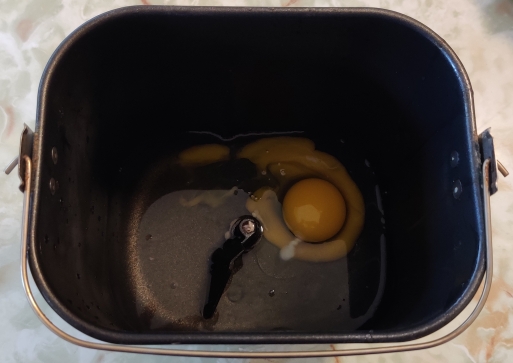
The eggs were cracked into the bread machine basket with the warmed water:
Egg cracked on edge of bread machine basket
Eggs cracked on edge of bread machine basket
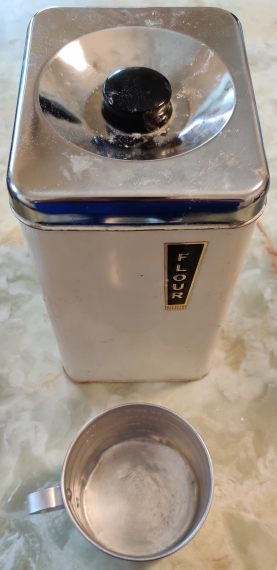
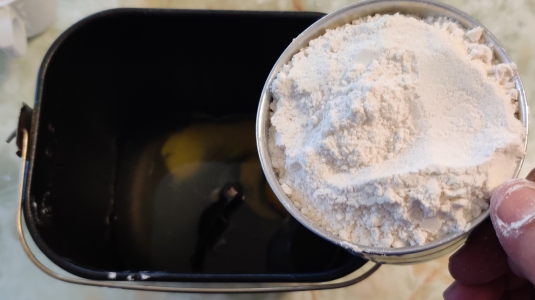
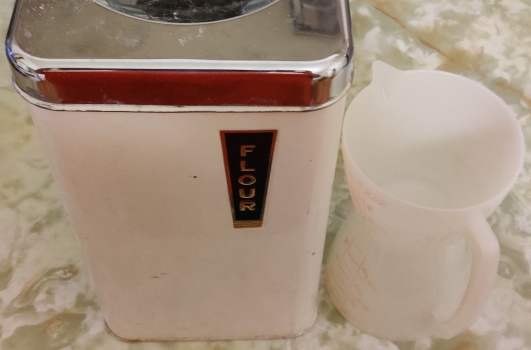
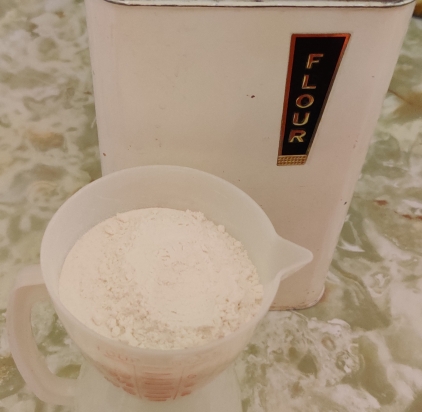
Flour and a measuring cup were taken out:
Flour and measuring cup taken out
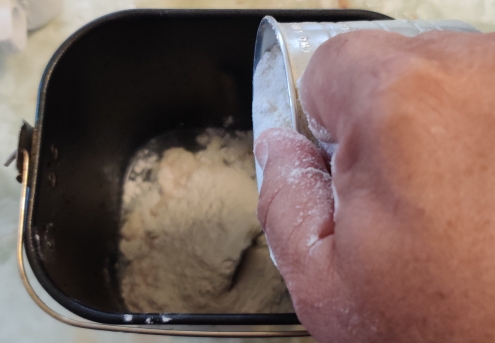
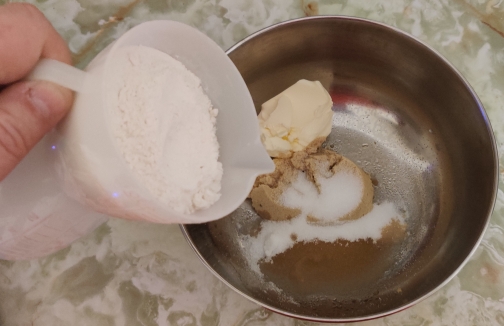
The measured out flour was transferred to the bread machine with the warmed water and the eggs:
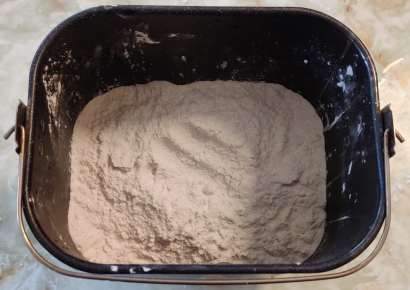
Flour transferred to bread machine basket
Flour transferred to bread machine basket
Flour transferred to bread machine basket
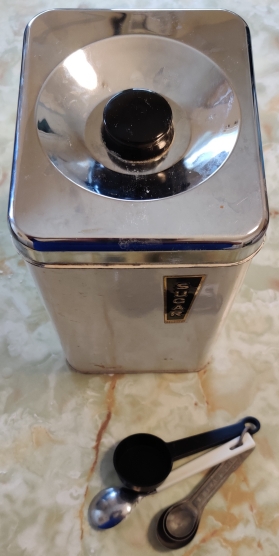
Sugar and measuring spoons were taken out:
Sugar and measuring spoons taken out
Six tablespoons of sugar were measured out …
Sugar measured out
… and transferred to the bread machine basket with the water, eggs, and flour:
Sugar transferred to bread machine basket
Sugar transferred to bread machine basket
Salt and measuring spoons were taken out:
Salt and measuring spoons taken out
The salt was measured out and transferred to the bread machine basket with the water, eggs, flour, and sugar:
Salt transferred to bread machine basket
Oil and a measuring cup were taken out:
Oil and measuring cup taken out
The oil was measured out (oops twice as much as I should have used):
Oil measured out
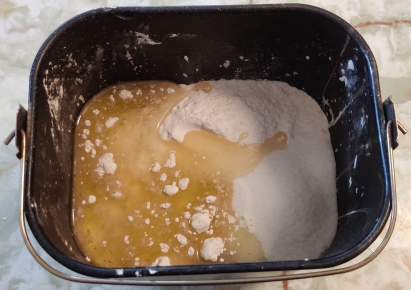
The oil was transferred to the bread machine basket with the water, eggs, flour, sugar, and salt:
Oil transferred to bread machine basket
Oil transferred to bread machine basket
A little note at this point: Since this recipe calls for using a bread machine, I strongly recommend using bread machine yeast; standard bread yeast behaves differently — although not necessarily badly — and in a bread machine, will produce a strong yeasty odour and taste, no doubt due to different timing required for it to act properly. Should you be making bread dough another way, including using standard bread yeast, of course I do not have any advice on that front. 🙂
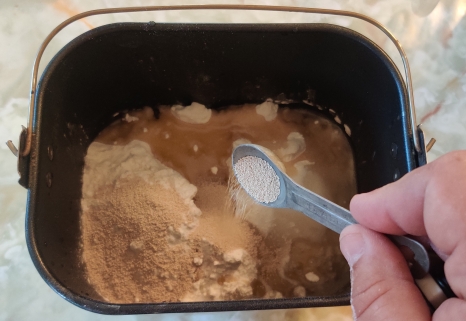
Bread machine yeast and measuring spoons were taken out:
Bread machine yeast and measuring spoons taken out
Two teaspoons of bread machine yeast were measured out:
Bread machine yeast measured out
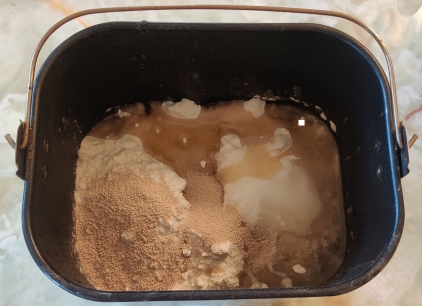
The bread machine yeast was added to the bread machine basket with the water, eggs, flour, sugar, salt, and oil:
Bread machine yeast transferred to bread machine basket
Bread machine yeast transferred to bread machine basket
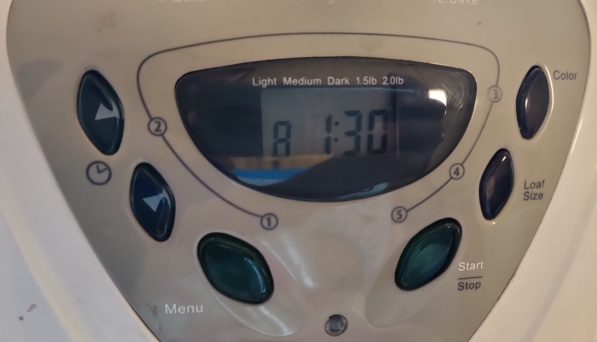
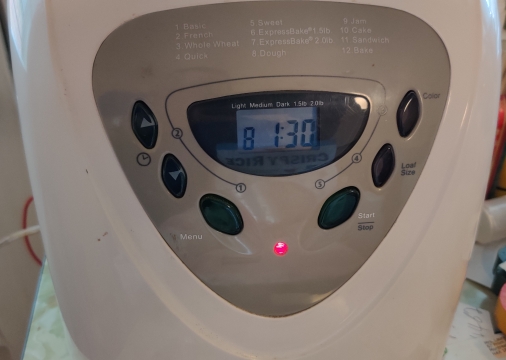
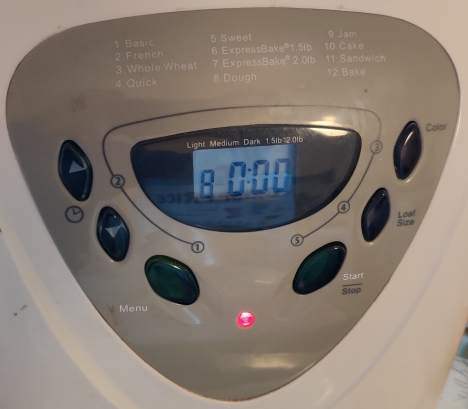
The bread machine basket with all the ingredients was placed in the bread machine, and the unit was set to the dough only cycle, which in the case of my bread machine is setting #8, with a cycle time of 1h30:
Bread machine set to dough cycle
The bread machine was turned on:
Bread machine turned on
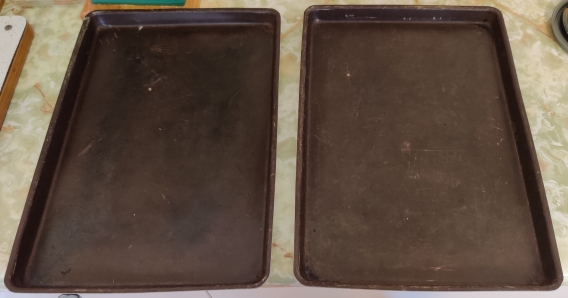
While the bread machine was preparing the dough, baking trays were taken out:
Baking trays taken out
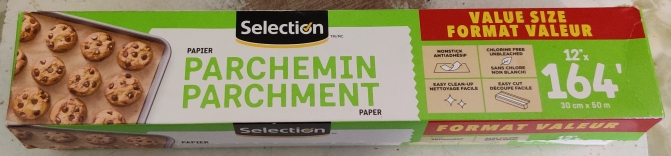
Parchment paper was taken out:
Parchment paper taken out
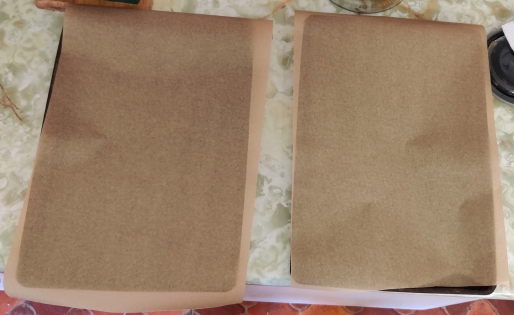
Sheets of parchment paper were cut off the roll and placed on the baking sheets:
Parchment paper placed on the baking sheets
The baking sheets were put aside for later.
An electric frypan was taken out:
Electric frypan taken out
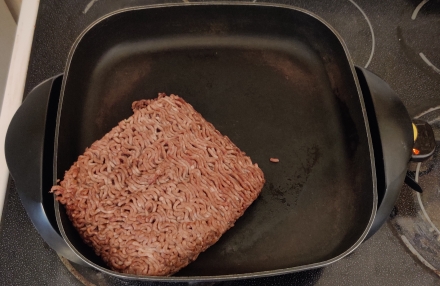
The electric frypan was plugged in, and the ground beef was placed in the electric frypan:
Ground beef placed in electric frypan, and electric frypan plugged in
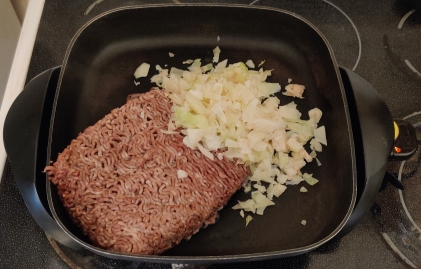
The chopped cabbage was placed in the electric frypan:
Chopped cabbage placed in electric frypan
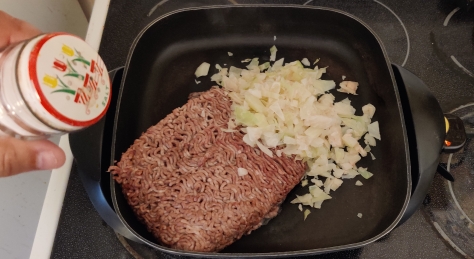
Salt was added to the electric frypan:
Salt added to electric frypan
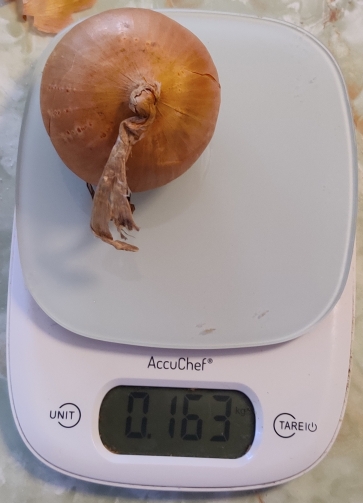
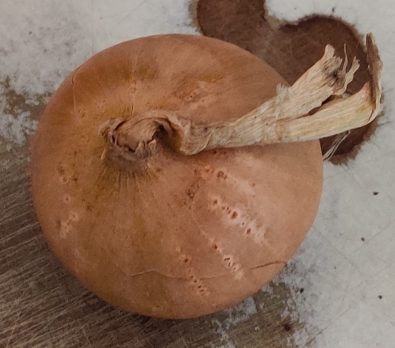
An onion was taken out and weighed to be sure it was enough (“about” a quarter pound of chopped onion in the end):
Onion taken out and weighed
The onion was placed on the cutting board:
Onion placed on cutting board
The onion was trimmed:
Onion trimmed
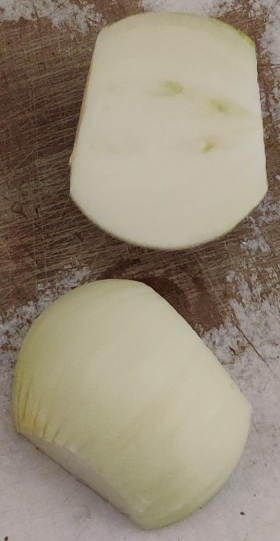
The onion was cut in half:
Onion cut in half
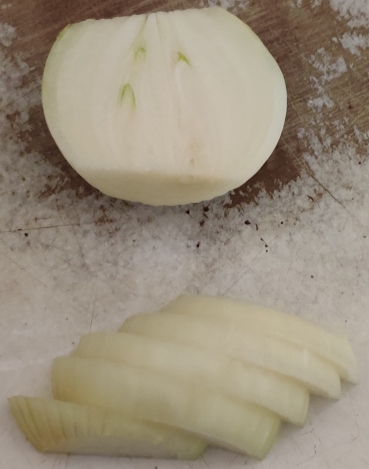
The onion half was sliced into half coins:
Onion sliced
The onion slices were chopped:
Onion chopped
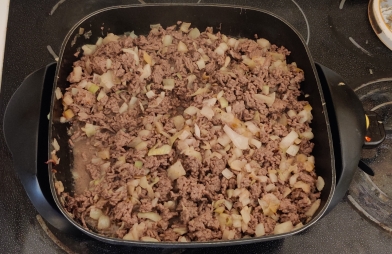
The rest of the onion was chopped, and the chopped onion was transferred to the electric frypan, and the ground beef was cut up with an egg flipper:
Onion added to electric frypan
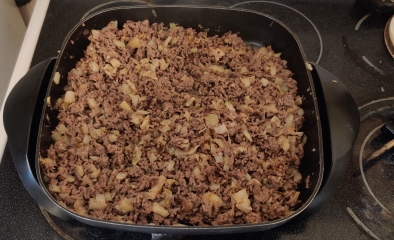
The ground beef was broken up further, and the ground beef, cabbage, and onions were mixed together:
Ingredients broken up and mixed together
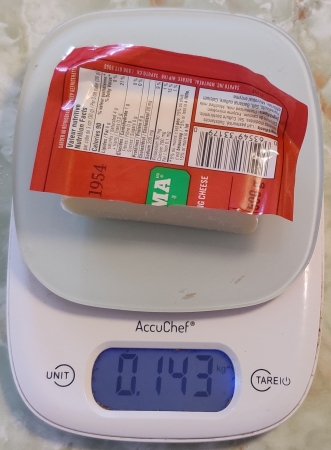
Cheese was weighed out:
Cheese weighed
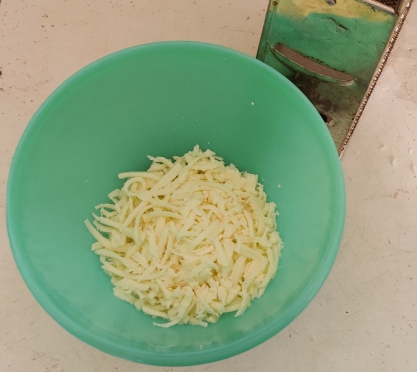
The cheese was grated:
Cheese grated
The grated cheese was transferred to a bowl, and put aside for later:
Grated cheese transferred to bowl
Once the meat mix was cooked, the electric frypan was unplugged:
Fried ingredients cooked
At this point, I took out a large serving plate and a kitchen knife in anticipation of the bread machine dough cycle completing:
Large plate and kitchen knife taken out
The bread machine finished its dough cycle:
Bread machine dough cycle complete
At this point, I started to preheat the oven, set to 350F, and one of the racks was placed in the top position (photo taken after preheating):
Oven preheated to 350F
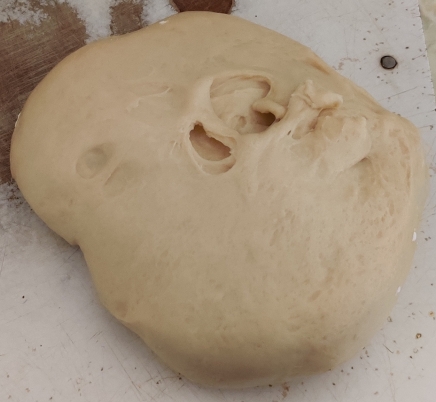
The dough was taken out of the bread machine basket:
Dough taken out of bread machine
At this point, to get 24 roughly similarly sized balls of dough, I am using what I call the “Jamie Oliver Method” because I saw Jamie Oliver use this method on one of his shows with bread dough:
Cut the dough in half (2 pieces);
Cut each half into three pieces (2 x 3 = 6 pieces);
Cut each “third of a half” into four pieces (6 x 4 = 24).
I concede that Jamie Oliver would have you roll the dough into a long log first to further help with estimating making the sizes relatively even.
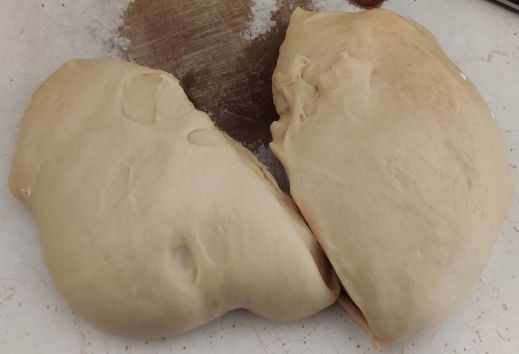
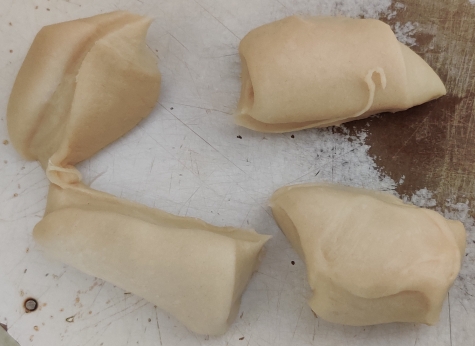
The dough was cut in half:
Dough cut in half
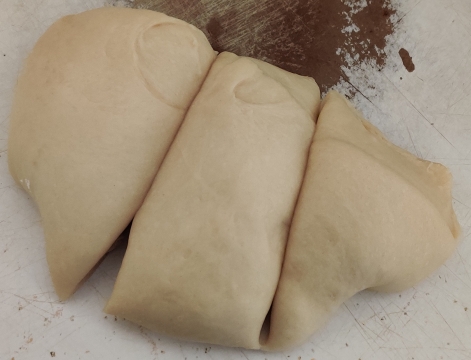
One of the dough halves was cut in three:
Dough half cut into three pieces
One of the pieces was cut in four:
Dough piece cut into four pieces
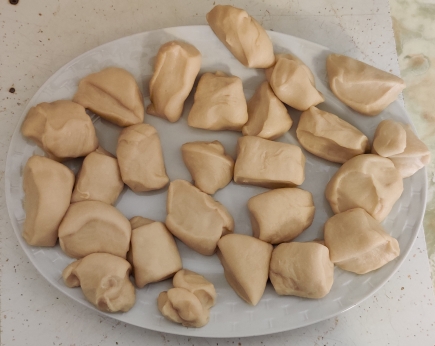
The rest of the bread dough pieces were cut up, resulting in 25 pieces, which eventually were reduced to 24 pieces:
25 bread dough pieces (which will be integrated into 24)
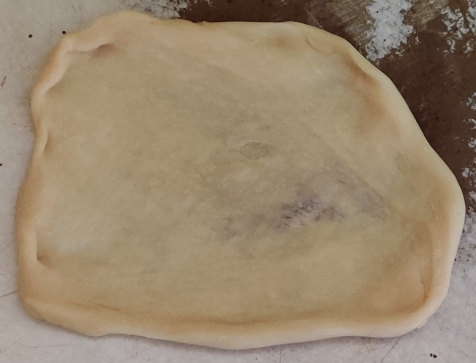
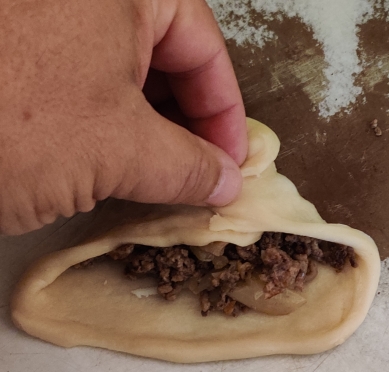
A bread dough pieces was placed on the cutting board, and flattened and stretched out:
Bread dough piece flattened on cutting board
Some shredded cheese was placed in the centre of the piece of flattened bread dough:
Shredded cheese placed on flattened bread dough
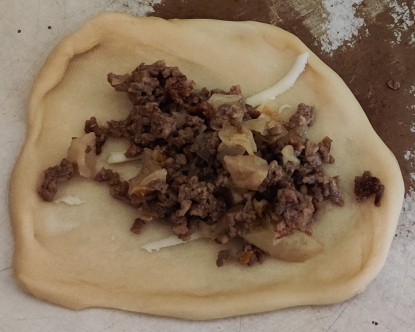
Some cooked meat mix was placed on top of the shredded cheese on the piece of flattened bread dough:
Cooked meat mix placed on flattened bread dough
I began to stretch the edges of the flattened bread dough, pulling them together and covering the filling:
Bread dough edges stretched and brought together
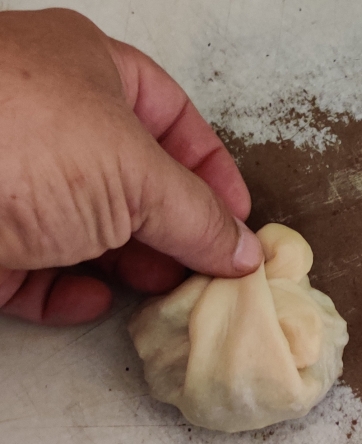
All of the edges were brought together and the edges were pinched together:
Stretched bread dough edges brought together
Stretched bread dough edges brought together
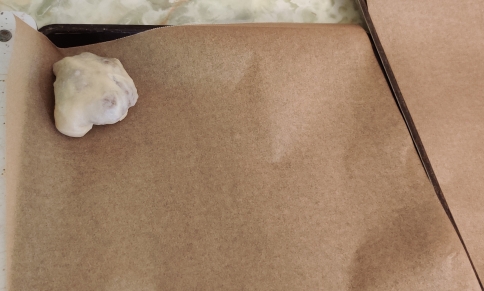
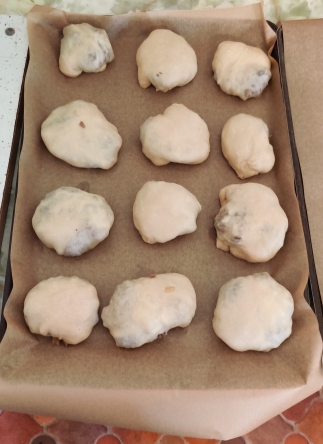
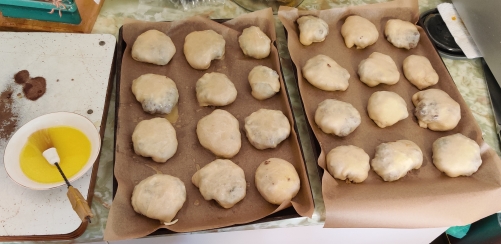
The resulting ball of stuffed bread dough was placed on the parchment paper on one of the trays, pinched edges face down:
Stuffed bread dough ball placed edges down on baking tray
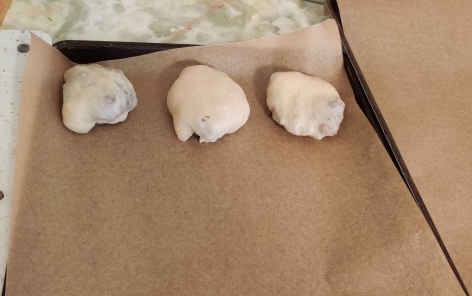
The process was repeated with more pieces of bread dough and more cooked meat mix and shredded cheese:
Stuffed bread dough balls placed edges down on baking tray
Stuffed bread dough balls placed edges down on baking tray
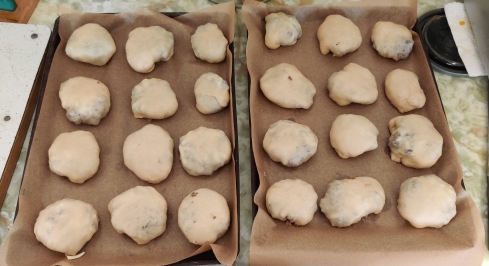
The process was continued until there were 24 units:
24 units on baking trays
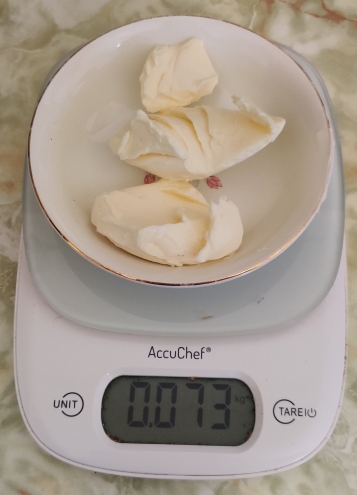
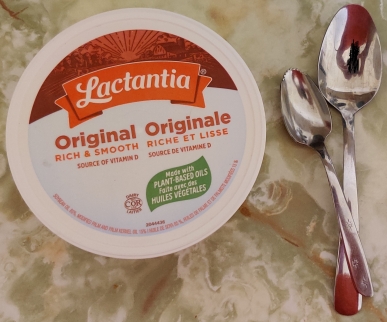
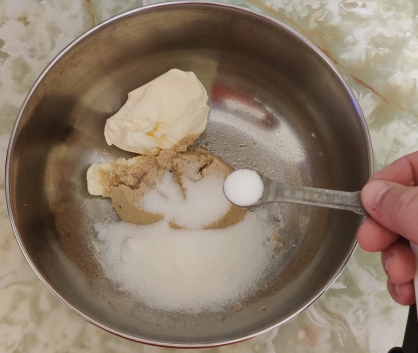
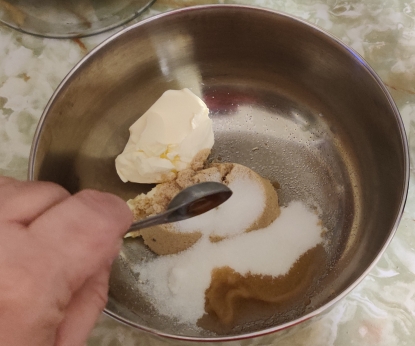
Margarine, a bowl, and a spoon were taken out:
Margarine, bowl, and spoon taken out
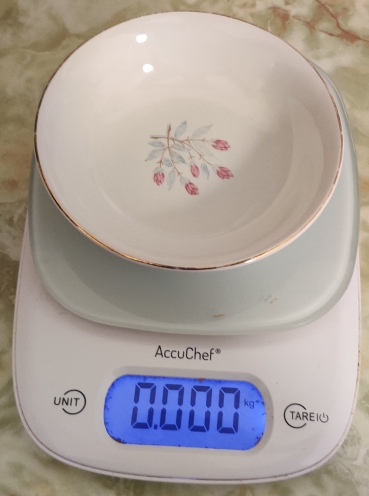
The empty bowl was placed on the kitchen scale, which was set to zero:
Kitchen scale set to zero with bowl on it
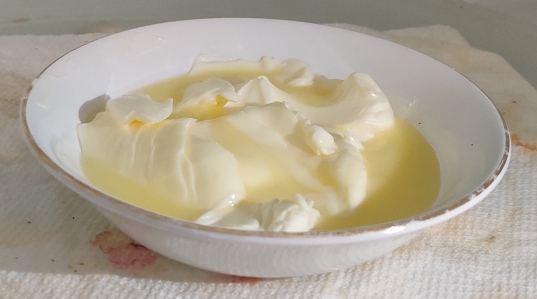
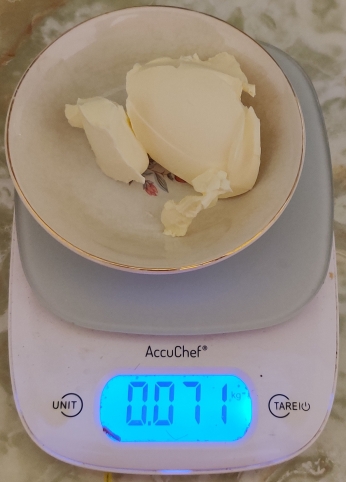
Margarine was weighed out, about five tablespoons’ worth, in the area of about 70g to 73g:
Margarine weighed out
The bowl of margarine was placed in the microwave oven (1100 watts):
Margarine placed in microwave oven
The microwave oven was set to 15 seconds:
Microwave set to 15 seconds
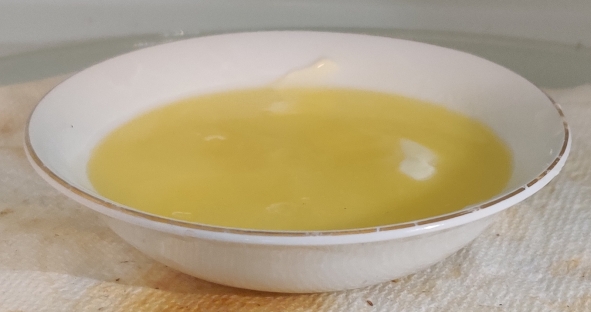
The margarine was partly melted:
Margarine partly melted
The microwave oven was set again for 15 seconds, and the margarine was mostly melted:
Margarine melted
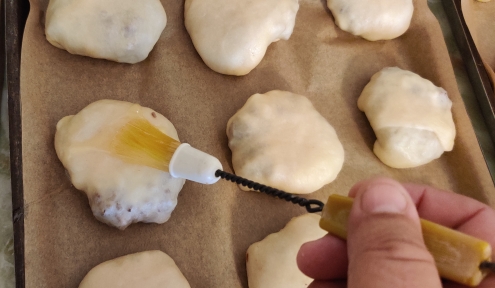
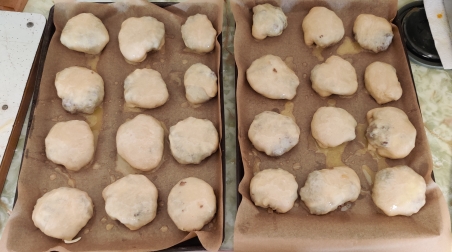
A food brush was used to brush the melted margarine on to the bierocks …
Melted margarine brushed onto bierocks
Melted margarine brushed onto bierocks
… until all units had been basted and all the melted margarine had been used:
Melted margarine brushed onto bierocks
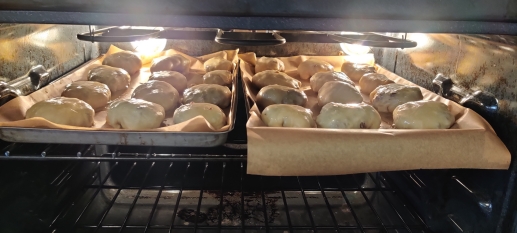
The trays of bierocks were placed in the oven:
Baking trays with bierocks placed in oven
The stove timer was set to 22 minutes:
Timer set to 22 minutes
Cooling racks were taken out while the bierocks were baking:
Cooling racks taken out
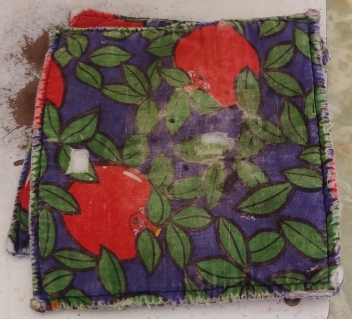
Pot holders were taken out:
Pot holders taken out
At about halfway through the baking, the trays with the bierocks were rotated back to front within the oven:
Baking trays rotated back to front part way through baking
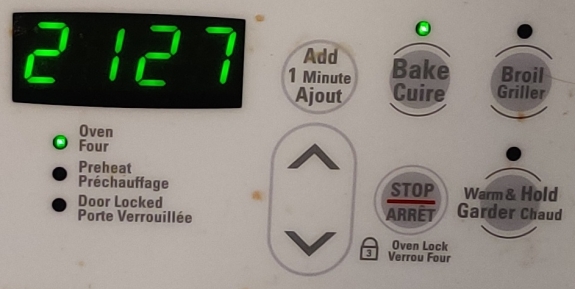
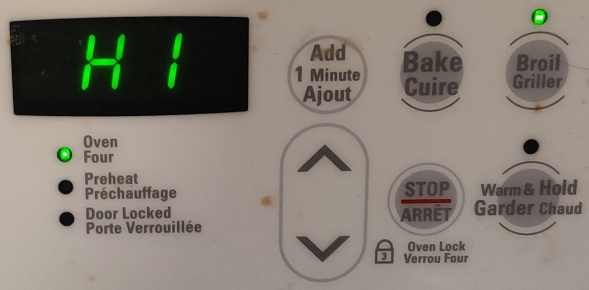
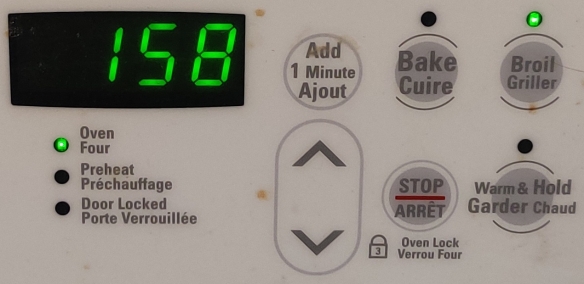
At the end of the baking period, I turned on the broiler to brown the tops of the bierocks:
Broil cycle turned on at end of baking
… and the oven timer was set to two minutes:
Timer set to 2 minutes of browning
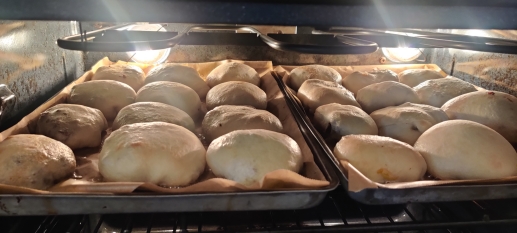
Here’s a photo of the bierocks as they were browning under the broiler:
Bierocks browning under broiler
After the two minutes under the broiler, the bierocks were taken out of the oven:
Baking trays with bierocks taken out of oven
The bierocks were transferred to the cooling racks:
Bierocks placed on cooling racks
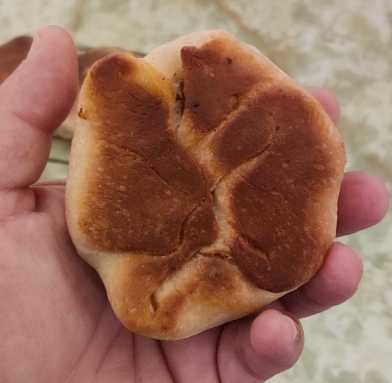
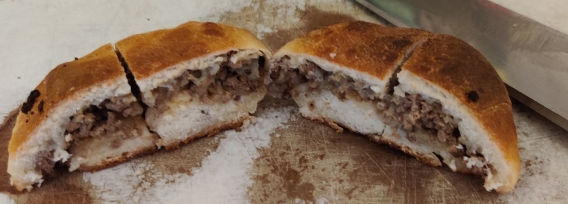
A bierock was picked up to check the bottom where the pinched edges of the dough had been brought together to show how it baked (but … not seamlessly! 🙂 )
Underside of a bierock
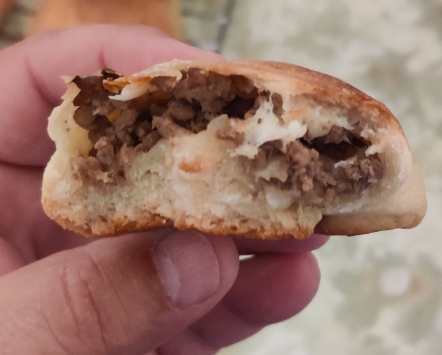
I bit into the fresh bierock … yummy!
Inside of a bierock — Yummy!!!
A bierock was placed on a cutting board with a kitchen knife:
Bierock and knife placed on cutting board
The bierock was cut into four pieces:
Bierock sliced into four pieces for freezing
Several bierocks were cut up into quarters, because bierock pieces have become part of my usual breakfasts:
Bierocks sliced into four pieces for freezing
… and the cut up bierocks were placed in a freezer bag for freezing:
Bierock pieces placed in freezer bag
The bag of bierock pieces was placed in a freezer for future eating as part of my daily breakfasts.
This past weekend, my brother decided to play around with the Google NotebookLM podcast generator, using my recent post about making yoghurt muffins as the podcast topic source material.
Here are the results: “Podcast 1“, the first one I listened to and chuckled at throughout (see below), and “Podcast 2“, which is longer than the first, and a slightly different approach (again, see below).
As a reference, according to Wikipedia (here’s my archive), NotebookLM is a tool by Google that has an “audio summary” feature has the “ability to condense complex documents into engaging podcasts”. As referenced in the article, some of the generated podcasts have indeed been making the rounds on at least the media local to me; the samples played on the radio had the “voices” of two artificial “hosts”, one male and one female, and appeared to greatly impress the real radio host. The real human host on the radio then proceeded to create their own samples with the tool using local news items as source material, resulting in stunningly … seemingly accurate (or at least faithful to the source material) content and banter between the two artificial “hosts”. The voices — and banter — of the artificial “hosts” that were created sounded so real that the “hosts” did not sound obviously artificial in almost any, let alone many, of the usual ways that usually betray the artificiality or synthetic nature of the voices. “They” seemed to bypass the Uncanny Valley (here’s my archive) as well, if only because they weren’t associated with artificially-created “speaking” faces or other cues that might suggest that “they” were artificial.
To wit: My brother came up with two podcasts: Podcast1, and Podcast2, based on the blog page about the yoghurt muffins: The first podcast was roughly what I would have expected, based on the samples I’d heard on the radio, in the form of “entertaining” banter from the artificial “hosts” about the overall post and subject, while the second podcast followed a play-by-play style review of the post and its pictures.
Especially while listening to the first, I was often incredulously guffawing at how “seriously” they seemed to be taking the subject, to the point of “their” calling me a perfectionist; despite, uhm, seriously having approached mounting the post with its pictures and processing the photos for presentation, as well as of course maintaining my recipe archive, and again of course being fairly serious on a hobby level about my cooking, for the overall cooking project I have always had a certain laid back, “enjoying the fun” pleasure to mounting the posts. Which, I must admit, intentionally include a lot of photos detailing usually every last step and even micro-step. I would estimate that the “hosts” got it better in the second podcast by calling me meticulous.
The end result of the two podcasts is so good that except for the knowledge that it’s totally AI generated, I would actually believe that the podcast was hosted by real people and put together by real people providing real feedback. As such, I have a few responses to some of the “comments” that the “hosts” made:
I am flattered in a giggly kind of way that the “hosts” underlined the dirty oven window, which I myself had somewhat sheepishly admitted was the case in the original post;
The “hosts” seem to enthusiastically say it’s like a scientific document with no room for error; I would challenge anyone to compare the blog post against the recipe and say that the two are identical. 🙂
For the record: I did not lick the spoon. 🙂
The “hosts” spoke of how much care I took by freezing them … well, I will go into the “easy” column and say both that baking a half batch or a double batch is roughly as easy as a standard batch, and, that I often try to make recipes that are good for the freezer!
And finally … the “hosts”, in a tongue-in-cheek fashion, pretty much suggested that I make a blog post on making the morning coffee, which I may just do sometimes in the futurewhich I actually have done. 🙂
The “hosts” asked what does “easy” mean in my claim that the muffins are easy to make, such as is it the number of ingredients, the technique, or the cleanup? “They” initially conclude “Let’s find out!” “They” then go on to point out the use of the paper liners, and the reuse of the measuring cup used to measure out the yoghurt to then measure out the oil without cleaning it in between, as examples of the “easy” part.
The “hosts” seem to insinuate at a couple of points that the amounts of sugar and oil used are “generous”, while of course continuing to state that the muffins’ crumb would no doubt be rather moist as a result; yet, when discussing the presence of the yoghurt, the “hosts” wondered whether the yoghurt muffins were just an alternative to the bran muffins I make for my mom, but ultimately seemed to decide that it was obviously a “health angle”. I perceived this as a lack of continuity in the “creation” of the podcast. And to be clear, having adopted this recipe was simply meant to be an alternative to the bran muffins I give to my mom, which is clearly stated at the beginning of the post; further, I am not trying to “match” the sweetness of bran muffins.
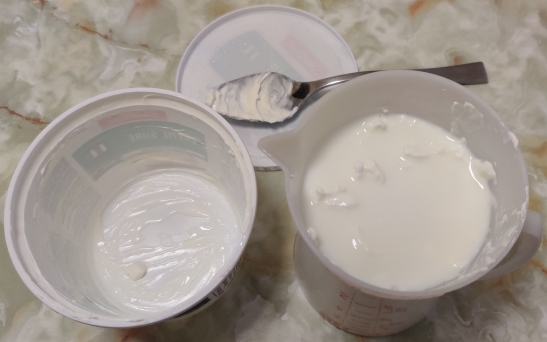
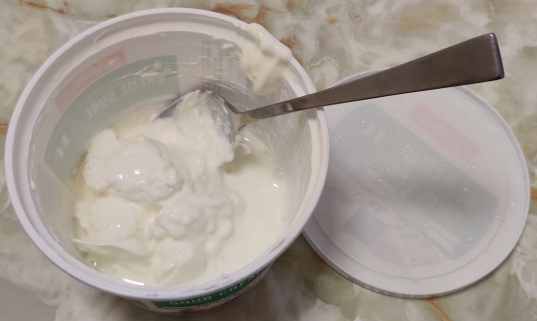
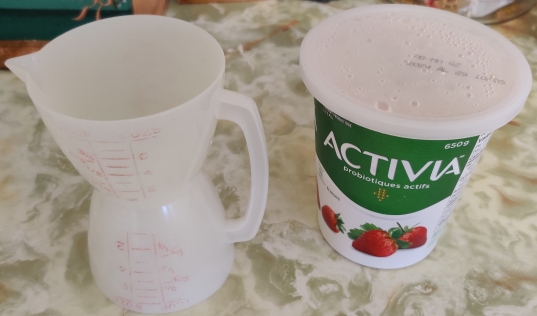
The “hosts” say that the kind of yoghurt I use is not identified, ie. firm yoghurt, stirred yoghurt, or greek yoghurt, etc.; “they” are correct that the tub does not say so, at least in the view in the picture. However, “they” do read into it by saying that this lack of information is part of the “easy” claim by letting people trying the recipe to use what they have on hand. Also, “they” did not pick up on the strawberry on the tub as an example of how the “relatively plain” was intentionally a loose interpretation.
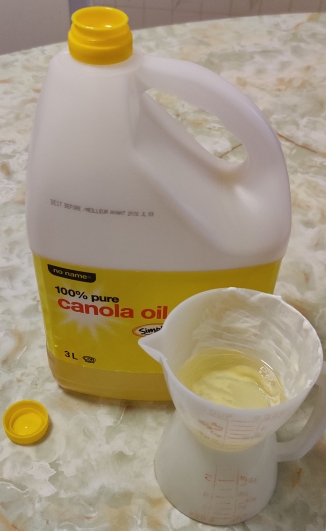
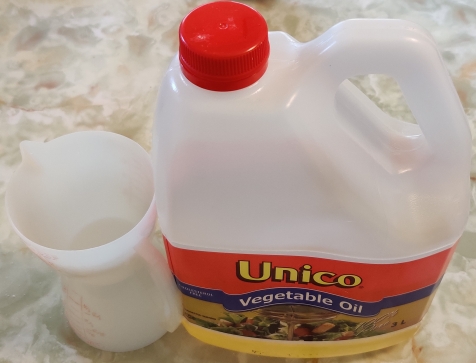
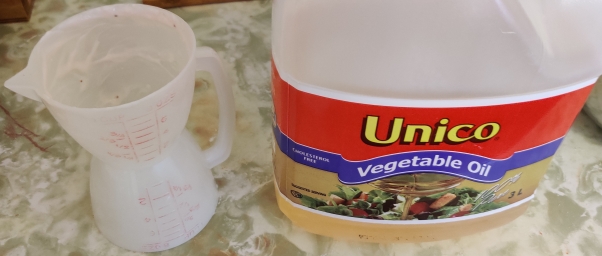
The “hosts” say that the kind of oil I used was not identified; again, the photo of the jug plainly says “vegetable oil”, which should tell all bakers that it’s generic vegetable-based cooking oil.
Is this a fun tool? Sure. My brother and I have bandied about ideas — purely in the hypothetical — about using the tool to create large numbers of podcasts that could then be syndicated to AM radio stations for the overnight slot during which a lot of content is often recycled or of what we consider to be of dubious interest.
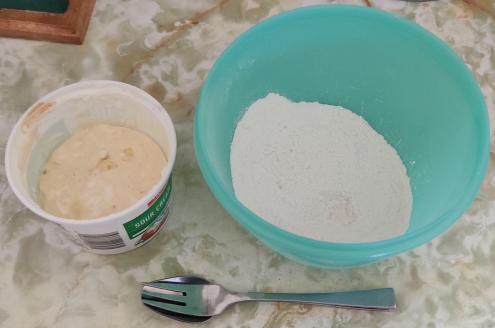
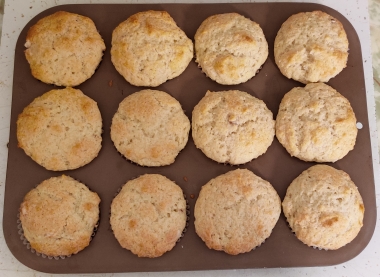
These easy to make muffins are fairly straightforward, tasty, and, despite being labeled as “plain”, the term is used somewhat loosely since the yoghurt used may be any kind of flavoured yoghurt, which will come across lightly but distinctly in the final product. As well, small amounts of fruits or other flavouring agents could be added without substantial changes.
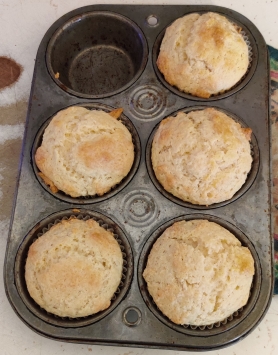
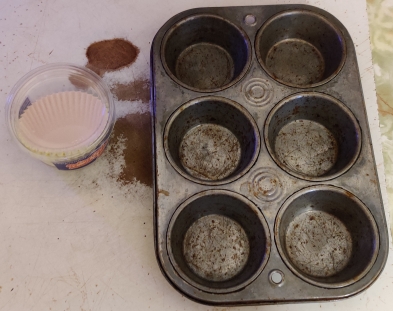
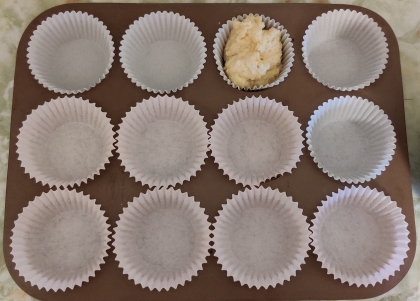
A tray of muffin moulds, and correspondingly sized paper liners, were taken out:
Muffin moulds and paper liners taken out
The moulds were each lined with paper muffin liners:
Lining moulds with paper muffin liners
Lining moulds with paper muffin liners
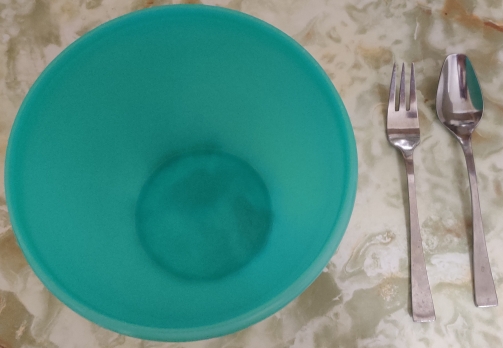
The lined baking tray was put aside, and a mixing bowl, a spoon, and a fork were taken out:
Mixing bowl, spoon, and fork taken out
Flour and a measuring cup were taken out:
Flour and measuring cup taken out
The measuring cup was filled with flour:
Measuring cup filled with flour
The flour was transferred to the mixing bowl:
Flour transferred to mixing bowl
Flour transferred to mixing bowl
Flour transferred to mixing bowl
Sugar was taken out, and the measuring cup was taken out again:
Sugar and measuring cup taken out
Sugar was measured out:
Sugar measured out
The sugar was transferred to the mixing bowl with the flour:
Sugar transferred to mixing bowl with flour
Sugar transferred to mixing bowl with flour
Sugar transferred to mixing bowl with flour
Sugar transferred to mixing bowl with flour
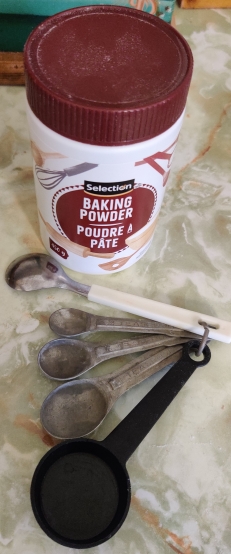
Baking powder and measuring spoons were taken out:
Baking powder and measuring spoons taken out
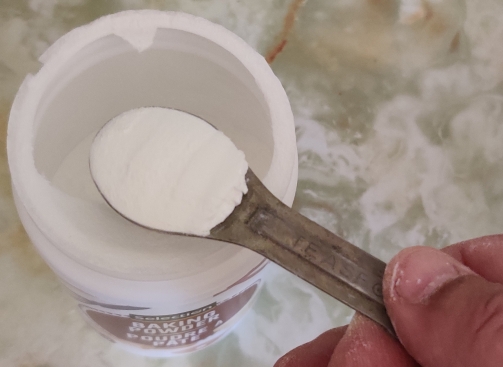
Baking powder was measured out:
Baking powder measured out
The baking powder was added to the flour and sugar in the mixing bowl:
Baking powder added to flour and sugar
Baking powder added to flour and sugar
Baking powder added to flour and sugar
Salt and measuring spoons were taken out:
Salt and measuring spoons taken out
Salt was measured out:
Salt measured out
The salt added to the flour, sugar, and baking powder:
Salt added to the flour, sugar, and baking powder
Salt added to the flour, sugar, and baking powder
Using the fork, the flour, sugar, baking powder, and salt were thoroughly mixed:
Flour, sugar, baking powder, and salt thoroughly mixed with fork
Flour, sugar, baking powder, and salt thoroughly mixed with fork
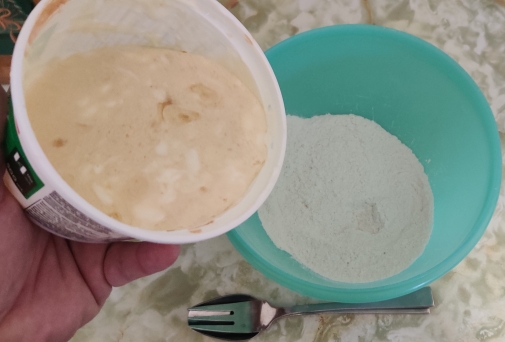
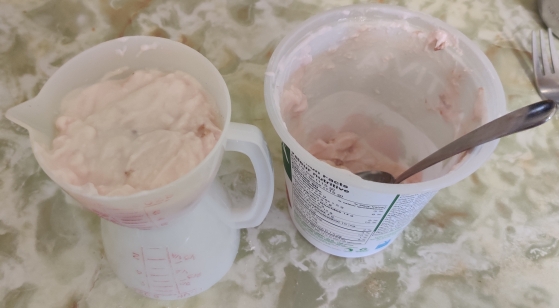
A tub of yoghurt and a measuring cup were taken out:
Yoghurt and measuring cup taken out
Yoghurt was measured out:
Yoghurt measured out
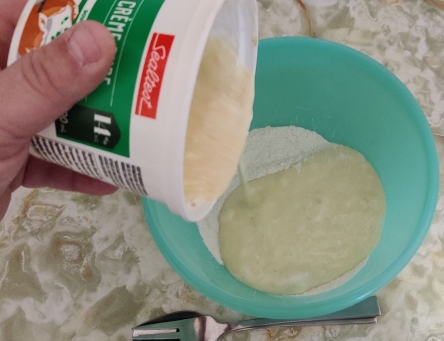
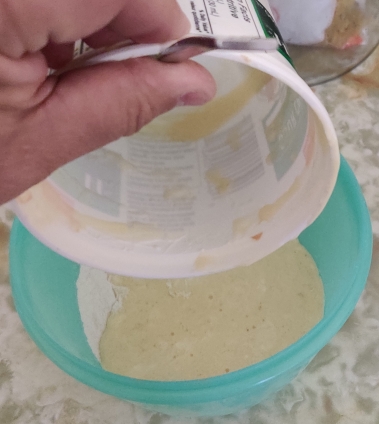
The yoghurt was transferred to the bowl with the flour, sugar, baking powder, and salt:
Yoghurt transferred to bowl of flour, sugar, baking powder, and salt
Yoghurt transferred to bowl of flour, sugar, baking powder, and salt
Yoghurt transferred to bowl of flour, sugar, baking powder, and salt, with spoon added
Vegetable oil was taken out, and the measuring cup used for the yoghurt was reused, without needing to clean it since I’d only just used it moments before for the yoghurt :
Vegetable oil and measuring cup taken out
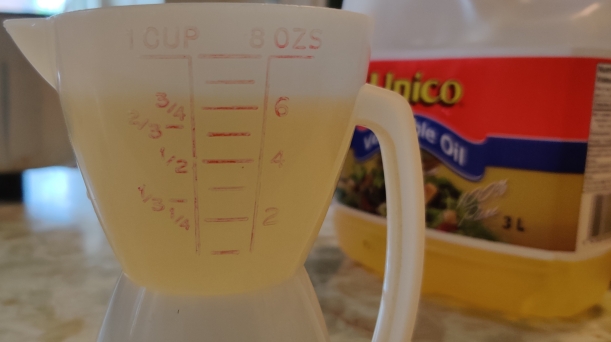
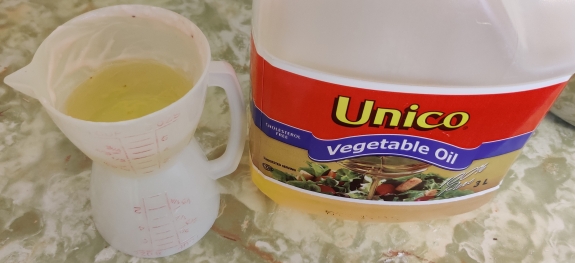
The vegetable oil was measured out:
Vegetable oil measured out
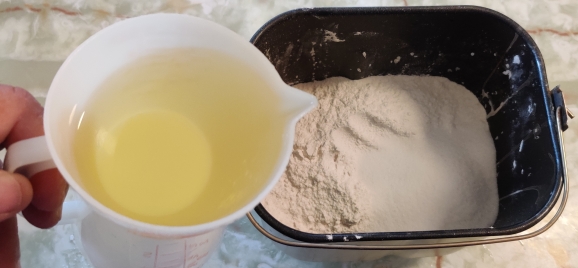
The vegetable oil was transferred to the bowl with the flour, sugar, baking powder, salt, and yoghurt:
Vegetable oil transferred to bowl
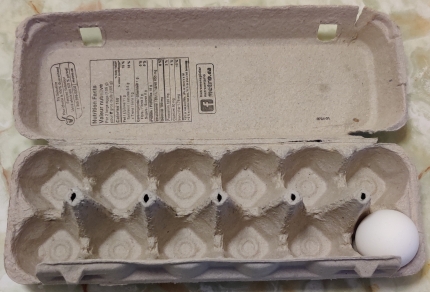
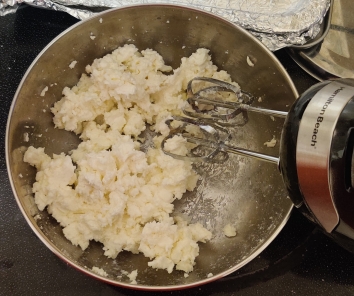
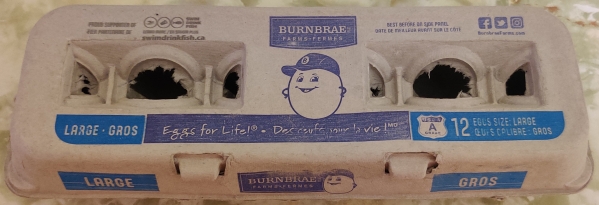
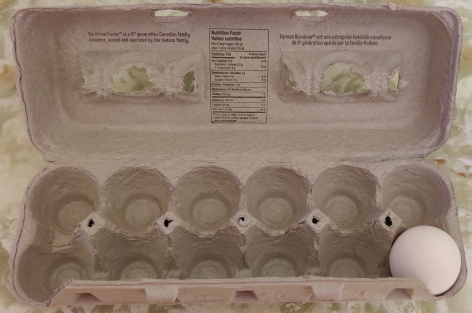
Eggs were taken out:
Eggs taken out
Eggs taken out
Eggs taken out
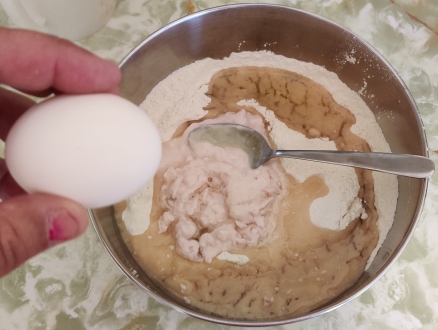
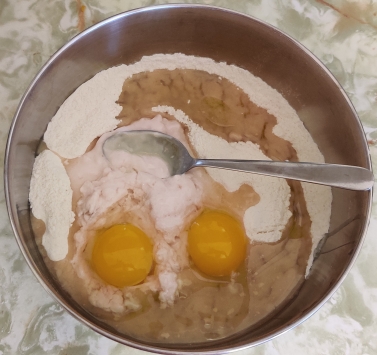
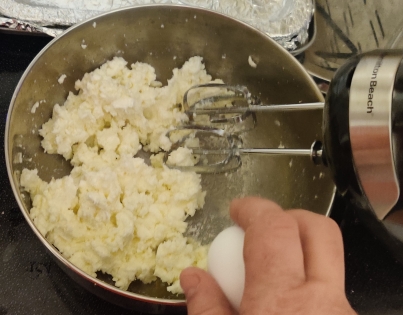
The eggs were cracked into the bowl with the flour, sugar, baking powder, salt, yoghurt, and vegetable oil:
Eggs cracked into bowl
Eggs cracked into bowl
Eggs cracked into bowl
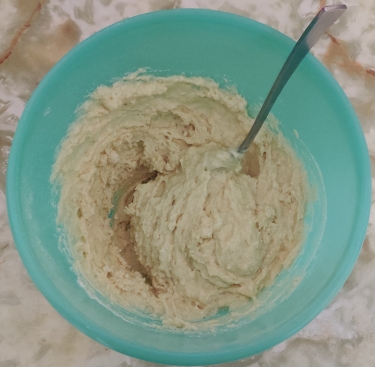
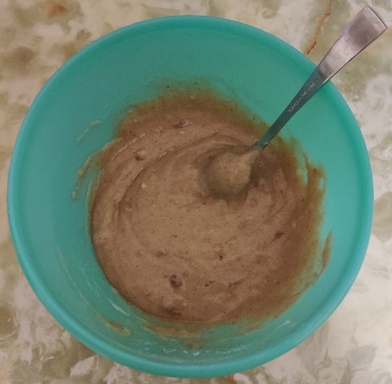
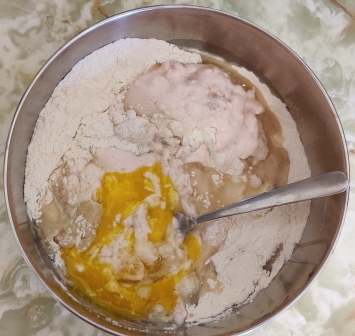
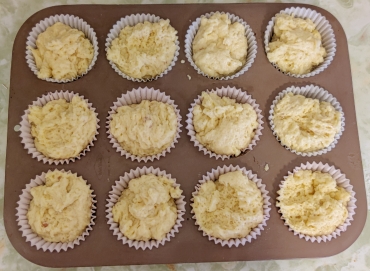
All the ingredients were mixed together with a spoon:
Ingredients mixed with spoon
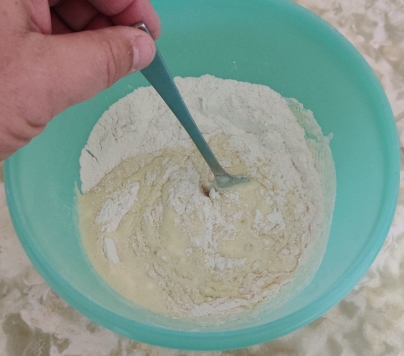
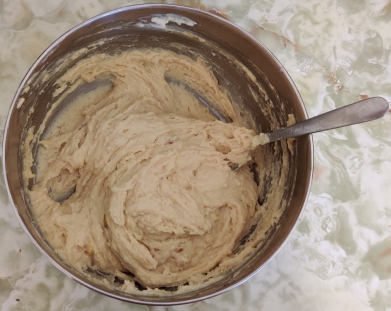
… creating a thick paste dough:
Ingredients mixed with spoon
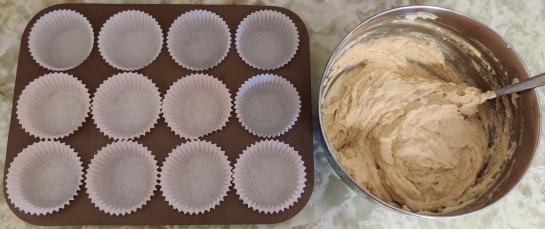
The muffin mould tray prepared earlier was taken out:
Prepared muffin mould tray taken out
The dough was spooned into the paper muffin moulds:
Muffin moulds filled with muffin dough
Muffin moulds filled with muffin dough
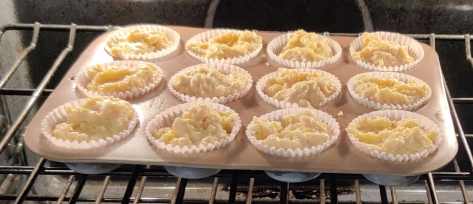
The filled muffin tray was placed in the preheated oven:
Filled muffin tray placed in oven
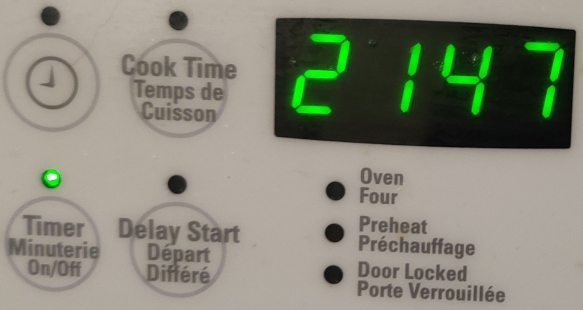
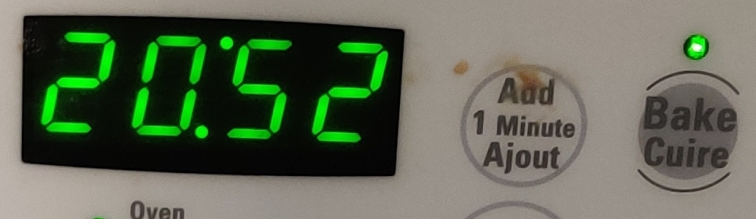
A timer was set to 21 minutes:
Timer set to 21 minutes
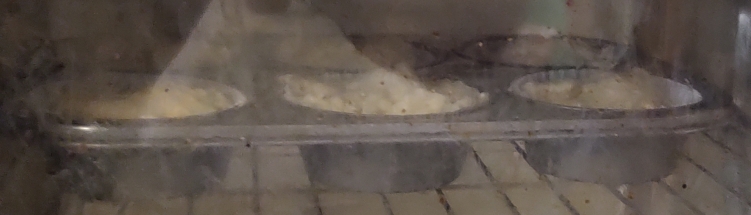
Looking through the oven window (which admittedly could use a cleaning!), the muffins began to rise:
Muffins baking and rising
Muffins baking and tops beginning to brown
Muffins baking and tops browning
While the muffins were baking, cooling racks were taken out:
Cooling racks taken out
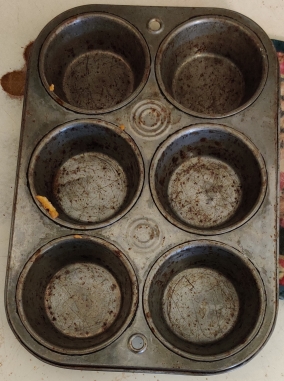
After the timer ran out and the muffins had baked, the muffins were taken out of the oven, and the tray placed on a cutting board:
Baked muffins taken out of oven
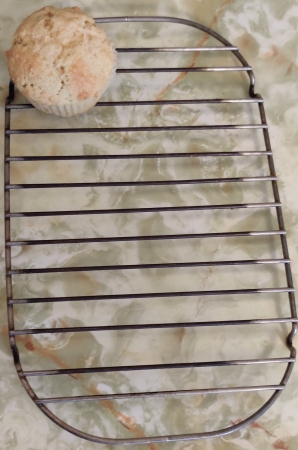
The muffins were transferred from the muffin tray moulds to the cooling racks to cool down:
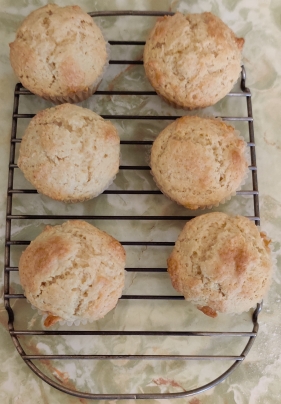
Freshly baked muffins transferred to the cooling racks
A yummy fresh muffin was served to my mom with another mini-muffin, with the paper linings removed:
Muffins served
Muffins served
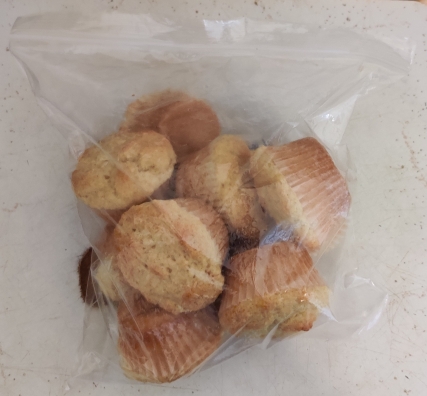
… and the rest of the cooled muffins were placed in a sealable freezer bag, to be placed in the freezer:
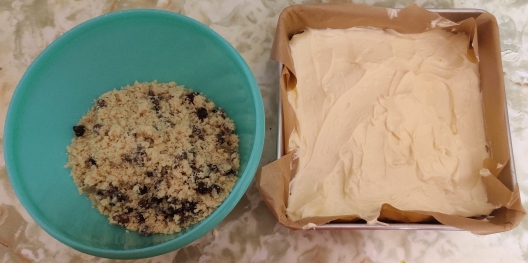
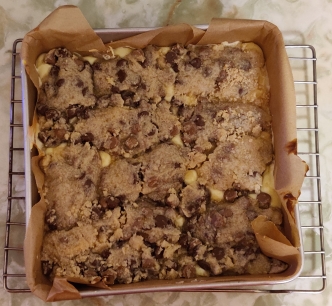
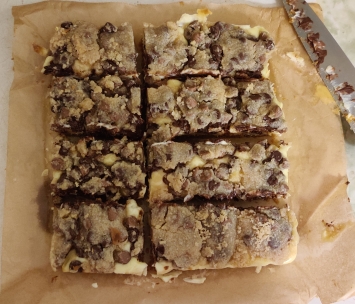
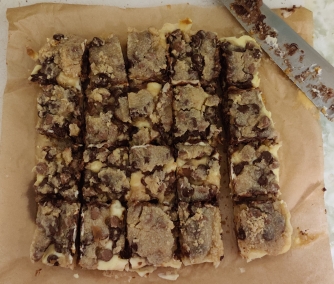
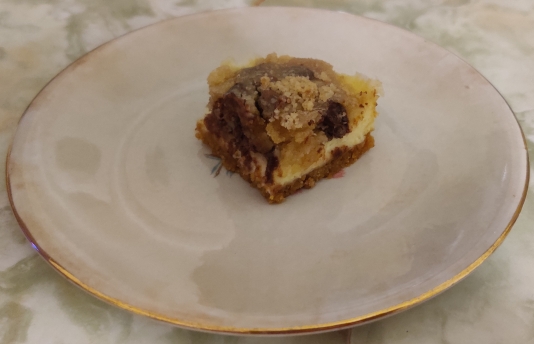
This decadently rich and scrumptious dessert is another relatively new addition to my collection of recipes. Mom loves it!
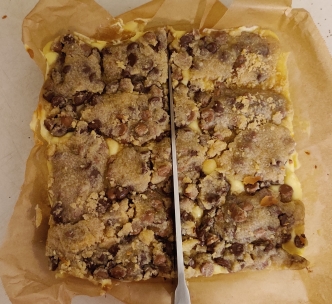
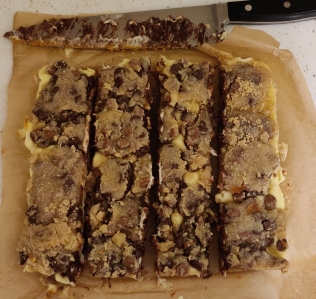
Making the squares:
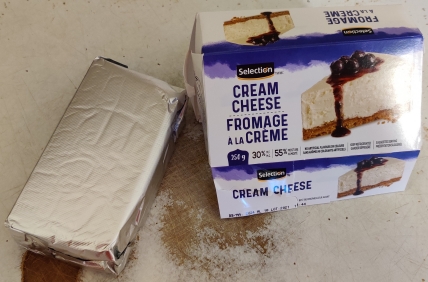
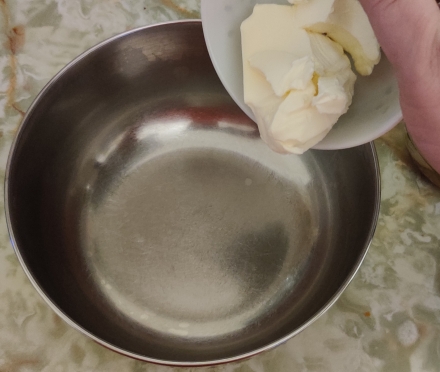
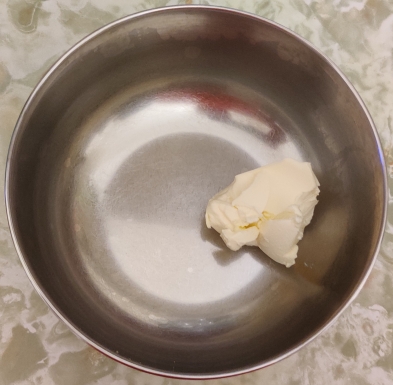
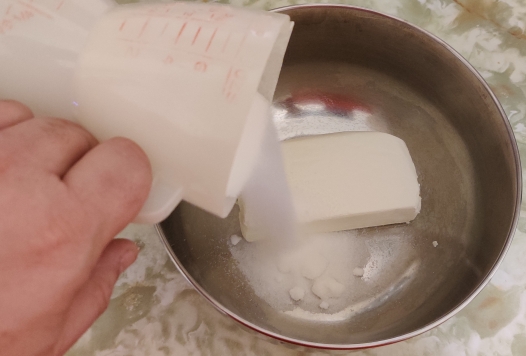
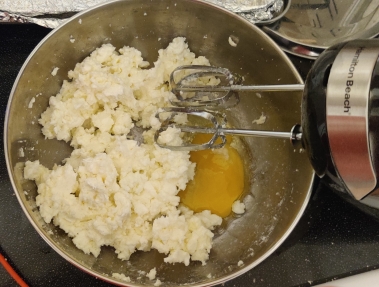
Before beginning, some cream cheese was taken out of the fridge and put on the counter to warm up to room temperature:
Cream cheese taken out before beginning in order to soften it
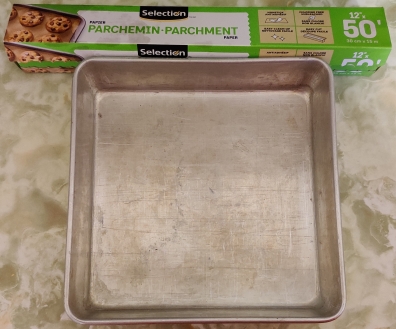
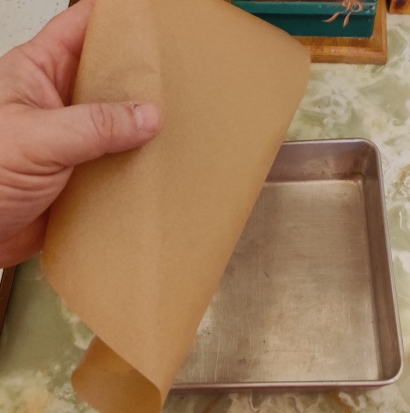
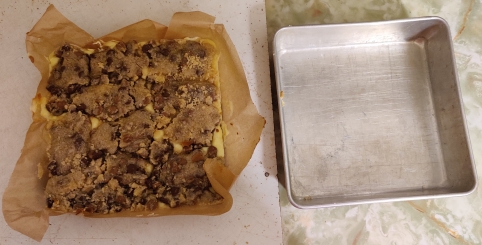
Parchment paper and an 8″ baking pan were taken out:
Parchment paper and baking pan taken out
A parchment paper larger than the baking pan was torn off the roll …
Parchment paper cut off of roll
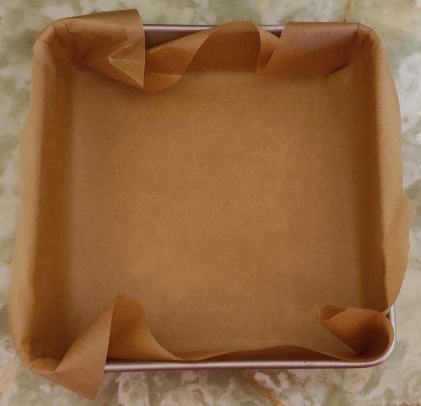
… and the baking pan was lined with the parchment paper, with a little bit left over the edges of the pan:
Baking pan lined with parchment paper
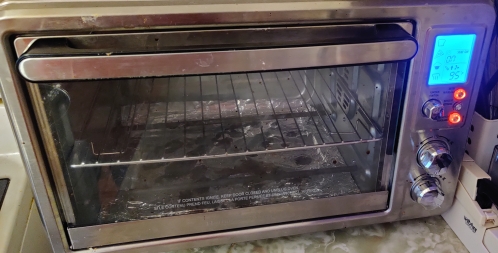
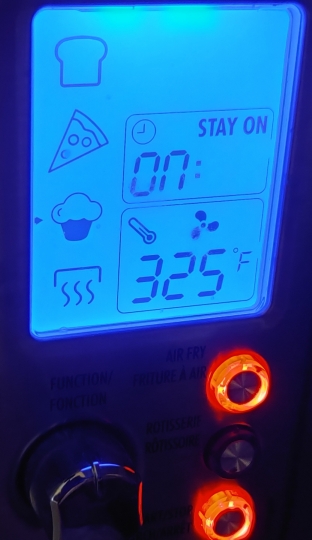
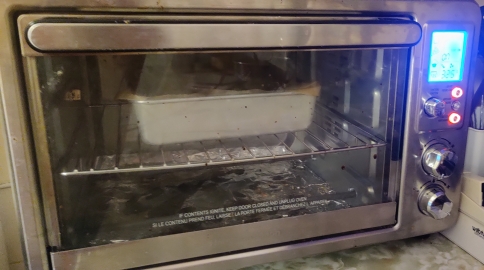
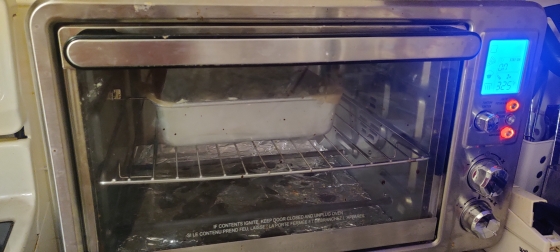
The pan was put aside for a few moments, and a countertop convection oven was set to 325F and turned on:
Countertop convection oven turned on
Oven set to 325F
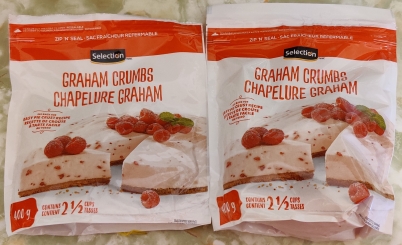
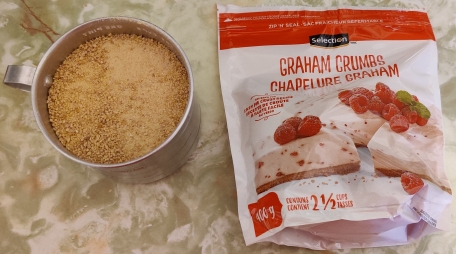
Graham cracker crumbs were taken out:
Graham cracker crumbs taken out
A cup and a half of graham cracker crumbs were measured out:
Graham cracker crumbs measured out
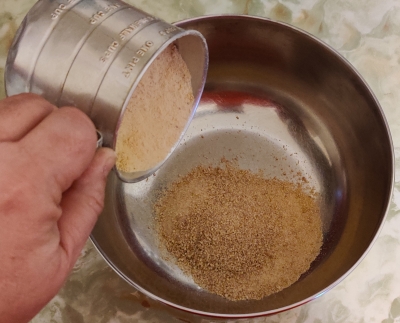
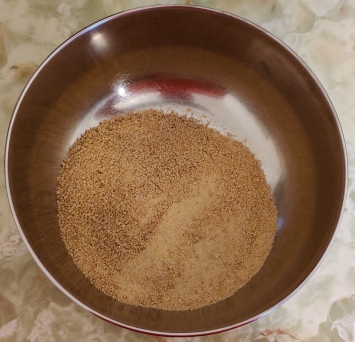
The graham cracker crumbs were transferred to a mixing bowl:
Graham cracker crumbs transferred to mixing bowl
Graham cracker crumbs transferred to mixing bowl
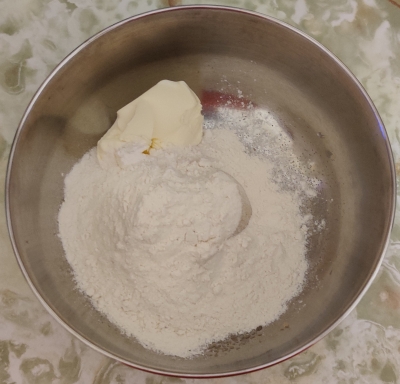
Margarine was taken out:
Margarine taken out
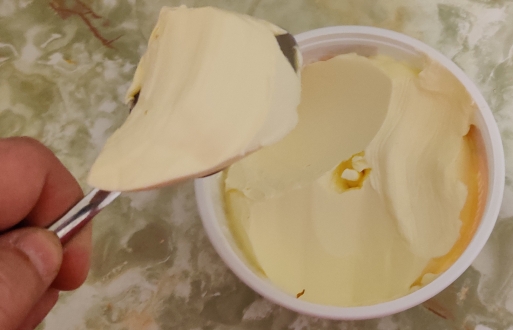
Margarine was scooped out of the tub:
Margarine scooped out of tub
The margarine was placed in a bowl, previously placed on the scale and the tare set to zero:
Margarine measured out
The margarine was melted in the microwave oven, 15 seconds at a time:
Microwave oven set to 15 seconds
Margarine being melted 15 seconds at a time in microwave oven
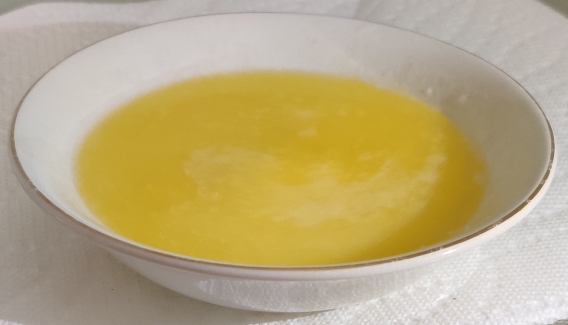
Once fully melted, the margarine was taken out of the microwave oven:
Melted margarine taken out of the microwave oven
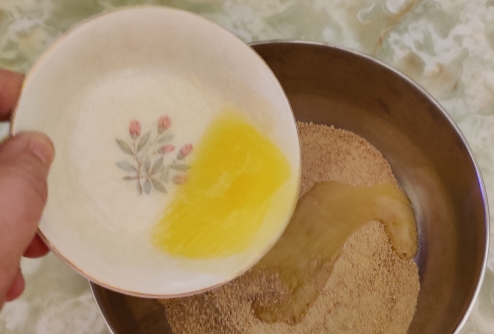
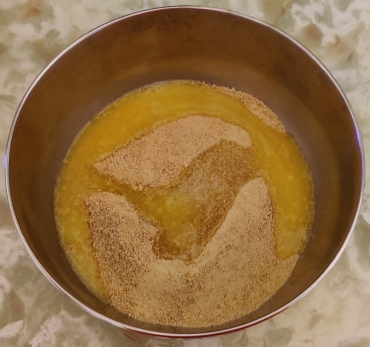
The melted margarine was poured over the graham cracker crumbs in the mixing bowl:
Melted margarine poured over graham cracker crumbs
Melted margarine poured over graham cracker crumbs
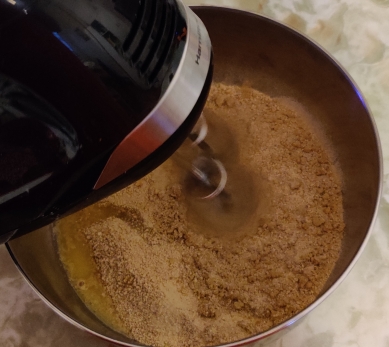
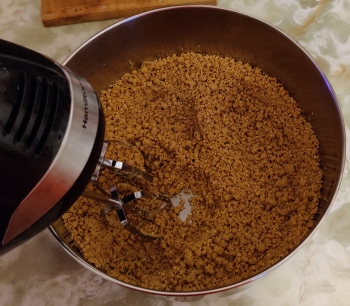
An electric blender was taken out and used to fully mix the graham cracker crumbs and the melted margarine:
Graham cracker crumbs and melted margarine mixed with electric blender
Graham cracker crumbs and melted margarine mixed with electric blender
The baking pan with the parchment paper lining was brought back and the fully blended graham cracker crumbs and melted margarine were transferred to the baking pan.
Graham cracker mix transferred to baking pan
Graham cracker mix transferred to baking pan
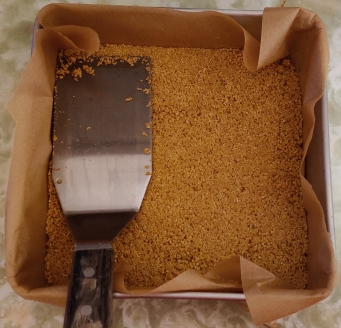
The graham cracker mix was flattened with an egg flipper:
Graham cracker mix flattened with an egg flipper
The baking pan with the graham cracker crust was placed in the pre-heated countertop oven:
Graham cracker crust placed in oven
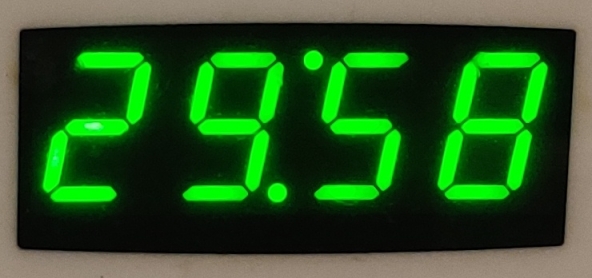
A timer was set for six minutes:
While the graham cracker crust was baking, a cooling rack was taken out (and placed on my stove):
Cooling rack taken out
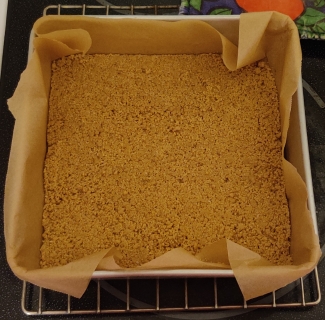
After baking for six minutes, the graham cracker crust was taken out of the oven and placed on the cooling rack:
Graham cracker crust placed on cooling rack
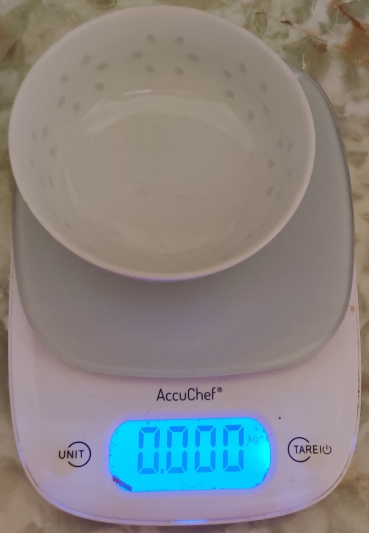
Another bowl was placed in the scale and the tare set to zero:
Small bowl placed on scale and scale set to zero
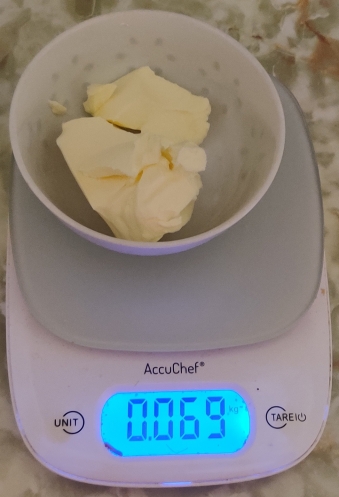
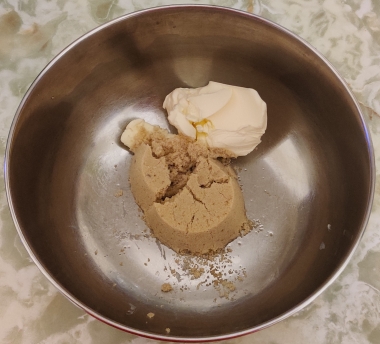
More margarine was taken out and measured out:
Margarine measured out
The mixing bowl had been washed while the graham cracker base was baking, and the margarine was transferred to the mixing bowl:
Margarine transferred to clean mixing bowl
Margarine transferred to clean mixing bowl
Brown sugar and a measuring cup were taken out:
Brown sugar and measuring cup taken out
The brown sugar was measured out:
Brown sugar measured out
The brown sugar was transferred to the mixing bowl with the margarine:
Brown sugar transferred to mixing bowl
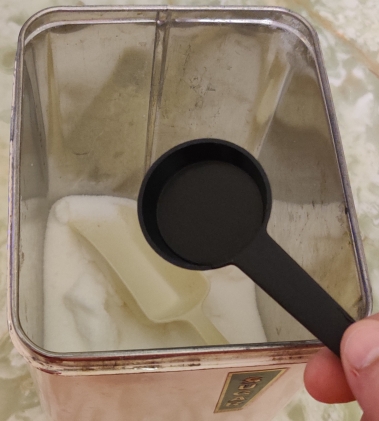
Table sugar and a measuring spoon were taken out:
Sugar and measuring spoon taken out
Table sugar was measured out and poured into the mixing bowl with the brown sugar and margarine:
Table sugar added to mixing bowl
Table sugar added to mixing bowl
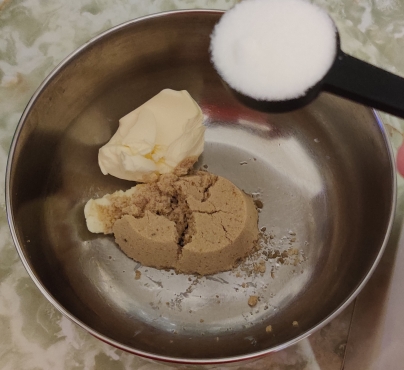
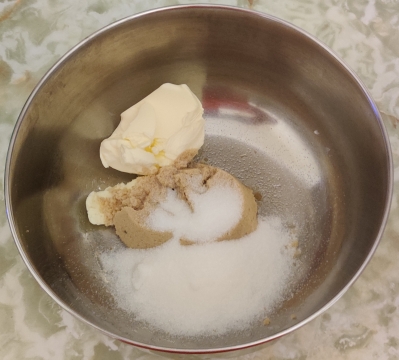
Salt was taken out and measured out:
Salt measured out
The salt was added to the mixing bowl with the two kinds of sugar and margarine:
Salt added to mixing bowl
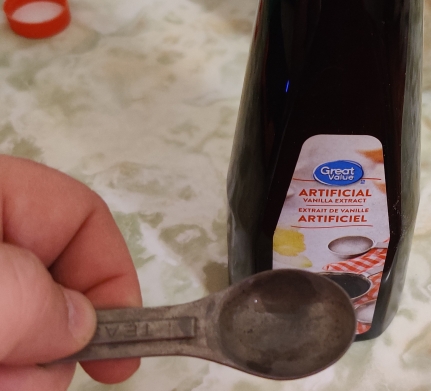
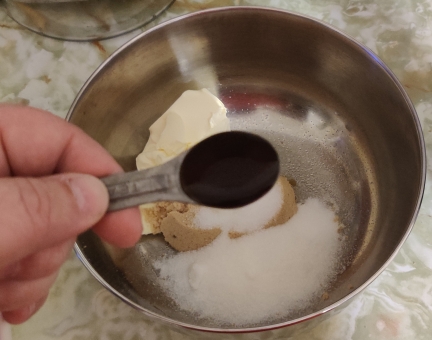
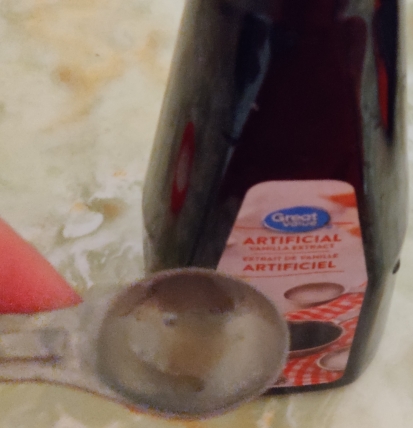
Vanilla extract and a measuring spoon were taken out:
Vanilla extract
The vanilla extract was measured out and added to the mixing bowl with the two kinds of sugar, margarine, and salt:
Vanilla extract added to mixing bowl
Vanilla extract added to mixing bowl
Flour and a measuring cup were taken out:
Flour taken out
The flour was measured out:
Flour measured out
The flour was transferred to the bowl with the two kinds of sugar, margarine, salt, and vanilla extract:
Flour added to mixing bowl
Flour added to mixing bowl
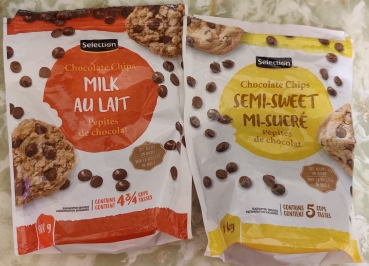
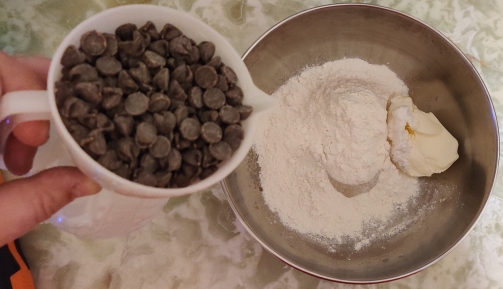
Two kinds of chocolate chips were taken out:
Two kinds of chocolate chips taken out
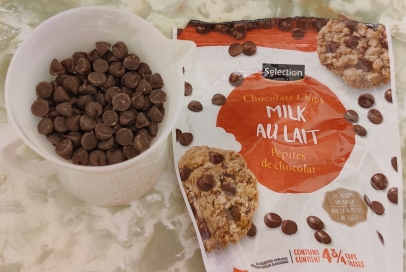
Half a cup of milk chocolate chips were measured out:
Half a cup of milk chocolate chips measured out
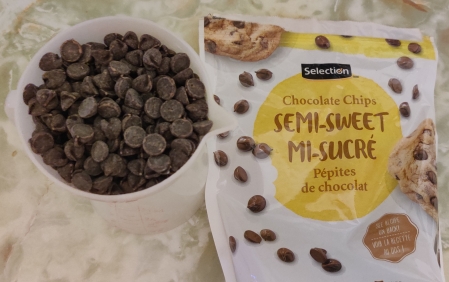
… and half a cup of semi-sweet chocolate chips were measured out:
Half a cup of semi-sweet chocolate chips measured out
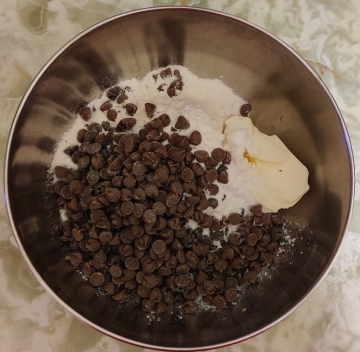
The chocolate chips were added to the mixing bowl with the other ingredients:
Chocolate chips added to mixing bowl
Chocolate chips added to mixing bowl
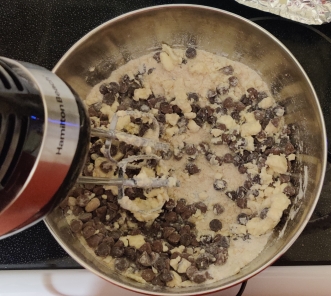
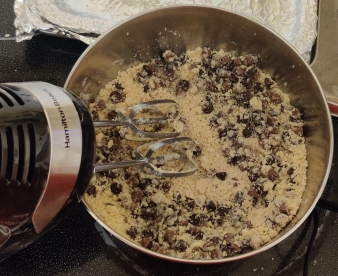
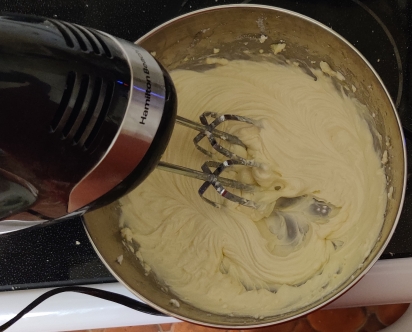
A hand held electric mixer was taken out and the ingredients mixed to make a powdery dough:
Ingredients mixed with electric mixer
Ingredients mixed with electric mixer
The cookie dough was transferred to another bowl and put aside:
Cookie dough transferred to another bowl
Cookie dough transferred to another bowl and put aside
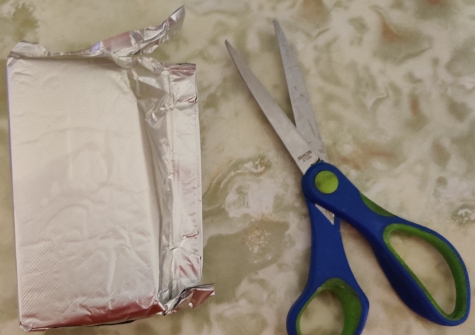
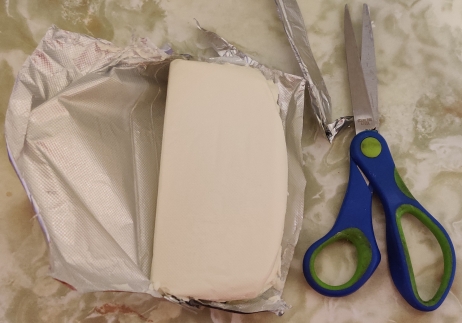
The package of cream cheese placed on the counter earlier to warm up to room temperature was taken out and opened with a pair of scissors:
Package of cream cheese opened
Package of cream cheese opened
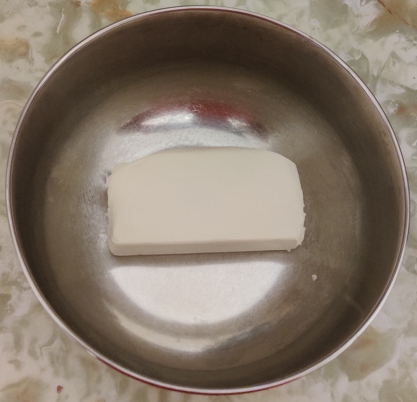
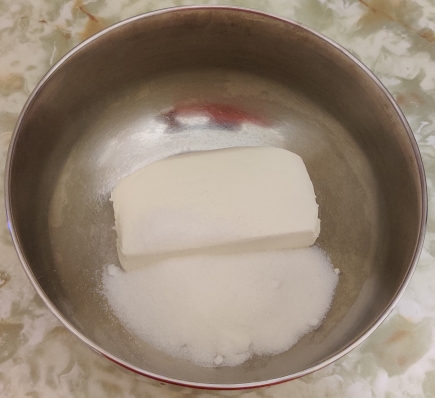
The cream cheese was transferred to the mixing bowl, the latter of which again was washed in between mixing jobs.
Cream cheese placed in mixing bowl
The table sugar was taken out again and measured out:
Sugar measured out
The table sugar was transferred to the mixing bowl with the cream cheese:
Table sugar placed in mixing bowl
Table sugar placed in mixing bowl
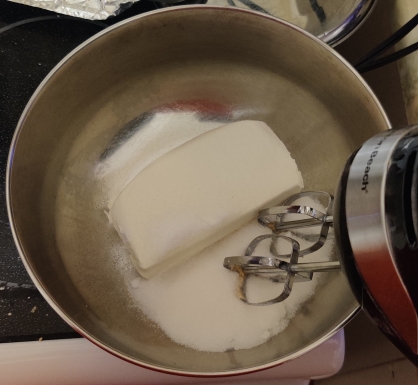
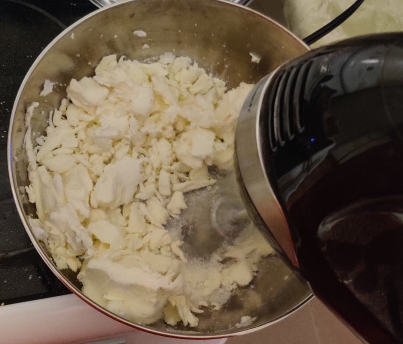
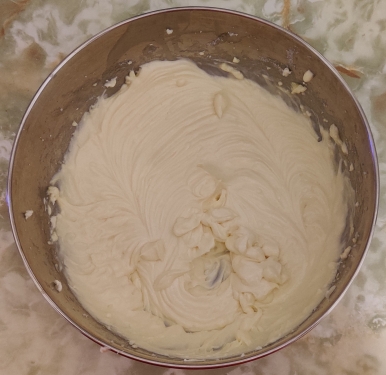
The electric mixer was taken out again to cream the cream cheese and table sugar together:
Creaming cream cheese and sugar
Creaming cream cheese and sugar
Creaming cream cheese and sugar
Eggs were taken out:
Eggs taken out
Last egg taken out
The egg was cracked into the bowl with the cream cheese and sugar:
Egg cracked in bowl with cream cheese and sugar
Egg cracked in bowl with cream cheese and sugar
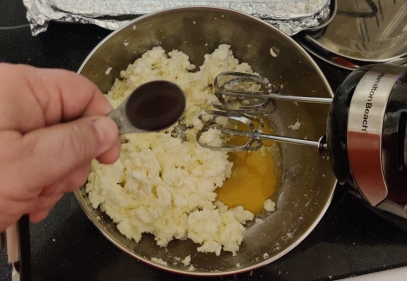
Vanilla extract was taken out again:
Vanilla extract taken out
The vanilla extract was measured out and was added to the bowl with the cream cheese, sugar, and egg:
Vanilla extract added to bowl
Vanilla extract added to bowl
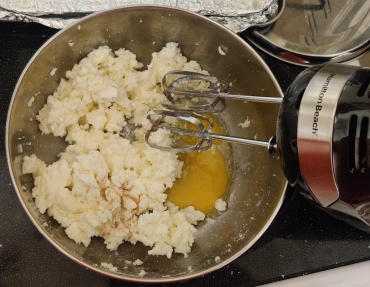
The egg and vanilla extract were mixed into the cream cheese and sugar:
Egg and vanilla extract mixed into cream cheese and sugar
Egg and vanilla extract mixed into cream cheese and sugar
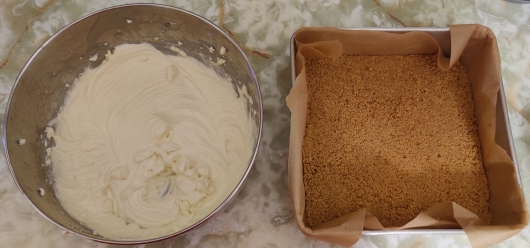
The now-cooled graham cracker crumb base was taken out:
Cooled graham cracker crumb base taken out
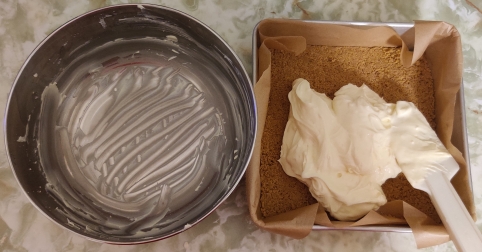
The cream cheese mix was transferred on top of the graham cracker crumb crust:
Cream cheese mix transferred to base
The cream cheese mix was spread evenly over the graham cracker crumb crust:
Cream cheese mix spread evenly over base
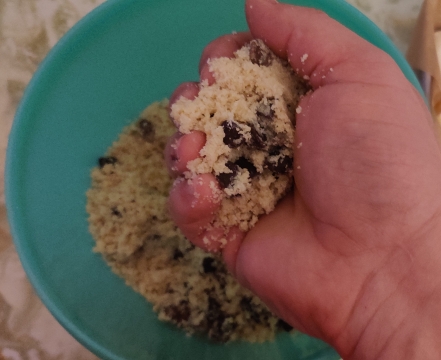
The chocolate chip cookie dough was taken out:
Cookie dough taken out
A bit of the cookie dough was picked up in my hand …
Cookie dough picked up
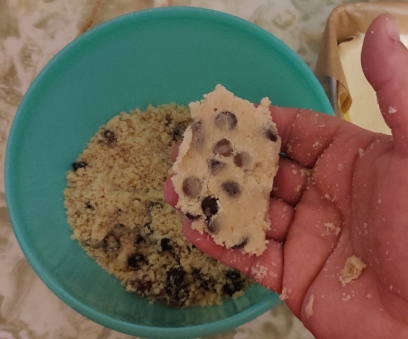
… and the ball of dough was flattened between my two hands:
Cookie dough flattened
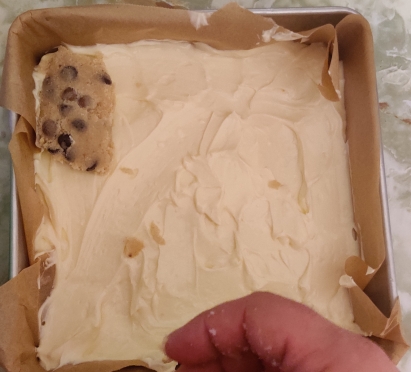
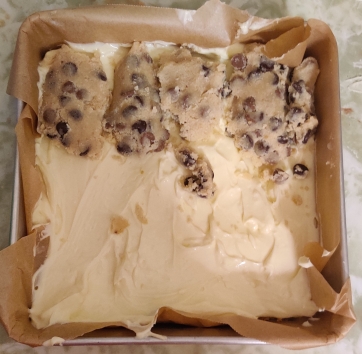
The flattened cookie dough was placed on top of the cream cheese mix:
Flattened cookie dough placed on top of cream cheese mix
… and repeated with more cookie dough:
Flattened cookie dough pieces placed on top of cream cheese mix
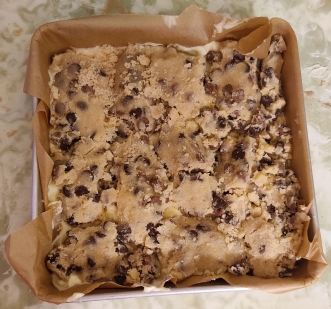
… until all the cookie dough was used and the whole surface of the cream cheese mix was covered:
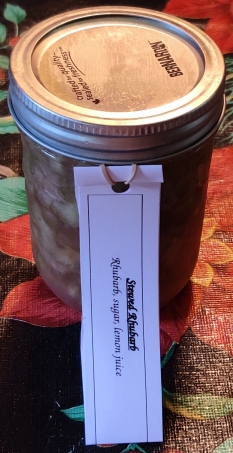
I picked up making stewed rhubarb because my mom always liked using the rhubarb grown in her garden to make stewed rhubarb and rhubarb chutney. (Ironically, for this post, and often enough, I use rhubarb purchased from the grocery store!)
Note that this recipe effectively needs to be done over two days, or at least with a pause of several hours (roughly equivalent to a minimum of “overnight” ) between preparing the rhubarb, and beginning to stew the rhurbarb.
Note that I also am using the “packing in mason jars and heat-processing” method to preserve the stewed rhubarb, and to allow for the making of larger amounts of stewed rhubarb at once; once the heat-processed jars have cooled, the stewed rhubarb is ready to eat.
Making the Stewed Rhubarb:
Day one:
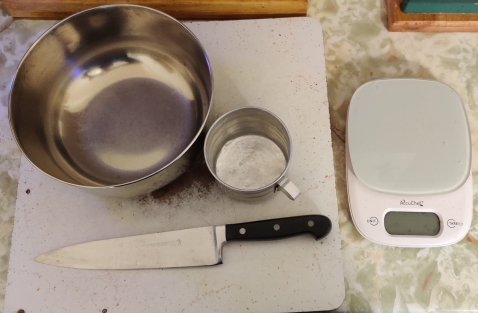
After buying some rhubarb at the grocery store, some mise-en-place was done by taking out a cutting board, a mixing bowl, a measuring cup, a kitchen knife, and a kitchen scale:
Cutting board, mixing bowl, measuring cup, kitchen knife, and kitchen scale taken out
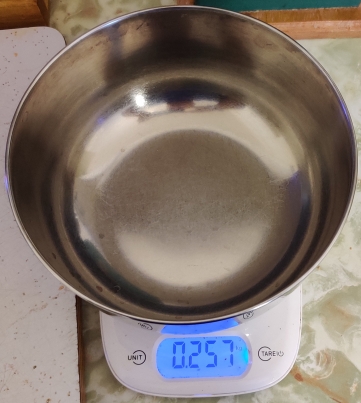
To avoid confusion a bit later on, the tare weight of the mixing bowl was measured and noted (instead of using the tare function on the kitchen scale):
Tare weight of bowl measured
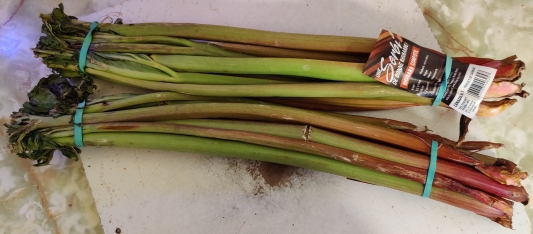
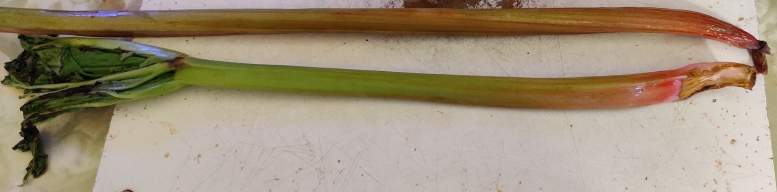
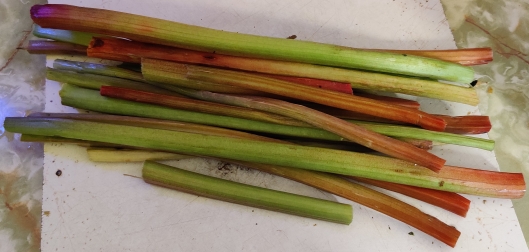
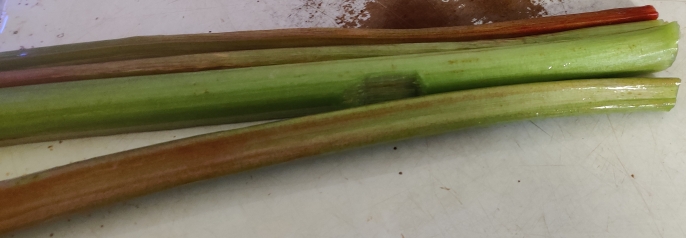
The rhubarb purchased earlier was taken out (yes, it is a bit shabby!)
Rhubarb taken out
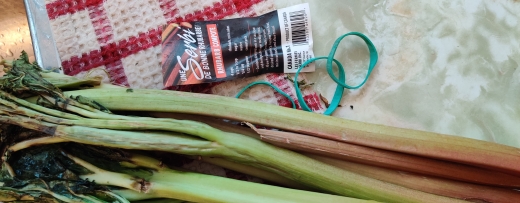
The elastics and labels were removed from the rhubarb bunches:
Elastics and labels removed
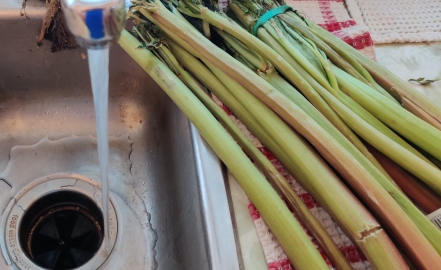
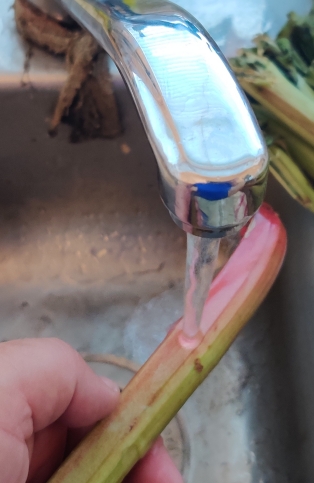
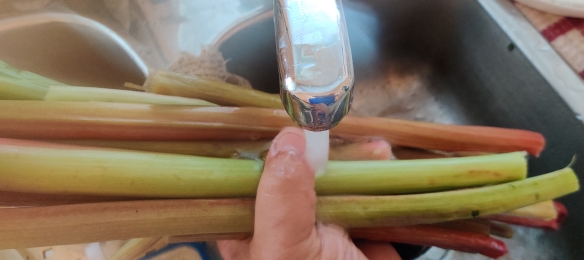
I began to wash and rinse the rhubarb:
Washing and rinsing rhubarb
Washing and rinsing rhubarb
The rinsed rhubarb stalks were brought to the cutting board:
Rhubarb brought to cutting board
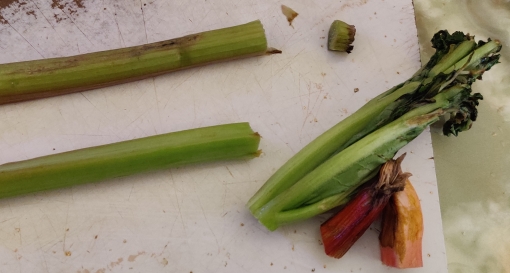
The rhubarb stalks were trimmed:
Trimming rhubarb stalks
Trimming rhubarb stalks
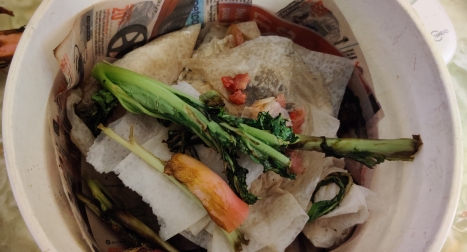
The trimmings were placed in a kitchen waste bucket for later disposal in a municipal composting programme:
Trimmings placed in bucket for composting
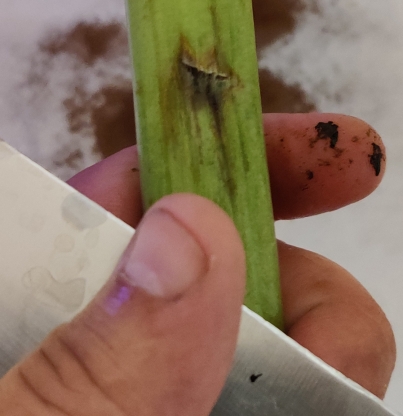
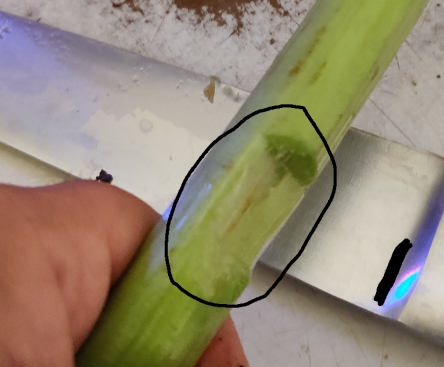
If the rhubarb isn’t completely fresh, or especially typical (in my experience) for commercial rhubarb purchased at the grocery store, sometimes there is some minor damage to the stalks to be removed:
Stalk damage to be removed
The stalk damage was removed (and while my name can be found on my — this — website in several places, I have blacked it out from my knife, on which I had inscribed my name years ago):
Stalk damage removed
The trimmed rhubarb stalks were piled up …
Trimmed rhubarb
… and the rhubarb stalks were rinsed again to remove the last of the bits:
Rhubarb rinsed again
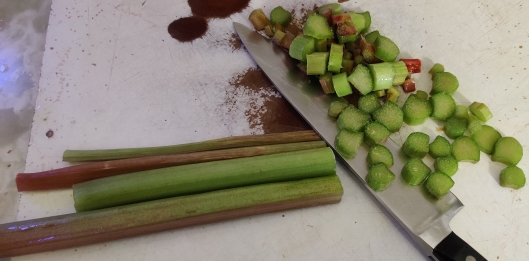
Some stalks were laid on the cutting board for chopping:
Rhubarb laid out for chopping
The rhubarb stalks were chopped using a slicing motion against the grain:
Rhubarb chopped
As chopped rhubarb started piling up on the chopping board, it was transferred to the mixing bowl:
Chopped rhubarb transferred to mixing bowl
The rest of the rhubarb was chopped, and transferred to the mixing bowl as it was produced:
Chopped rhubarb transferred to mixing bowl
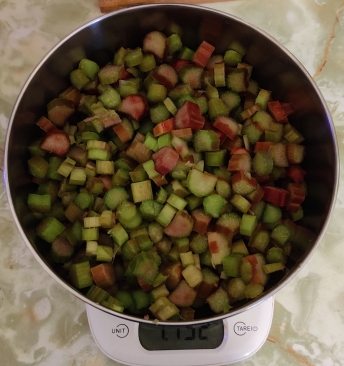
The bowl of chopped rhubarb was placed on the kitchen scale and weighed:
Chopped rhubarb weighed
The weight was noted, to be used in a moment:
Chopped rhubarb weighed
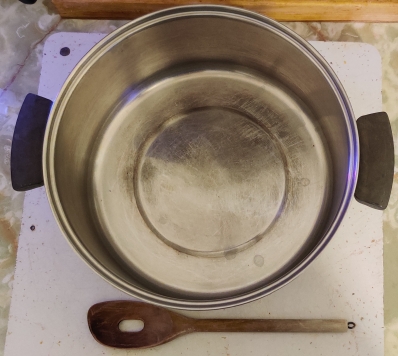
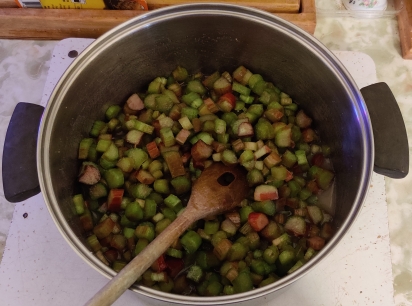
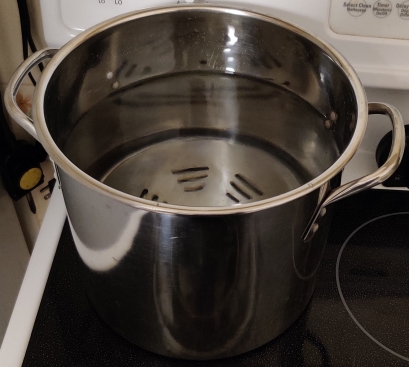
A large pot and wooden mixing spoon were taken out:
Pot and wooden spoon taken out
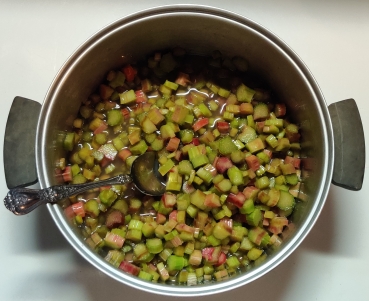
The chopped rhubarb was transferred to the pot:
Chopped rhubarb transferred to pot
Chopped rhubarb transferred to pot
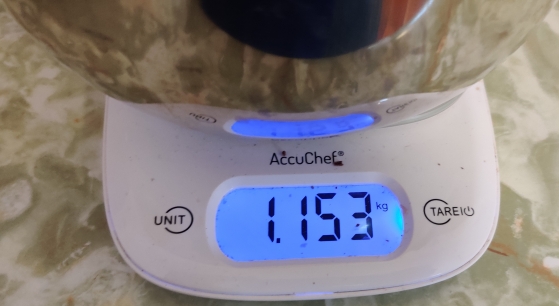
A calculator app was started, and the net weight of chopped rhubarb was calculated by subtracting the bowl tare weight from the weight of the bowl filled with the chopped rhubarb:
Net weight of chopped rhubarb calculated
Since my recipe is based on the Imperial system, the weight of 0.895kg (above) was converted to pounds, giving a result just barely shy of two pounds of chopped rhubarb:
Rhubarb weight converted to pounds
Next, a multiplication factor for how many “recipe units” was calculated by dividing the weight of the chopped rhubarb by the base amount of three quarters of a pound:
Multiplication factor calculated
The multiplication factor was multiplied by the required amount of sugar and lemon juice for per “recipe unit” of 3/4 lb of chopped rhubarb: Half a cup of sugar, and half an ounce of lemon juice, resulting in 1-1/3 cups of sugar, and 1-1/3 ounces of lemon juice:
Multiplication factor applied to sugar and lemon juice required
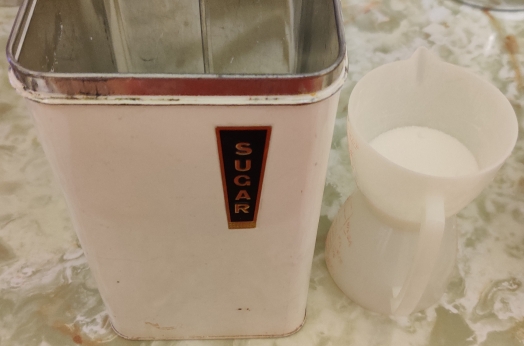
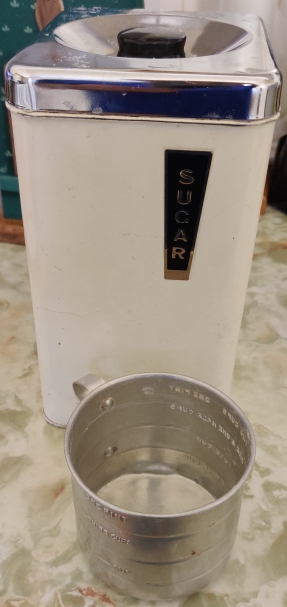
Sugar and a measuring cup were taken out:
Sugar and measuring cup taken out
Measures on measuring cup
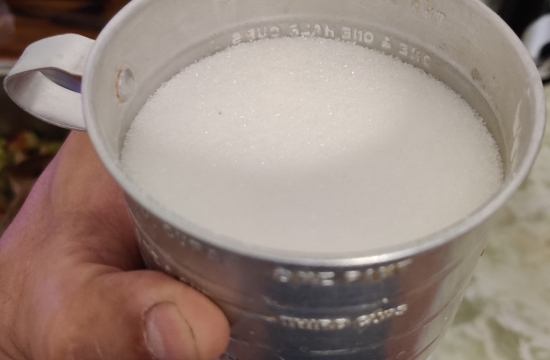
Sugar was measured out:
Sugar measured out
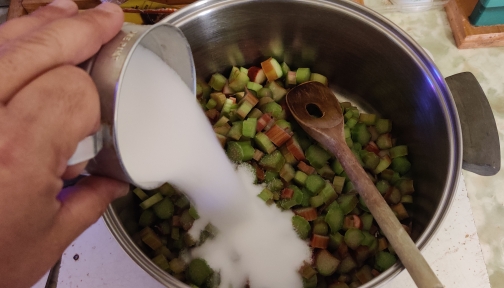
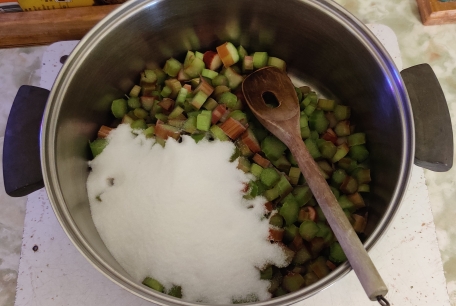
The sugar was poured onto the chopped rhubarb:
Sugar poured into pot of chopped rhubarb
Sugar poured into pot of chopped rhubarb
The chopped rhubarb and sugar were mixed with the wooden spoon:
Chopped rhubarb and sugar mixed
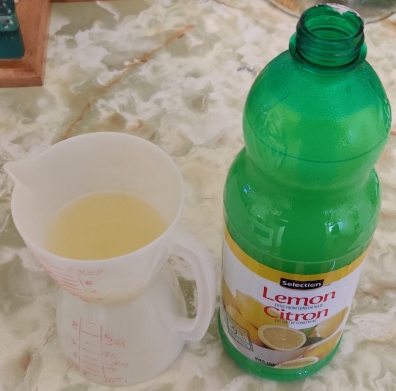
Lemon juice was measured out:
Lemon juice measured out
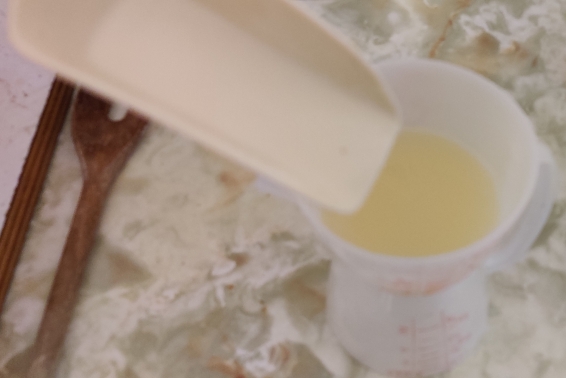
Extra sugar was added to the lemon juice:
Extra sugar added to lemon juice
The lemon juice and extra sugar were mixed:
Lemon juice and extra sugar mixed
The lemon juice and sugar mix were added to the chopped rhubarb and sugar:
Lemon juice and sugar added to chopped rhubarb and sugar
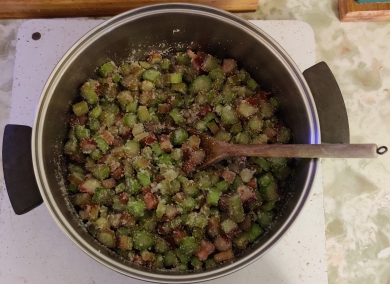
The chopped rhubarb, sugar, and lemon juice were mixed some more:
Chopped rhubarb, sugar, and lemon juice mixed
Chopped rhubarb, sugar, and lemon juice mixed
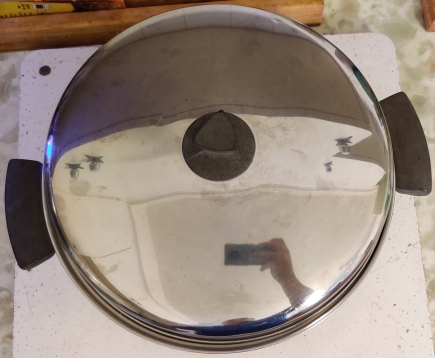
A lid was placed on the pot of rhubarb, sugar, and lemon juice:
Lid placed on pot of chopped rhubarb mix
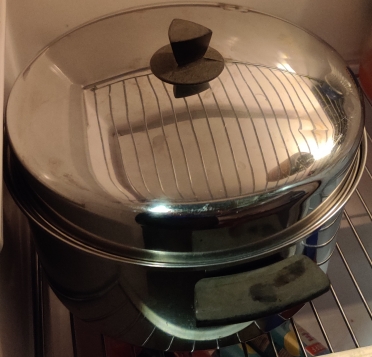
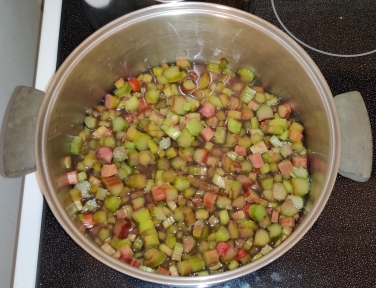
The pot of chopped rhubarb, sugar, and lemon juice was placed in a fridge overnight:
Pot of chopped rhubarb mix placed in fridge
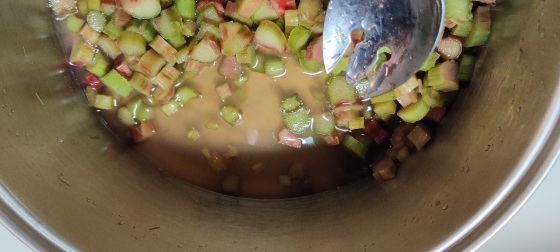
Day two:
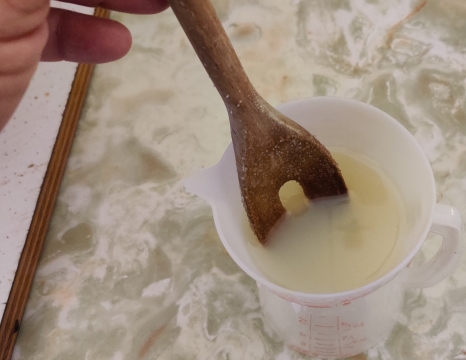
Early the next morning, I checked on the pot of chopped rhubarb:
Pot of chopped rhubarb checked
As can be sort of be seen above and better in the following photo, a good amount of liquid had been drawn by the sugar from the pieces of chopped rhubarb:
Liquid drawn from chopped rhubarb
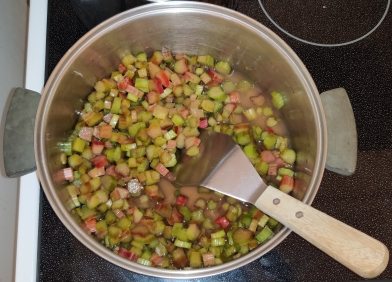
The chopped rhubarb was mixed again with a spoon:
Chopped rhubarb mixed
The pot of chopped rhubarb was returned to the fridge until later that evening (after coming home from work.)
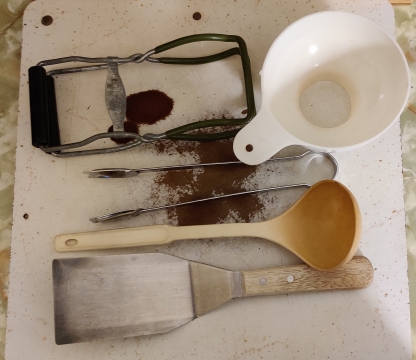
That evening, a jar wrench, a jar funnel, tongs, a ladle, and a stainless steel flipper were taken out:
Jar wrench, jar funnel, tongs, ladle, and stainless steel flipper taken out
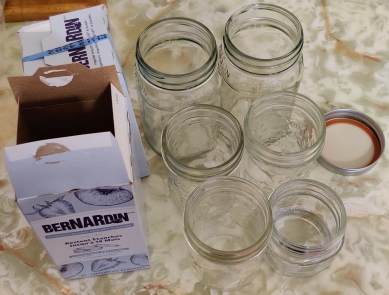
Mason jars, a few more than I expected to need, and new lids and lid rings, were taken out, but kept aside for the moment:
Mason jars and lids taken out
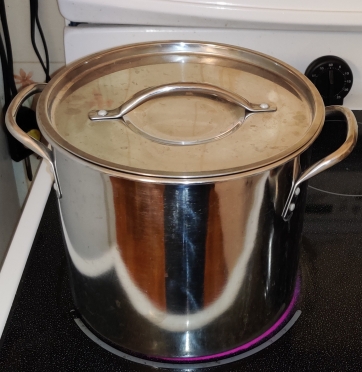
A pot and trivet were taken out, to act as a boiling water bath soon:
Pot and trivet taken out
The trivet was placed in the bottom of the pot:
Trivet placed in pot
The pot was filled with water:
Pot filled with water
Pot filled with water
The pot of water was placed on a burner on the stove:
Pot of water placed on stove
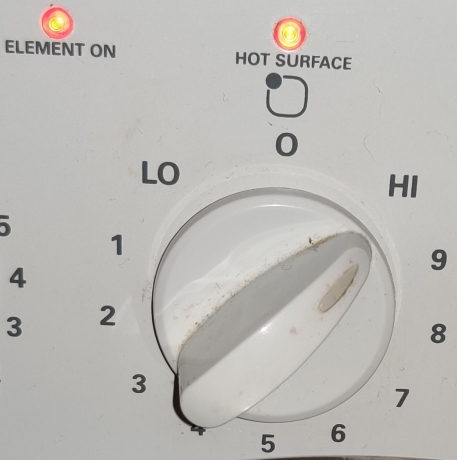
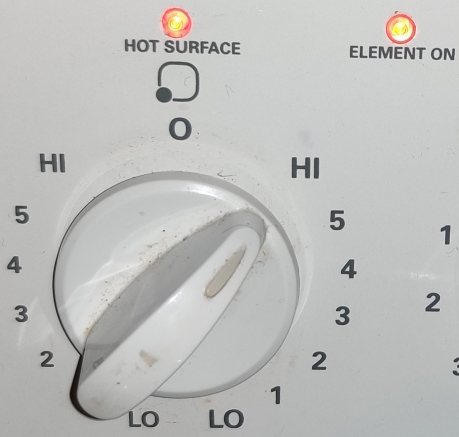
The stove was turned on:
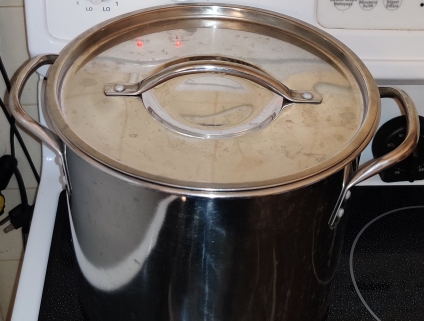
… and the lid was placed back on the pot:
Lid placed on pot of water
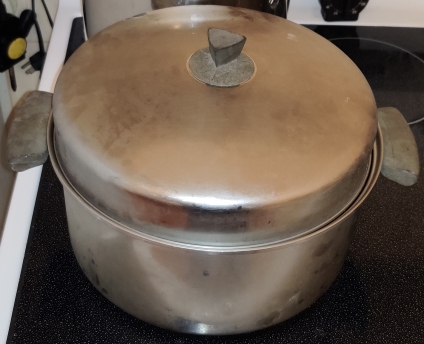
Since I had placed the pot of water on a smaller burner, which proved to be a mistake, I still waited a bit before taking out the pot of chopped rhubarb, sugar, and lemon juice, and placing it on the stove:
Pot of Rhubarb, sugar, and lemon juice placed on stove
After waiting a bit more, having gauged the heating up of the pot of water, the burner under the chopped rhubarb mix was turned on:
Burner under chopped rhubarb mix turned on
The lid on the pot of chopped rhubarb mix was removed:
Lid removed from pot of rhubarb mix
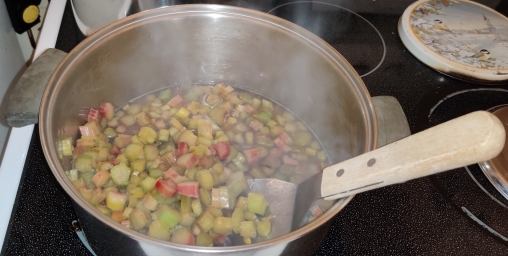
As the rhubarb mix was heating up, I of course mixed it to avoid burning:
Rhubarb mix being mixed while heating
Rhubarb mix being mixed while heating
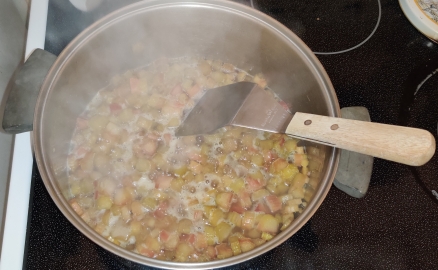
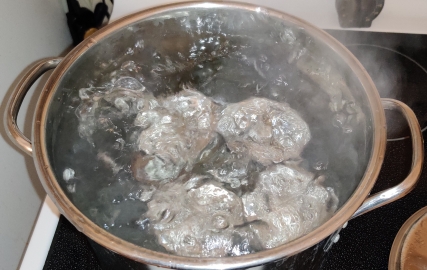
The rhubarb mix began to boil:
Rhubarb mix beginning to boil
At this point, the rhubarb mix was taken off the burner, and since the water bath had not yet reached the boiling point, I brought it forward to the larger burner to bring it to a boil more quickly:
Water bath brought forward to larger burner on stove
Fortunately, it was obvious that the water bath was “hot enough” to dip the (clean) bottle funnel to sanitize it:
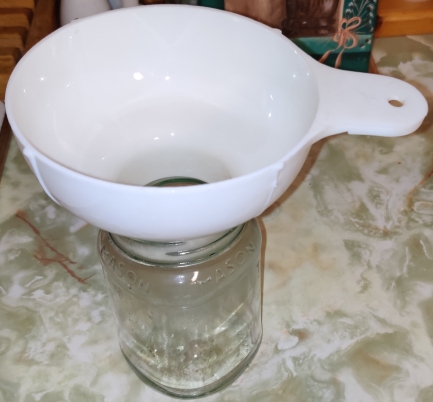
Sanitizing bottle funnel
The bottle funnel was placed in the neck of a jar:
Jar funnel placed in neck of jar
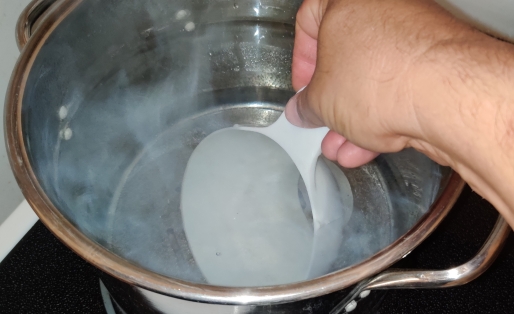
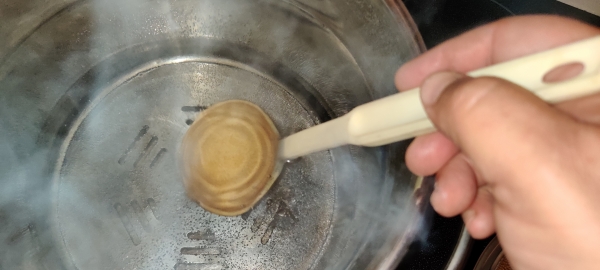
The ladle was dipped in the hot water to sanitize it:
Ladle sanitized
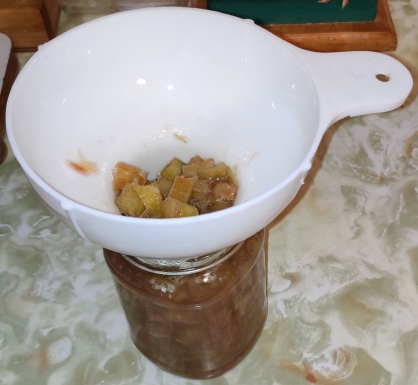
I started ladling the boiled rhubarb mix into the jar until it was filled:
Ladling boiled rhubarb mix into jar
Jar filled
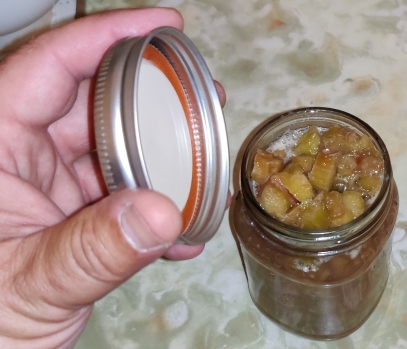
A lid and ring were brought to the jar, and screwed onto the jar (oops, I forgot to take a picture of this second part):
Lid brought to filled jar and screwed on
The rest of the boiled rhubarb mix was transferred into jars, and lids were screwed onto the jars:
Filled jars with lids screwed on
At this point, the water in the water bath was finally starting to boil:
Water bath starting to boil
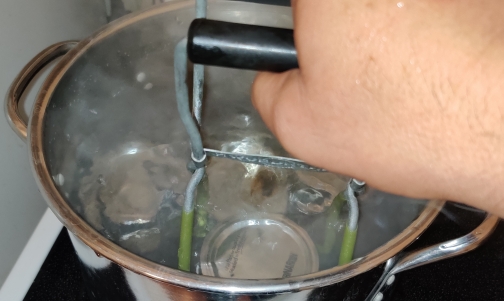
Using the jar wrench, the filled jars were transferred to the water bath:
Filled jars transferred to water bath
Filled jars transferred to water bath
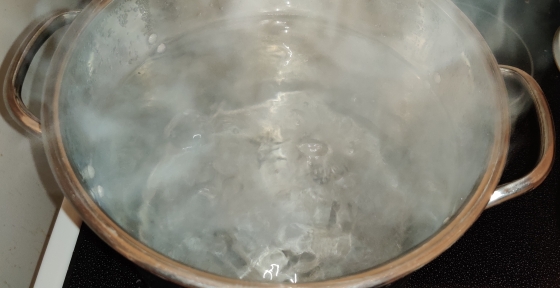
Once the water had come to a rolling boil …
Water bath coming to a rolling boil
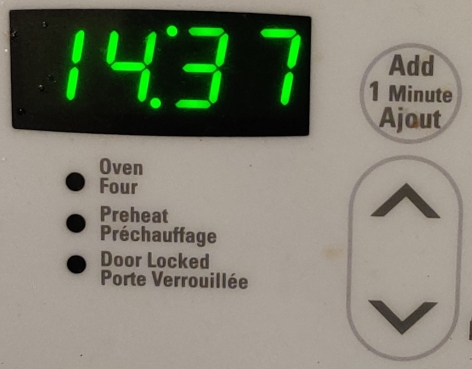
… a timer was set to 15 minutes …
Timer set to 15 minutes
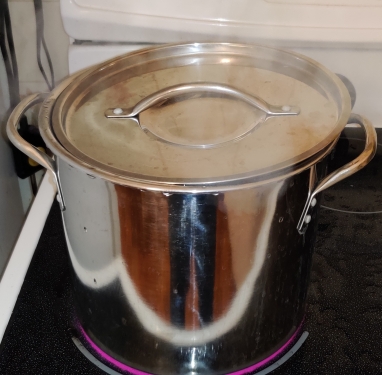
… and the lid was placed back on the pot with the water bath and filled jars:
Lid placed on water bath
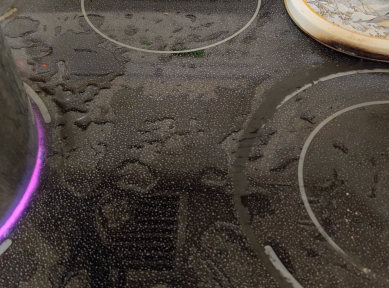
At this point, the water was boiling so vigorously, that water was splashing out of the pot!
Water splashing out of boiling water bath onto stovetop
After 15 minutes had elapsed, the filled jars were removed from the water bath using the jar wrench:
Removing filled jars with jar wrench
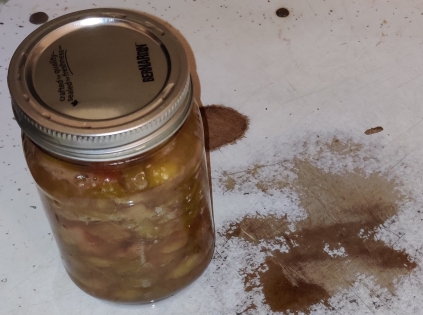
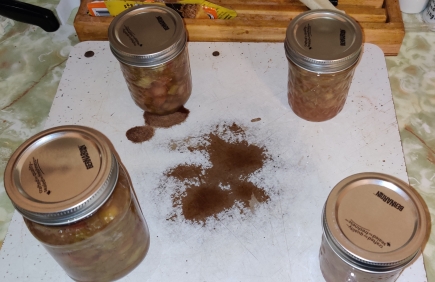
The now heat-processed jars were placed on the the cutting board:
Heat-processed jar placed on cutting board
Heat-processed jars placed on cutting board
Hot water collecting on the jars was soaked up with a towel:
Water on jars soaked up with towel
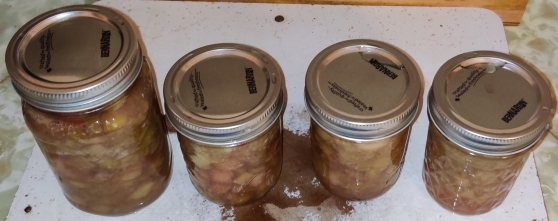
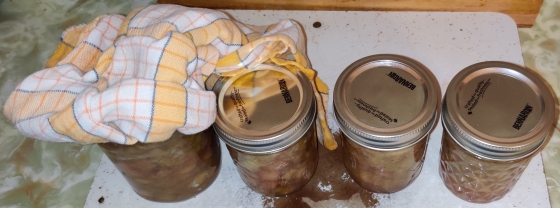
The jars were moved apart from each other to allow for some ambient cooling for a few moments:
Jars separated to facilitate ambient cooling
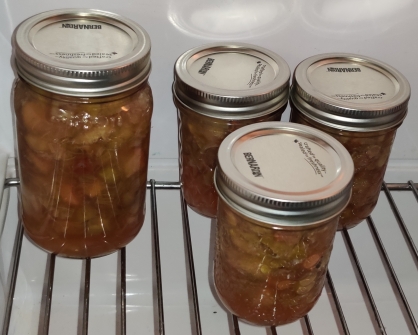
Then, the still-warm jars were moved to a fridge to complete cooling.
Jars moved to fridge
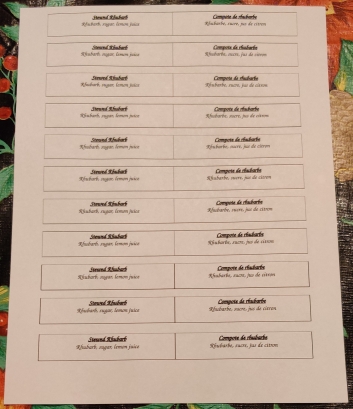
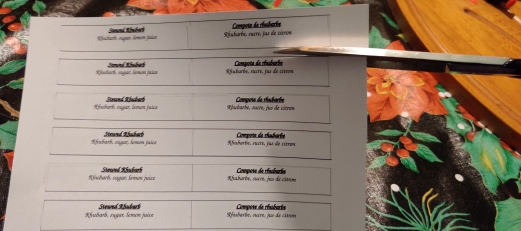
At this point, I changed tack a bit and printed out some labels for the jars, modifying another label template I have for my pickled eggs:
Printed labels for jars of stewed rhubarb
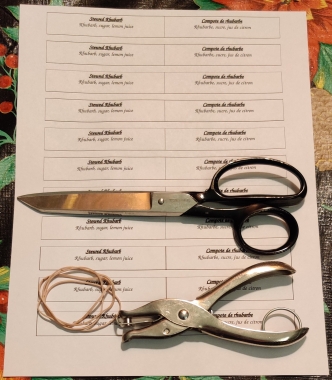
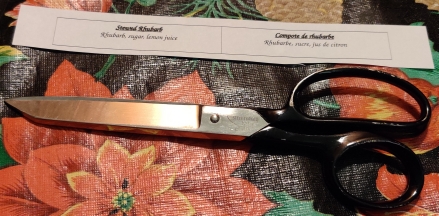
Scissors, a hole punch, and some elastics were taken out:
Scissors, hole punch, and elastics taken out
Four labels were cut from the sheet:
Label cut from sheet
Label cut from sheet
Labels cut from sheet
A date code (in this case for 09 August, 2023, the day I filled and processed the jars) was written on the back / inside of each label:
Date code written on backside of label
Date code written on backside of labels
The labels were folded over onto themselves:
Label folded over on itself
Label folded over on themselves
I should note at this point at which the print is more legible, that I live in Montreal, where French predominates, hence the labels are in both English and French. As it happened in the picture above, the folded labels with the English showing were upside down because that’s how I inadvertently happened to flip them over. 🙂
I then picked up the labels, piled them one on another, and crimped the folds:
Labels brought together and folds crimped
A hole was punched through the labels on the end opposite to the fold:
Hole punched through labels
Hole punched through labels
On each individual label, the end near the hole was folded over:
End near hole folded over
Ends near holes folded over
Ah here, the English labels are right side up. 🙂
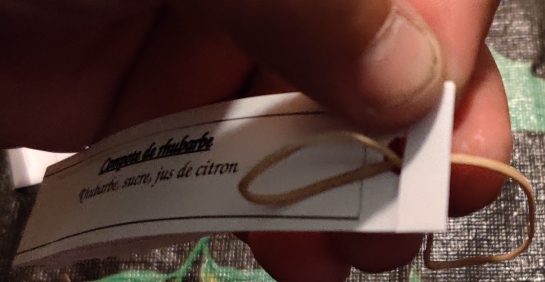
An elastic was threaded through the hole of a label:
Elastic threaded through hole in label
The elastic was looped into itself, and loosely tightened to allow for it to at once hold the label, as well as have a loop to use to go around a jar’s neck:
Elastic looped into itself
… which was repeated for the other three labels:
Elastics looped into themselves
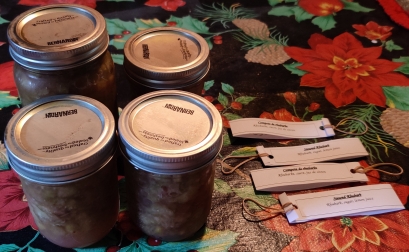
The following morning, the cooled (and fully sealed) jars were removed from the fridge, and brought to the workspace where the labels were:
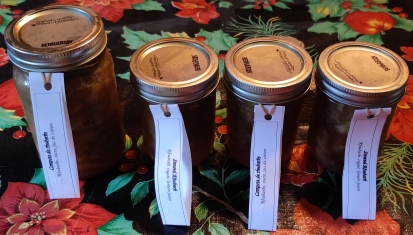
Cooled bottles brought out
Labels were looped around the jars:
Label looped around jar
Labels looped around jars
These jars will be kept to be donated to my church’s fall fair, along with a few jars of my pickled eggs! (And, Mom will receive any which don’t sell. 🙂 )
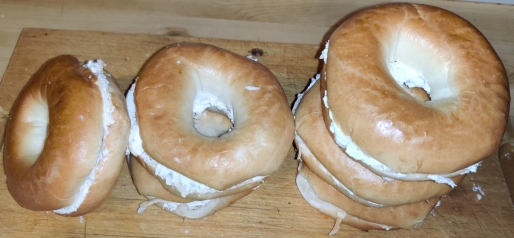
This post is a bit of a gratuitous post to pass the time during my holidays, while showing a bit how I leverage freezers as useful tools for day to day cooking and eating, and highlight how, beyond the strictly obvious (or conversely, as an example of the obvious, whichever you prefer 🙂 ), my cooking efforts actually do fit into and serve everyday life — literally!
Yes, the breakfast shown at the end of this post is a very typical daily breakfast for me these days, barring the days, often on weekends or holidays, when I might choose to make other breakfast foods from my collection of recipes (or of course, something else completely.)
After coming home from the store and having bought bagels and a cream cheese spread flavoured with “herbs” and roasted garlic, I took out a cutting board:
Cutting board taken out
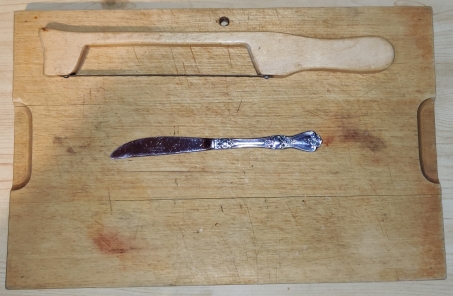
A bagel slicer, basically a serrated edge attached to a wooden guide, and a table knife, were taken out:
Bagel slicer and knife taken out
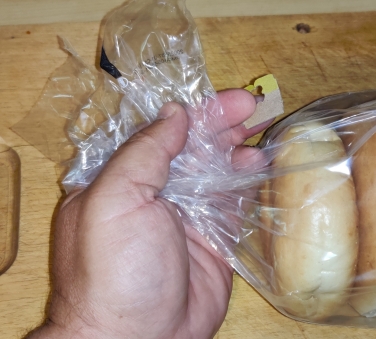
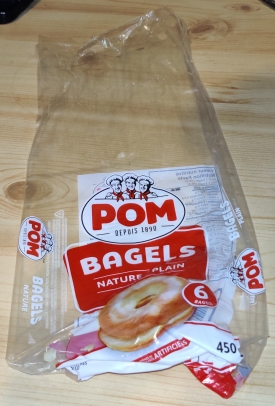
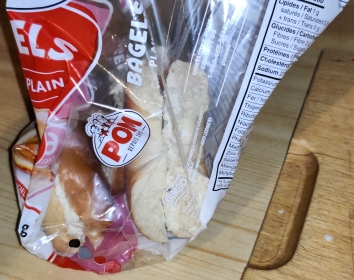
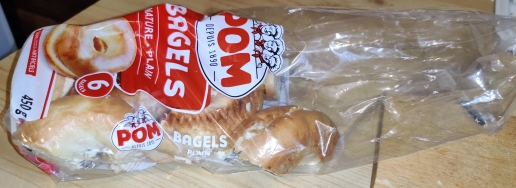
A bag of commercially produced bagels, purchased earlier in the day, was taken out:
Bag of bagels taken out
The bag clip was taken off the bag in order to open the bag of bagels:
Bag clip removed from bag
The bagels were taken out of the bag:
Bagels taken out of bag
The empty bag was kept and put aside:
Bag kept and put aside
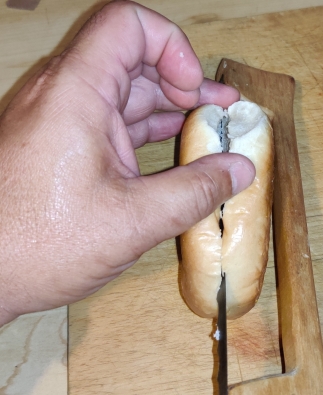
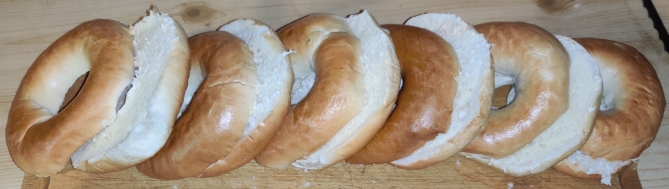
A bagel was sliced (be careful, some industrially produced bagels may be partly pre-sliced):
Bagel being sliced
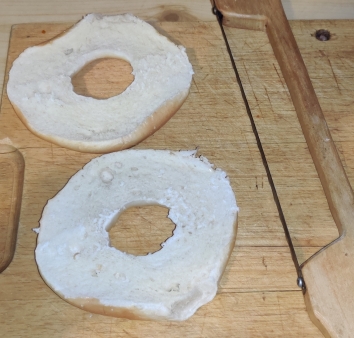
Sliced bagel
… and the rest of the bagels were sliced:
Bagels sliced
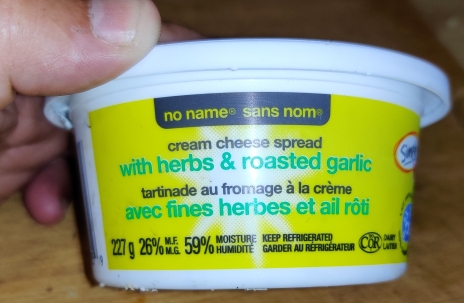
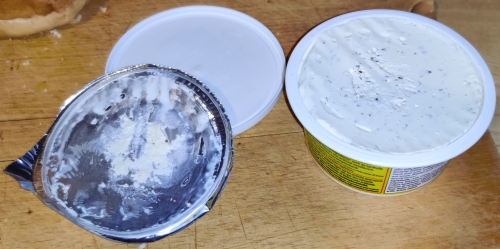
A 227g (8oz) container of a commercially prepared cream cheese spread, in this case flavoured with “herbs” and roasted garlic, purchased earlier in the day, was taken out:
Flavoured cream cheese spread taken out
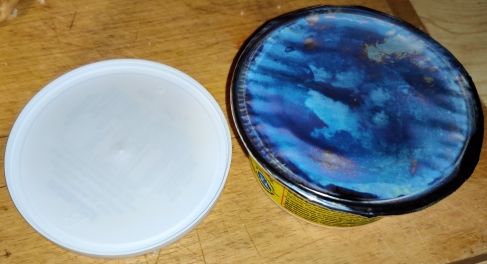
The lid was removed from the cream cheese container …
Plastic seal to be removed from container
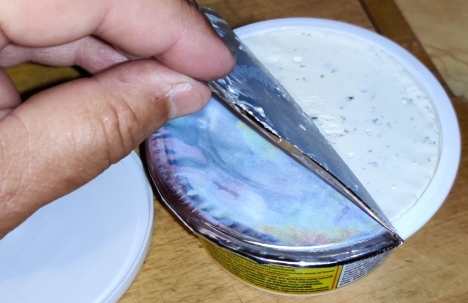
… and the plastic seal was also removed from the container:
Plastic seal removed from container
Plastic seal removed from container
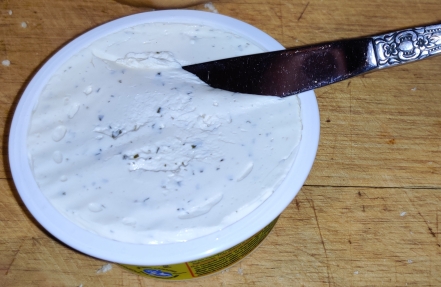
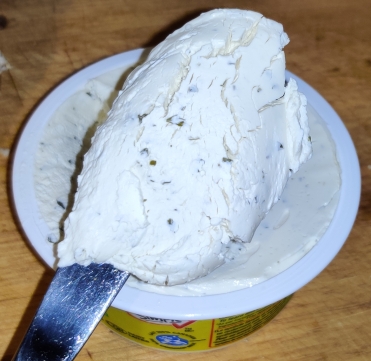
The knife was used to pick up some of the cream cheese:
Picking up cream cheese with knife
Cream cheese picked up with knife
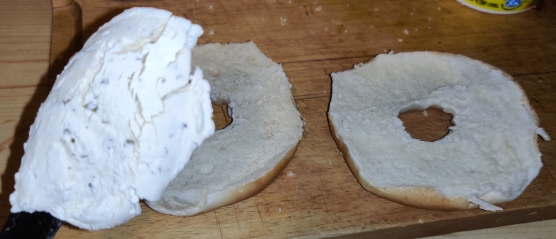
A couple of bagel halves were placed on the cutting board, and the knife holding the cream cheese was brought to them …
Cream cheese brought to bagel halves
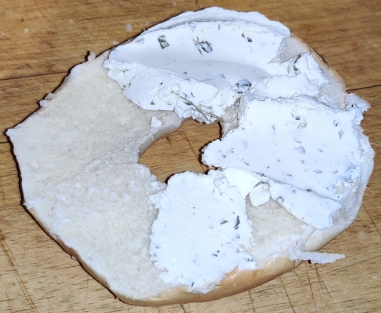
… and cream cheese was spread on one of the bagel halves:
Cream cheese spread on bagel half
Cream cheese spread on bagel half
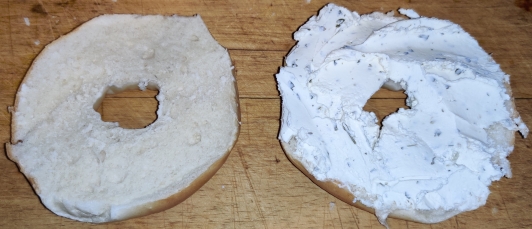
The two bagel halves were put back together:
Bagel halves joined back together
Bagel halves joined back together
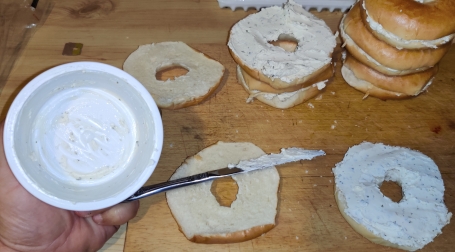
Cream cheese was spread on a few more bagels, and after spreading cream cheese on half of the bagels, the container was about half empty:
I continued to spread cream cheese on the rest of the bagels; I scraped the last of the cream cheese out of the container, and I spread the last of the cream cheese onto the last of the six bagels:
Scraping the last of the cream cheese from the bottom of the container and spread onto last bagel
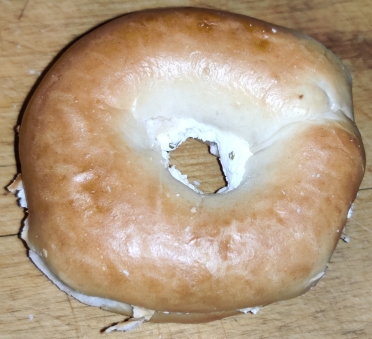
At this point, all six bagels were filled with cream cheese:
Bagels filled with cream cheese
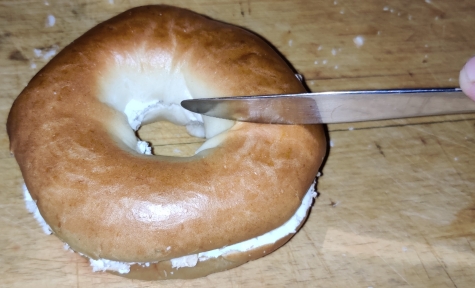
At this point, a clean knife was taken out, and a bagel was cut at a single point:
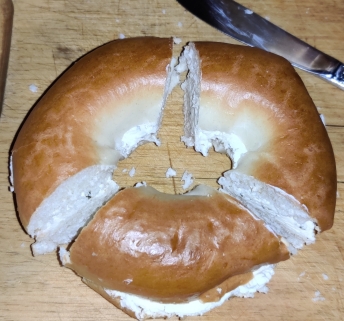
… and then the bagel was cut in two other places, resulting in three pieces:
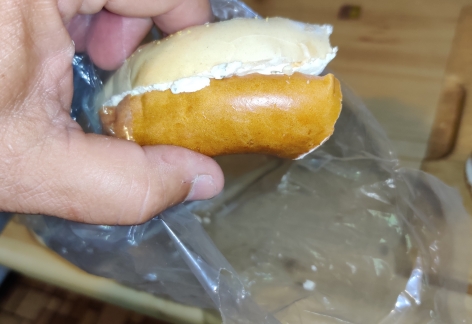
The bagel pieces were placed back in the bag:
Piece of bagel placed in bag
Three bagel pieces placed in bag
… and as I continued cutting up the rest of the bagels, I placed the bagel pieces in the bag:
Half the bagel pieces in the bag
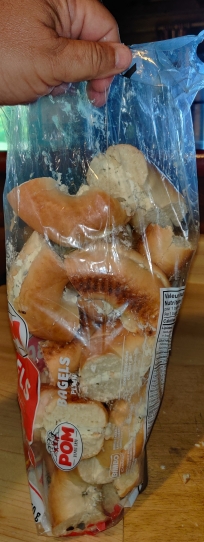
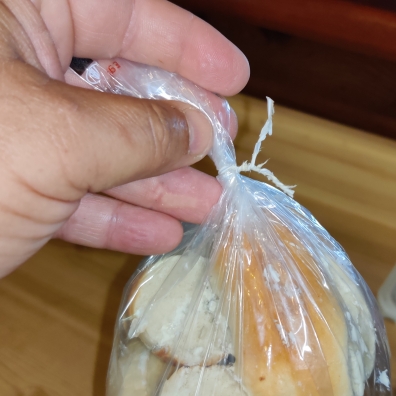
… until all the bagel pieces were in the bag:
All bagel pieces in bag
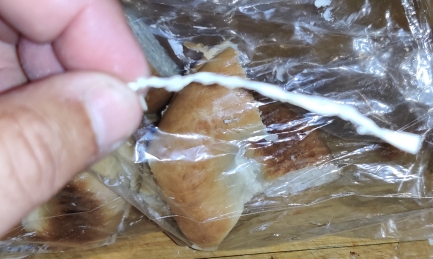
A tie wrap was taken out:
Tie wrap taken out
The tie wrap was used to seal up the bag again:
Bag sealed with tie wrap
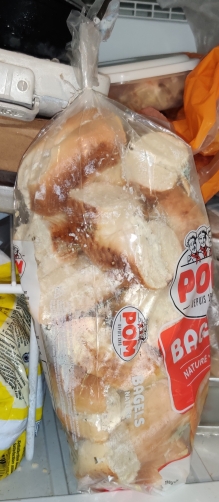
The bag of bagel and cream cheese pieces was placed in the freezer:
Bag of bagel and cream cheese pieces placed in freezer
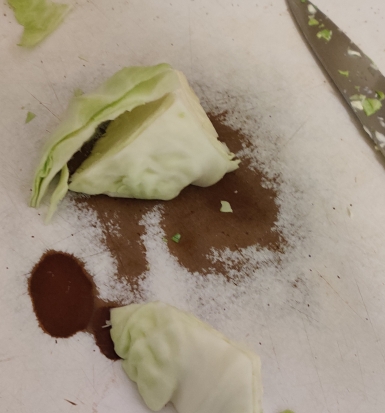
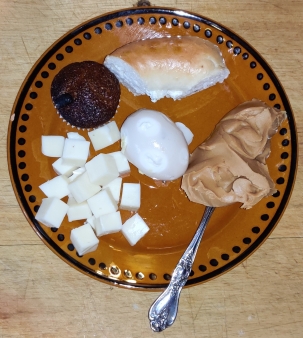
The next morning, I took out a bagel and cream cheese bite, and defrosted it along with a mini raisin bran muffin, made earlier in the week using my mom’s bran muffin recipe, a pickled egg, some cheese, and some peanut butter scooped from the jar: