In mid-2006, my employer at the time was acquired by another company, and my new employers required me – rightfully so – to take some basic training that I should have taken several years earlier. The training was after work hours, two evenings a week, for a few weeks.
Normally, my eating habits were (and still are) such that a given day’s lunch was composed of leftovers from the previous evening’s supper; in fact, normally supper meal plans at the time and still to this day usually intentionally include cooking for one more serving than the meal would call for, so that I would have a lunch the following day.
The training course, however, had the effect of not only requiring me to improvise for my supper plans, such as eating fast food, but also required me to improvise for the following day’s lunch too. My memory of this period is that there was a snowball effect on much of the week’s meals, although it probably was not quite as dramatic as what my mind has woven into my memory.
One of the solutions I came up with — but never quite fully implemented at the time — was the idea of a cooking weekend, targeted at being done at the cottage. My ambition at that point was to stock the freezer with a variety, as well as a large stock, of dishes and prepared meals, including lunches, so that the above situation wouldn’t be a problem moving forward. I had notions that were fairly ambitious, both in terms of the variety of meals to be made during the weekend, as well as the sheer amount of food that I suppose I expected to make over such a hypothetical weekend.
I developed the following planning table:
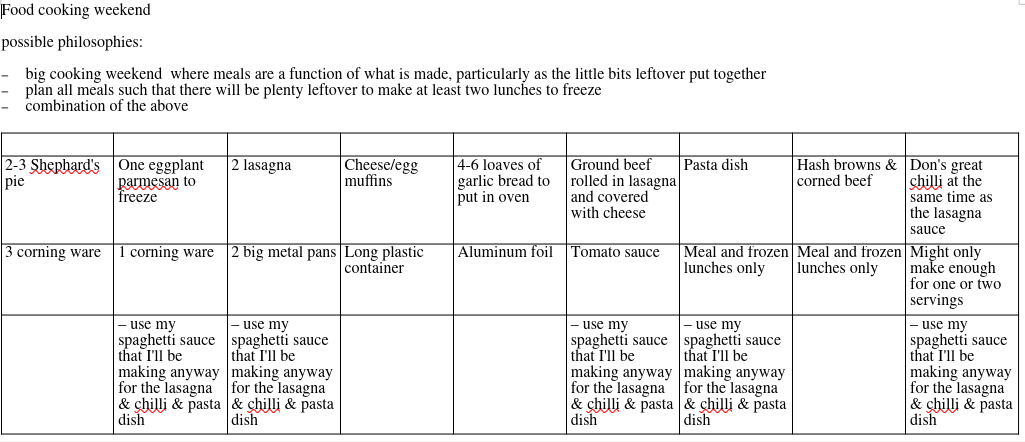
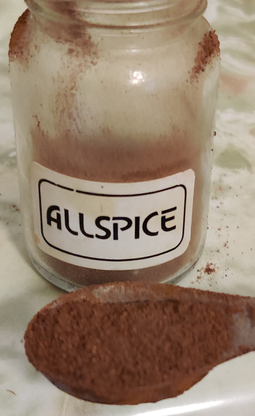
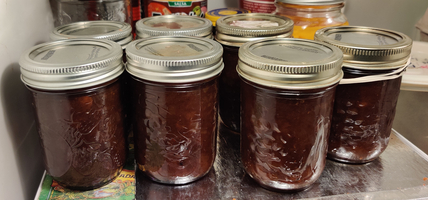
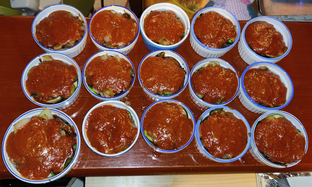
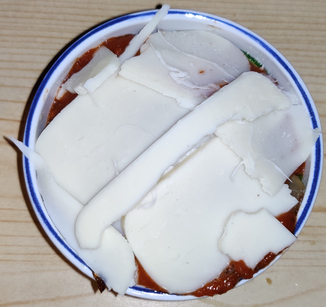
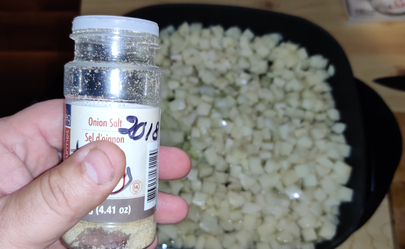
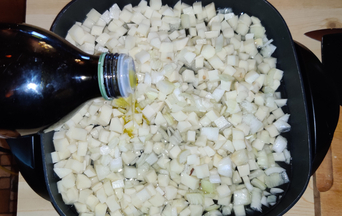
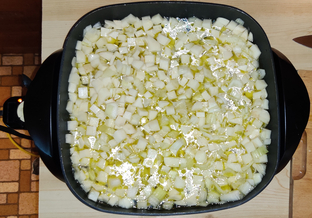
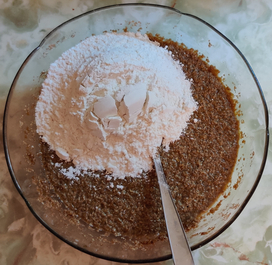
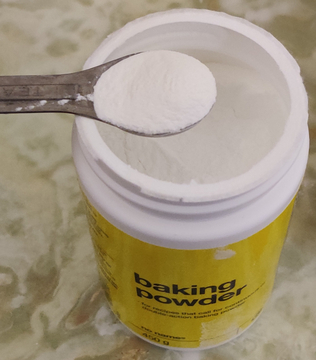
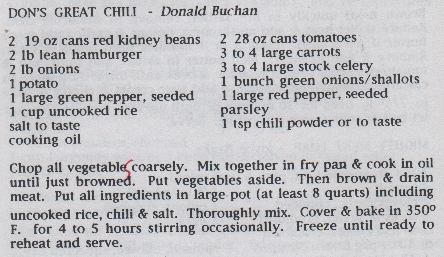
As can be seen, one of the goals was to make a number of dishes based on a common ingredient, my spaghetti sauce, which I had begun making in the early 1990’s.
As also can be seen, although there were a few numbers of dishes to produce, overall the list is rather vague in what I would end up with in terms of numbers. Among other things, while I did have rough ideas of how much of most of the items I would make (or at least envisioned making), for instance, I didn’t start planning out the required amounts of each of the ingredients and sub-ingredients needed to make the dishes and components.
Overall, it seemed — and still seems to this day — rather vague and all over the place, and overly ambitious to the point of being daunting. Critically, although I knew that I would be making about seven to eight quarts of my spaghetti sauce, I didn’t plan out its ingredients, determine just how many of each of the other dishes for which it would be used would be produced from the seven to eight quarts, or whether some of the “larger” dishes were to be prepared for their own sake and the freezer, or to be ultimately cooked and divided up into lunch containers. Except as an afterthought, I just about didn’t even insert the making of the spaghetti sauce into the weekend’s already ambitious cooking plans!
Before coming to this last realization, I realized that my plan would only produce two or three servings’ or meals’ worth of each, which might all be eaten in short order.
Unsurprisingly, the planned weekend was never executed, and after a few weeks, my evenings freed up, and my regular lunches returned.
Years later, I realized despite the usefulness of the intentions behind my plans for the cooking weekend, at least for me, it suffered from not only being too ambitious in its own right, but from being even more ambitious than I thought. At the same time, the overall plan suffered from being a bit too wide in its intended scope given what would be a limited amount of base (the spaghetti sauce). As such, the plan was likely to produce — should I accomplish it all in such a weekend — merely an amount of food, especially the lunches, that would be consumed far more quickly than I had hoped.
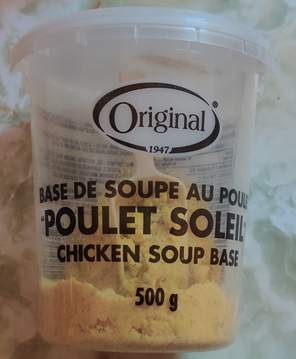
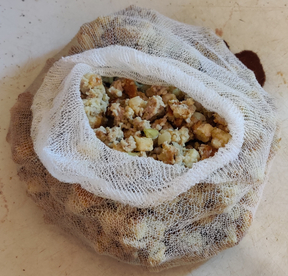
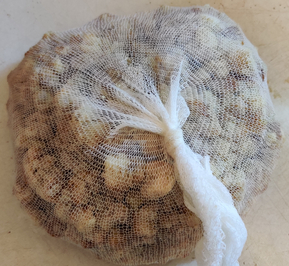
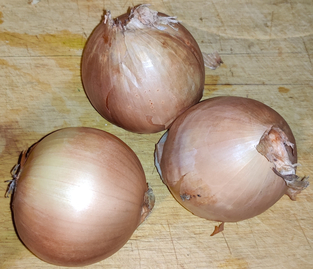
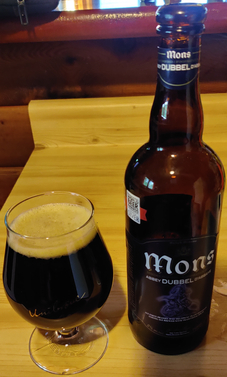
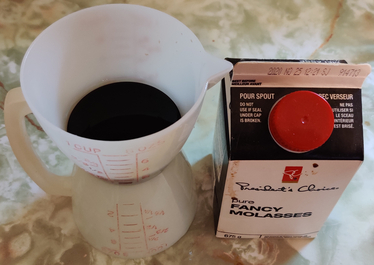
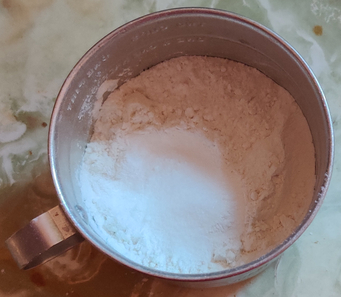
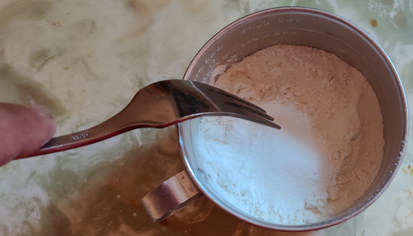
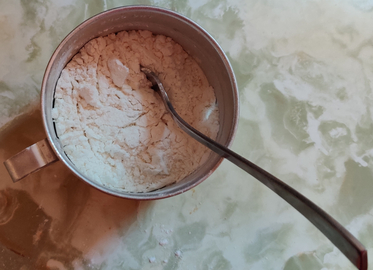
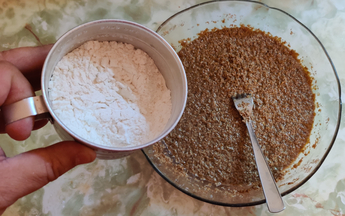
My spaghetti sauce — and what I do now for tomato sauce based dishes
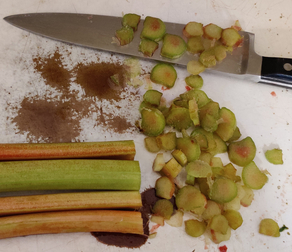
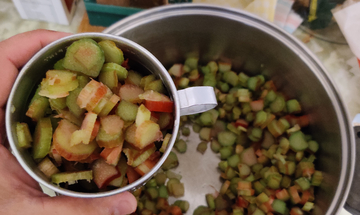
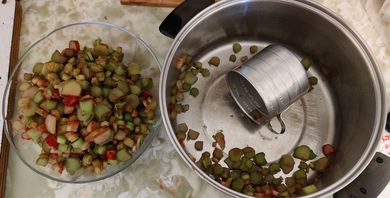
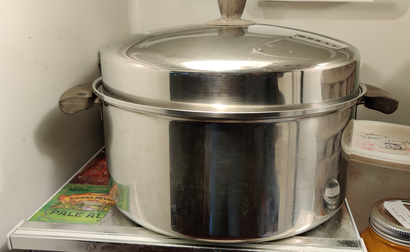
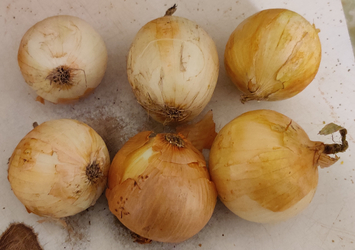
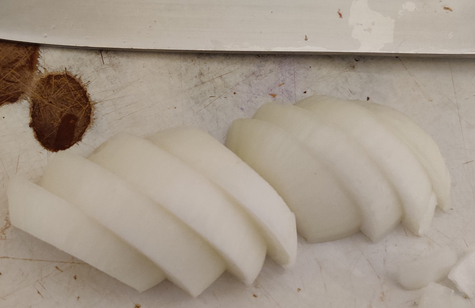
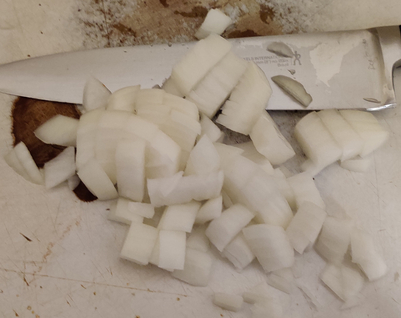
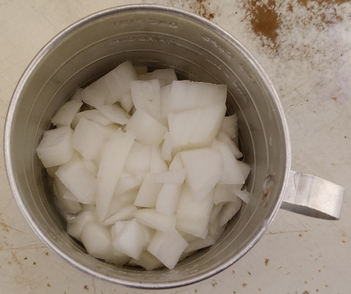
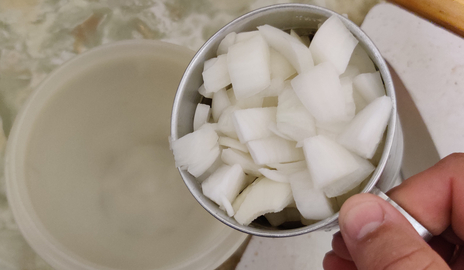
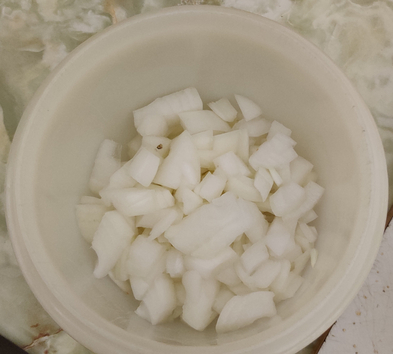
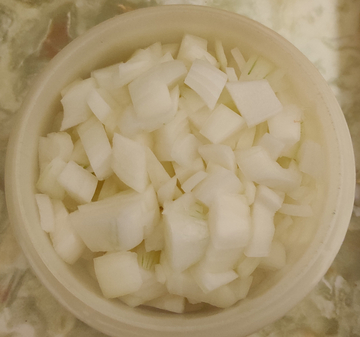
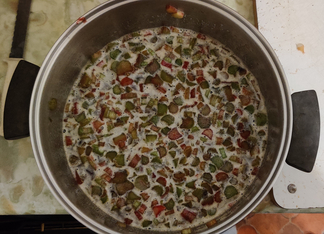
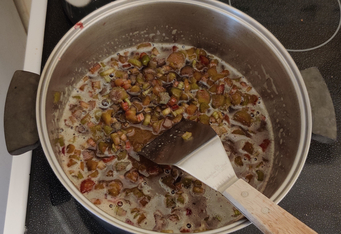
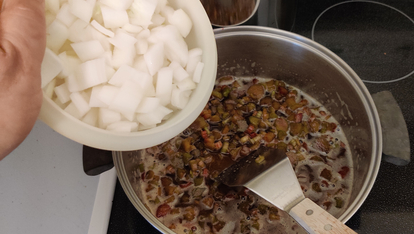
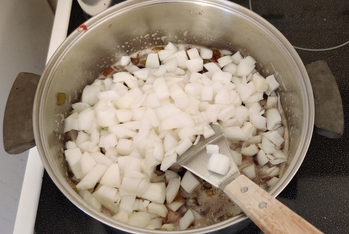
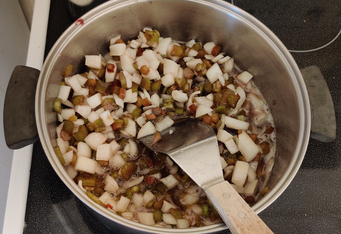
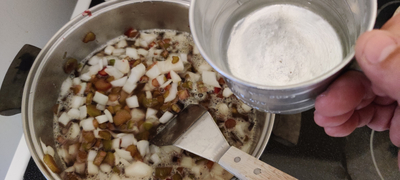
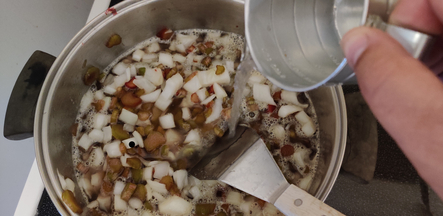
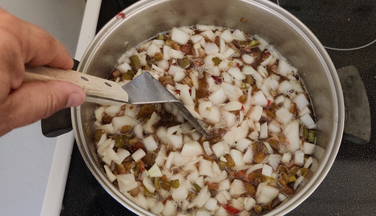
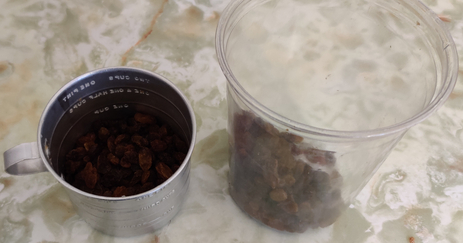
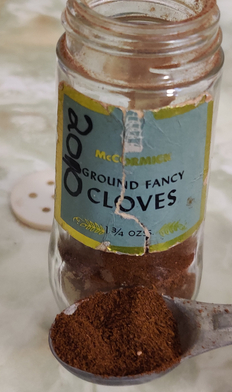
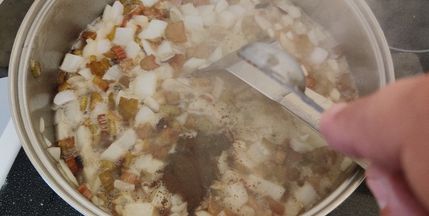
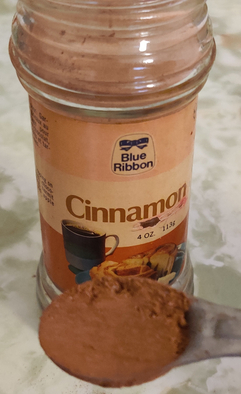
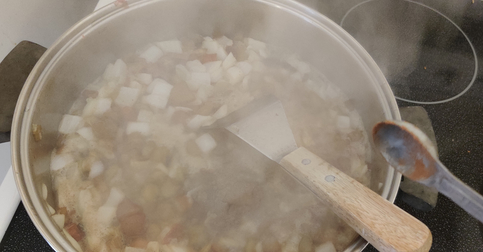
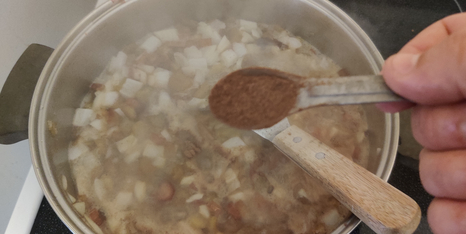
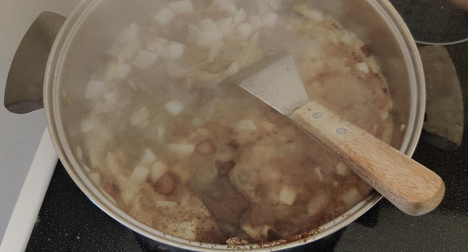
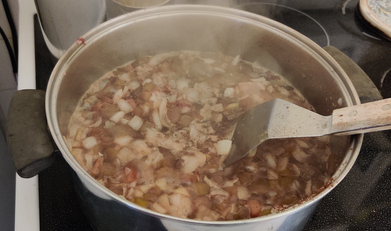
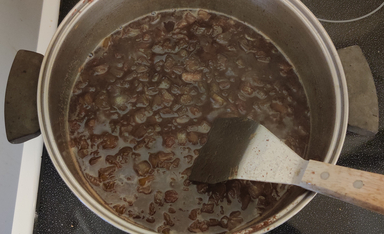
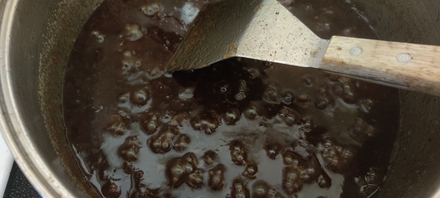
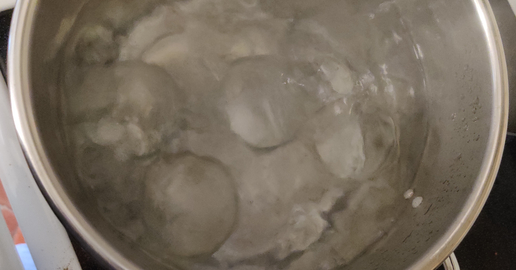
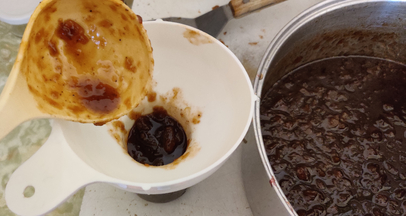
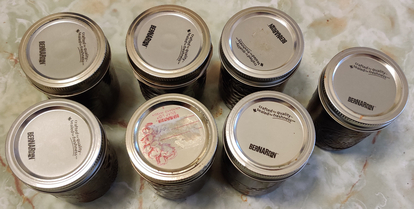
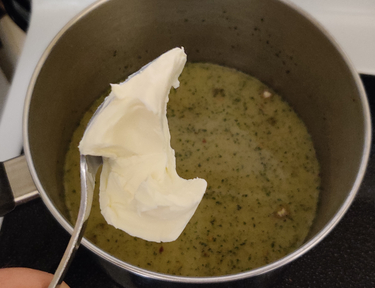
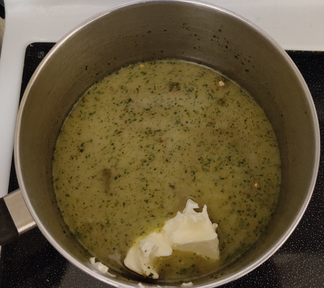
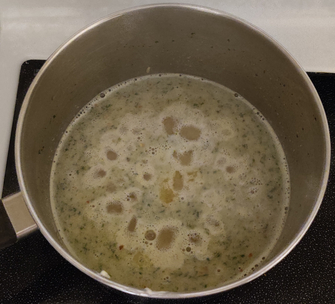
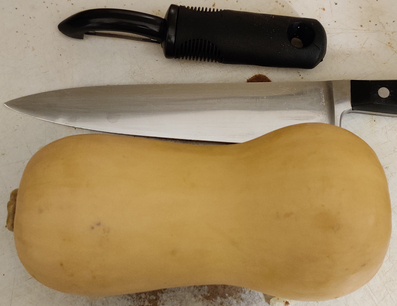
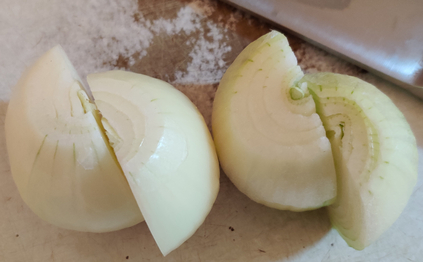
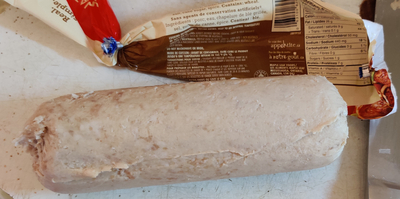
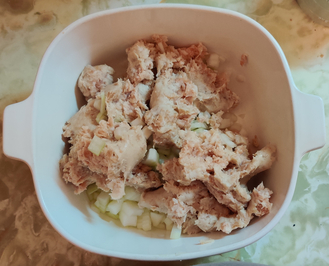
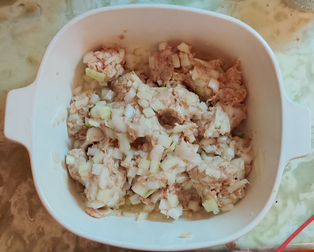
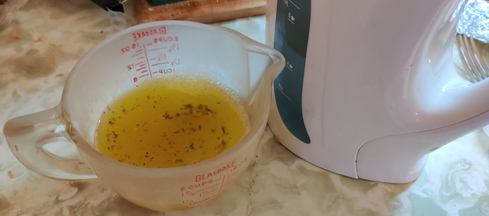
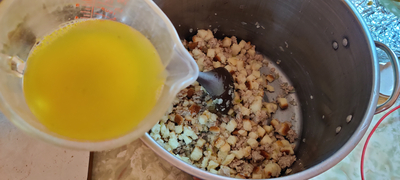
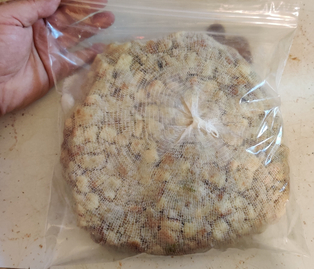
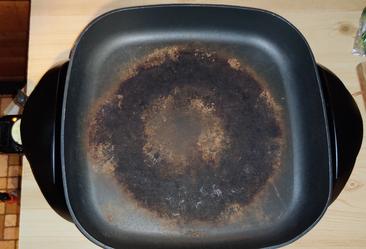
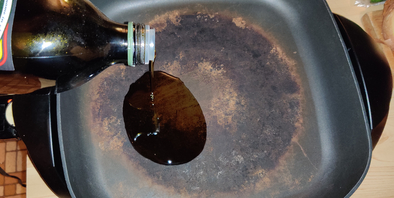
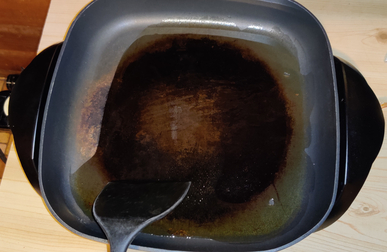
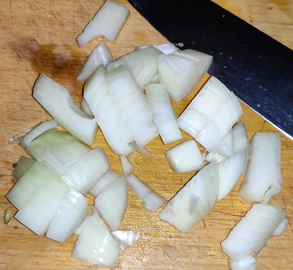
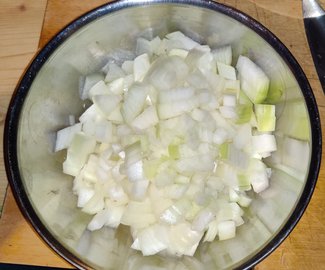
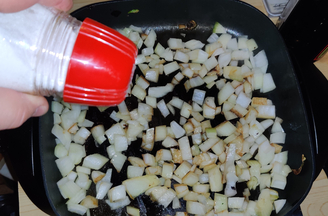
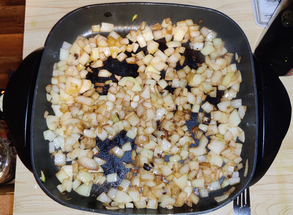
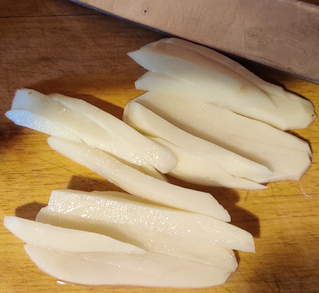
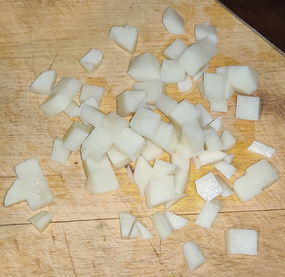
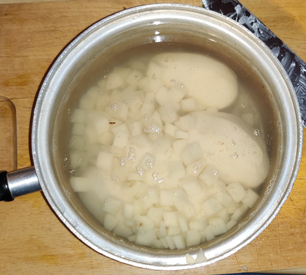
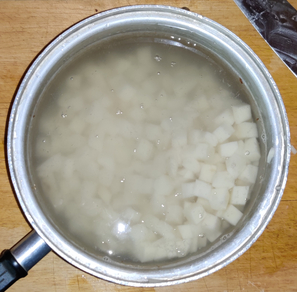
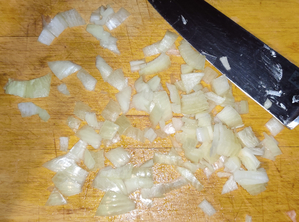
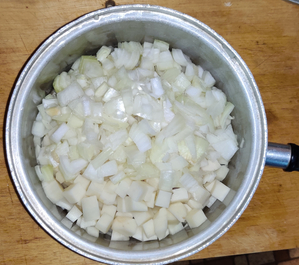
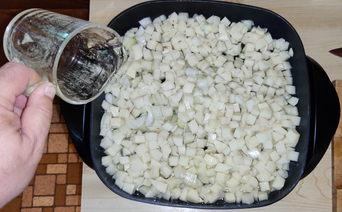
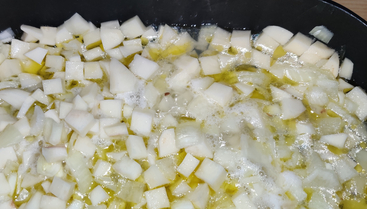
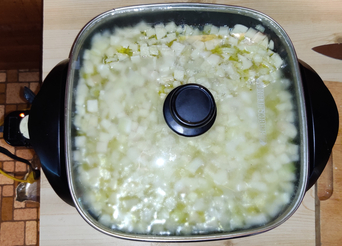
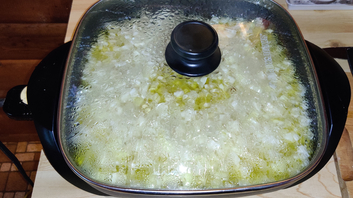
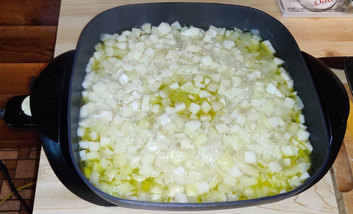
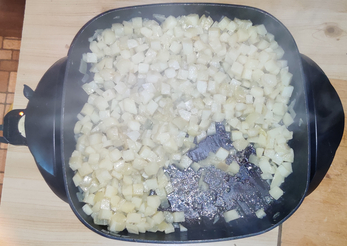
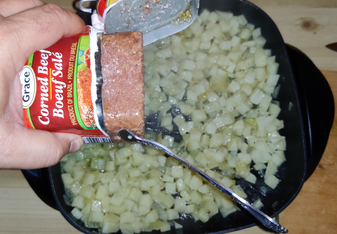
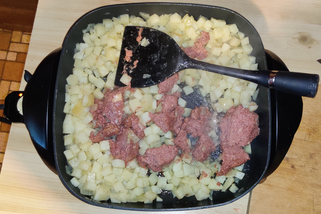
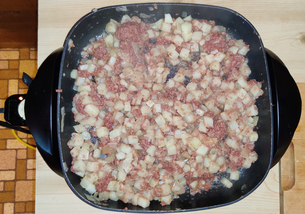
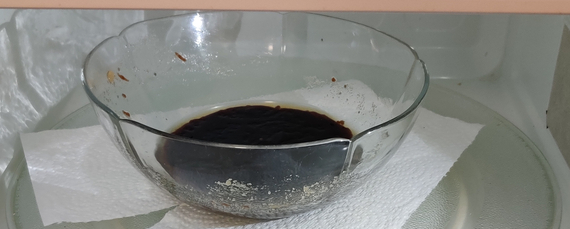
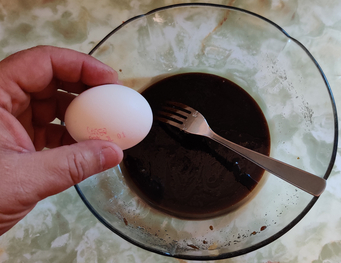
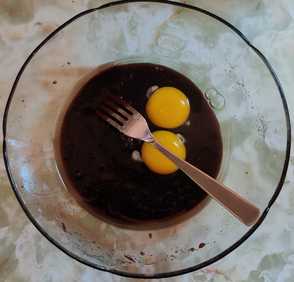
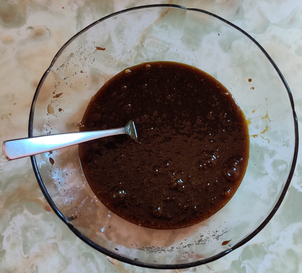
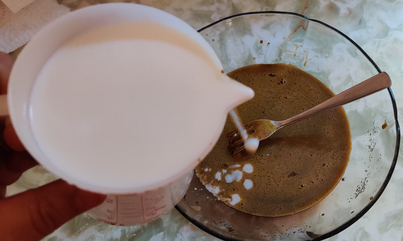
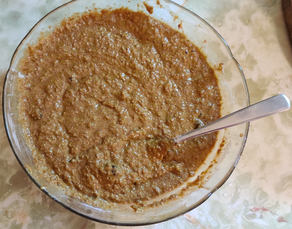
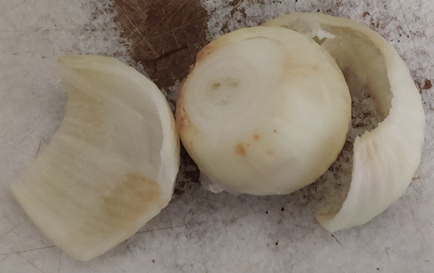
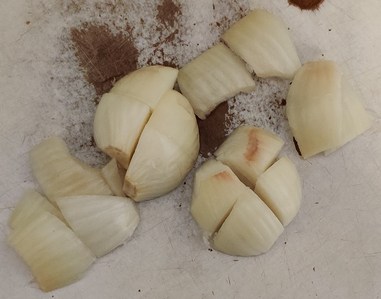
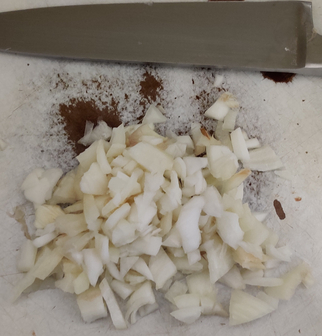
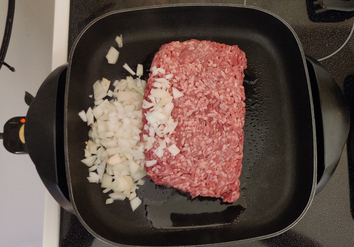
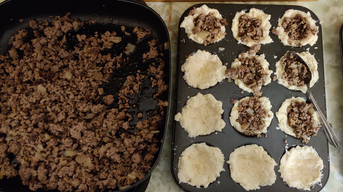
My spaghetti sauce was a bit of a marathon sauce to make. Based on canned tomatoes, it also included an inordinate variety and amount of chopped vegetables for a spaghetti sauce, and — especially the end product — was not unlike my current vegetable soup recipe, which I have been making since about 2013. I had a prideful joy in making it, partly as a result of it being so chock-full of vegetables, but, to a degree than I didn’t care to admit at the time, also borne of a stubborn pride resulting from it being a showcase of all the vegetables it contained and a desire to show off a certain (naïve) cooking acumen.
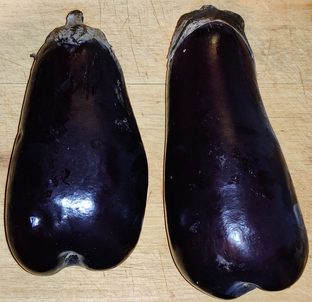
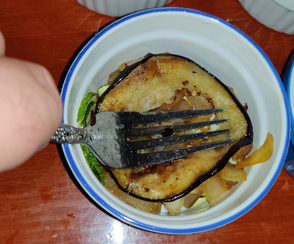
However, one of the things I realized in looking at my big cooking weekend, both early on without realizing it, as well as more formally just recently, was that I just wanted to make, say, lasagna, chilli, beef rolls, pasta dishes, or my eggplant dish (as well as a few lunches not involving my sauce). The “without realizing it” part (early on) was overshadowed by the prideful notion that it made sense at the time to want to use my spaghetti sauce to then make all these other dishes.
Except … I have come to realize that the effort to make the sauce to begin with, as well as my pride in wanting to use it, was perhaps core to the difficulty in implementing the cooking weekend. While the dishes were meant to be a showcase to myself for my spaghetti sauce and as well as my cooking in general, I realized that all these dishes were about showcasing the whole dishes, and not so much meant to showcase my spaghetti sauce.
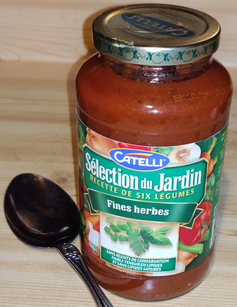
As such, for a long time now, many of the tomato sauce dishes I make call for commercially prepared tomato / spaghetti sauces, as opposed to, specifically, my home-made sauce.
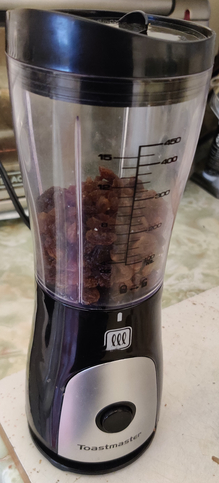
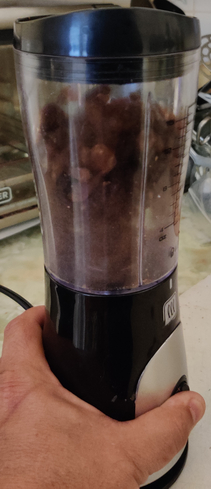
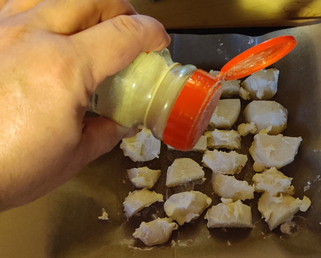
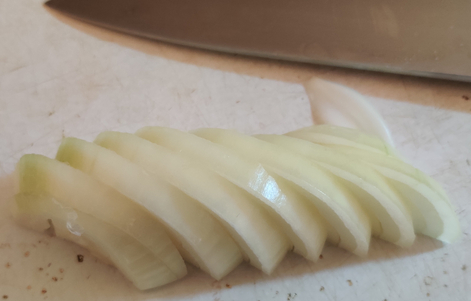
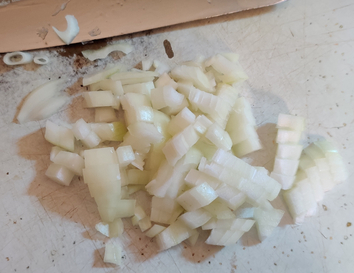
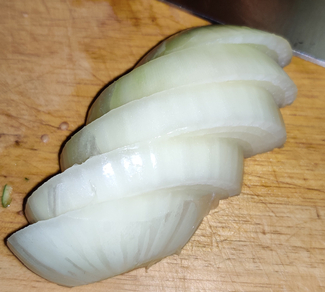
(As a side thought, were to I make spaghetti sauce again, I have a few vague notions about simplifying it somewhat, as well as chopping the vegetables much more finely, to the point of grinding them, instead of the coarse chopping I favoured for the “sauce” in the 1990’s.)
How things have evolved to today:
Despite the fact that the above weekend plan never materialized, I soon took to often planning cooking weekends when I went to the cottage, especially during the off-season (it’s a family cottage, so there always have been occasional scheduling issues which haven’t always allowed me to do what I would like, when I would like. 🙂 )
However, the first thing that should be mentioned, since this post is at least partly predicated on a period of time in which having ready-made lunches handily available in the freezer was essential, but was not the case, is that … I haven’t since planned out cooking weekends dedicated to cooking ready-made lunches for the freezer, or form a cooking club with a few friends in which we fastidiously make a week’s worth (or more) of lunches and other meals every Saturday, or otherwise come up with a systematic method of stocking the freezer with ready-made lunches.
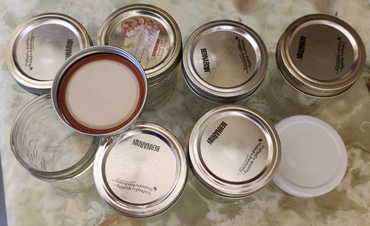
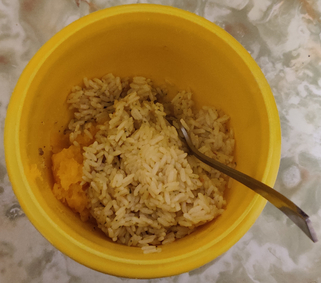
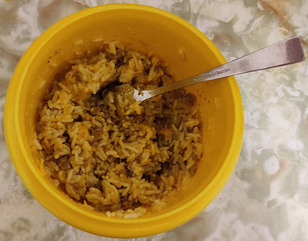
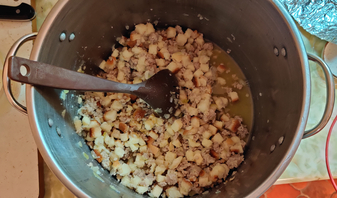
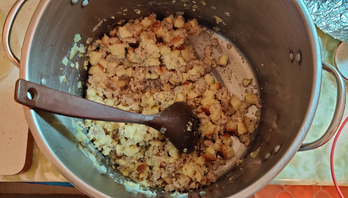
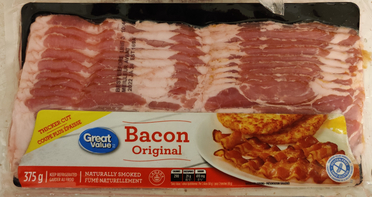
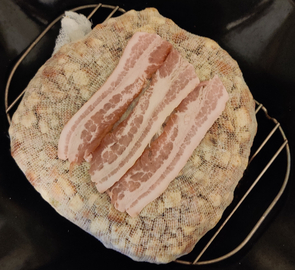
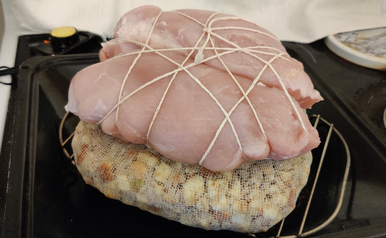
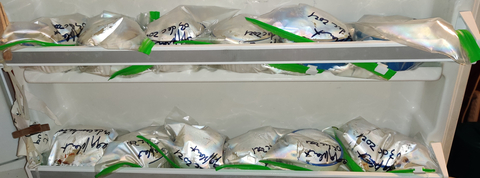
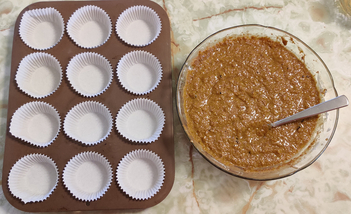
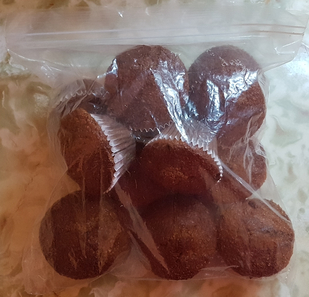
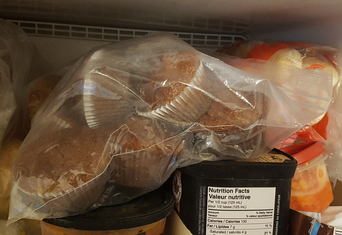
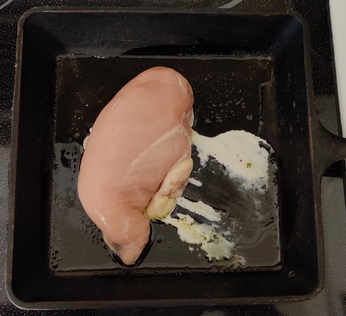
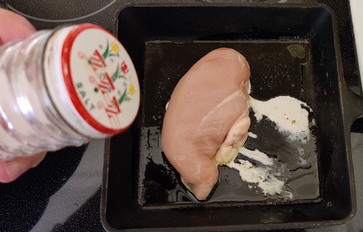
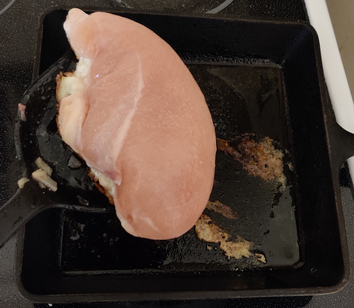
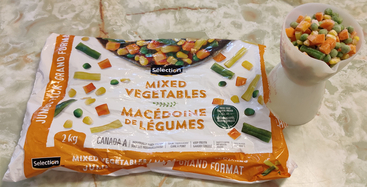
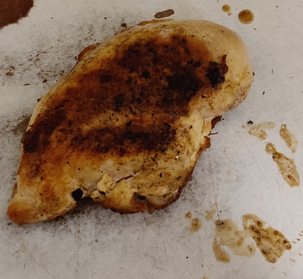
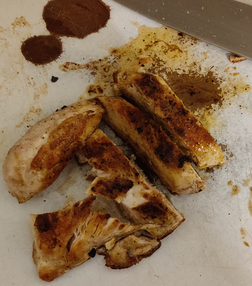
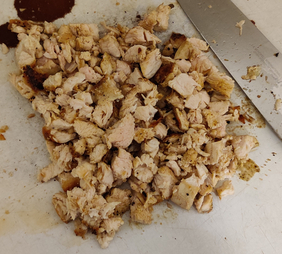
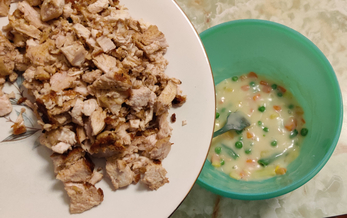
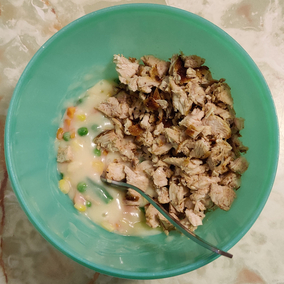
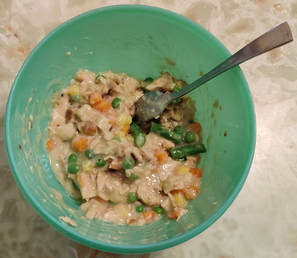
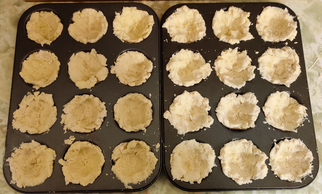
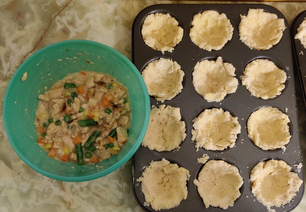
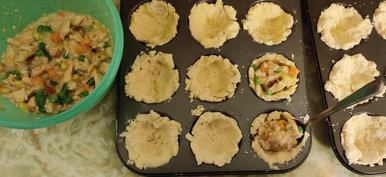
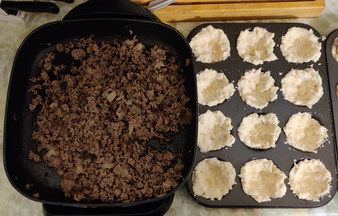
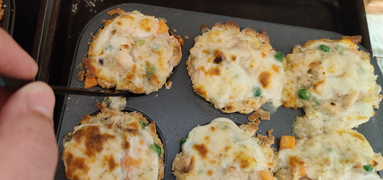
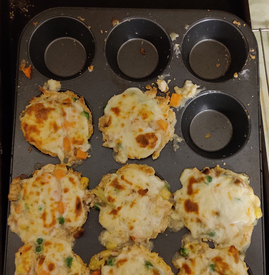
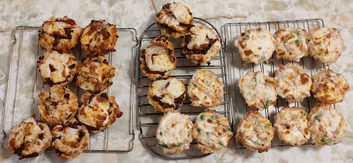
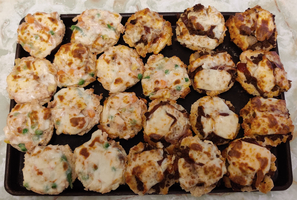
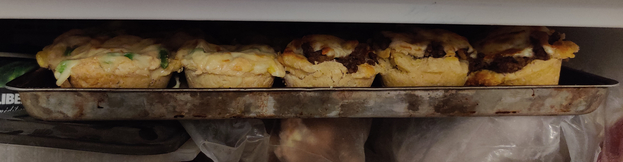
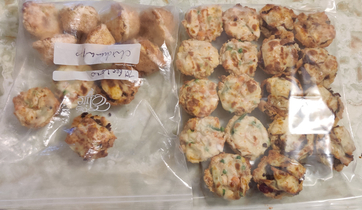
In the intervening years, the principal approach I have taken to rectify unforeseen needs for prepared lunches is to hoard lunches and leftovers in the freezer; in addition to routinely making extra food for the following day’s lunch, I would occasionally also, at random opportunities, zealously make an extra lunch to place in the freezer. As such, my supply of extra lunches at any given time ebbs and swells according to how many lunches I have managed to hoard at that point in time, versus how many I have needed to eat recently. Fortunately, some of my recipes somewhat ease mounting full lunches in the freezer by being pair-able with odds-and-ends leftovers, such as bacon wrapped chicken, meatballs, and stuffed potato skins.
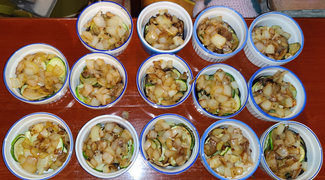
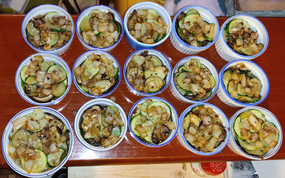
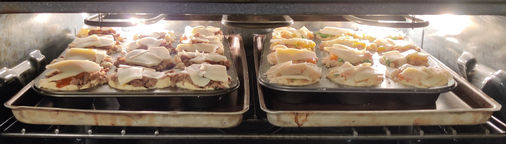
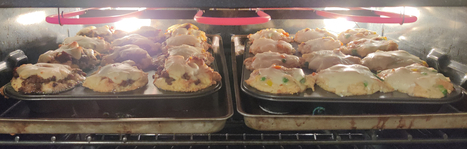
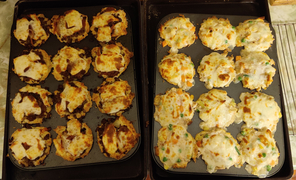
What I do do is plan “big” cooking weekends many times while I am up at the cottage, including quite often during the off season in winter, incidentally without running water. This is done in conjunction with weekend afternoons in the city with similar objectives (including a cook-through-my-collection-of-recipes project I did mostly in 2021, accessible off my home page at https://www.malak.ca ). Depending on my desires and ambitions, I usually concentrate on single projects, per day anyway; during a week over Christmas to New Year’s, for instance, I usually plan for almost as many large cooking projects as there are days – to cook various large cooking projects to fill the freezer.
I had begun large, more focused, cooking weekends not too long after my above planned weekend should have taken place, continuing a certain tradition I had started years earlier of occasionally making large quantities of my recipes, from a then-limited recipe répertoire, typically focusing on large freezer quantities of one, or perhaps two, recipes from my collection.
Therefore, early on — at this point, exactly “when” being lost to the sands of time and the multiple computer upgrades over the years, during which dates of creation, or at least the last edit, have been lost several times over — I had put the following list together. I tried to write down what my aims and guidelines had become. Note that the text of the list has been slightly edited to fit the current narrative:
- A dish needs to be just as easy to make several units of the recipe as one unit – if not easier, and as such not more difficult to make because it’s in quantity (barring the extra time and labour merely due to extra quantity – taking advantage of economies of scale);
- A dish needs to be easy to make in large quantities, using a repetitive production line process;
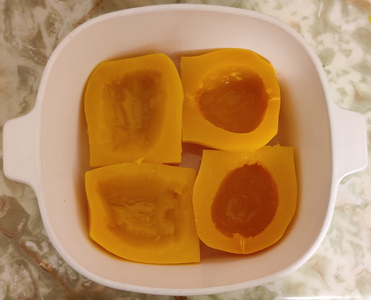
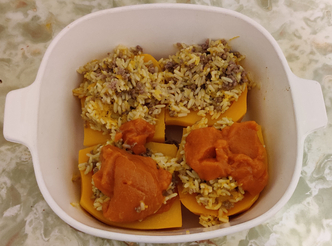
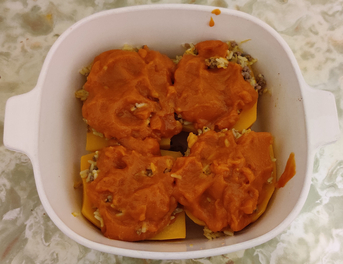
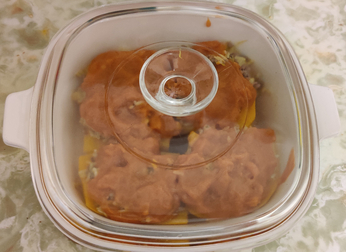
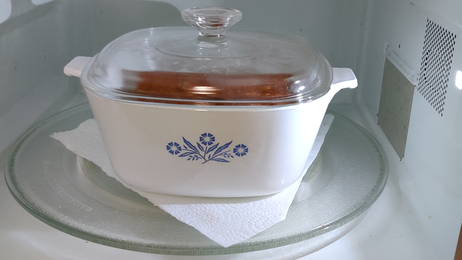
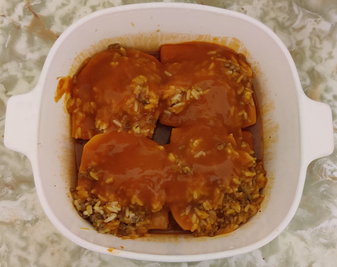
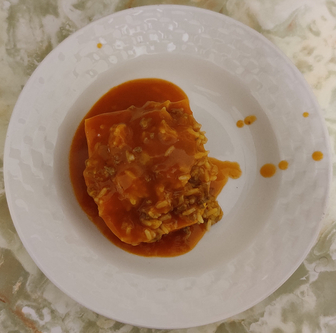
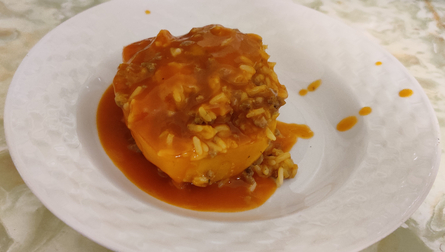
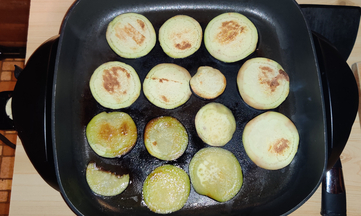
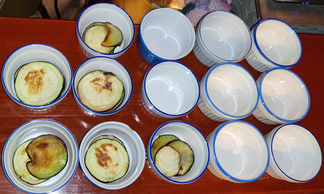
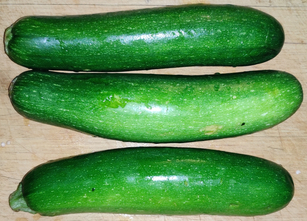
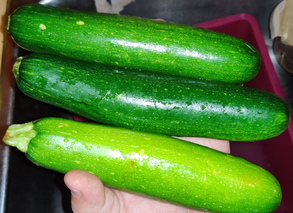
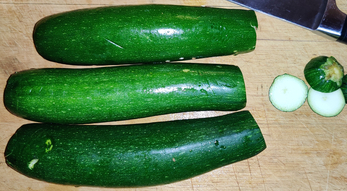
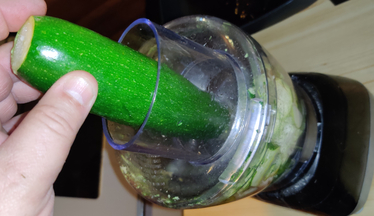
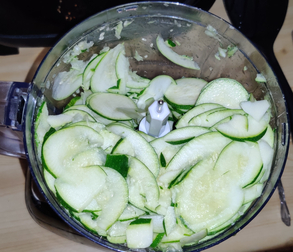
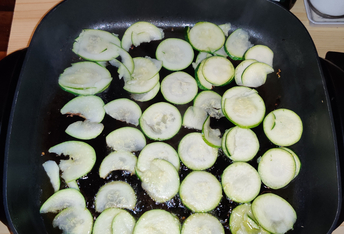
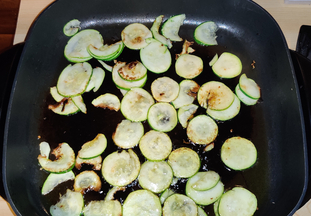
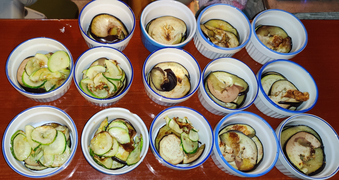
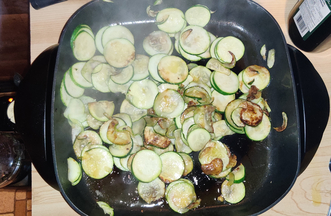
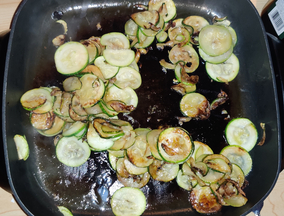
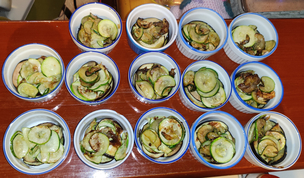
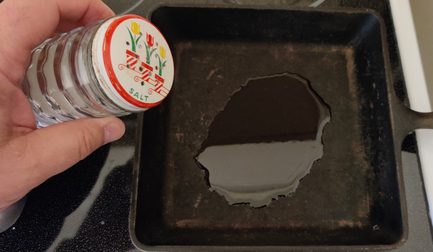
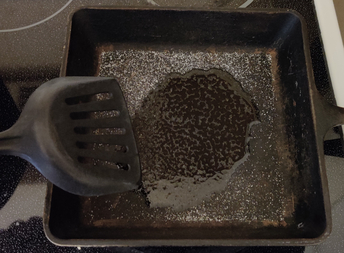
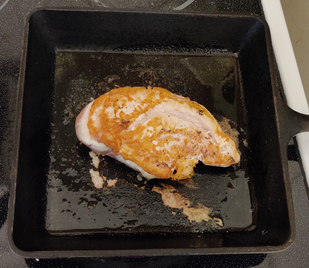
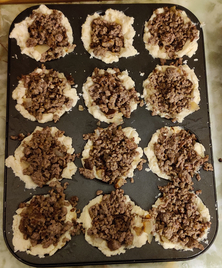
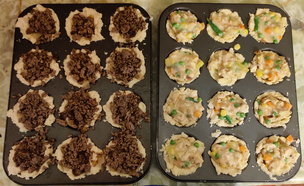
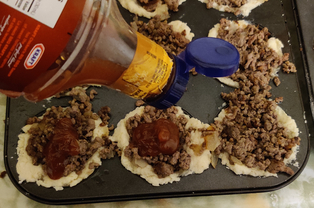
- A dish must be appropriate for freezing – for instance, my zucchini dish is not appropriate for freezing, although its sauce is appropriate for freezing!
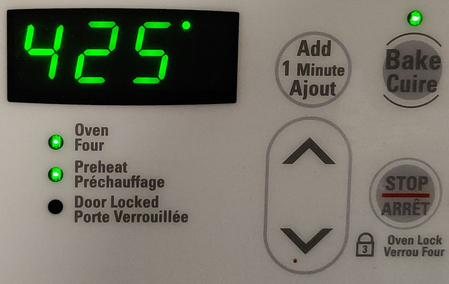
- A dish should be something that just needs to be defrosted and reheated / cooked in toaster oven or regular oven;
- A dish should be “convenience food” — the operative notion being “convenient because it’s made in advance and ready to eat” (or brown and serve), not as in “junk food” or like industrially produced, store bought frozen lunches;
- A dish should not be something at its core easy enough to make any day of the week fresh (looking back, I suppose that this is barring a notion to make multiple units of otherwise easy to make lunches to stock the freezer, were that have been a priority at the time);
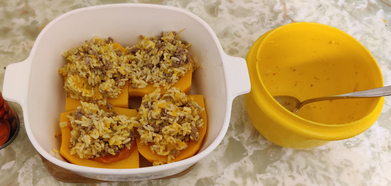
- A cooking project should not just be components for other dishes – ie. projects should be to make full meals, not just cooked hamburgers or burger meat, nor just cooked chicken pieces, etc.
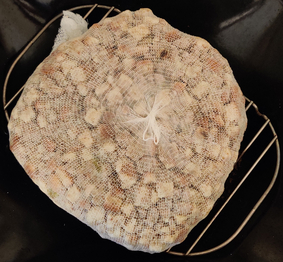
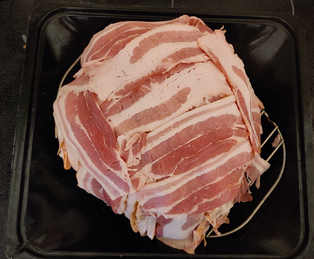
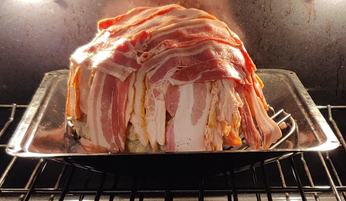
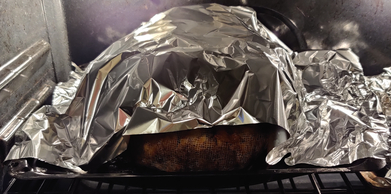
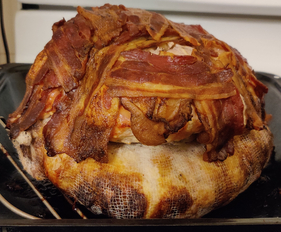
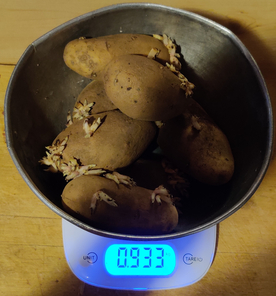
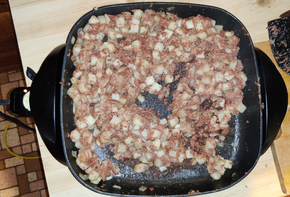
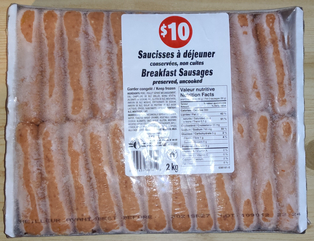
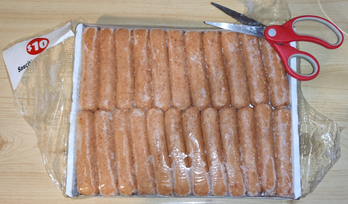
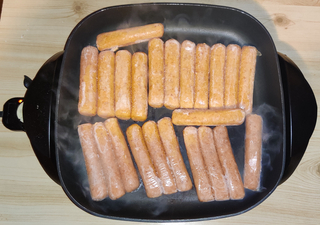
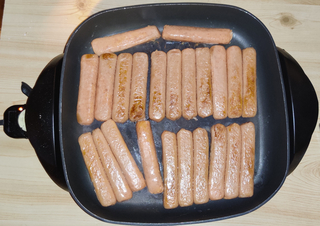
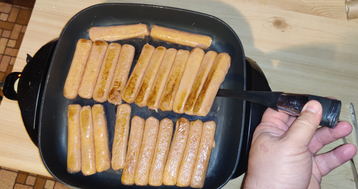
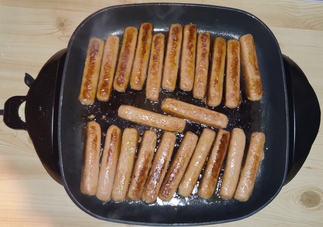
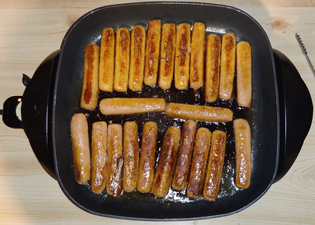
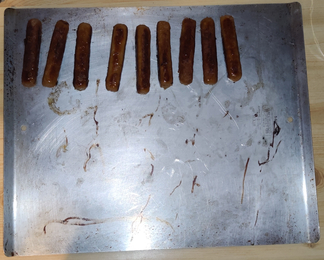
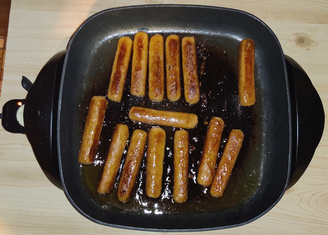
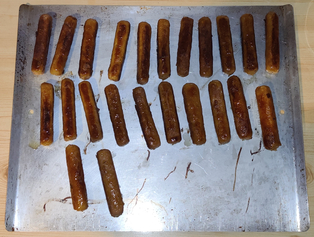
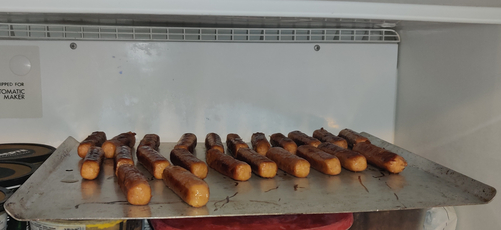
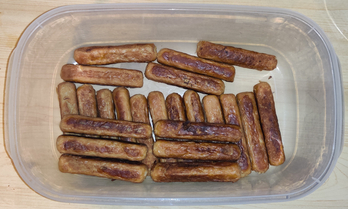
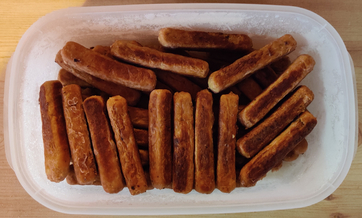
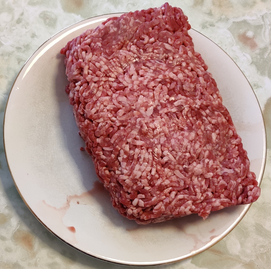
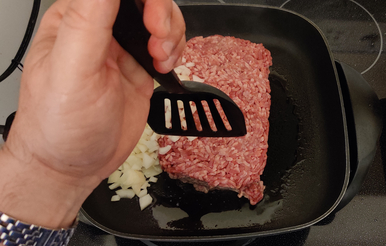
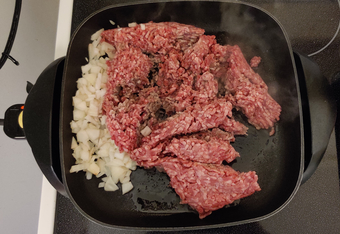
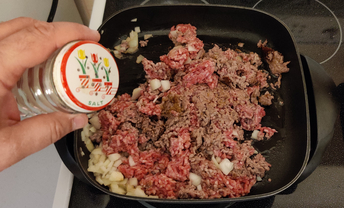
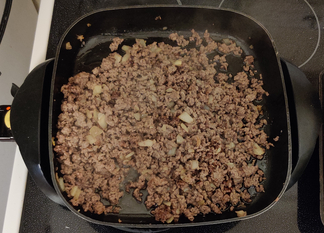
Given that over the years, my objectives have evolved, changed, and widened, I have long since abandoned at least a part of the guideline regarding making meal components or single items, because I now regularly cook large quantities of breakfast sausages for freezing, have in the past cooked whole packages or more of bacon for my mom, and I regularly make bacon wrapped chicken, meatloaf, meatballs, stuffed potato skins, as well as cooked ground beef frozen in ice cube trays to keep in the freezer for other times calling for small amounts of cooked ground beef.
Of course, it would only be appropriate to show a recent planning table for a week’s stay at the cottage over Christmas , 2021 (regular meal planning blocked out):
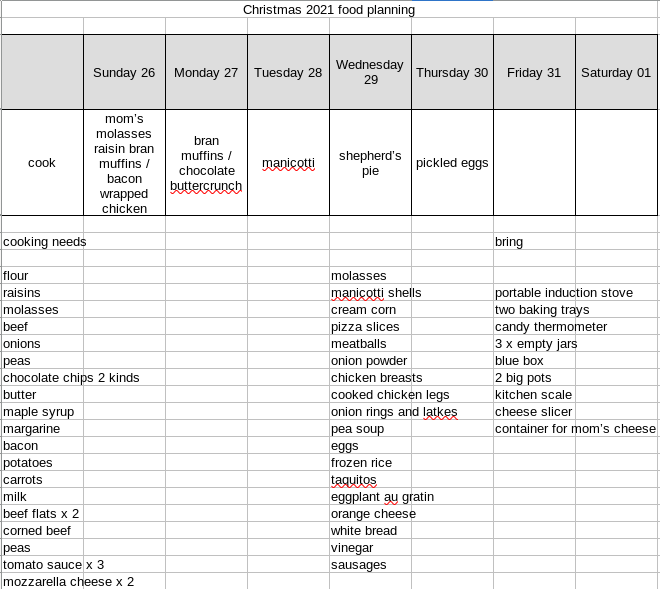
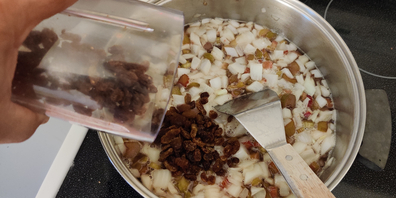
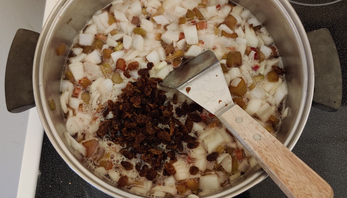
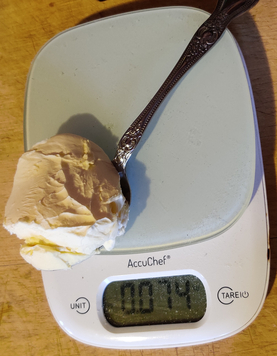
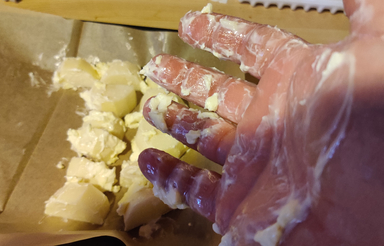
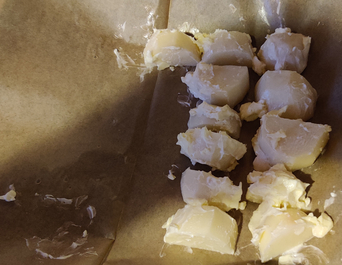
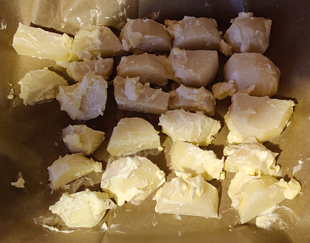
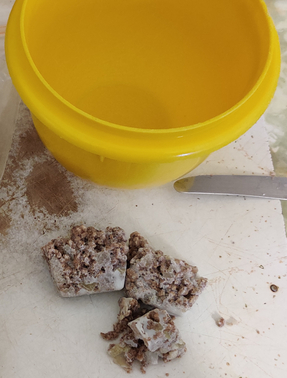
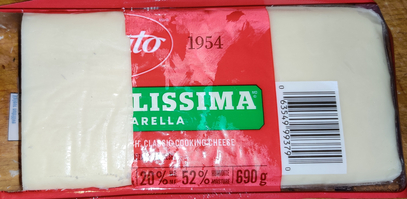
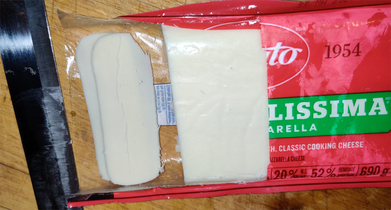
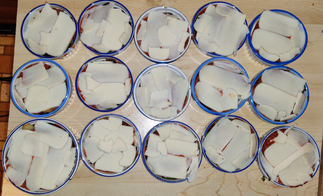
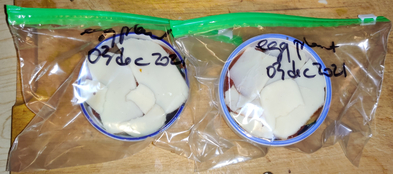
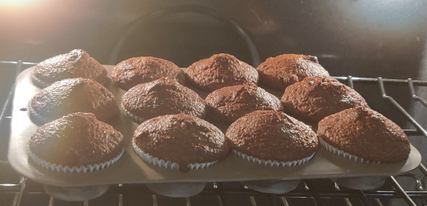
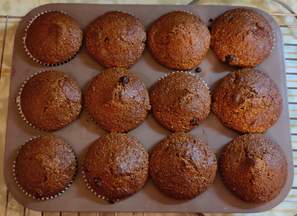
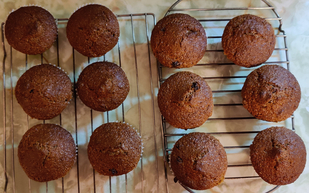
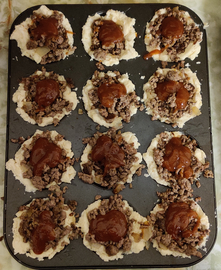
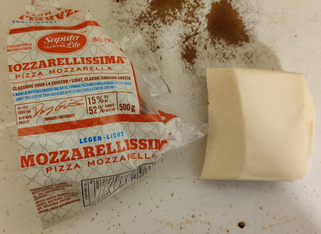
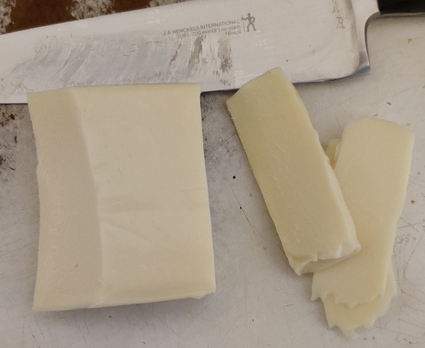
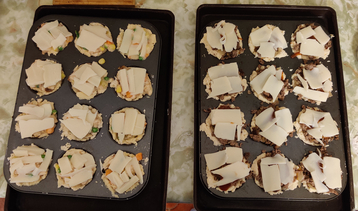
Yes, there are still a lot of details missing here from this list, such as specific numbers, arguably allowing for somebody besides myself to look at both lists and wonder, beyond the more relaxed pace and the specific list of foods and ingredients to bring, what the difference between this 2021 table and the 2006 table are. However, each entry is based on, normally, the standard amounts in my various recipes, plus often slight excesses. And, according to my notes, I also made stuffed potato skins, bran muffins for my mom twice instead of once, and the chocolate buttercrunch twice, as well as, as intimated in the “bring” list, a container of cheese sliced off of the block for my mom to consume the following week.
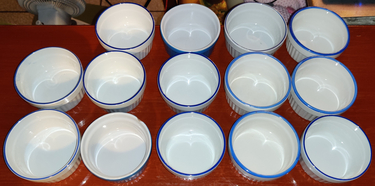
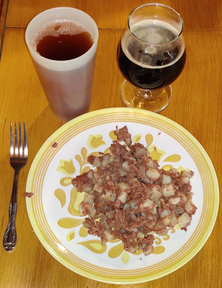
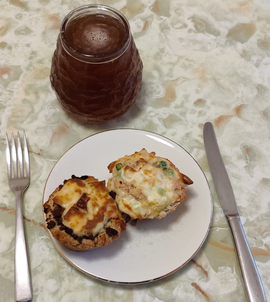
These days, my freezers are usually full of many tasty dishes from my collection of recipes, individual servings of many foods both from and beyond my collection of recipes, and various lunches made up of leftovers, some consisting of components from multiple meals and cooking sessions. This is actually served by a certain hoarding instinct; I often fill containers with bits of leftovers from a given meal to freeze, and as possible I add to them with other little bits already in the freezer as they are produced.
And … do I run out of lunches? Usually not! However … managing the freezer is a work in progress and a continuous project, sometimes a daily project beyond simply preparing tomorrows lunch; I sometimes grab opportunities to make a second lunch or portion thereof!